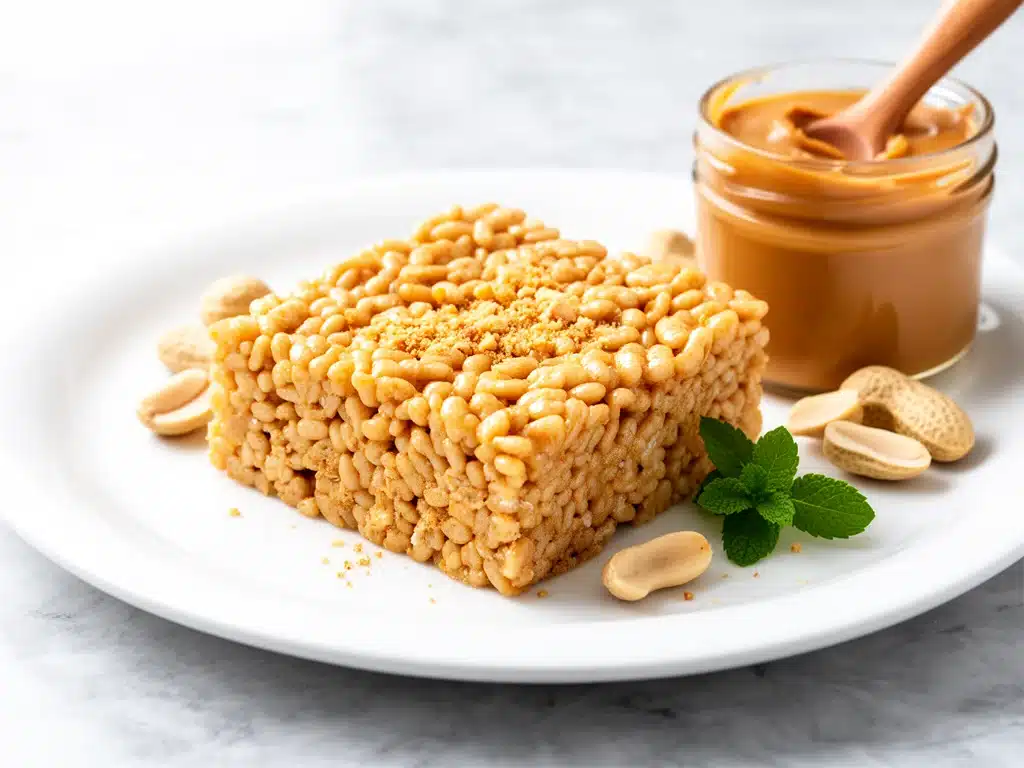
It’s 6:45 AM on a Tuesday. The house is still dark except for the frantic glow of my phone alarm. I’m standing in the kitchen, coffee in one hand, trying to pack a lunchbox with two hands that are shaking from lack of sleep. The clock on the microwave ticks forward, and I realize with a sinking feeling that I forgot to prep for tomorrow’s after-school snack. Again. Last week, it was a bag of store-bought granola bars that cost $6 and contained more sugar than a cupcake. The week before, I tried to bake banana bread at 11 PM, ended up with a burnt mess, and had to serve dry toast.
I was done. Done with the stress, done with the expense, and definitely done with the guilt of handing my kids a snack that looked like it came from a factory. That’s when I remembered my grandmother’s old trick for keeping the peace during those chaotic back-to-school mornings. She didn’t bake. She didn’t stress. She made no-bake bars. Specifically, a version of Rice Krispie treats that she loaded with peanut butter because, as she always said, “Kids need protein if they’re going to survive third-grade math.”
I tested this Back-to-School No-Bake Rice Krispie Peanut Butter Bars recipe about twenty times over the last month. I wanted to make sure it held up in a lunchbox, that it didn’t melt on the playground, and that it actually tasted good enough to stop my picky seven-year-old from begging for candy at the checkout line. The result? These bars are chewy, salty, sweet, and incredibly sturdy. They’re the ultimate no-bake treats for parents who need something fast, affordable, and genuinely delicious. If you’re drowning in back-to-school prep, you need this recipe in your life.
Why You’ll Love This Recipe
There’s a reason I keep making these Rice Krispie peanut butter bars on repeat. It’s not just because they’re easy (though they are stupid simple). It’s because they solve actual problems that come with the school year grind. Here’s why this recipe has earned a permanent spot in my rotation:
- Zero Oven Needed — Seriously. You don’t need to turn on the oven, preheat, or worry about burning dinner. This is perfect for those warm September mornings when the kitchen is already hot. It’s one of the best no-bake desserts for summer-to-fall transitions.
- Lunchbox Proof — I’ve tested these in hot cars, in backpacks, and on desks. They hold their shape. They don’t get mushy. Unlike regular Rice Krispie treats which can fall apart, the peanut butter acts as a binder that keeps these bars solid until snack time.
- Protein-Packed (Sort of) — While these are still a treat, adding peanut butter gives them a bit more staying power than plain sugar cereal bars. My kids actually feel full after eating one, which means they don’t raid the cookie jar before dinner. That’s a win in my book.
- Cost-Effective — A box of cereal, a jar of peanut butter, and some marshmallows cost less than $5. Compare that to the $8 box of branded snack bars at the grocery store. You’re saving money while feeding them something that tastes homemade.
- Kid-Approved — This is the ultimate easy snack for kids. My son, who usually refuses anything that isn’t bright orange or chocolate-covered, asks for these every week. They’re familiar, comforting, and sweet enough to satisfy a sugar craving without a crash.
Real talk: when you’re juggling soccer practice, homework, and your own job, you need recipes that just work. These bars work. Every single time.
Ingredients You’ll Need
Here’s the best part: you probably have 90% of these ingredients in your pantry right now. I’m not asking you to run to the store for anything exotic. This is about using what you have to make something special. Here’s exactly what you need for this batch of Back-to-School No-Bake Rice Krispie Peanut Butter Bars.
The Base
Butter (½ cup / 115g) — I use unsalted butter so I can control the saltiness, especially since the peanut butter is already salty. Salted butter works too, just taste before adding extra salt. Don’t skip this—it adds richness and helps the marshmallows melt smoothly.
Peanut Butter (1 cup / 250g) — This is the star. I use creamy, natural peanut butter (the kind where the oil rises to the top, you just need to stir it). Avoid “no-stir” processed peanut butter if you can help it; it has stabilizers that can make the texture gummy. If you have nut allergies, sunflower seed butter works as a 1:1 substitute, though the flavor will be milder.
Marshmallows (10 oz / 280g) — That’s one standard bag. Use large marshmallows if you can find them; they melt slower and give a better texture. Mini marshmallows work in a pinch but melt too fast and can burn if you’re not watching closely.
Rice Krispies Cereal (6 cups / approx. 210g) — Yes, six full cups. This is a big batch. Use original Rice Krispies, not the chocolate or vanilla versions. You want that neutral, crispy crunch to contrast with the sweet, chewy marshmallow-peanut butter mix.
The Flavor Boosters
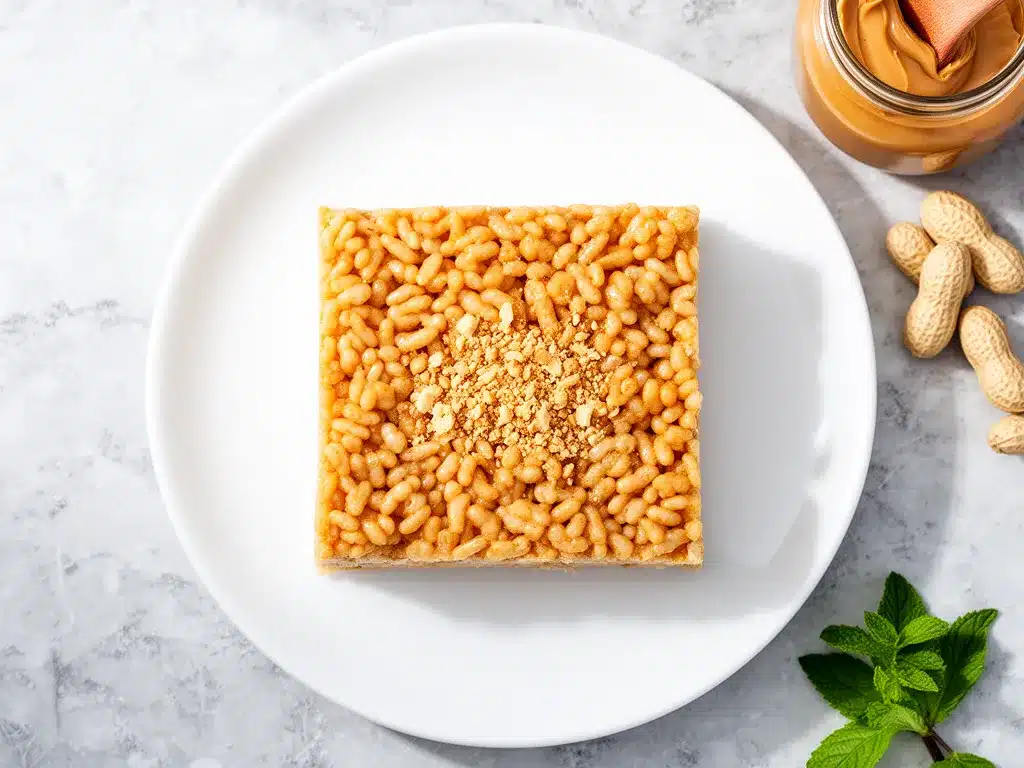
Vanilla Extract (1 teaspoon) — Just a splash. It rounds out the sweetness and makes it taste like a bakery treat. Don’t skip it.
Salt (½ teaspoon) — Even with salted butter and peanut butter, a pinch of salt enhances the flavor. It’s the secret to making sweet treats taste professional.
Chocolate Chips (½ cup / 90g, optional) — For the chocolate lovers in the house. I drizzle these on top after the bars cool. It adds a nice snap and makes them feel fancy. Dark chocolate chips work well if you want to cut down on sugar.
Optional Add-ins — Pretzel pieces (for crunch), mini M&Ms (for color), or crushed graham crackers (for texture). I’ve added crushed pretzels before, and they add a salty-sweet kick that’s amazing. But keep it simple if you’re in a rush.
Equipment Needed
You don’t need fancy gadgets for this. Here’s what I actually use, and what you can swap if you don’t have it.
Large Pot or Dutch Oven — I use a 6-quart pot. It needs to be big enough to melt the marshmallows without spilling over. If you use a smaller pot, you’ll have a sticky mess. A Dutch oven is great because it distributes heat evenly, but any heavy-bottomed pot works.
Spatula — A sturdy silicone spatula is non-negotiable. You need to fold the cereal in gently without crushing it. A wooden spoon works too, but it’s harder to get into the corners of the pot.
9×13 Inch Baking Dish — Standard size. Grease it well with butter or cooking spray. Parchment paper is even better because you can lift the bars out later if you want to cut them cleanly.
Measuring Cups and Spoons — Standard stuff. Make sure your measuring cup for the cereal is dry. Wet cereal clumps.
Microwave (Optional) — If you don’t want to use the stove, you can melt the butter, peanut butter, and marshmallows in a microwave-safe bowl in 30-second intervals. It’s faster, but you have to watch it closely so it doesn’t boil over. I prefer the stove for better control.
How to Make It: Step-by-Step
Alright, let’s make these Back-to-School No-Bake Rice Krispie Peanut Butter Bars! I’m walking you through exactly how I do it, including the little tricks I’ve picked up so you don’t end up with a sticky, gummy mess.
Step 1: Prep Your Pan (2 minutes)
Grease your 9×13 inch baking dish generously with butter or non-stick spray. If you have parchment paper, line the pan with it, leaving an overhang on the sides. This is a game-changer for removing the bars later. If you don’t have parchment, just grease it well. Set aside.
Step 2: Melt the Base (5 minutes)
Place your large pot over medium-low heat. Add the butter and peanut butter. Stir constantly until they are fully melted and combined. This should take about 3-4 minutes. Don’t rush this step! If the heat is too high, the peanut butter can separate or burn. You want a smooth, glossy mixture.
Step 3: Add the Marshmallows (3-4 minutes)
Once the butter and peanut butter are melted, pour in the marshmallows. Keep stirring. The marshmallows will take a minute to start melting. Once they begin to melt, reduce the heat to low. Stir continuously until all the marshmallows are completely melted and the mixture is smooth and stretchy. This is the critical moment. If there are lumps of unmelted marshmallow, your bars will be uneven. It should look like a thick, glossy sauce.
Step 4: Remove from Heat and Flavor (1 minute)
Take the pot off the heat immediately. Stir in the vanilla extract and salt. The mixture will be very hot and sticky. Be careful not to burn yourself. This is also the time to add any mix-ins like chocolate chips or pretzels if you’re using them. Stir until incorporated.
Step 5: Fold in the Cereal (2 minutes)
Add the Rice Krispies cereal to the pot. Use your spatula to gently fold the cereal into the marshmallow mixture. You want to coat every piece of cereal evenly. Don’t press down hard; you want to keep the cereal airy and crunchy. It might look like there’s too much cereal at first, but keep folding. It will come together.
Step 6: Press into Pan (3 minutes)
Transfer the mixture into your prepared baking dish. Here’s the trick: wet your hands with a little water or grease them with butter. This prevents the sticky mixture from sticking to your hands. Press the mixture down firmly and evenly. You want it compact so the bars hold together, but don’t pack it like a brick or they’ll be hard to chew. Aim for a firm, even layer.
Step 7: Cool and Set (30 minutes)
Let the bars cool at room temperature for at least 30 minutes. Do not skip this step! If you try to cut them while they’re warm, they’ll be a mushy mess. If you’re in a hurry, you can put them in the fridge for 15-20 minutes to speed up the process. Once they’re cool and firm, lift them out of the pan (if using parchment) or cut them directly in the pan.
Step 8: Cut and Serve
Cut into squares or rectangles. I usually cut them into 12 large bars or 24 small squares for lunchboxes. If you’re adding a chocolate drizzle, melt the chocolate chips in the microwave for 30 seconds and drizzle over the cooled bars. Let the chocolate set for 5 minutes before serving.
Total Time: About 45 minutes (15 minutes active, 30 minutes cooling)
Expert Tips & Tricks
Here’s everything I’ve learned from making these dozens of times. These tips will save you from my mistakes.
Don’t Overcook the Marshmallows
The biggest mistake people make is letting the marshmallows boil. Once they’re melted, take them off the heat. Overcooking makes the bars hard and chewy instead of soft and chewy. You want them tender, not like a rock.
Use Natural Peanut Butter
I can’t stress this enough. Natural peanut butter has a better flavor and texture. If you use the kind with hydrogenated oils, the bars can become greasy or separate. Stir the oil into your peanut butter before measuring it out.
Wet Your Hands
Seriously. Wet hands or buttered hands. The marshmallow-peanut butter mixture is sticky. If you don’t wet your hands, you’ll spend half your time picking it off your fingers. A little water goes a long way.
Press Firmly
If you don’t press the mixture down firmly, the bars will fall apart when you cut them. Use the bottom of a measuring cup or your greased hands to pack it down. This ensures clean cuts.
Store Properly
These bars need to be stored in an airtight container. If they’re exposed to air, they’ll get stale and hard. Keep them at room temperature for up to 5 days. Do not refrigerate unless it’s extremely hot, as the peanut butter can harden too much.
Variations & Substitutions
Once you’ve nailed the basic version, here’s how you can mix it up. I’ve tried all of these, and they’re all winners.
Chocolate Swirl
After pressing the mixture into the pan, dollop spoonfuls of melted chocolate on top. Use a knife to swirl it in. It looks fancy and tastes even better.
Pretzel Crunch
Add 1 cup of crushed pretzels to the cereal before folding. The salty crunch pairs perfectly with the sweet peanut butter. It’s my personal favorite variation.
Almond Butter Version
Swap the peanut butter for almond butter. It’s a bit more expensive, but the flavor is richer and more sophisticated. Great for kids who are tired of peanut butter.
Sunflower Seed Butter (Nut-Free)
For schools with nut-free policies, use sunflower seed butter. It’s a 1:1 substitute. The bars will be slightly lighter in color, but the taste is very similar.
Mini M&M’s
Fold in ½ cup of mini M&M’s with the cereal. It adds color and extra sweetness. My kids love these for birthdays or parties.
Coconut Version
Add ½ cup of shredded coconut to the mixture. It adds a tropical twist and a nice texture. Great for summer parties.
Serving & Storage
How to enjoy these Back-to-School No-Bake Rice Krispie Peanut Butter Bars and keep them fresh.
How to Serve
I usually serve these cut into squares for lunchboxes. They’re perfect alongside an apple or some carrot sticks. For parties, I cut them into smaller bite-sized pieces and arrange them on a platter. They’re also great with a glass of cold milk.
Storage Instructions
Room Temperature: Store in an airtight container for up to 5 days. Place a piece of parchment paper between layers if you stack them to prevent sticking.
Refrigerator: You can refrigerate them for up to 2 weeks, but they will become harder. Let them come to room temperature before eating for the best texture.
Freezer: Yes, you can freeze these! Wrap individual bars in plastic wrap and store in a freezer bag for up to 3 months. Thaw at room temperature before eating. This is great for meal prepping.
Nutrition Information
I’m not a nutritionist, but here’s the breakdown if you’re tracking. Note that this is an estimate based on standard ingredients.
Per Serving (1 bar, makes 12 bars):
- Calories: 220
- Protein: 6g
- Carbs: 32g
- Fiber: 1g
- Sugar: 20g
- Fat: 9g
- Saturated Fat: 4g
- Cholesterol: 10mg
- Sodium: 180mg
What’s Good:
Decent protein from the peanut butter. It’s more filling than plain candy. Great source of quick energy for active kids.
What to Know:
Higher in sugar from the marshmallows. Contains gluten (from cereal) and nuts (from peanut butter). Adjust portions if you’re watching sugar intake.
Final Thoughts
So that’s my go-to Back-to-School No-Bake Rice Krispie Peanut Butter Bars recipe! I’ve probably talked your ear off at this point, but when you make a recipe this often, you have a lot to say about it. These bars have saved my sanity during the back-to-school rush. They’re my answer to “what’s for snack?” when I’m tired, don’t want to bake, and still want something that tastes homemade. My kids are happy, I’m happy because I’m not stressed, and we’re all happy because we’re eating something that doesn’t come in a plastic wrapper from a factory.
Make it yours! Try different mix-ins, swap in your favorite nut butter, or adjust the sweetness. The best recipes are the ones you adapt to your family’s tastes. If you make this, drop a comment and let me know what you think! I love hearing how recipes turn out in your kitchen. And if something doesn’t work, tell me that too—I’m here to help troubleshoot.
Happy cooking! And I hope your kitchen smells half as good as mine does right now.
Frequently Asked Questions
Can I use mini marshmallows?
Yes, you can, but they melt much faster. You’ll need to watch the pot closely so they don’t burn. Large marshmallows are better because they melt slower and give a better texture. If you use mini marshmallows, reduce the melting time slightly.
Why are my bars too hard?
This usually happens if you overcook the marshmallows or press the mixture too firmly. Make sure you take the pot off the heat as soon as the marshmallows are melted. Also, don’t pack the mixture down like a brick; just press it evenly.
Can I make these nut-free?
Absolutely. Use sunflower seed butter or soy nut butter instead of peanut butter. Just make sure your Rice Krispies are certified gluten-free if you have celiac disease, as some cereals are processed in facilities with nuts.
How do I store these for school?
Store them in an airtight container at room temperature. If it’s very hot outside, you might want to keep them in the fridge, but let them come to room temperature before packing. They hold up well in lunchboxes for several days.
Can I double this recipe?
Yes, but you’ll need a larger pot. Double all ingredients and use a 10-quart pot or larger. The cooking time might be slightly longer, so watch the marshmallows carefully. Press into a 9×13 pan or two 8×8 pans.
Why did my bars fall apart?
This usually means the mixture wasn’t pressed firmly enough, or the marshmallows weren’t fully melted. Make sure you have a smooth, glossy marshmallow mixture before adding the cereal. Press down firmly with greased hands.
Pin This Recipe!
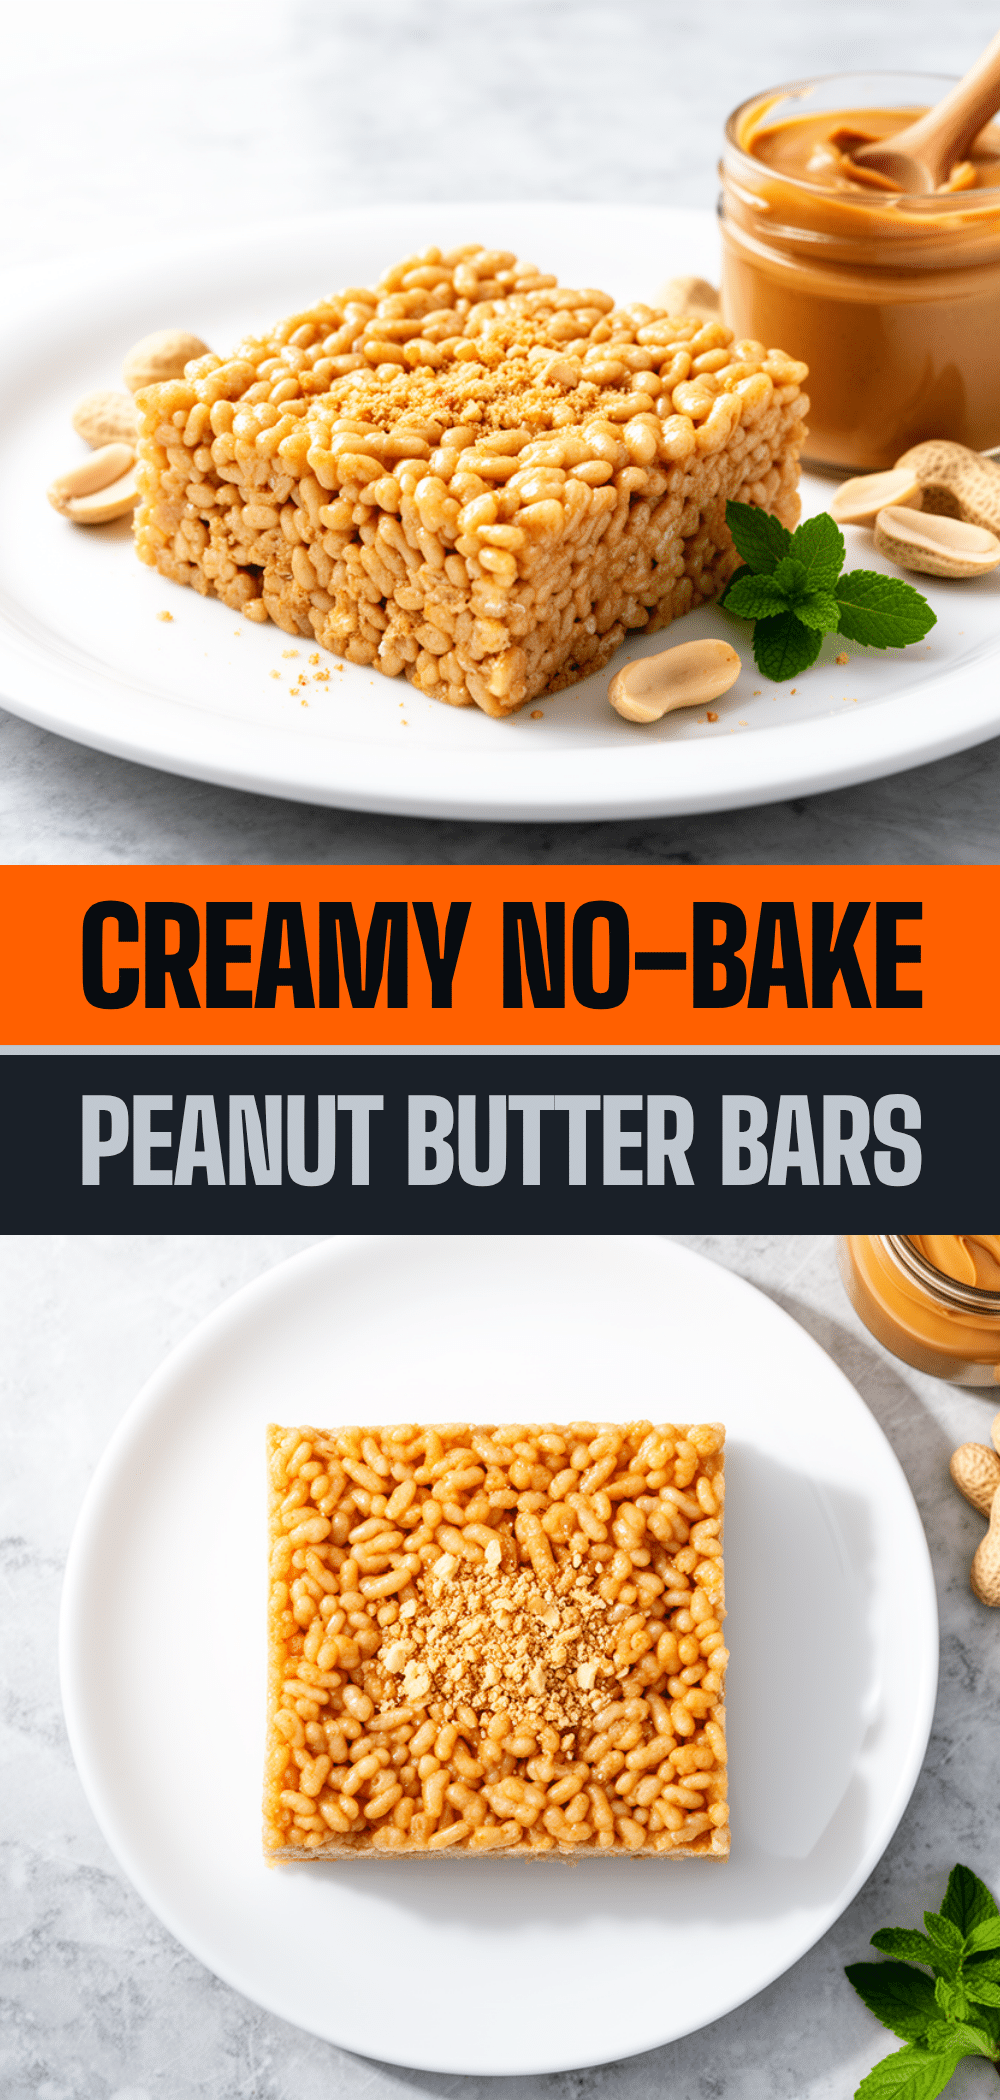
Back-to-School No-Bake Rice Krispie Peanut Butter Bars
- Total Time: 45 minutes
- Yield: 12 servings 1x
Description
Chewy, sturdy, and protein-packed no-bake bars that are perfect for busy back-to-school mornings. These treats hold up in lunchboxes and require zero oven time.
Ingredients
- 1/2 cup (115g) unsalted butter
- 1 cup (250g) creamy natural peanut butter
- 10 oz (280g) large marshmallows
- 6 cups (approx. 210g) Rice Krispies cereal
- 1 teaspoon vanilla extract
- 1/2 teaspoon salt
- 1/2 cup (90g) chocolate chips (optional, for drizzling)
- Optional add-ins: pretzel pieces, mini M&Ms, or crushed graham crackers
Instructions
- Grease a 9×13 inch baking dish generously with butter or non-stick spray. Line with parchment paper if desired.
- Place a large pot over medium-low heat. Add butter and peanut butter, stirring constantly until fully melted and combined (about 3-4 minutes).
- Add marshmallows to the pot. Stir continuously, reducing heat to low once melting begins, until marshmallows are completely melted and the mixture is smooth and stretchy.
- Remove pot from heat. Stir in vanilla extract and salt. Add optional mix-ins like chocolate chips or pretzels if using.
- Add Rice Krispies cereal to the pot. Gently fold with a spatula until every piece is evenly coated.
- Transfer mixture to the prepared baking dish. Wet or butter your hands and press the mixture down firmly and evenly.
- Let cool at room temperature for at least 30 minutes until firm. Alternatively, refrigerate for 15-20 minutes to speed up setting.
- Lift out of pan or cut directly in pan into 12 large bars or 24 small squares.
- If using chocolate chips, melt them in the microwave for 30 seconds and drizzle over cooled bars. Let set for 5 minutes before serving.
Notes
Use natural peanut butter for best texture; avoid processed ‘no-stir’ varieties. Wet your hands before pressing the mixture to prevent sticking. Do not overcook marshmallows or bars will become hard. Store in an airtight container at room temperature for up to 5 days.
- Prep Time: 15 minutes
- Cook Time: 10 minutes
- Category: Dessert
- Cuisine: American
Nutrition
- Serving Size: 1 bar
- Calories: 220
- Sugar: 20
- Sodium: 180
- Fat: 9
- Saturated Fat: 4
- Carbohydrates: 32
- Fiber: 1
- Protein: 6
Keywords: no-bake, rice krispie treats, peanut butter bars, back-to-school snacks, easy kids snacks, lunchbox ideas, gluten-free option, nut-free option


