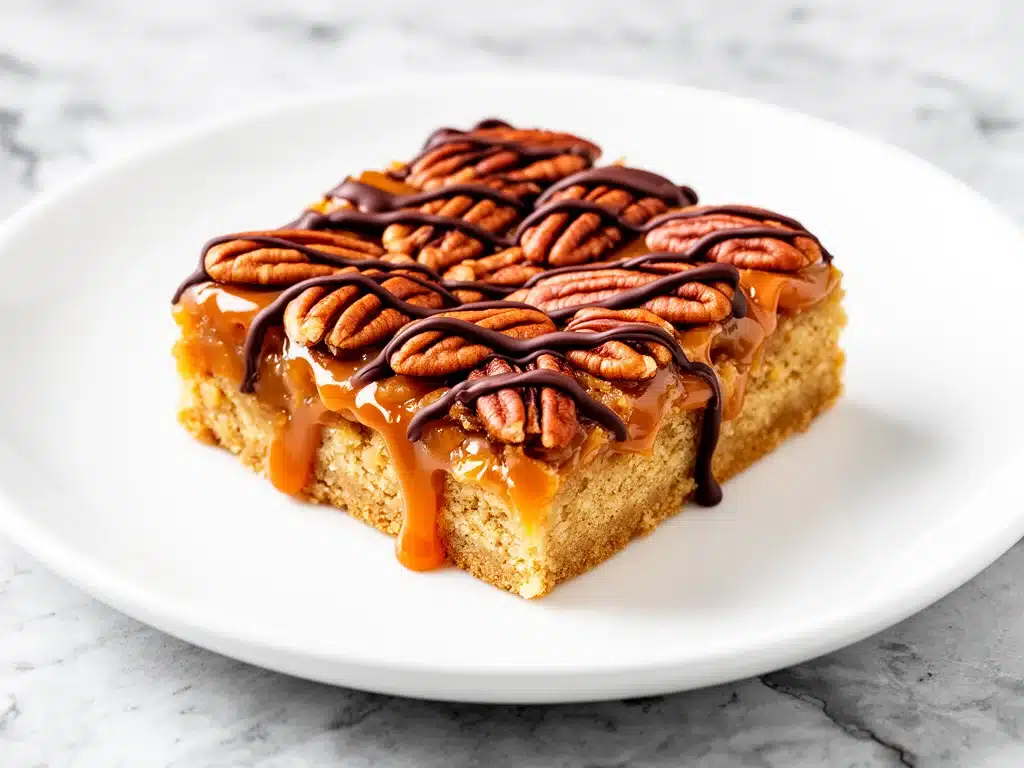
There is a specific kind of panic that sets in when you realize the holiday party is in three days and your dessert table looks embarrassingly sparse. Last year, I was standing in my kitchen at 11 PM, staring at a bag of store-bought cookies and a deep sense of regret. My friends were coming over. I wanted to impress. I wanted something that tasted like I’d spent hours in the oven, not something that tasted like I’d spent ten minutes at the grocery store.
That night, I threw together a batch of what I called “emergency turtle bars.” I didn’t have a fancy recipe. I just had a box of brownie mix, a jar of caramel, a bag of pecans, and some chocolate chips. I threw them in the oven, half-expecting disaster. Instead, I got this: gooey, chewy, rich, and absolutely addictive squares that vanished in under twenty minutes. My husband actually asked me if I bought them from that fancy bakery downtown. (I didn’t tell him they were born out of sheer panic and pantry staples.)
Fast forward to today, and these Gooey Caramel Pecan Turtle Bars have become my non-negotiable go-to for every gathering. From office holiday parties to family dinners, they are the dessert that gets asked about for months. “What is that?” people ask. “Where did you get them?” I love that moment. It’s the pride of making something complex-tasting with five ingredients and zero fuss.
I’ve tested this recipe probably a dozen times, tweaking the caramel-to-chocolate ratio and figuring out the perfect bake time so they stay gooey but hold their shape. The result is a bar that is chewy, nutty, and sweet in all the right ways. It’s the kind of dessert that feels indulgent but is actually pretty forgiving if you’re a beginner baker. If you can make a brownie, you can make these. And honestly? They’re even better than brownies.
Why You’ll Love This Recipe
Let’s be real. Holiday desserts usually fall into two categories: complicated labor of love or sad store-bought platters. These turtle bars exist in the sweet spot between the two. They look impressive, they taste incredible, and they require almost no skill to make. Here’s why this 5-ingredient holiday party dessert has earned a permanent spot in my rotation.
It’s a Five-Ingredient Wonder — Seriously, just five. Brownie mix, caramel, pecans, chocolate chips, and butter. That’s it. No whipping cream, no tempering chocolate, no fancy gadgets. I keep these ingredients on hand specifically for nights when I need dessert to just work. If you can make a basic batch of cinnamon sugar tortilla chips, you can handle this.
Make-Ahead Friendly — This is the biggest win for holiday hosting. You can make these up to three days in advance. In fact, they taste even better the next day once the flavors have had time to meld and the bars have set completely. I usually make them on Sunday for a Friday party. No stress on the day of.
Guaranteed Crowd-Pleaser — I’ve served these to picky eaters, chocolate snobs, and people who claim they “don’t have a sweet tooth.” Everyone comes back for seconds. The combination of salty pecans, sweet caramel, and rich chocolate hits every craving center in the brain. It’s comfort food in square form.
Sturdy and Portable — Unlike tarts or custards, these bars don’t fall apart. You can cut them, wrap them, and carry them to a party without them turning into a mushy mess. They hold their shape beautifully, which makes serving a breeze.
Customizable — While the classic combo is unbeatable, you can tweak it. Swap dark chocolate for milk chocolate. Add sea salt on top. Throw in some white chocolate chips. It’s a blank canvas for your sweet tooth.
Ingredients You’ll Need
Here’s the best part: you probably have most of these ingredients already. This isn’t a recipe where you need to run to the store for three obscure items. It’s pantry-friendly, simple, and straightforward. Let’s break down what you need and why each piece matters.
Brownie Mix (1 box, 18-19 oz) — I use a standard box mix from the grocery store. Do not buy the “gourmet” or “from scratch” mix unless you want to spend an hour making your own base. The classic boxed mix (like Ghirardelli or Pillsbury) gives that perfect fudgy, chewy texture we want. It’s the foundation, so don’t skimp on quality here.
Caramel Sauce (1 cup, store-bought or homemade) — This is the star of the show. I recommend buying a jar of pre-made caramel sauce (like Smucker’s or Ghirardelli) because it’s thick and pourable. Homemade caramel can be tricky and often too runny, which makes the bars soggy. If you do make your own, make sure it’s cooled and thickened before spreading.
Pecan Pieces (1 cup, chopped) — Pecans are non-negotiable. They add that necessary crunch and earthy flavor that balances the sweetness. You can buy pre-chopped pecan pieces to save time, or chop them yourself. If you chop them, aim for small, bite-sized pieces. Avoid tiny pecan meal; you want texture.
Semi-Sweet Chocolate Chips (1 cup) — These melt into the top layer, creating that gooey chocolate crust. Semi-sweet is my preference because it cuts through the sweetness of the caramel. If you prefer sweeter bars, use milk chocolate chips. Dark chocolate chips work too, but they’ll be less sweet.
Butter (2 tablespoons, melted) — Just a little bit of melted butter to help the chocolate chips adhere to the top and give that extra richness. It’s optional if you’re out, but I always add it for that glossy finish.
Optional: Flaky Sea Salt — A light sprinkle of flaky sea salt (like Maldon) on top after baking. This elevates the flavor profile from “sweet” to “gourmet.” It’s the difference between a snack and a sophisticated dessert.
Equipment Needed
You don’t need fancy equipment for this. Here’s what I actually use in my kitchen:
9×9 Inch Baking Pan — This is the perfect size. It creates bars that are thick enough to be substantial but thin enough to bake evenly. If you don’t have a 9×9, a 9×13 pan works too, but the bars will be thinner and might bake faster. Adjust accordingly.
Parchment Paper — Essential. Line your pan with parchment paper, leaving an overhang on the sides. This makes lifting the bars out of the pan so much easier. No more struggling to get them out with a spatula. It also means less cleanup, which I always appreciate.
Mixing Bowl — Just a medium-sized bowl for mixing the brownie batter. Any bowl will do.
Spatula — A silicone spatula is great for spreading the batter and caramel evenly. You’ll want something that can get into the corners.
Measuring Cups and Spoons — Standard stuff. If you’re confident, you can eyeball it, but measuring ensures consistent results.
Oven — Obviously. Preheat it to 350°F (175°C). Make sure your oven is calibrated correctly; oven temperatures can vary, and you don’t want undercooked centers.
How to Make It: Step-by-Step
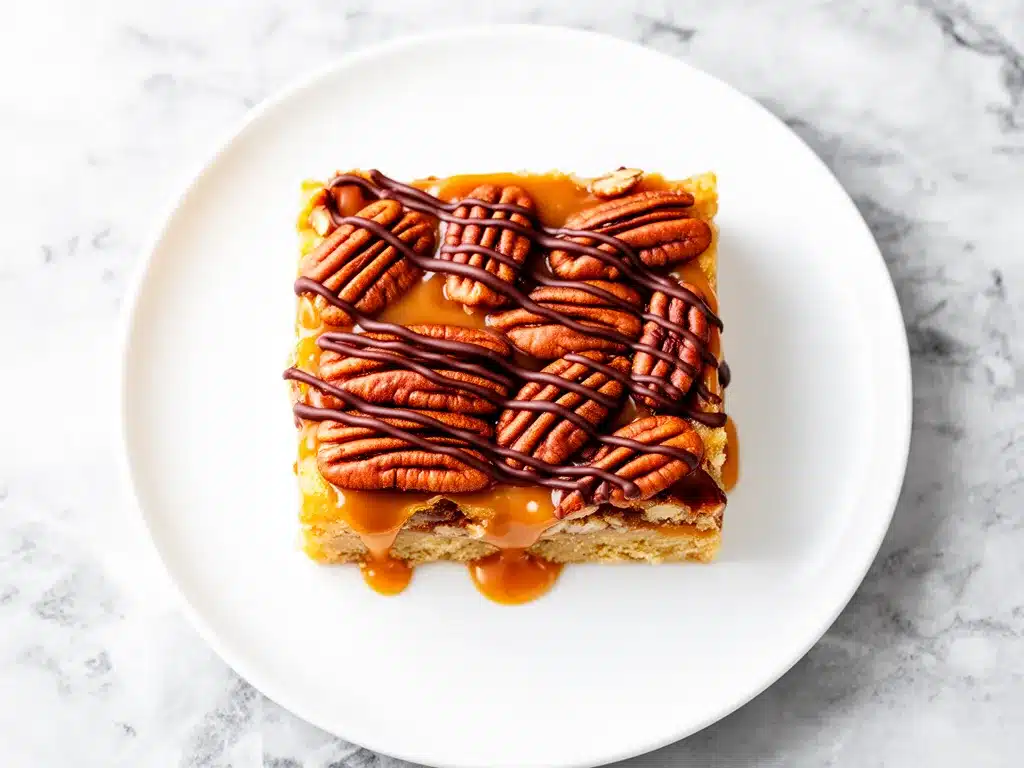
Alright, let’s make these! I’m walking you through exactly how I do it, including the little tricks I’ve picked up to ensure perfect results every time. This process is fast—about 10 minutes of prep and 25 minutes in the oven.
Step 1: Prep Your Pan and Oven (2 minutes)
First things first: preheat your oven to 350°F (175°C). While it’s heating, line your 9×9 inch baking pan with parchment paper. Leave a little overhang on the long sides so you can lift the bars out later. Lightly grease the parchment with butter or cooking spray to prevent sticking. It’s a small step, but it saves you from frustration later.
Step 2: Make the Brownie Base (5 minutes)
In a medium mixing bowl, prepare the brownie mix according to the package directions. Usually, this means adding eggs, oil, and water. Mix until just combined—don’t overmix, or the bars will be tough. Pour the batter into your prepared pan. Use a spatula to spread it out evenly. You want a smooth, flat layer. This is your foundation, so take a second to make sure it’s even.
Step 3: Add the Caramel Layer (2 minutes)
Here’s where the magic happens. Take your jar of caramel sauce and microwave it for 15-20 seconds to thin it out slightly. This makes it easier to spread. Pour the caramel over the brownie batter. Use a knife or spatula to gently spread it into an even layer. Be careful not to mix it into the batter—just spread it on top. If it’s too thick, add another 10 seconds in the microwave.
Step 4: Sprinkle the Pecans (1 minute)
Evenly distribute the chopped pecans over the caramel layer. Press them down gently so they stick to the caramel. This ensures they don’t float to the top or sink to the bottom. You want them suspended in that gooey middle layer.
Step 5: Add the Chocolate Top (2 minutes)
Scatter the chocolate chips evenly over the pecans. If you’re using melted butter, drizzle it over the chocolate chips now. This helps them melt into a cohesive layer. Don’t worry if the chips don’t cover the pecans completely; they’ll melt and spread as they bake.
Step 6: Bake (20-25 minutes)
Place the pan in the preheated oven. Bake for 20-25 minutes. Here’s the key: you want the edges to be set and the center to still look slightly underbaked. If you bake it until the center is firm, the bars will be dry. They should jiggle slightly when you shake the pan. This ensures they stay gooey and chewy.
Step 7: Cool and Cut (30+ minutes)
Remove the pan from the oven and let it cool completely on a wire rack. This is the hardest part—waiting. But if you cut them while hot, they’ll fall apart. Once completely cool, use the parchment paper overhang to lift the entire slab out of the pan. Place it on a cutting board and slice into squares. I usually cut them into 12-16 bars, depending on how big you want them.
Expert Tips & Tricks
Here’s everything I’ve learned from making these dozens of times. These tips will save you from my mistakes and ensure your bars are perfect.
Don’t Overbake — This is the #1 mistake people make. The bars continue to cook as they cool. If you pull them out when the center looks set, they’ll be overdone. Pull them out when the center still looks soft and gooey. They will firm up as they cool.
Use Thick Caramel — If your caramel is too runny, it will seep into the brownie layer and make it soggy. If you’re making your own caramel, cook it until it reaches the soft-ball stage (235-240°F). Or, just buy a thick, store-bought caramel sauce. It’s worth it.
Chop Pecans Uniformly — Try to chop your pecans into similar sizes. This ensures every bite has a good mix of nuts. If you have huge chunks, you might get a bite with just nuts and no chocolate. Aim for small, bite-sized pieces.
Let Them Cool Completely — I know it’s tempting to dig in right away, but patience pays off. The bars need time to set. If you cut them warm, they’ll be messy and difficult to handle. Let them cool for at least 30 minutes, preferably an hour.
Add Sea Salt — A sprinkle of flaky sea salt on top before serving adds a sophisticated touch. The salt contrasts with the sweet caramel and chocolate, making the flavors pop. It’s a small detail that makes a big difference.
Store Properly — Store the bars in an airtight container at room temperature for up to 5 days. If it’s hot outside, refrigerate them, but let them come to room temperature before serving for the best texture.
Variations & Substitutions
Once you’ve nailed the basic version, here’s how you can mix it up. I’ve tried all of these, and they all work beautifully.
White Chocolate Turtle Bars — Swap semi-sweet chocolate chips for white chocolate chips. This makes the bars sweeter and creamier. Great for kids or those who prefer less intense chocolate flavor.
Dark Chocolate Turtle Bars — Use dark chocolate chips (70% cocoa or higher) for a richer, less sweet version. This pairs well with the salty pecans and adds a sophisticated twist.
Peanut Butter Cup Twist — Drizzle peanut butter over the caramel layer before adding the pecans. Then use peanut butter chips instead of chocolate chips. It’s like a Reese’s cup in bar form.
Coconut Version — Swap pecans for toasted coconut flakes. Use white chocolate chips for a tropical twist. It’s a different flavor profile but still delicious.
Gluten-Free Option — Use a gluten-free brownie mix. Everything else is naturally gluten-free (check your caramel and chocolate chips to be sure). I’ve used Gluten-Free 1-to-1 baking brownie mix with great results.
Nut-Free Option — Skip the pecans entirely. You’ll lose the crunch, but the bars are still tasty. You could add pretzel pieces for a salty crunch instead.
Serving & Storage
These bars are versatile and easy to serve. Here’s how I handle them for parties and storage.
How to Serve: — I usually serve these straight from the cutting board at room temperature. They look rustic and inviting. For a more polished look, arrange them on a platter with a dusting of powdered sugar or a drizzle of extra caramel. They pair well with coffee, tea, or even a glass of cold milk.
Side Dishes: — These bars are rich, so they don’t need much else. But if you’re serving a full dessert course, they go well with a scoop of vanilla ice cream or a dollop of whipped cream. The contrast of cold cream and warm, gooey bars is heavenly.
Storage Instructions: — Refrigerator: Store in an airtight container for up to 5 days. Freezer: Yes, these freeze well! Wrap individual bars in plastic wrap and place them in a freezer-safe bag for up to 3 months. Thaw at room temperature before serving. Room Temperature: Store in an airtight container for up to 5 days. If it’s hot or humid, refrigerate to prevent melting.
Pro Tip: — If you’re taking them to a party, cut them into smaller squares. They’re rich, and people tend to eat more than they realize. Plus, smaller bars look more elegant on a platter.
Nutrition Information
I’m not a nutritionist, but here’s the breakdown if you’re tracking. Keep in mind that these are rich, indulgent bars, so portions matter.
Per Serving (based on 12 bars):
- Calories: 280
- Protein: 4g
- Carbs: 38g
- Fiber: 2g
- Sugar: 28g
- Fat: 14g
- Saturated Fat: 6g
- Cholesterol: 25mg
- Sodium: 180mg
What’s Good: — The pecans add some healthy fats and protein. It’s a satisfying treat that doesn’t leave you feeling empty.
What to Know: — Higher in sugar and calories due to the caramel and chocolate. Enjoy in moderation. If you’re watching your sugar, consider using sugar-free caramel or dark chocolate.
My Take: — Look, this is dessert. It’s supposed to be delicious. It’s not a health food. But it’s homemade, so you know exactly what’s in it. When I make these, I enjoy one or two and savor every bite. That’s the goal.
Final Thoughts
So that’s my go-to Gooey Caramel Pecan Turtle Bars! I’ve probably talked your ear off at this point, but when you make a recipe this often, you have a lot to say about it. These bars have saved my holiday parties more times than I can count. They’re my answer to “what’s for dessert” when I’m tired, don’t want takeout, and still want something that tastes really good.
They’re easy, they’re delicious, and they’re guaranteed to impress. Make them yours! Try different chocolates, add sea salt, or tweak the nut ratio. The best recipes are the ones you adapt to your family’s tastes.
If you make these, drop a comment and let me know what you think! I love hearing how recipes turn out in your kitchen. And if something doesn’t work, tell me that too—I’m here to help troubleshoot. Happy baking!
Frequently Asked Questions
Can I make these ahead of time?
Absolutely. These bars actually taste better the next day after the flavors have melded. You can make them up to 3 days in advance. Just store them in an airtight container at room temperature. If you’re making them for a party, I recommend making them the day before to avoid last-minute stress.
Why are my bars too gooey or runny?
If your bars are too runny, it’s likely because you didn’t bake them long enough or your caramel was too thin. Make sure to bake for the full 20-25 minutes, or until the edges are set. If your caramel is runny, try heating it longer or using a thicker brand. Also, let the bars cool completely before cutting—they need time to set.
Can I use homemade caramel?
You can, but be careful. Homemade caramel can be tricky to get the consistency right. If you make your own, cook it until it reaches the soft-ball stage (235-240°F) and let it cool until it’s thick enough to spread. If it’s too thin, it will seep into the brownie layer. Store-bought caramel sauce is easier and more reliable for this recipe.
How do I store leftover turtle bars?
Store them in an airtight container at room temperature for up to 5 days. If it’s hot outside, refrigerate them. They also freeze well for up to 3 months. Wrap individual bars in plastic wrap and place them in a freezer-safe bag. Thaw at room temperature before serving.
Can I substitute pecans with other nuts?
Yes! Walnuts are a great substitute for pecans and offer a slightly different flavor. You can also use almonds or hazelnuts. If you’re allergic to nuts, you can skip them entirely or use pretzel pieces for a salty crunch.
Why did my chocolate top crack?
This usually happens if the oven temperature is too high or if you baked them for too long. The chocolate can dry out and crack. Make sure your oven is calibrated correctly and don’t overbake. The bars should still look slightly underbaked in the center when you pull them out.
Can I make these in a different pan size?
Yes, but the baking time will change. If you use a 9×13 pan, the bars will be thinner and will bake faster (check them at 15-18 minutes). If you use a smaller pan, they’ll be thicker and may need more time. Adjust accordingly, keeping an eye on the edges and center.
Pin This Recipe!
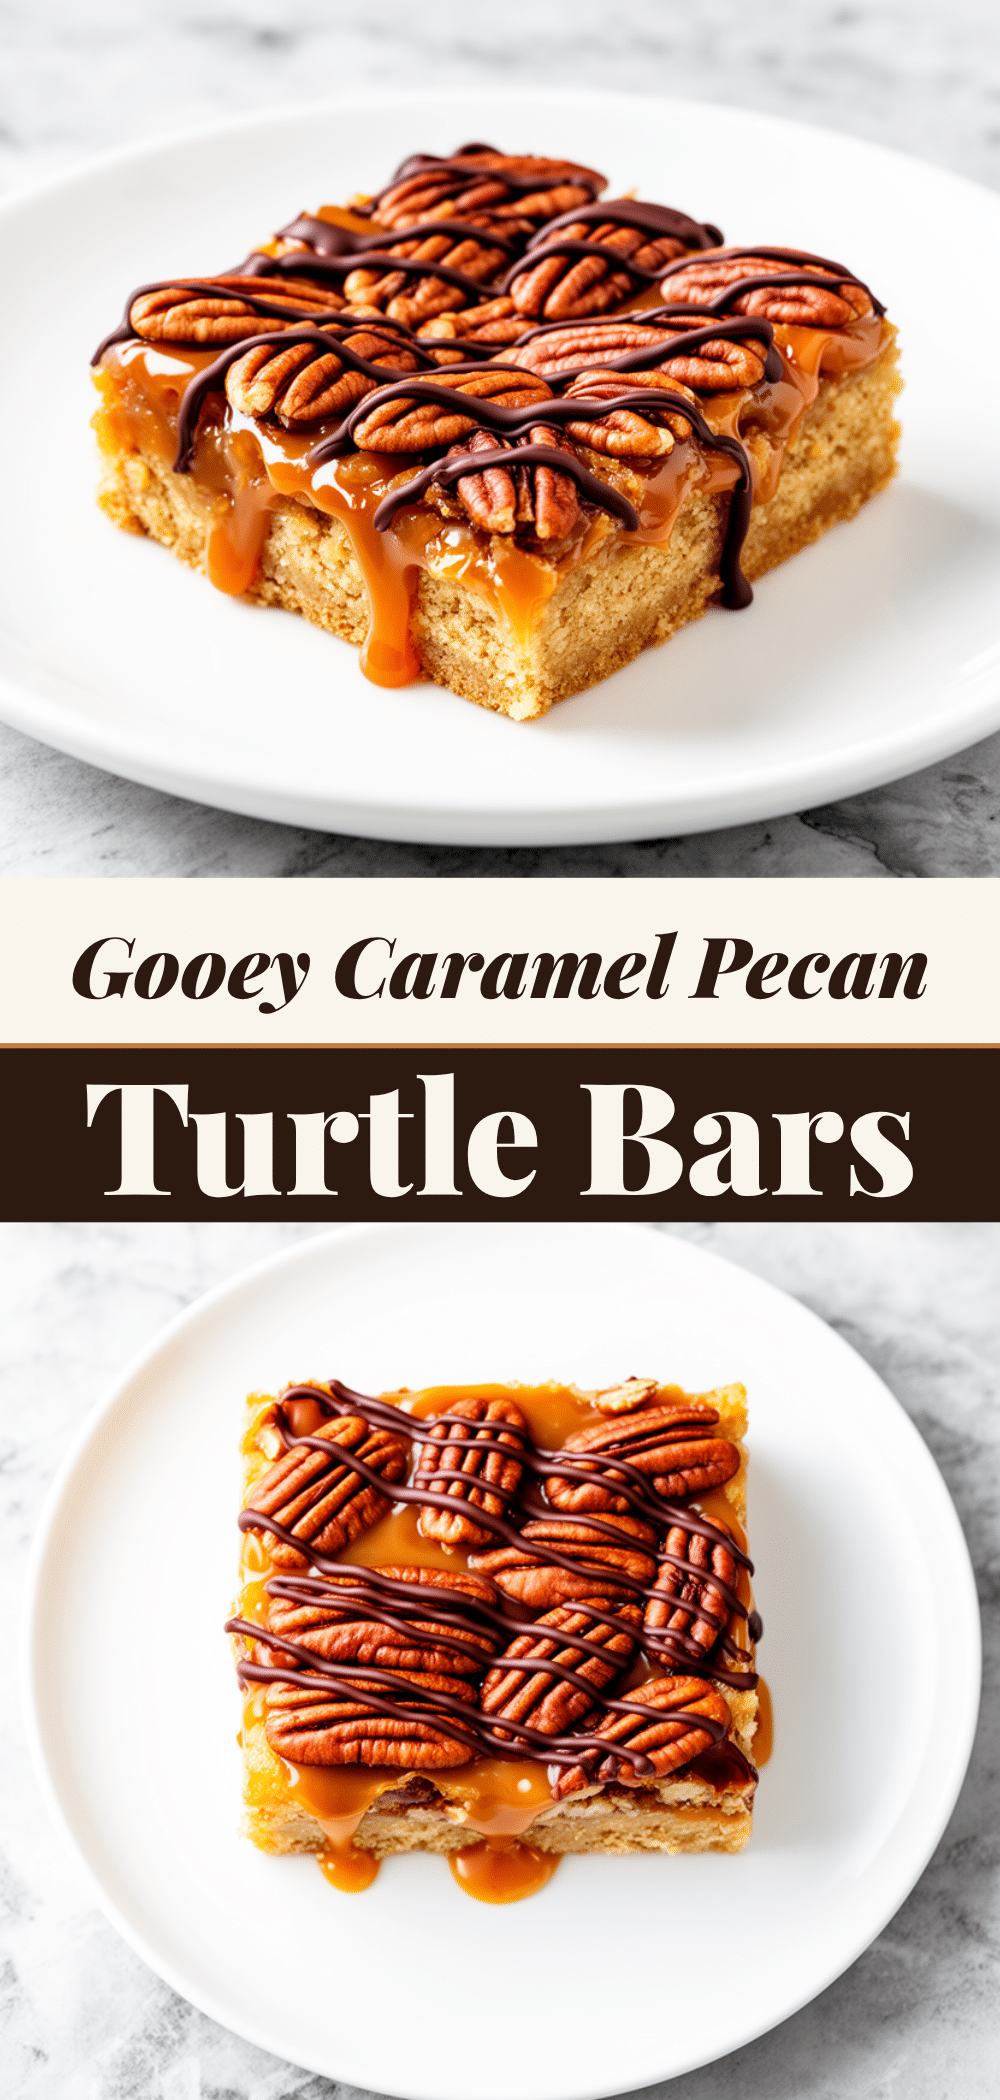
Gooey Caramel Pecan Turtle Bars
- Total Time: 35 minutes
- Yield: 12-16 servings 1x
Description
A simple 5-ingredient holiday dessert featuring a fudgy brownie base, gooey caramel layer, crunchy pecans, and a chocolate chip topping. These bars are easy to make, make-ahead friendly, and guaranteed to be a crowd-pleaser.
Ingredients
- 1 box (18-19 oz) brownie mix
- 1 cup caramel sauce (store-bought or homemade, thick consistency)
- 1 cup pecan pieces, chopped
- 1 cup semi-sweet chocolate chips
- 2 tablespoons butter, melted
- Flaky sea salt (optional, for topping)
Instructions
- Preheat oven to 350°F (175°C). Line a 9×9 inch baking pan with parchment paper, leaving an overhang on the sides, and lightly grease.
- Prepare the brownie mix according to package directions in a medium bowl. Pour into the prepared pan and spread evenly.
- Microwave the caramel sauce for 15-20 seconds to thin slightly, then spread evenly over the brownie batter without mixing it in.
- Sprinkle chopped pecans evenly over the caramel layer and press gently to adhere.
- Scatter chocolate chips over the pecans. Drizzle melted butter over the chips.
- Bake for 20-25 minutes until edges are set but the center still looks slightly underbaked and jiggles slightly.
- Cool completely in the pan on a wire rack (at least 30 minutes) to allow bars to set.
- Lift out using parchment overhang and cut into 12-16 squares.
Notes
Do not overbake; the bars continue to cook as they cool. Use thick caramel sauce to prevent sogginess. Let bars cool completely before cutting to ensure they hold their shape. Store in an airtight container at room temperature for up to 5 days or freeze for up to 3 months.
- Prep Time: 10 minutes
- Cook Time: 25 minutes
- Category: Dessert
- Cuisine: American
Nutrition
- Serving Size: 1 bar
- Calories: 280
- Sugar: 28
- Sodium: 180
- Fat: 14
- Saturated Fat: 6
- Carbohydrates: 38
- Fiber: 2
- Protein: 4
Keywords: turtle bars, holiday dessert, 5-ingredient dessert, caramel pecan bars, brownie bars, make-ahead dessert, easy party dessert


