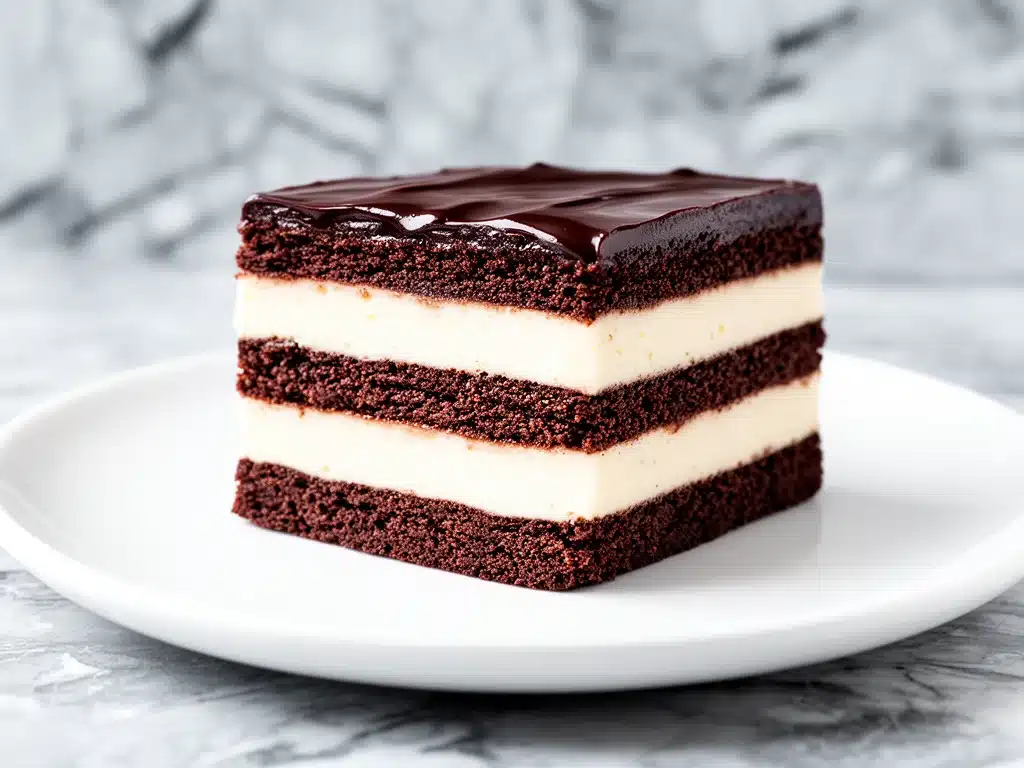
I still remember the exact moment I realized this no-bake chocolate lasagna was going to change my social life. It was three years ago, right before the big family reunion. You know the type—where every aunt and uncle brings a dish that takes three days to prepare, and you’re expected to show up with something equally impressive without breaking your back.
I had planned to make a complicated fruit tart. Then, the day before, I dropped the crust. It shattered. I stared at the pieces on the counter, ate a spoonful of cold cream cheese frosting out of the bowl, and realized I had zero baking time left. I needed something fast. Something that looked fancy but required zero oven skill. Something that wouldn’t crumble if I breathed on it wrong.
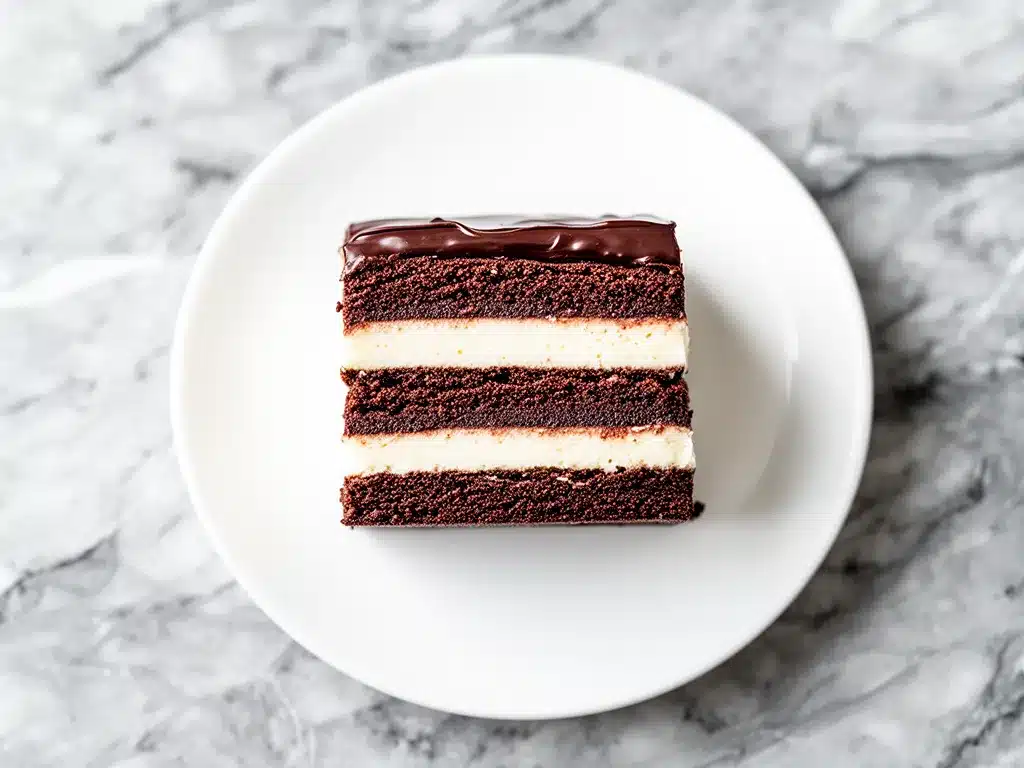
That’s when I threw together this no-bake chocolate lasagna with cream cheese layer. It’s not really lasagna, obviously. There’s no boiling water, no tomato sauce, no hours of simmering. It’s just layers of cookie crumbs, creamy cheese filling, and rich chocolate pudding, stacked up like a dessert tower. I popped it in the fridge while I panicked about the tart, and when I pulled it out the next morning, it was firm, beautiful, and utterly delicious.
My cousin Mark took one bite and asked, “Did you spend all day making this?” I just smiled and said yes. The truth is, it took me 20 minutes of active work. No baking. No stress. And honestly? It’s become my go-to whenever I need to impress people without actually trying. I’ve made this dessert for housewarming parties, last-minute date night treats, and even just because I was craving something sweet on a Tuesday.
Here’s the thing about this recipe: it’s deceptively simple. It looks like something from a high-end bakery, but it’s basically just assembling ingredients. If you can spread cream cheese, you can make this. I’ve tested it with different cookies, different pudding flavors, and even different chocolate chips, and it always works. It’s reliable. It’s rich. And it’s the perfect answer when you want a dessert that feels indulgent but doesn’t require a degree in pastry arts.
Why You’ll Love This No-Bake Chocolate Lasagna
There are a few reasons I keep coming back to this chocolate cream cheese dessert, but they all boil down to one thing: it just works. Every single time. Here’s why it deserves a permanent spot in your dessert rotation.
Zero Oven Required — Seriously, you don’t need to turn on your oven. This is huge in the summer when you’re trying to keep the house cool, or in the winter when you’re just tired and don’t want to heat up the kitchen. I’ve made this in January and July, and it’s equally good. No baking means no waiting for the oven to preheat, no monitoring baking times, and no burnt edges.
It Feeds a Crowd — This recipe makes a 9×13 dish, which is perfect for parties. I’ve served it at gatherings where 15 people showed up, and it was gone in ten minutes. It’s also great for meal prep. I’ll make it on Sunday, cut it into squares, and have dessert ready for the week. It’s way better than buying those individual plastic tubs from the grocery store.
Make-Ahead Friendly — This is the secret weapon. It needs to chill for at least 4 hours, ideally overnight. So you can make it days in advance. I love this because it takes the stress off the day of the event. I’ll make it Friday night, bring it to Saturday’s BBQ, and look like a hero. The flavors actually get better as it sits, so there’s no penalty for making it early.
Customizable — Once you master the basic layers, you can switch it up. Use different cookies. Add nuts. Swap the pudding flavor. It’s a flexible framework that lets you get creative without worrying about ruining the whole thing. I’ve made it with peanut butter chips, and it was amazing. I’ve made it with white chocolate, and that was good too. But the classic chocolate version? That’s the one I come back to.
It’s Rich and Satisfying — Don’t let the simplicity fool you. This dessert is indulgent. The cream cheese layer is tangy and smooth, the chocolate layer is dense and fudgy, and the cookie crust gives it a nice crunch. It’s not overly sweet, which I appreciate. You can eat a small square and feel satisfied, not sluggish. It’s the kind of dessert that makes people ask for the recipe immediately.
Ingredients You’ll Need
Here’s the best part: you probably have most of these ingredients already. This isn’t a recipe that requires a trip to three different specialty stores. It’s pantry-friendly, fridge-staple comfort food. I’m particular about a few things here, but overall, it’s very forgiving.
For the Crust
Chocolate Cookie Crumbs (3 cups / about 300g) — I use Oreo cookies (without the cream filling) or any chocolate wafer. You can crush them in a food processor or put them in a bag and smash them with a rolling pin. The finer the crumbs, the better the crust holds together. Don’t use chunks—it’ll be crumbly.
Butter (½ cup / 115g, melted) — Unsalted butter is fine, but I usually use salted because it adds a nice contrast to the sweet cookies. Make sure it’s melted but not hot. You just want it liquid enough to coat the crumbs.
Granulated Sugar (2 tablespoons) — Optional, but I add it because my cookies are already sweet, and I like a little extra crunch. If your cookies are very sweet, skip this.
For the Cream Cheese Layer
Cream Cheese (8 ounces / 225g, softened) — This is crucial. It needs to be room temperature. Cold cream cheese creates lumps, and you don’t want lumps in a no-bake dessert. I take it out of the fridge 30 minutes before I start. If I forget, I microwave it in 10-second bursts until it’s soft.
Powdered Sugar (½ cup / 60g) — Also called confectioners’ sugar. Don’t use granulated sugar here—it won’t dissolve in the cold cream cheese. Powdered sugar gives it that smooth, silky texture.
Vanilla Extract (1 teaspoon) — Pure vanilla makes a difference. I use the real stuff, not the imitation. It adds that classic cheesecake flavor that ties everything together.
Heavy Cream (1 cup / 240ml, cold) — This is what makes the layer fluffy. You’re going to whip it, so it needs to be cold. If it’s warm, it won’t whip up. I keep a carton in the fridge specifically for desserts like this.
For the Chocolate Layer
Instant Chocolate Pudding Mix (2 packages / 3.4 oz each) — I use Jell-O or similar brand. The “instant” type is key because you don’t cook it. Just mix it with milk. Don’t use the “cook-and-serve” type—it won’t work here.
Whole Milk (2 cups / 480ml) — Full-fat milk gives the best texture. Skim milk makes it too thin. You want a thick, pudding-like consistency.
Whipped Topping (8 ounces / 225g, thawed) — This is the Cool Whip stuff, or any brand of non-dairy whipped topping. It lightens up the pudding and makes it fluffy. I like the original flavor, but you can use vanilla if you prefer.
For the Topping
Chocolate Syrup (½ cup / 120ml) — I use Hershey’s syrup. It’s classic and sweet. You can drizzle it on top or mix some into the pudding layer if you want extra chocolatey goodness.
Chocolate Chips (½ cup / 85g) — Semi-sweet or milk chocolate chips. I sprinkle them on top for texture. They add a nice crunch against the soft layers.
Whipped Cream or Extra Topping — For serving. I usually dollop a little on each slice. It looks pretty and adds extra richness.
Equipment Needed
You don’t need fancy gadgets for this. Here’s what I actually use. If you don’t have these exact items, don’t worry—there are easy alternatives.
9×13 Inch Baking Dish — Glass or ceramic works best. I use a Pyrex dish because I can see the layers when I cut it. Metal works too, but glass is nicer for presentation. Make sure it’s deep enough so the dessert doesn’t spill over.
Food Processor — For crushing the cookies. If you don’t have one, put the cookies in a zip-top bag and crush them with a rolling pin or a heavy pan. It takes longer, but it works. Just be thorough.
Electric Mixer — Handheld or stand mixer. You need this to whip the cream cheese and heavy cream. Doing it by hand is possible, but it’s tiring and you might not get it smooth enough. I use my handheld mixer—it’s small and easy to store.
Large Mixing Bowls — You’ll need two or three. One for the cream cheese mixture, one for the pudding mixture, and one for the crust. I use stainless steel bowls—they’re durable and easy to clean.
Spatula — A rubber spatula is essential for folding the whipped topping into the pudding and spreading the layers evenly. I have a set of different sizes, but a medium one works for everything.
Measuring Cups and Spoons — Standard stuff. I prefer metal measuring spoons because they’re accurate and durable. Cup measurements are less critical here since it’s a no-bake dessert, but accuracy helps with texture.
Knife — For cutting the lasagna. A sharp chef’s knife works best. I also use a serrated knife for cleaner cuts, especially if the dessert is very cold.
How to Make It: Step-by-Step
Alright, let’s make this! I’m walking you through exactly how I do it, including the little tricks I’ve picked up over the years. It’s simple, but there are a few key steps to get it right.
Step 1: Prepare the Crust (5 minutes)
Crush your cookies into fine crumbs. If you’re using a food processor, pulse until they look like sand. If you’re using a bag, keep crushing until there are no big chunks. Transfer the crumbs to a bowl and mix in the melted butter and sugar. Press this mixture firmly into the bottom of your 9×13 dish. Use the bottom of a glass to pack it down evenly. This creates a solid base. If it’s loose, the lasagna will fall apart.
Step 2: Make the Cream Cheese Layer (10 minutes)
In a large bowl, beat the softened cream cheese and powdered sugar until smooth. Scrape down the sides of the bowl to make sure there are no lumps. Add the vanilla extract and mix again. In a separate bowl, whip the heavy cream until stiff peaks form. Gently fold the whipped cream into the cream cheese mixture. Be careful not to overmix—you want to keep the air in the cream. Spread this layer evenly over the crust. It should be smooth and creamy.
Step 3: Prepare the Chocolate Pudding Layer (10 minutes)
In a large bowl, whisk together the instant pudding mix and milk. Let it sit for 2 minutes to thicken, just like the package says. Once it’s thick, fold in the thawed whipped topping. Mix gently until combined. The mixture should be light and fluffy. Pour this over the cream cheese layer. Spread it evenly with a spatula. This is the chocolate layer, so make sure it covers the entire surface.
Step 4: Add the Toppings (5 minutes)
Drizzle the chocolate syrup over the top. You can do a zigzag pattern or just pour it on and swirl it with a knife. Sprinkle the chocolate chips evenly over the surface. If you want, you can add a layer of whipped cream on top for extra flair. I usually keep it simple, but it’s nice to have options.
Step 5: Chill and Set (4+ hours)
Cover the dish with plastic wrap and refrigerate for at least 4 hours, but overnight is best. This allows the layers to set and the flavors to meld. Don’t skip this step! If you cut it too soon, it’ll be messy. The longer it chills, the firmer it gets. I usually make it the night before I need it.
Step 6: Serve
When you’re ready to serve, remove the plastic wrap. Cut into squares with a sharp knife. Wipe the knife between cuts for clean edges. Serve chilled. It’s best eaten within 2-3 days, but it lasts up to 5 days in the fridge.
Expert Tips & Tricks
Here’s everything I’ve learned from making this dozens of times. These tips will save you from my mistakes.
Softened Cream Cheese is Non-Negotiable
If your cream cheese is cold, you’ll get lumps. I’ve tried it, and it’s not pretty. Take it out early. If you’re in a rush, microwave it in 10-second intervals, checking between each one. It should be soft enough to press with your finger.
Don’t Overmix the Whipped Cream
When folding the whipped cream into the cream cheese, be gentle. Overmixing deflates the cream, and your layer will be dense instead of fluffy. Use a spatula and fold slowly. It’s like folding a blanket, not stirring a soup.
Use Cold Milk for the Pudding
Cold milk helps the pudding thicken faster and gives it a better texture. If you use warm milk, it might get too runny. I always keep a carton of milk in the fridge specifically for desserts.
Thaw the Whipped Topping Properly
If you’re using Cool Whip, make sure it’s fully thawed. If it’s still icy, it will create ice crystals in the lasagna. I usually move it from the freezer to the fridge the night before.
Chill Your Knife
For clean cuts, dip your knife in hot water and wipe it dry before each cut. This prevents the layers from sticking to the knife. It’s a small trick, but it makes a big difference in presentation.
Customize the Layers
You can switch up the cookies. Try graham crackers for a s’mores vibe. Or use vanilla wafers for a different flavor. The cream cheese layer is versatile, so feel free to experiment.
Variations & Substitutions
Once you’ve nailed the basic version, here’s how you can mix it up. I’ve tried all of these.
Peanut Butter Version
Swap the chocolate chips for peanut butter chips. Add a drizzle of peanut butter on top. It’s salty and sweet, and it’s amazing. My husband loves this version.
Red Velvet Version
Use red velvet cookie crumbs and red velvet pudding mix. It’s festive and looks pretty. Great for Valentine’s Day or Christmas.
Coconut Version
Use vanilla pudding and add shredded coconut to the topping. Drizzle with sweetened condensed milk. It’s tropical and refreshing.
Gluten-Free Option
Use gluten-free cookie crumbs and check your pudding mix for gluten-free certification. Most pudding mixes are naturally gluten-free, but always double-check.
Dairy-Free Option
Use dairy-free cream cheese and coconut milk whipped cream. It’s different but still tasty. I’ve made this for my lactose-intolerant friend, and she loved it.
Serving & Storage
How to Serve
I usually serve this straight from the fridge. It’s best cold. I cut it into 12-16 squares, depending on how hungry everyone is. It’s rich, so smaller portions are usually enough. I serve it with a dollop of whipped cream and a few chocolate chips on top.
Side Dishes
This is a dessert, so it doesn’t need sides. But if you’re serving it after a meal, it pairs well with coffee or tea. I also like it with a glass of cold milk or a cup of hot chocolate.
Storage
Store in the fridge in an airtight container or covered with plastic wrap. It lasts up to 5 days. I usually eat it within 3 days because it’s too good to last longer.
Freezing
You can freeze this lasagna, but the texture changes. The cream cheese layer might become grainy. If you freeze it, thaw it in the fridge overnight. I don’t recommend freezing it if you want the best texture.
Nutrition Information
I’m not a nutritionist, but here’s the breakdown if you’re tracking. This is a rich dessert, so portions matter.
Per Serving (based on 12 servings):
- Calories: 380
- Protein: 6g
- Carbs: 42g
- Fiber: 1g
- Sugar: 28g
- Fat: 22g
- Saturated Fat: 12g
- Cholesterol: 45mg
- Sodium: 250mg
What’s Good:
It’s a source of calcium from the cream cheese and milk. It’s also relatively quick to make, so it’s better than buying processed desserts.
What to Know:
It’s high in sugar and fat. It’s not a health food. But it’s a treat, and treats are meant to be enjoyed in moderation. If you want to make it lighter, use low-fat cream cheese and less whipped topping. But honestly? I don’t recommend it. The full-fat version is what makes it delicious.
Final Thoughts
So that’s my go-to no-bake chocolate lasagna with cream cheese layer! I’ve probably talked your ear off at this point, but when you make a recipe this often, you have a lot to say about it.
This has saved me more times than I can count. It’s my answer to “what’s for dessert?” when I’m tired, don’t want to bake, and still want something that tastes really good. My family is happy, my guests are impressed, and I’m happy because I’m not stressed about cooking.
Make it yours! Try different cookies, swap in your favorite chips, adjust the sweetness. The best recipes are the ones you adapt to your family’s tastes. If you make this, drop a comment and let me know what you think! I love hearing how recipes turn out in your kitchen. And if something doesn’t work, tell me that too—I’m here to help troubleshoot.
Happy cooking! And I hope your kitchen smells half as good as mine does right now.
Frequently Asked Questions
Can I use graham crackers instead of chocolate cookies?
Yes! You can use graham crackers for a different flavor profile. It’ll taste more like a s’mores lasagna. Just make sure to crush them finely so the crust holds together. You might want to add a little more sugar to the crust if the crackers aren’t sweet.
Why did my lasagna fall apart when I cut it?
This usually happens if the crust wasn’t packed down firmly enough, or if the lasagna wasn’t chilled long enough. Make sure you press the crust firmly into the dish, and chill it for at least 4 hours, preferably overnight. Also, use a sharp knife and wipe it between cuts.
Can I make this ahead for a party?
Absolutely. This is one of the best make-ahead desserts. You can make it 2-3 days in advance. Just keep it covered in the fridge. It actually tastes better after sitting for a day, as the flavors meld together.
Can I use homemade whipped cream instead of Cool Whip?
Yes, but it will change the texture slightly. Homemade whipped cream is lighter but less stable. If you use homemade whipped cream, make sure it’s stiffly whipped, and fold it gently into the pudding. It will still work, but it might be a bit softer.
How long does this lasagna last in the fridge?
It lasts up to 5 days in the fridge, covered. After that, it might start to dry out or lose its texture. I usually eat it within 3 days because it’s so good.
Can I freeze this dessert?
You can, but the texture might change. The cream cheese layer can become grainy when thawed. If you freeze it, thaw it in the fridge overnight. I don’t recommend freezing it if you want the best texture, but it’s an option if you need to save leftovers.
What kind of pudding mix should I use?
I recommend using instant chocolate pudding mix. The “cook-and-serve” type won’t work because it needs to be cooked and cooled, which defeats the purpose of a no-bake dessert. Instant pudding mixes are designed to thicken with cold milk, which is perfect for this recipe.
Pin This Recipe!
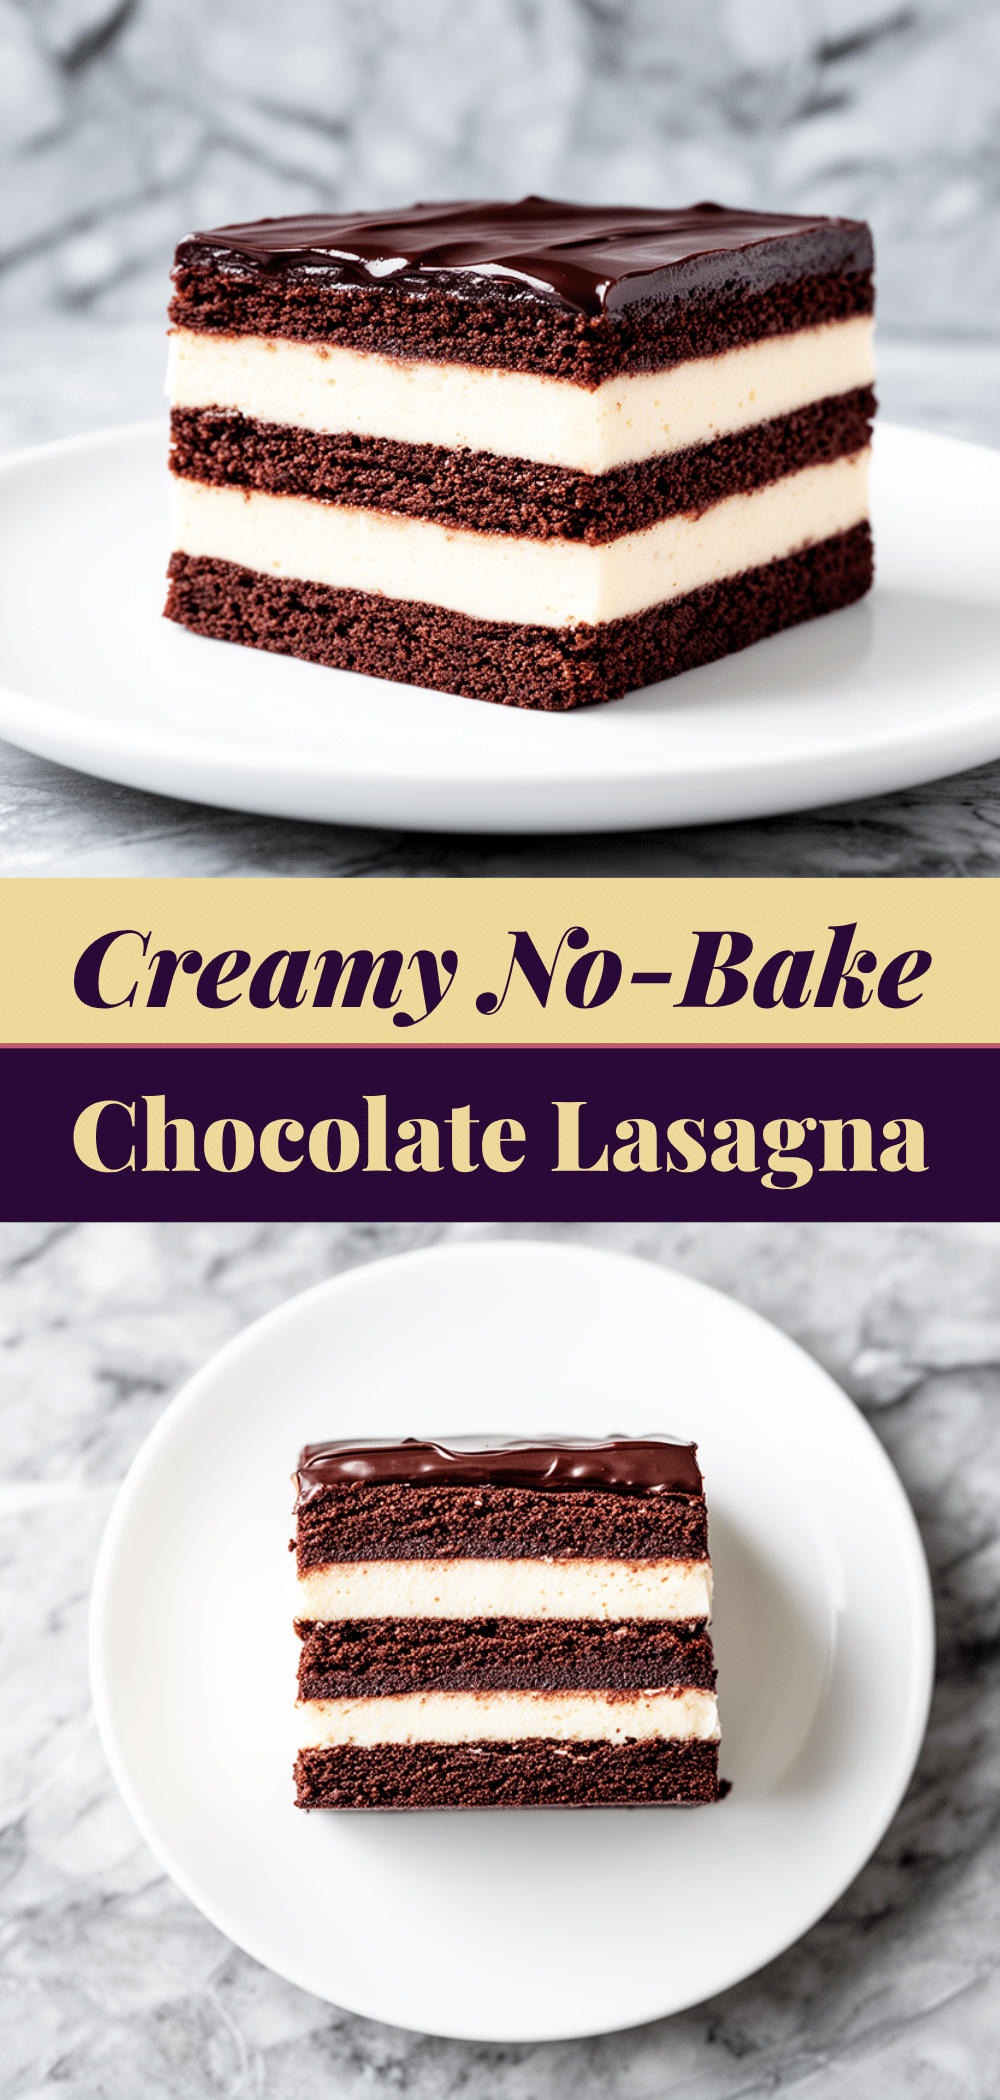
No-Bake Chocolate Lasagna: Easy 5-Ingredient Dessert
- Total Time: 4 hours 20 minutes
- Yield: 12 servings 1x
Description
A rich, no-bake dessert featuring layers of chocolate cookie crust, tangy cream cheese filling, and fluffy chocolate pudding, topped with chocolate syrup and chips. It requires zero oven time and is perfect for make-ahead entertaining.
Ingredients
- 3 cups chocolate cookie crumbs (about 300g, from Oreos or chocolate wafers)
- 1/2 cup unsalted butter, melted
- 2 tablespoons granulated sugar (optional)
- 8 ounces cream cheese, softened to room temperature
- 1/2 cup powdered sugar
- 1 teaspoon vanilla extract
- 1 cup heavy cream, cold
- 2 packages (3.4 oz each) instant chocolate pudding mix
- 2 cups whole milk, cold
- 8 ounces whipped topping (e.g., Cool Whip), thawed
- 1/2 cup chocolate syrup
- 1/2 cup semi-sweet or milk chocolate chips
- Whipped cream or extra topping for serving
Instructions
- Crush cookies into fine crumbs. Mix with melted butter and sugar, then press firmly into the bottom of a 9×13 inch dish to form the crust.
- Beat softened cream cheese and powdered sugar until smooth. Add vanilla and mix. In a separate bowl, whip heavy cream until stiff peaks form.
- Gently fold the whipped cream into the cream cheese mixture until combined. Spread evenly over the crust.
- Whisk instant pudding mix and cold milk in a large bowl. Let sit for 2 minutes to thicken, then fold in the thawed whipped topping.
- Pour the pudding mixture over the cream cheese layer and spread evenly.
- Drizzle chocolate syrup over the top and sprinkle with chocolate chips.
- Cover and refrigerate for at least 4 hours, preferably overnight, to set.
- Cut into squares with a sharp knife (wiping between cuts) and serve chilled.
Notes
Ensure cream cheese is fully softened to avoid lumps. Use cold milk for the pudding to help it thicken properly. For clean cuts, dip the knife in hot water and wipe dry between slices. The dessert is best eaten within 2-3 days but lasts up to 5 days in the fridge. Freezing is not recommended as it may alter the texture of the cream cheese layer.
- Prep Time: 20 minutes
- Cook Time: 0 minutes
- Category: Dessert
- Cuisine: American
Nutrition
- Serving Size: 1 square
- Calories: 380
- Sugar: 28
- Sodium: 250
- Fat: 22
- Saturated Fat: 12
- Carbohydrates: 42
- Fiber: 1
- Protein: 6
Keywords: no-bake dessert, chocolate lasagna, cream cheese dessert, easy dessert, make-ahead dessert, party dessert, 5-ingredient dessert


