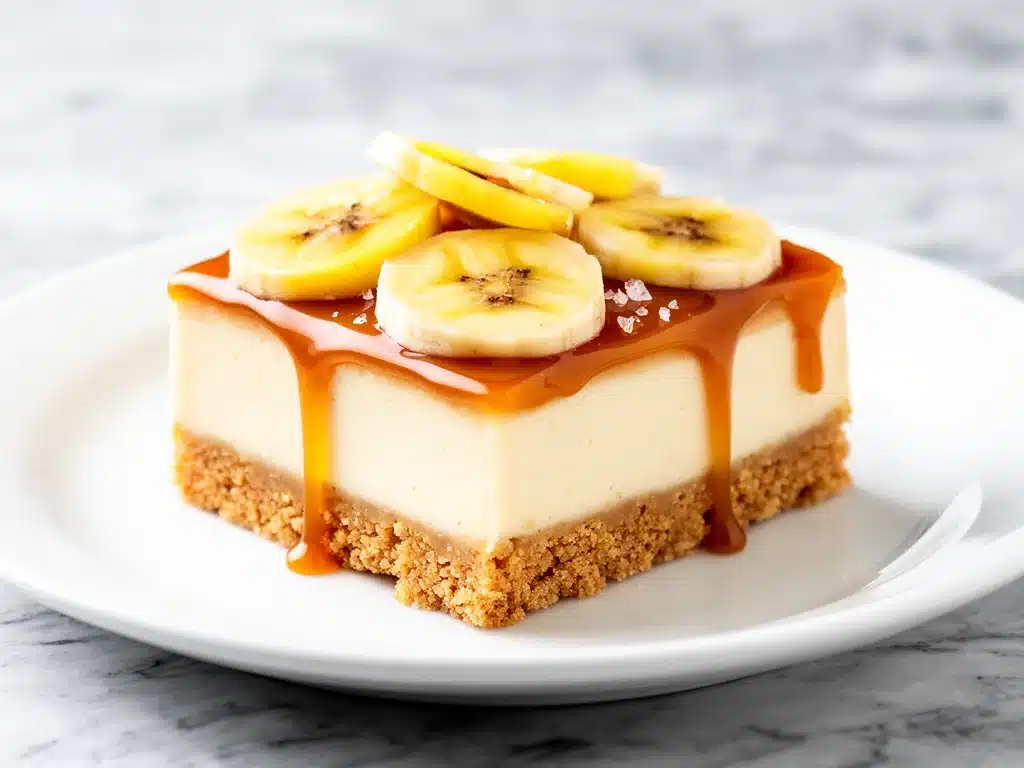
I still remember the exact moment I decided to stop buying store-bought desserts and start making my own. It was a rainy Tuesday in October, and I had just come home from work exhausted. The fridge was bare, except for a bunch of overripe bananas that were starting to turn into mush, a tub of cream cheese, and a jar of caramel sauce I’d bought on impulse three weeks prior and never used. I was staring at those sad, brown bananas and thinking about how much energy I didn’t have to bake something elaborate.
But then I had this weird craving. Not for pie, not for cake, but for something creamy, sweet, and comforting. Something that tasted like a banana split but without the hassle of scooping ice cream or waiting for it to melt. So, I threw everything into a food processor. I mixed the cream cheese, the bananas, the caramel, and some graham cracker crumbs. I pressed it into a pan, chilled it for an hour, and took a bite.
It was… perfect. Not just “good for a lazy night,” but genuinely restaurant-quality delicious. The texture was silky, the flavor was balanced between the tartness of the cream cheese and the deep sweetness of the caramel and banana. I made a second batch the next weekend for a friend’s visit, and they asked for the recipe before they even finished their coffee. That was six months ago. Since then, I’ve made these caramel banana cream cheesecake bars probably a dozen times. They’ve become my secret weapon for unexpected guests, my reward for a hard week, and honestly, the best way to use up bananas that are past their prime.
What I love most is how simple they are. There’s no baking involved, which means no waiting for the oven to heat up, no worrying about a water bath, and no dirty baking dishes. It’s just mixing, pressing, and chilling. But don’t let the simplicity fool you. The flavor profile is complex and rich. The bananas add natural sweetness and moisture, the cream cheese provides that classic tangy cheesecake bite, and the caramel ties it all together with this buttery, salty-sweet depth. It’s the kind of dessert that feels indulgent but doesn’t leave you feeling heavy and sluggish afterward. If you’re looking for an easy treat that looks impressive but takes less time than ordering takeout, these bars are it. I’ve tested them with different types of caramel (store-bought vs. homemade) and different bananas (slightly green vs. completely black), and they always work. Here’s how to make them.
Why You’ll Love These Caramel Banana Cream Cheesecake Bars
There are about a million reasons I keep making these bars, but here are the big ones that convinced me to share this recipe with you.
No-Bake Convenience — Seriously, if you can mix ingredients in a bowl, you can make this. I’ve made these bars on nights when I was too tired to stand over a stove. No oven required means no heating up the kitchen in the middle of winter or summer. It’s pure chill vibes.
Uses Up Overripe Bananas — Do you have a bunch of bananas on your counter that are covered in brown spots? Throw them in these bars. They’re the perfect solution. The ripeness actually helps them blend into a smooth, creamy base without needing added sugar. It’s zero-waste cooking at its finest.
Rich, Restaurant-Quality Flavor — These taste like they came from a high-end bakery. The combination of tangy cream cheese, sweet banana, and salty caramel is addictive. I’ve served these to people who claim they don’t like “healthy” desserts, and they ask for seconds. The texture is incredibly smooth and dense, just like a real cheesecake.
Make-Ahead Friendly — These bars get better as they sit in the fridge. I usually make them the night before I plan to serve them. The flavors meld together, the bars set firmly, and they’re easy to slice. Perfect for meal prepping desserts or having something ready for last-minute guests.
Simple Ingredients — You probably have most of this already. Cream cheese, bananas, caramel sauce, and graham crackers. That’s it. No weird thickeners, no gelatin, no fancy extracts. Just good, simple ingredients that taste amazing together.
This is my go-to when I need a dessert that just works. No complicated techniques, no weird ingredients, just reliable, delicious food that makes everyone happy. And honestly, it’s way better than the make-ahead blueberry baked oatmeal cups I sometimes make for breakfast, because this is definitely a treat you save for special moments or just because you deserve it.
Ingredients You’ll Need
Here’s the best part: you probably have most of this already. This recipe relies on high-quality ingredients because there aren’t many of them, so each one needs to shine.
For the Crust:
Graham Cracker Crumbs (1 ½ cups / 150g) — I use classic honey graham crackers. If you can’t find crumbs, just crush a box of crackers in a food processor. Don’t use the chocolate-covered ones; they’re too sweet and make the crust muddy.
Unsalted Butter (¼ cup / 57g, melted) — This binds the crust. Use real butter, not margarine. It adds that rich, toasty flavor that makes the crust taste baked, even though it’s no-bake.
Pinch of Salt — Just a tiny pinch to balance the sweetness. If your butter is salted, skip this.
For the Filling:
Cream Cheese (16 oz / 450g, full-fat, softened) — This is the base. Use block cream cheese, not the spread in a tub. Let it sit on the counter for 30 minutes before mixing. Softened cream cheese blends smoothly; cold cream cheese leads to lumps.
Ripe Bananas (3 large / about 400g mashed) — The riper, the better. Black spots are ideal. They add natural sweetness and moisture. If your bananas aren’t ripe enough, microwave them for 30 seconds to soften them up.
Heavy Cream (1 cup / 240ml, cold) — This gives the bars their airy, light texture. Don’t skip it or substitute with milk; it won’t whip properly. You need the fat content to hold the structure.
Vanilla Extract (1 teaspoon) — Pure vanilla, not imitation. It enhances the banana flavor without overpowering it.
For the Topping:
Caramel Sauce (1 cup / 240ml) — I use store-bought salted caramel for convenience, but homemade is amazing if you have time. Look for a thick, pourable sauce. Avoid the thin, syrupy kind meant for drizzling on coffee.
Optional: Fresh Bananas (2, sliced) — For garnish. Adds a nice visual contrast and a bit of freshness.
Optional: Sea Salt Flakes — A sprinkle on top adds a gourmet touch and balances the sweetness.
Personal Tips:
I always buy Philadelphia cream cheese because it has a consistent texture and reliable flavor. For the caramel, I’ve tried Smucker’s and La Vache Qui Rit, and I prefer the Smucker’s for its thicker consistency. If you’re feeling fancy, you can make your own caramel, but it takes time. For a quick snack alternative, these are way more indulgent than ants on a log, but perfect for when you want something special.
Equipment Needed
You don’t need fancy equipment for this. Here’s what I actually use.
9×9 Inch Baking Pan — I use an 8×8 pan for thicker bars, but 9×9 gives a nice thin layer that’s easy to slice. Line it with parchment paper for easy removal.
Food Processor or Blender — For the crust and bananas. A food processor gives the crispest crust. If you don’t have one, use a zip-top bag and a rolling pin to crush the crackers.
Mixer — A hand mixer or stand mixer is best for the filling. You need to whip the cream cheese until it’s smooth and then whip the heavy cream to stiff peaks. Doing this by hand is possible but takes serious arm strength.
Spatula — A flexible silicone spatula is essential for folding the whipped cream into the cheese mixture without deflating it.
Measuring Cups and Spoons — Standard stuff. Accuracy matters less here than in baking, but it helps.
Refrigerator — Obviously. You need at least 4 hours, preferably overnight, for the bars to set.
Sharp Knife — For slicing. Dip it in hot water between cuts for clean slices.
Optional: Parchment Paper — Lining the pan makes cleanup a breeze and helps you lift the bars out in one piece.
How to Make It: Step-by-Step
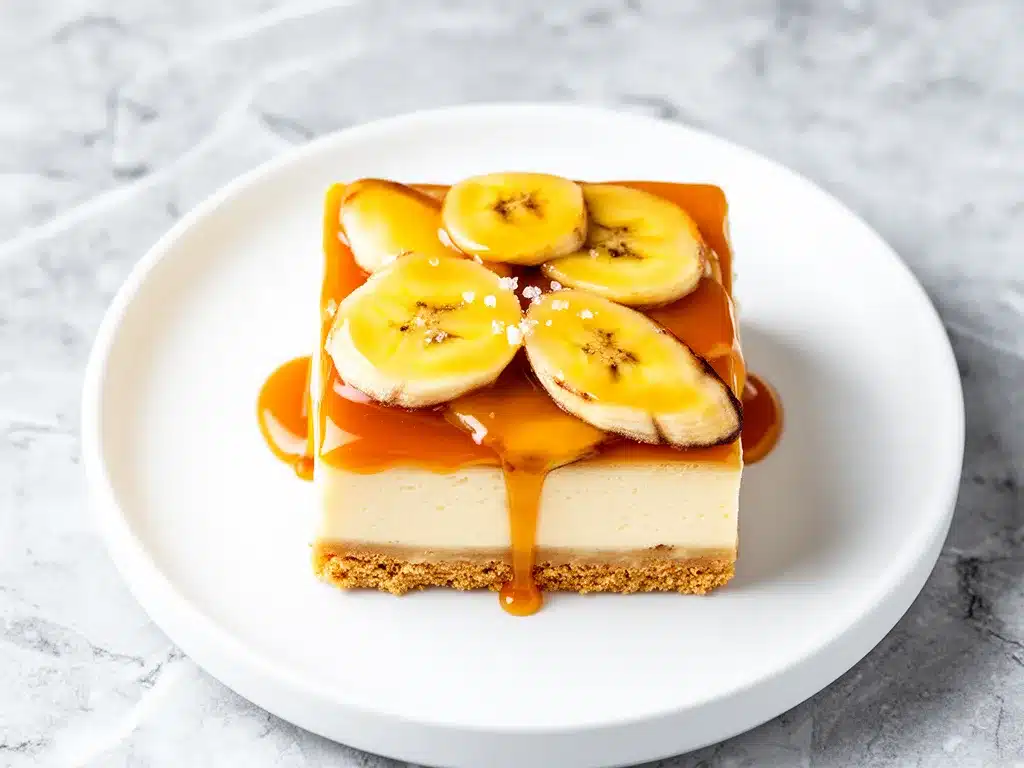
Alright, let’s make this! I’m walking you through exactly how I do it, including the little tricks I’ve picked up.
Step 1: Prep Your Pan
Line a 9×9 inch baking pan with parchment paper, leaving an overhang on two sides. This creates “handles” to lift the bars out later. Lightly spray the parchment with non-stick spray. This step is crucial for easy removal.
Step 2: Make the Crust
Place graham cracker crumbs in a food processor. Add the melted butter and a pinch of salt. Pulse until the mixture looks like wet sand. Press the mixture firmly into the bottom of the prepared pan. Use the bottom of a measuring cup to pack it down tightly. A loose crust will crumble when you slice it. Chill the crust in the fridge while you make the filling.
Step 3: Blend the Banana Cream Cheese Base
In a large mixing bowl, beat the softened cream cheese until smooth and creamy, about 2 minutes. Add the mashed bananas and vanilla extract. Beat on medium speed until fully combined and smooth. Scrape down the sides of the bowl to ensure no lumps remain. This mixture will be thick.
Step 4: Whip the Heavy Cream
In a separate cold bowl, whip the heavy cream until stiff peaks form. This means when you lift the beaters, the cream stands up straight. Don’t over-whip it into butter, just get it to that stiff stage. This step adds airiness and lightness to the bars.
Step 5: Fold It All Together
Gently fold the whipped cream into the banana cream cheese mixture. Use a spatula and fold from the bottom up, turning the bowl as you go. Do this gently to keep the air in the cream. You want a uniform, fluffy mixture. It should look like a thick mousse.
Step 6: Assemble and Drizzle
Pour the filling over the chilled crust and spread it evenly. Take your caramel sauce and drizzle it over the top. Use a knife or skewer to swirl the caramel into the surface for a marbled effect. Don’t mix it all in; you want visible ribbons of caramel.
Step 7: Chill
Refrigerate for at least 4 hours, but overnight is best. The bars need time to set and firm up. This is the hardest part—waiting! But it’s worth it.
Step 8: Slice and Serve
Lift the bars out of the pan using the parchment handles. Use a sharp knife to cut into squares. Wipe the knife clean between cuts for neat edges. Garnish with fresh banana slices and a sprinkle of sea salt if desired.
Total Time: About 20 minutes active, plus 4+ hours chilling.
Expert Tips & Tricks
Here’s everything I’ve learned from making these dozens of times. These tips will save you from my mistakes.
Softened Cream Cheese is Non-Negotiable
If your cream cheese is cold, you’ll get lumps. I’ve tried to rush this step by microwaving it, but it melts unevenly. Just plan ahead and let it sit on the counter for 30-60 minutes. It should be soft enough to press a finger into easily.
Cold Bowl for Whipping Cream
Chill your mixing bowl and beaters in the freezer for 15 minutes before whipping the cream. Cold equipment helps the cream whip faster and hold its shape better. If the cream is too warm, it won’t stiffen.
Don’t Overmix the Filling
Once you add the whipped cream, fold gently. Overmixing deflates the air, resulting in dense, heavy bars. You want a light, airy texture. Stop folding once the colors are just combined.
Use Ripe Bananas
Green bananas are starchy and bland. Yellow bananas with brown spots are sweet and creamy. If your bananas aren’t ripe enough, bake them in their skins at 300°F for 15-20 minutes until black, then peel. It speeds up the ripening process.
Caramel Swirl Technique
For a pretty marbled effect, drizzle the caramel in lines across the top, then drag a toothpick or knife through it in alternating directions. Don’t stir it all in; you want distinct swirls.
Sharp Knife for Slicing
Dip your knife in hot water and wipe it dry before each cut. This prevents the bars from sticking and tearing. Clean cuts make the bars look professional.
Variations & Substitutions
Once you’ve nailed the basic version, here’s how you can mix it up. I’ve tried all of these.
Graham Cracker Substitute
Use vanilla wafers or digestive biscuits for the crust. They add a slightly different flavor but work just as well. For a gluten-free version, use gluten-free graham crackers or almond flour.
Chocolate Lovers
Add a layer of chocolate chips or a drizzle of chocolate sauce on top. Or mix cocoa powder into the crust. I sometimes add a layer of chocolate pudding mix for extra richness.
Strawberry Banana
Swap half the bananas for mashed strawberries. The pink color is pretty, and the tartness balances the sweetness. Great for spring.
Coconut Version
Use coconut cream instead of heavy cream and add shredded coconut to the crust. Top with toasted coconut flakes. It’s tropical and delicious.
Lower Sugar
Use unsweetened almond milk cream cheese and sugar-free caramel sauce. It’s not as sweet, but still creamy. I’ve made this for friends watching their sugar intake.
Dairy-Free
Use vegan cream cheese and coconut cream. The texture is slightly different but still tasty. I’ve used Kite Hill cream cheese and it works well.
Serving & Storage
How to Serve:
I usually serve these bars chilled, straight from the fridge. They’re best with a cup of coffee or tea. But here are other ways I’ve enjoyed them:
Side Dishes:
– A dollop of whipped cream
– Fresh berries (strawberries or raspberries)
– A drizzle of chocolate sauce
Wine Pairing:
Not a wine expert, but my wine-snob friend says a sweet Moscato or a light Riesling works great with this. The acidity cuts through the richness.
Storage Instructions:
Refrigerator:
Store in an airtight container for up to 5 days. The bars will firm up further in the fridge. If they get too hard, let them sit at room temperature for 10 minutes before eating.
Freezing:
Yes, these freeze well! Wrap individual bars in plastic wrap and place them in a freezer-safe bag. They’ll last for up to 2 months. Thaw in the fridge overnight. The texture might be slightly softer after thawing, but still delicious.
Pro tip:
If the caramel hardens in the fridge, let the bars sit out for 15 minutes before serving. It softens the caramel and makes it gooey again.
Nutrition Information
I’m not a nutritionist, but here’s the breakdown if you’re tracking.
Per Serving (based on 16 bars):
– Calories: 280
– Protein: 4g
– Carbs: 32g
– Fiber: 1g
– Sugar: 22g
– Fat: 16g
– Saturated Fat: 10g
– Cholesterol: 45mg
– Sodium: 180mg
What’s Good:
– Bananas add potassium and fiber
– Cream cheese provides calcium
– No refined sugar in the base (natural from bananas)
What to Know:
– Higher in calories from cream cheese and caramel
– Contains dairy and gluten
– Moderate sugar content (from caramel and bananas)
My Take:
Look, this is dessert. It’s sweet, creamy, and indulgent. It’s not a diet recipe. But it’s way better than store-bought bars, and you know exactly what’s in it. When I want to make it lighter, I use less caramel and more fresh fruit. But usually? I just eat a small square and enjoy it.
Final Thoughts
So that’s my go-to caramel banana cream cheesecake bars! I’ve probably talked your ear off at this point, but when you make a recipe this often, you have a lot to say about it.
This has saved weeknight desserts more times than I can count. It’s my answer to “what’s for dessert” when I’m tired, don’t want to bake, and still want something that tastes really good. My kids are happy, my husband’s happy, and I’m happy because I’m not stressed about cooking.
Make it yours! Try different add-ins, swap in your favorite fruits, adjust the caramel amount. The best recipes are the ones you adapt to your family’s tastes. And if you’re looking for other easy treats, check out these cinnamon sugar tortilla chips for a quick snack, or these sparkling watermelon cucumber agua fresca to pair with your dessert.
If you make this, drop a comment and let me know what you think! I love hearing how recipes turn out in your kitchen. And if something doesn’t work, tell me that too—I’m here to help troubleshoot.
Happy cooking! And I hope your kitchen smells half as good as mine does right now.
Frequently Asked Questions
Q: Can I use frozen bananas?
A: Yes! Frozen bananas work great. Just thaw them completely and drain any excess liquid before mashing. They tend to be sweeter and creamier when thawed, which is perfect for this recipe.
Q: Why did my bars fall apart when I sliced them?
A: This usually means they didn’t chill long enough. The bars need at least 4 hours to set properly. If you’re in a rush, put them in the freezer for 30 minutes, but the fridge is better for even setting. Also, make sure you packed the crust down tightly.
Q: Can I make this ahead for a party?
A: Absolutely! These bars are perfect for make-ahead desserts. You can make them 2-3 days in advance. Just keep them covered in the fridge. They actually taste better after a day because the flavors meld together.
Q: Can I use whipped cream cheese instead of block cream cheese?
A: No. Whipped cream cheese has air incorporated into it, which will make the filling too light and unstable. It won’t set properly. Always use block cream cheese that you soften yourself.
Q: How do I store leftovers?
A: Store in an airtight container in the fridge for up to 5 days. If you notice the caramel getting sticky, let the bars sit at room temperature for 10 minutes before eating.
Q: Can I double this recipe?
A: Yes, just double all ingredients and use a 9×13 inch pan. The chilling time will be the same. Just make sure your pan is large enough to hold the filling in a single layer.
Q: Can I use honey instead of caramel?
A: Honey is sweeter and thinner. It won’t give you the same rich, buttery flavor. If you must, use a thick honey and add a pinch of salt, but caramel is really the star here.
Pin This Recipe!
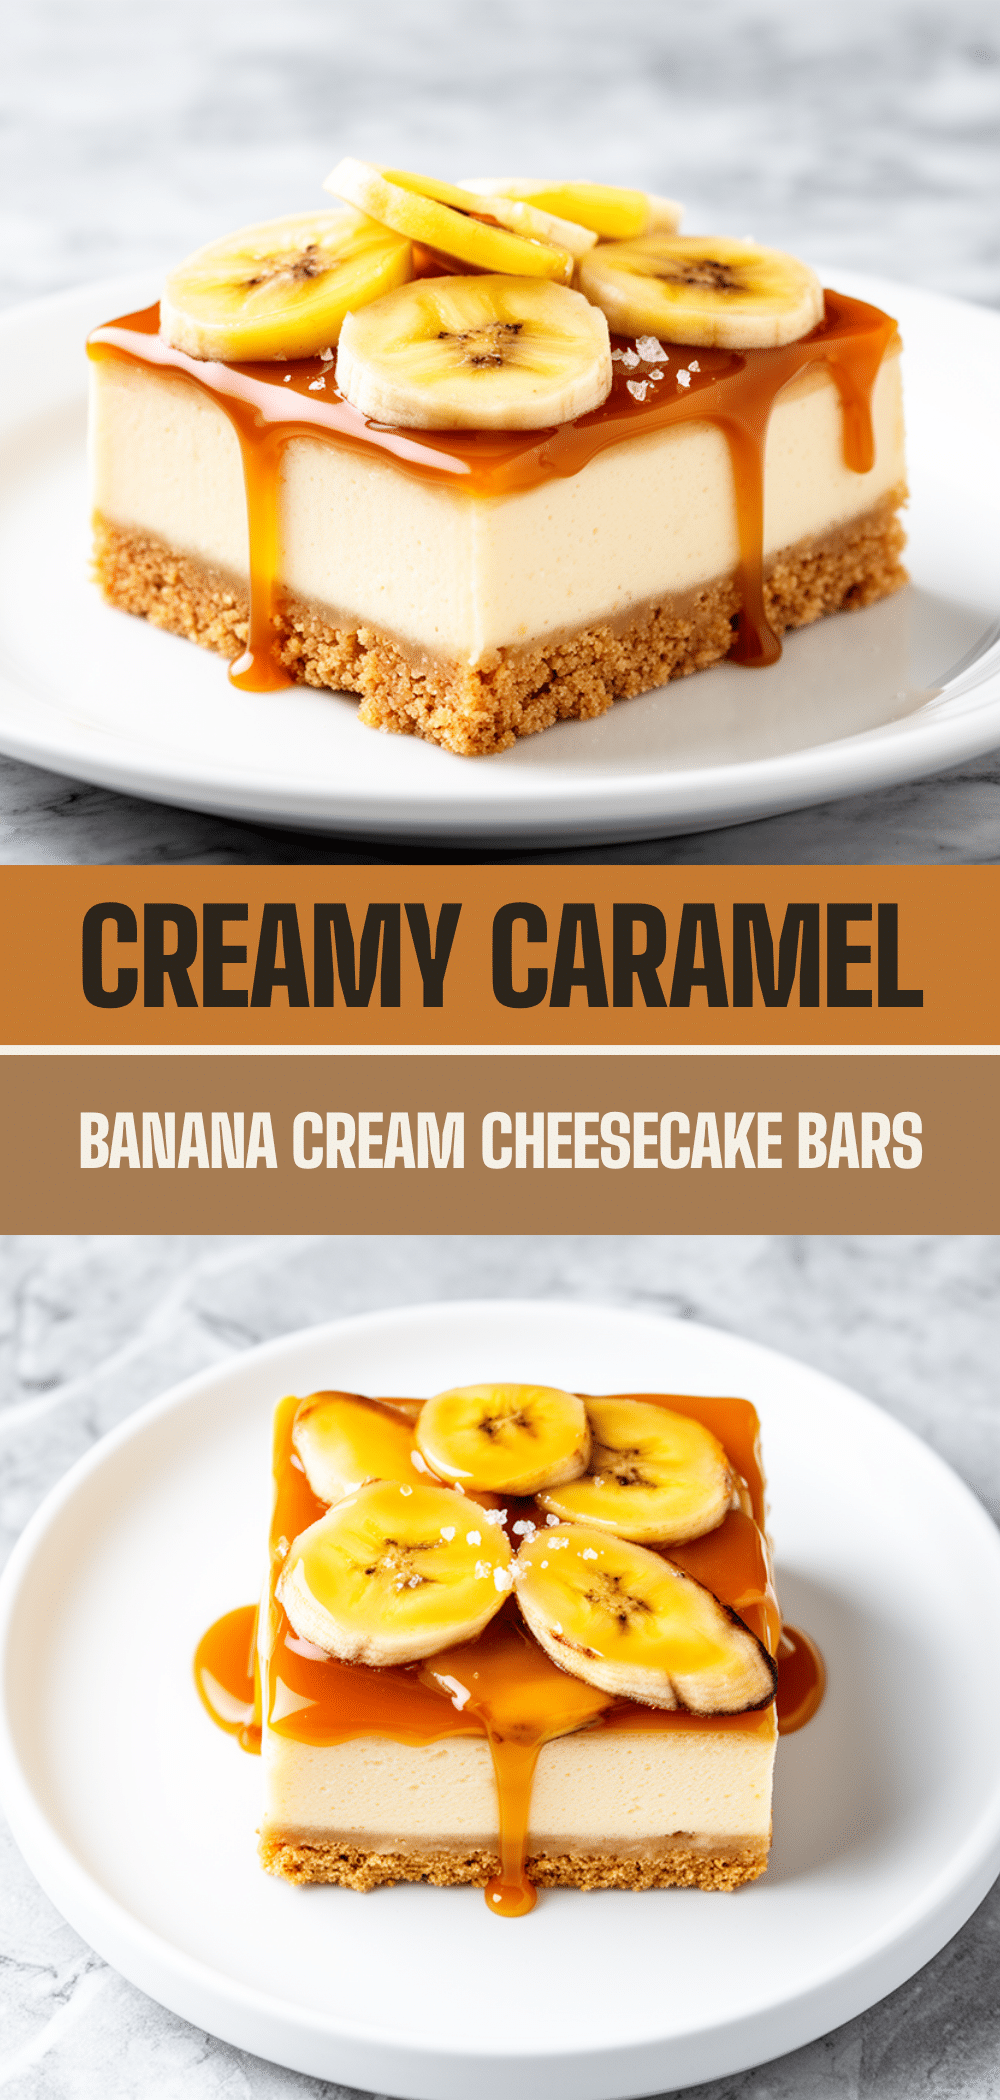
Caramel Banana Cream Cheesecake Bars
- Total Time: 4 hours 20 minutes
- Yield: 16 servings 1x
Description
A no-bake, creamy dessert made with just a few simple ingredients. These bars combine a buttery graham cracker crust with a rich filling of cream cheese, ripe bananas, and whipped cream, topped with a sweet and salty caramel swirl.
Ingredients
- 1 ½ cups graham cracker crumbs
- ¼ cup unsalted butter, melted
- Pinch of salt
- 16 oz full-fat cream cheese, softened
- 3 large ripe bananas, mashed (about 400g)
- 1 cup heavy cream, cold
- 1 teaspoon vanilla extract
- 1 cup caramel sauce
- 2 fresh bananas, sliced (optional, for garnish)
- Sea salt flakes (optional, for garnish)
Instructions
- Line a 9×9 inch baking pan with parchment paper, leaving an overhang on two sides, and lightly spray with non-stick spray.
- Place graham cracker crumbs, melted butter, and a pinch of salt in a food processor. Pulse until the mixture resembles wet sand.
- Press the crust mixture firmly into the bottom of the prepared pan using the bottom of a measuring cup. Chill in the fridge while making the filling.
- In a large mixing bowl, beat the softened cream cheese until smooth and creamy, about 2 minutes.
- Add the mashed bananas and vanilla extract to the cream cheese. Beat on medium speed until fully combined and smooth.
- In a separate cold bowl, whip the heavy cream until stiff peaks form.
- Gently fold the whipped cream into the banana cream cheese mixture using a spatula until uniform and fluffy.
- Pour the filling over the chilled crust and spread evenly.
- Drizzle caramel sauce over the top and use a knife or skewer to swirl it into the surface for a marbled effect.
- Refrigerate for at least 4 hours, preferably overnight, until set.
- Lift the bars out using the parchment handles. Use a sharp knife dipped in hot water to cut into squares.
- Garnish with fresh banana slices and sea salt flakes if desired.
Notes
Ensure cream cheese is fully softened to avoid lumps. Chill the mixing bowl and beaters before whipping the heavy cream for better volume. Do not overmix the filling once the whipped cream is added to maintain a light texture. For clean slices, dip the knife in hot water and wipe dry between cuts. These bars can be frozen for up to 2 months.
- Prep Time: 20 minutes
- Cook Time: 0 minutes
- Category: Dessert
- Cuisine: American
Nutrition
- Serving Size: 1 bar
- Calories: 280
- Sugar: 22
- Sodium: 180
- Fat: 16
- Saturated Fat: 10
- Carbohydrates: 32
- Fiber: 1
- Protein: 4
Keywords: no-bake cheesecake, banana dessert, caramel bars, easy dessert, cream cheese dessert, graham cracker crust, make-ahead dessert


