Last July, I showed up to a neighborhood block party with a store-bought cake from the bakery. You know the kind—the one with the overly sweet fondant and the dry sponge that crumbles if you look at it wrong. I stood there holding it, watching people grab plates of grilled corn and watermelon, and I felt that familiar pang of “I could have done better.”
That was the moment I decided that summer baking didn’t have to be complicated or pretentious. I wanted something that looked beautiful on a picnic table, tasted like fresh berries, and didn’t require a degree in pastry engineering to make. I wanted a cake that was moist enough to eat with just my fingers (though I usually use a fork) and sweet enough to satisfy the kids, but tart enough to cut through the heat of a July afternoon.
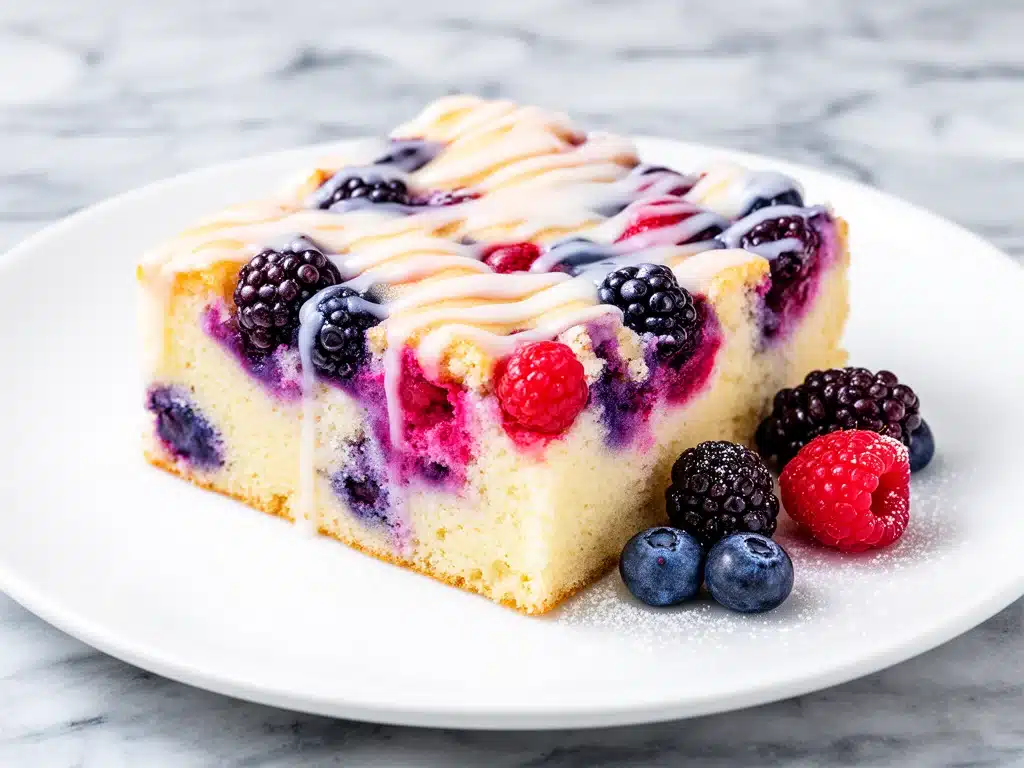
That search led me to this Mixed Berry Buttermilk Sheet Cake with Glaze. It’s become my secret weapon for every gathering since. Whether it’s a backyard barbecue, a church potluck, or just a Tuesday night treat because it’s too hot to turn on the oven for anything else, this cake delivers. It’s tender, fluffy, and packed with berries that burst with flavor in every bite. The buttermilk keeps it incredibly moist, and the glaze? It’s not just a sugary drizzle. It’s the kind of glaze that soaks in slightly, making each slice feel like a little gift.
I’ve tested this recipe at least a dozen times. I’ve tried frozen berries vs. fresh, different types of milk, and even swapped some of the flour for whole wheat (spoiler: stick to all-purpose for this one). This is the version that works. It’s foolproof, forgiving, and absolutely delicious. If you’re looking for a dessert that brings people together without stressing you out, this is it.
Why You’ll Love This Mixed Berry Buttermilk Sheet Cake with Glaze
There are a few reasons this cake has earned a permanent spot in my summer rotation. It’s not just about the taste, though that’s definitely the biggest factor. It’s about how easy it is to pull off when you’re already managing a dozen other things.
- One-Bowl Wonder — Seriously, you can mix the entire batter in one large bowl. No stand mixer required. I’ve made this with a hand mixer, a whisk, and even a wooden spoon when I was feeling lazy. It works every time. This is perfect for when you’re tired after grilling or hosting.
- Moisture Guaranteed — The buttermilk is the star here. It tenderizes the gluten in the flour, giving you a crumb that’s soft and airy, not dense or heavy. I’ve made sheet cakes that turned out like bricks before. This one? It melts in your mouth. If you’ve ever struggled with dry baked goods, this recipe will change your life.
- Perfect for Berries — Summer is berry season, and this cake lets them shine. The acidity of the berries pairs perfectly with the tangy buttermilk. I use a mix of strawberries, blueberries, and raspberries because it looks gorgeous and offers a variety of textures. You can use whatever is on sale or at your local farm stand.
- Make-Ahead Friendly — This cake actually tastes better the next day. The flavors meld together, and the glaze sets just enough to make clean slices. I often make it the night before a party. It keeps well at room temperature for a day or two in the fridge, which is a lifesaver when you’re hosting.
- Budget-Friendly — Fresh berries can be pricey, but this recipe uses just enough to flavor the cake without breaking the bank. And buttermilk is cheap. Compared to buying a fancy layered cake from a bakery, this is a fraction of the cost and tastes way fresher.
This is my go-to when I need a dessert that feels special but doesn’t require hours of prep. It’s reliable, delicious, and always gets compliments. Plus, it pairs beautifully with a cold glass of sparkling watermelon cucumber agua fresca for a complete summer spread.
Ingredients You’ll Need
Here’s the best part: you probably have most of these ingredients in your pantry already. This isn’t a recipe that requires a trip to three different specialty stores. It’s straightforward, simple, and uses ingredients you likely already love.
For the Cake
All-Purpose Flour (2 cups / 250g) — This is your base. Don’t try to swap in cake flour unless you want to adjust the liquid. All-purpose gives the right structure. I always spoon and level my flour to avoid packing it down, which leads to dry cake.
Baking Powder & Baking Soda (1 teaspoon baking powder, ½ teaspoon baking soda) — These are your leavening agents. Make sure they’re not expired! Old baking powder is the #1 reason cakes don’t rise. I keep a fresh tin in my pantry at all times.
Salt (½ teaspoon) — Essential for balancing the sweetness. Don’t skip it.
Unsalted Butter (½ cup / 1 stick / 113g, softened) — This adds richness and flavor. Room temperature butter creams better with sugar. If you’re in a hurry, microwave it in 5-second bursts until it’s soft but not melted.
Granulated Sugar (1 cup / 200g) — Standard white sugar. It provides sweetness and helps create that tender crumb. I’ve tried reducing the sugar slightly, but the cake becomes denser. Stick to the full cup for best results.
Eggs (2 large, room temperature) — Room temperature eggs emulsify better into the batter. Cold eggs can cause the butter to seize up. If I forget, I put them in a bowl of warm water for 5 minutes.
Vanilla Extract (1 teaspoon) — Pure vanilla makes a huge difference. I avoid imitation vanilla for baking because it can taste artificial.
Buttermilk (1 cup / 240ml) — This is the key ingredient. The tanginess and acidity react with the baking soda to create lift and tenderness. If you don’t have buttermilk, you can make a substitute: add 1 tablespoon of lemon juice or white vinegar to a measuring cup, then fill with milk to the 1-cup line. Let it sit for 5-10 minutes until it curdles slightly. It works surprisingly well.
For the Berries
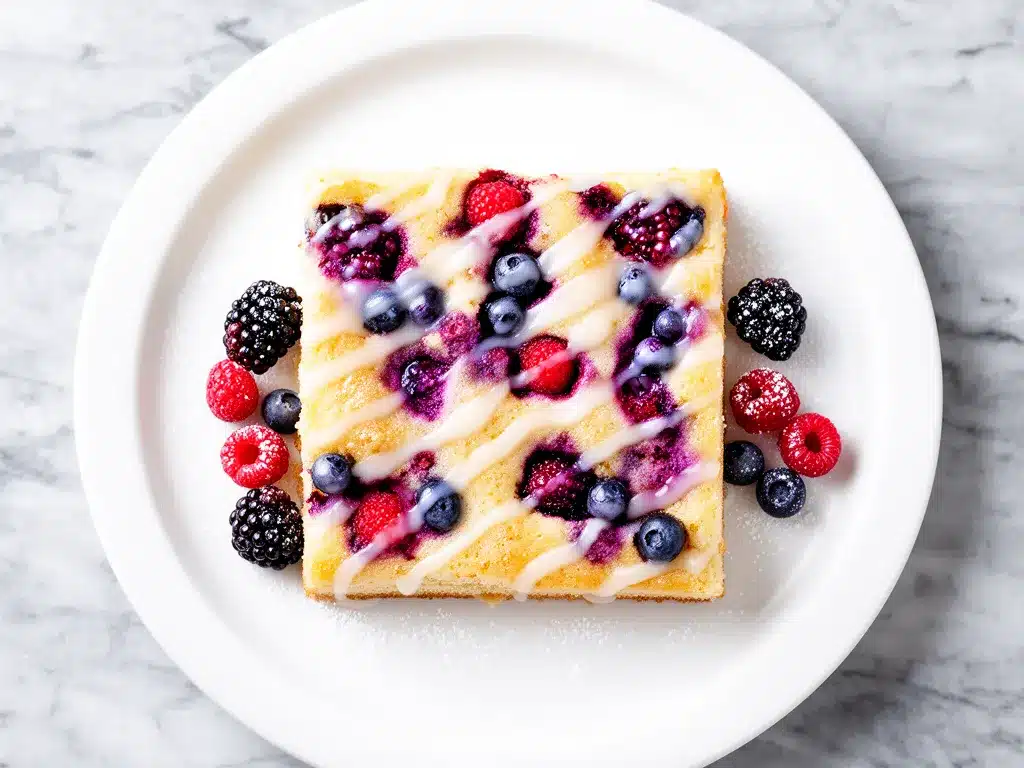
Mixed Berries (2 cups / 300g total) — I use a combination of strawberries (hulled and sliced), blueberries, and raspberries. Fresh is best, but frozen works too. If using frozen, do not thaw them first! Toss them in flour (see tips below) to prevent them from sinking.
For the Glaze
Powdered Sugar (1 cup / 120g) — Also known as confectioners’ sugar. Make sure it’s sifted if it’s clumpy.
Milk (2-3 tablespoons) — Whole milk or buttermilk works. I use buttermilk to keep the flavor profile consistent, but regular milk is fine too.
Vanilla Extract (½ teaspoon) — Just a touch to flavor the glaze.
Pinch of Salt — Cuts the sweetness of the powdered sugar.
Equipment Needed
You don’t need fancy gadgets for this. Here’s what I actually use:
9×13 Inch Baking Pan — A standard metal or glass pan works. I prefer metal because it conducts heat evenly. If you’re using glass, you might need to reduce the oven temperature by 25 degrees F.
Large Mixing Bowl — Something big enough to hold all the ingredients and give you room to whisk. I use a 4-quart bowl.
Whisk — For combining the dry ingredients and mixing the batter. A whisk aerates the batter better than a spoon.
Measuring Cups and Spoons — Standard stuff. I have a set from the dollar store that works fine.
Wire Cooling Rack — Essential for cooling the cake before glazing. If you glaze a warm cake, the glaze will melt right off. I learned this the hard way with a sticky, messy disaster.
Spatula — For scraping the bowl and spreading the glaze. A rubber spatula is best.
How to Make It: Step-by-Step
Alright, let’s make this! I’m walking you through exactly how I do it, including the little tricks I’ve picked up over the years.
Step 1: Prep Your Oven and Pan (5 minutes)
Preheat your oven to 350°F (175°C). Grease your 9×13 inch baking pan with butter or non-stick spray. I like to line the bottom with parchment paper for easy removal, but it’s not strictly necessary. Just make sure the pan is well-greased so the cake doesn’t stick.
Step 2: Mix the Dry Ingredients (2 minutes)
In your large mixing bowl, whisk together the flour, baking powder, baking soda, and salt. Whisking these together ensures that the leavening agents are evenly distributed, which prevents bitter spots in your cake. Set this aside.
Step 3: Cream the Butter and Sugar (3 minutes)
In a separate large bowl (or the same one if you’re washing nothing), beat the softened butter and granulated sugar together until light and fluffy. This takes about 2-3 minutes with a hand mixer or 5 minutes with a whisk. You want the mixture to look pale and airy. This step incorporates air into the batter, which helps the cake rise.
Step 4: Add Eggs and Vanilla (2 minutes)
Add the eggs one at a time, beating well after each addition. Then add the vanilla extract. Scrape down the sides of the bowl with a spatula to make sure everything is incorporated. The mixture might look slightly curdled at this point—that’s normal.
Step 5: Combine Wet and Dry Ingredients (3 minutes)
Alternately add the dry ingredients and the buttermilk to the butter mixture. Start and end with the dry ingredients. Mix on low speed or stir gently by hand until just combined. Do not overmix! Overmixing develops gluten, which makes the cake tough. Stop mixing as soon as you no longer see streaks of flour.
Step 6: Fold in the Berries (2 minutes)
Here’s the trick: Toss your berries with 1 tablespoon of flour. This coats them and helps prevent them from sinking to the bottom of the cake during baking. Gently fold the berries into the batter using a spatula. Be gentle! You don’t want to crush the berries. Spread the batter evenly into the prepared pan.
Step 7: Bake (30-35 minutes)
Place the pan in the preheated oven and bake for 30-35 minutes. The cake is done when a toothpick inserted into the center comes out clean or with just a few moist crumbs attached. The edges should be lightly golden. Do not overbake, or the cake will dry out.
Step 8: Cool Completely (30 minutes)
Let the cake cool in the pan for 10 minutes, then transfer it to a wire rack to cool completely. This is crucial. If you try to glaze a warm cake, the glaze will melt and soak in too quickly, leaving you with a soggy bottom and no topping. Patience pays off here.
Step 9: Make and Apply the Glaze (5 minutes)
While the cake cools, whisk together the powdered sugar, milk, vanilla, and salt until smooth. The glaze should be thick but pourable. If it’s too thick, add more milk, a teaspoon at a time. If it’s too thin, add more powdered sugar. Drizzle the glaze over the completely cooled cake. Use a spatula to spread it to the edges.
Expert Tips & Tricks
Here’s everything I’ve learned from making this dozens of times. These tips will save you from my mistakes.
Don’t Overmix the Batter
This is the most common mistake. Once you add the flour, mix only until combined. A few lumps are okay. Overmixing leads to a dense, chewy cake instead of a tender, crumbly one.
Coat the Berries in Flour
As mentioned, tossing berries in flour helps them stay suspended in the batter. Without this, they sink to the bottom, leaving the top of the cake bare of fruit. It’s a simple step that makes a huge difference in presentation.
Use Room Temperature Ingredients
Butter, eggs, and buttermilk should all be at room temperature. This ensures they emulsify properly, creating a smooth, uniform batter. Cold ingredients can cause the batter to break or curdle.
Test for Doneness Early
Ovens vary. Start checking your cake at 25 minutes. If the toothpick comes out clean, it’s done. If it’s wet, give it 5 more minutes. Overbaking is the enemy of moist cake.
Glaze Consistency
The glaze should be thick enough to coat the back of a spoon but thin enough to drizzle. If it’s too runny, it will drip off the sides and pool on the plate. If it’s too thick, it will crack when you cut the cake.
Variations & Substitutions
Once you’ve nailed the basic version, here’s how you can mix it up. I’ve tried all of these.
Lemon Berry Version
Add the zest of one lemon to the batter and replace the milk in the glaze with lemon juice. It adds a bright, citrusy flavor that pairs beautifully with berries.
Chocolate Chip Berry
Add ½ cup of semi-sweet chocolate chips to the batter along with the berries. The chocolate and berries are a classic combination.
Gluten-Free
Use a 1-to-1 gluten-free flour blend. Make sure it contains xanthan gum, or add ½ teaspoon to the dry ingredients. The texture might be slightly different, but it still works.
Dairy-Free
Replace butter with coconut oil (solid state) and buttermilk with coconut milk (full fat) plus lemon juice. The flavor will be slightly coconutty, but it’s still delicious.
Single Layer Cake
You can split the batter into two 8-inch round pans and bake for 25-30 minutes. Make a simple layer cake with the glaze between the layers.
Serving & Storage
How to Serve:
I usually serve this cake at room temperature. It’s perfect for picnics because it doesn’t need to be kept cold. Cut into squares or rectangles for easy serving. It pairs well with a dollop of whipped cream or a scoop of vanilla ice cream if you want to make it extra indulgent.
Storage:
Store leftovers in an airtight container at room temperature for up to 2 days. If it’s very hot or humid, store it in the fridge. The cake will keep for up to 3 days refrigerated. Let it come to room temperature before serving for the best texture.
Freezing:
This cake freezes well. Wrap individual slices tightly in plastic wrap and then in aluminum foil. Freeze for up to 2 months. Thaw at room temperature before serving. The glaze might soften, but it’s still good.
Nutrition Information
I’m not a nutritionist, but here’s the breakdown if you’re tracking. This is a rich dessert, so enjoy in moderation.
Per Serving (based on 12 servings):
– Calories: 280
– Protein: 3g
– Carbs: 45g
– Fiber: 1g
– Sugar: 32g
– Fat: 10g
– Saturated Fat: 6g
– Cholesterol: 45mg
– Sodium: 180mg
Look, this is a sweet treat with butter and sugar. It’s not a health food. But it’s made with real ingredients, and it’s way better than store-bought cakes loaded with preservatives. When I want to make it lighter, I reduce the sugar slightly or use less glaze. But usually? I just enjoy a slice and move on.
Final Thoughts
So that’s my go-to Mixed Berry Buttermilk Sheet Cake with Glaze! I’ve probably talked your ear off at this point, but when you make a recipe this often, you have a lot to say about it. This cake has saved me more times than I can count. It’s my answer to “what’s for dessert?” when I’m tired, don’t want to bake something complicated, and still want something that tastes homemade and special.
Make it yours! Try different berry combinations, add citrus zest, or drizzle with chocolate. The best recipes are the ones you adapt to your family’s tastes. If you make this, drop a comment and let me know what you think! I love hearing how recipes turn out in your kitchen. And if something doesn’t work, tell me that too—I’m here to help troubleshoot.
Happy baking! And I hope your kitchen smells half as good as mine does right now.
Frequently Asked Questions
Can I use frozen berries?
Yes! Just do not thaw them first. Toss them in the 1 tablespoon of flour as directed. Frozen berries will release more moisture, so keep an eye on the baking time. It might take a few extra minutes.
Why did my cake sink in the middle?
This usually happens if the cake is underbaked or if the oven door was opened too early. Make sure the toothpick comes out clean. Also, avoid opening the oven door for the first 20 minutes of baking. The sudden drop in temperature can cause the cake to collapse.
Can I make this ahead of time?
Absolutely. I often make this the night before. Store it covered at room temperature. The glaze will set, and the flavors will meld. It actually tastes better the next day. Just add a fresh sprinkle of powdered sugar before serving if you want it to look extra pretty.
Can I use yogurt instead of buttermilk?
You can, but the texture will be different. Greek yogurt is thicker and tangier. If you use yogurt, thin it with a little milk to make it pourable. The cake will be denser but still moist. Buttermilk is best for that light, airy crumb.
How do I store leftovers?
Keep it in an airtight container at room temperature for up to 2 days. If your kitchen is very hot, store it in the fridge. Bring it to room temperature before serving for the best flavor and texture.
Can I double this recipe?
Yes, but you’ll need two 9×13 pans. The baking time will be the same. Keep an eye on them, as ovens can have hot spots. Rotate the pans halfway through baking for even browning.
Pin This Recipe!
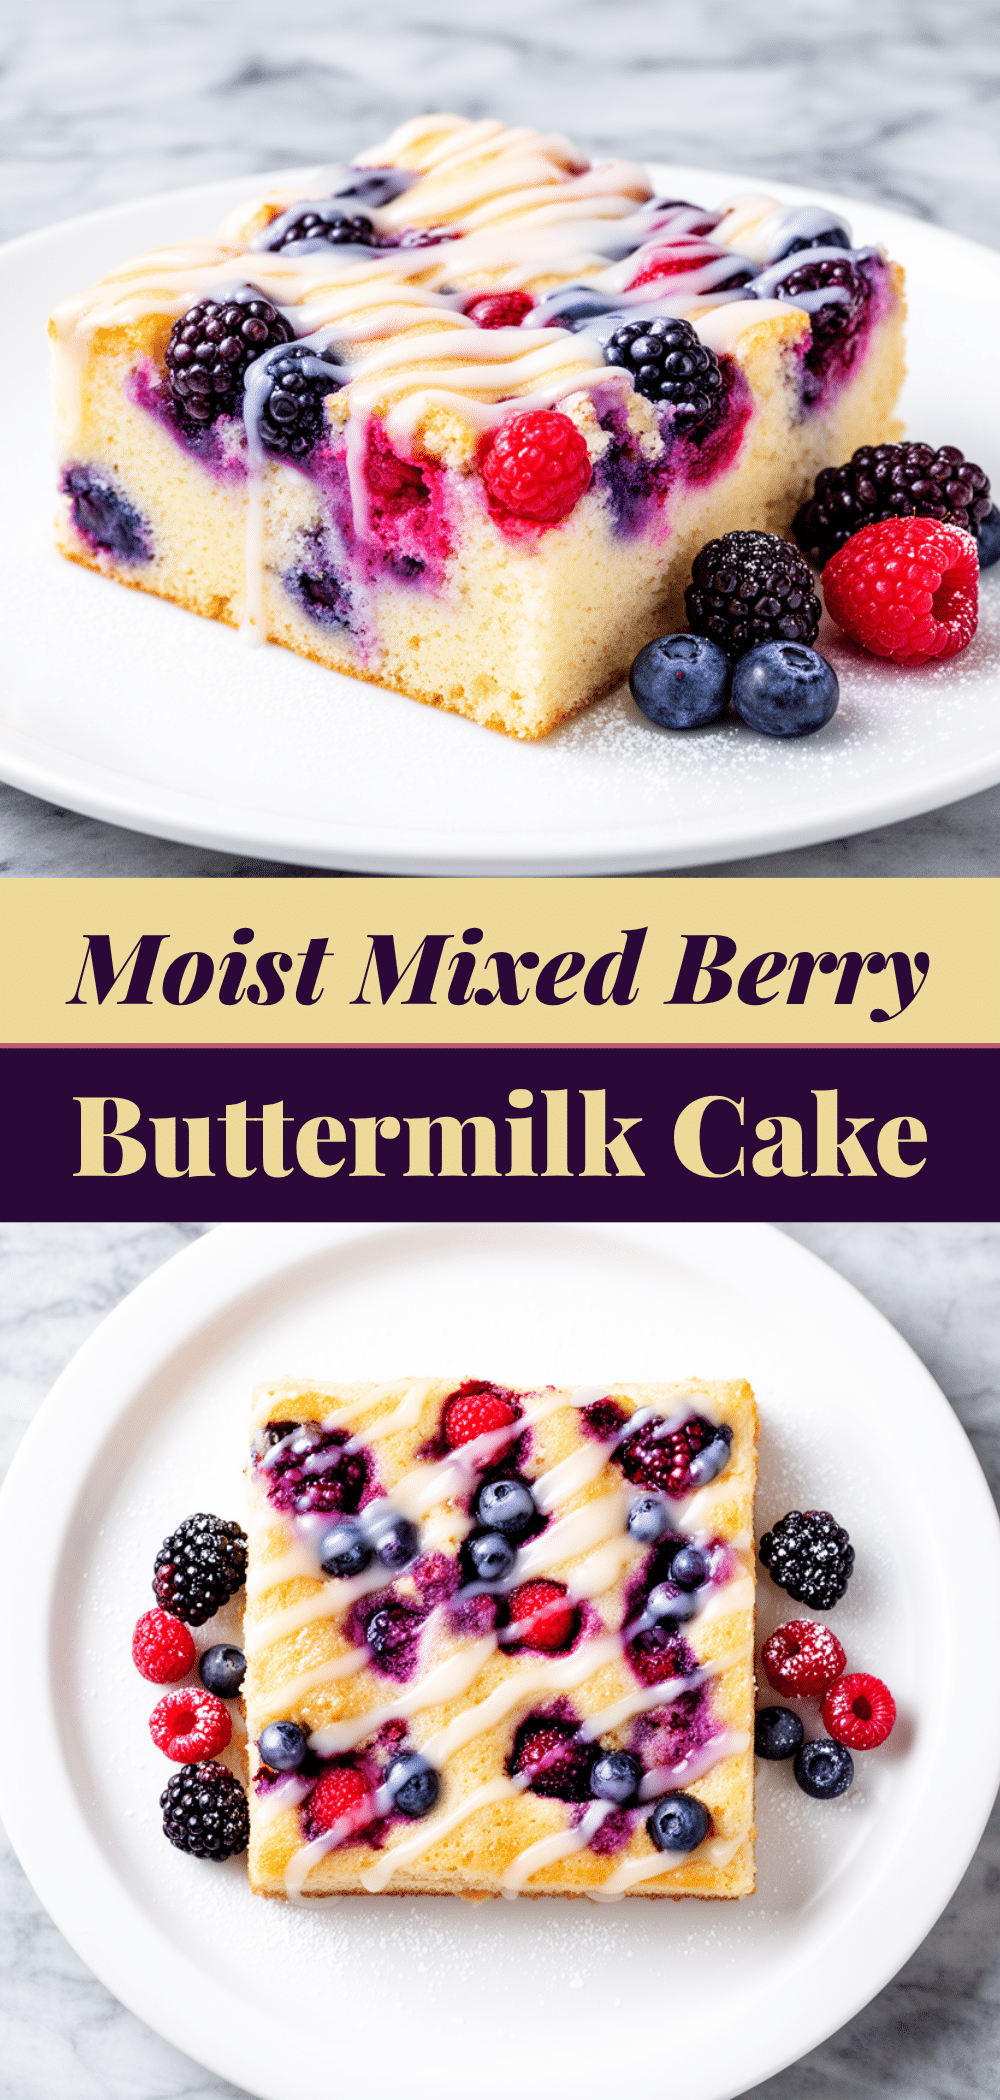
Mixed Berry Buttermilk Sheet Cake with Glaze
- Total Time: 45 minutes
- Yield: 12 servings 1x
Description
A moist, tender summer sheet cake packed with fresh berries and tangy buttermilk, topped with a sweet vanilla glaze. This one-bowl recipe is foolproof, budget-friendly, and perfect for parties or make-ahead desserts.
Ingredients
- 2 cups (250g) All-Purpose Flour
- 1 teaspoon Baking Powder
- 1/2 teaspoon Baking Soda
- 1/2 teaspoon Salt
- 1/2 cup (113g) Unsalted Butter, softened
- 1 cup (200g) Granulated Sugar
- 2 large Eggs, room temperature
- 1 teaspoon Vanilla Extract
- 1 cup (240ml) Buttermilk
- 2 cups (300g) Mixed Berries (strawberries, blueberries, raspberries)
- 1 tablespoon Flour (for tossing berries)
- 1 cup (120g) Powdered Sugar (for glaze)
- 2–3 tablespoons Milk (for glaze)
- 1/2 teaspoon Vanilla Extract (for glaze)
- Pinch of Salt (for glaze)
Instructions
- Preheat oven to 350°F (175°C). Grease a 9×13 inch baking pan and line with parchment paper if desired.
- In a large mixing bowl, whisk together the flour, baking powder, baking soda, and salt. Set aside.
- In a separate bowl, beat the softened butter and granulated sugar until light and fluffy (about 2-3 minutes with a mixer).
- Add eggs one at a time, beating well after each addition. Mix in the vanilla extract.
- Alternately add the dry ingredients and buttermilk to the butter mixture, starting and ending with the dry ingredients. Mix until just combined; do not overmix.
- Toss the mixed berries with 1 tablespoon of flour to coat. Gently fold the berries into the batter.
- Spread the batter evenly into the prepared pan.
- Bake for 30-35 minutes, or until a toothpick inserted into the center comes out clean.
- Let the cake cool in the pan for 10 minutes, then transfer to a wire rack to cool completely.
- While the cake cools, whisk together powdered sugar, milk, vanilla, and a pinch of salt until smooth.
- Drizzle the glaze over the completely cooled cake and spread to the edges.
Notes
Ensure ingredients like butter and eggs are at room temperature for best emulsification. Do not overmix the batter to avoid a dense cake. Tossing berries in flour prevents them from sinking. The cake tastes better the next day as flavors meld. Can be stored at room temperature for 2 days or refrigerated for 3 days.
- Prep Time: 15 minutes
- Cook Time: 30 minutes
- Category: Dessert
- Cuisine: American
Nutrition
- Serving Size: 1 slice
- Calories: 280
- Sugar: 32
- Sodium: 180
- Fat: 10
- Saturated Fat: 6
- Carbohydrates: 45
- Fiber: 1
- Protein: 3
Keywords: mixed berry cake, buttermilk sheet cake, summer dessert, easy baking, one-bowl cake, berry glaze, make-ahead dessert


