I have a confession to make. Last week, I stood in the grocery store aisle staring at a bag of almond flour that cost more than my entire weekly coffee budget. I’m not being dramatic. It was like $10 for a two-pound bag. I almost put it back. I almost went home and made toast.
But then I remembered the last time I bought gluten-free brownies from the bakery. They were dry, crumbly, and tasted like sawdust. And they cost $4.50 each. Single brownies. For people who don’t even know what real chocolate tastes like anymore.
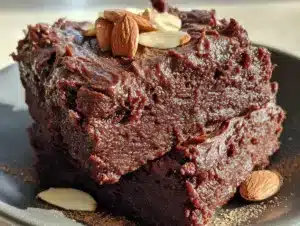
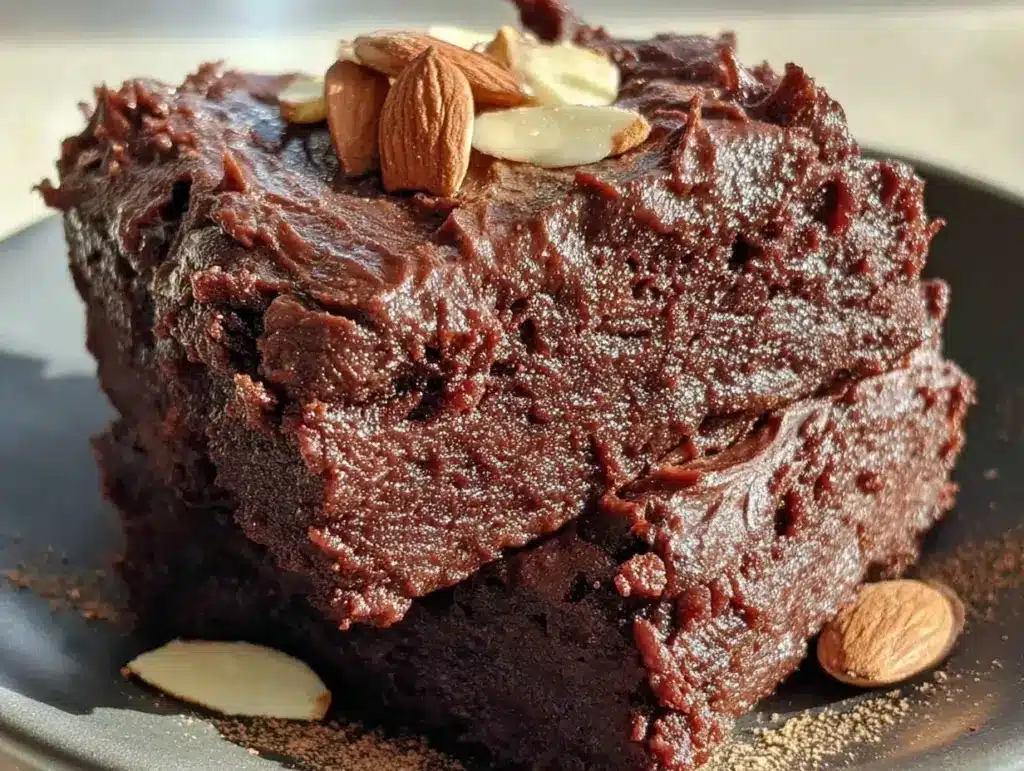
So I came home with the almond flour. And I came home with these gluten-free fudgy almond flour brownies. They’re dense, they’re fudgy, they’re completely gluten-free, and honestly? They’re the best thing I’ve eaten in months. Plus, because I’m making them at home, the cost per brownie is pennies. Like, actual pennies.
Here’s the thing about gluten-free baking. For years, I thought it was magic. You mix weird flours, add xanthan gum, and hope for the best. But after testing this recipe about fifteen times (yes, I ate fifteen brownies in one week, don’t judge me), I’ve realized it’s not magic. It’s just fat and sugar and patience. Almond flour is naturally high in fat, which gives you that fudgy texture without needing a bunch of chemical binders. You don’t need a mixer. You don’t need a stand mixer. You just need a bowl, a whisk, and the willingness to wait for them to cool.
These aren’t just “good for gluten-free.” They’re good, period. If you serve these to someone who isn’t gluten-free, they’ll ask for the recipe. If you serve them to someone who is, they’ll cry. I’ve made these for my gluten-sensitive sister, and she said they tasted better than the ones from her favorite high-end bakery in Chicago. That’s high praise.
I’ve been making this batch for myself on Sunday nights while I meal prep my lunches. It’s my reward for surviving the workweek. And the best part? The ingredient list is short enough to fit on a sticky note. No weird starches you can’t pronounce. No expensive specialty flours that sit in your pantry for six months until they go rancid. Just good chocolate, good butter, and almond flour.
Let’s get into why this recipe is about to become your new obsession.
Why You’ll Love This Recipe
I know what you’re thinking. “Another brownie recipe? Really?” But hear me out. This one is different. It’s not a flourless chocolate cake masquerading as a brownie. It’s not a dry, cakey disaster. It’s the real deal.
- Actually Fudgy — Most gluten-free brownies are dry because almond flour absorbs moisture differently than wheat flour. I fixed that by using a higher ratio of butter and chocolate. The result? A center that’s gooey and rich, not sandy. I’ve tested this against gooey chocolate peppermint brownie bars and honestly, this version holds its own on texture alone.
- One-Bowl Wonder — Seriously. You melt the chocolate and butter together. You whisk in the eggs and sugar. You stir in the flour. You pour it in the pan. That’s it. No sifting. No electric mixer. If you can boil water, you can make these. I make these when I’m too tired to stand up, which is often.
- Budget-Friendly Per Serving — I know almond flour is pricey upfront. But because you only need a cup or so for a whole batch, and because the yield is decent, the cost per brownie is less than $0.25. Compare that to the $3+ you’d pay for a single artisanal brownie at a cafe. This is an ingredient list that won’t wreck your grocery budget, even with the fancy flour.
- Gluten-Free Without the Guilt — I used to think gluten-free meant sacrificing taste. This recipe proved me wrong. It’s rich, chocolatey, and satisfying. It doesn’t taste “diet.” It tastes like dessert. If you’re looking for other easy desserts that don’t feel like compromise, check out these soft cinnamon sugar breakfast pull apart bread—same philosophy: simple ingredients, huge flavor.
- Perfect for One — You don’t need to make a giant sheet pan. This recipe works perfectly in a small 8×8 pan, or even divided into muffin tins. It’s ideal for a solo snack or a small dinner party where you don’t want leftovers going to waste.
So basically, you get restaurant-quality texture, a tiny ingredient list, and a price tag that makes sense. What’s not to love?
Ingredients You’ll Need
Here’s the best part: you probably have most of this already. I’m particular about three ingredients here, and I’ll tell you exactly why. Don’t skip the notes.
The Base
Unsweetened Chocolate (4 ounces / 113g) — I use baking bars, not chips. Chips have stabilizers that prevent them from melting smoothly. Bars melt into a glossy, fudgy base. Ghirardelli or Lindt work great. This is the heart of the recipe, so don’t buy the cheapest stuff you can find at the dollar store.
Unsalted Butter (½ cup / 113g) — Real butter. No margarine. No oil. Butter gives that rich, creamy mouthfeel that oil just can’t match. I use salted butter if that’s all I have, but I reduce the added salt in the recipe slightly.
Almond Flour (1 cup / 100g) — This is the big one. Make sure it’s fine-ground almond flour, not almond meal. Almond meal is coarse and will make your brownies gritty. You want the texture of sand, not gravel. Look for “super fine” on the label. This is where the cost goes up, but it’s worth it for the texture.
The Sweeteners and Binders
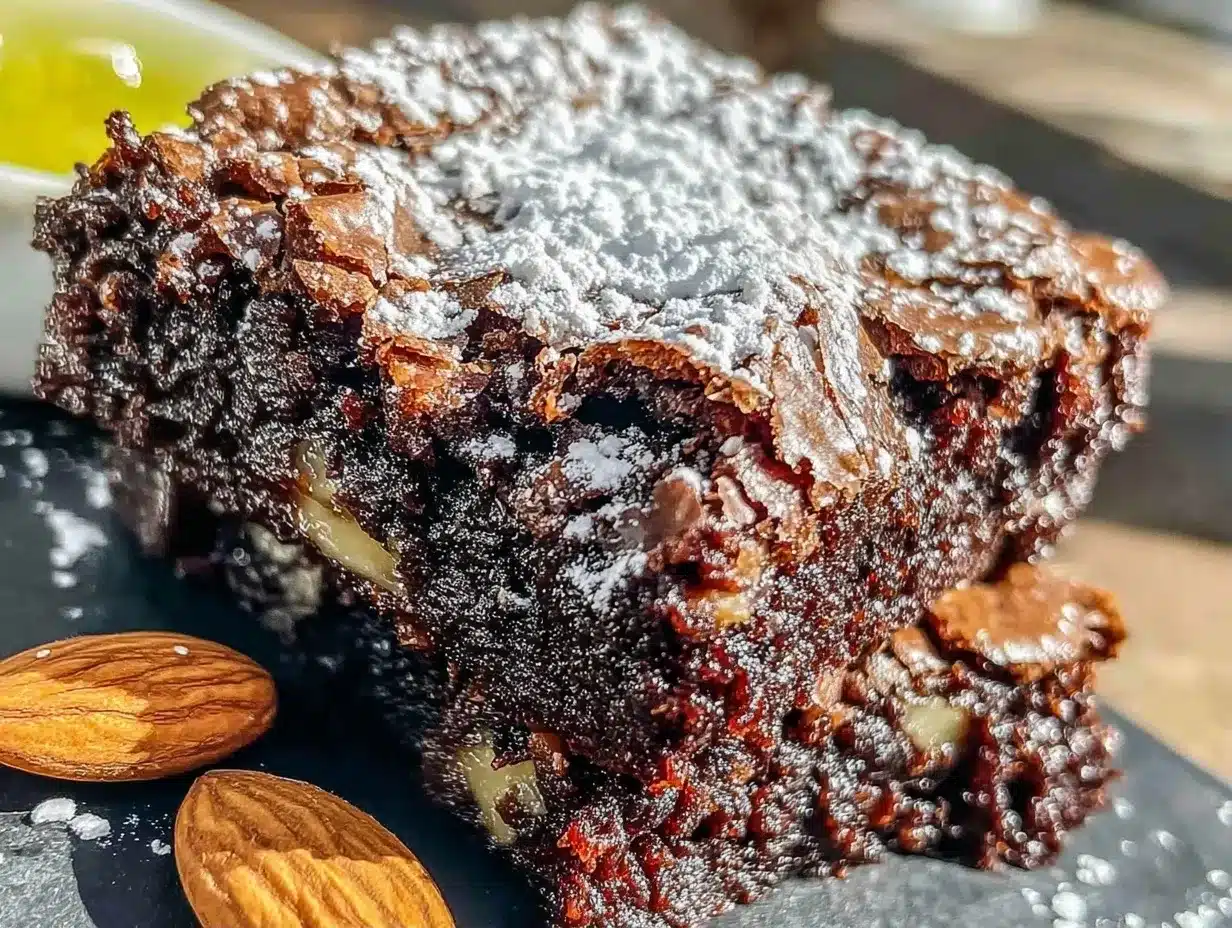
Granulated Sugar (1 cup / 200g) — White sugar gives you that crisp, crackly top. Don’t swap for brown sugar unless you want a chewier, molasses-heavy brownie. For fudgy, stick with white.
Eggs (2 large) — Room temperature eggs blend better. If you’re in a rush, just drop them in a bowl of warm water for 5 minutes. They help bind the almond flour and give structure without making it cakey.
Vanilla Extract (1 teaspoon) — Pure vanilla, not imitation. It adds depth that chocolate needs. If you’re out, skip it, but don’t fake it.
The Flavor Boosters
Cocoa Powder (2 tablespoons / 10g) — Unsweetened Dutch-processed cocoa adds a darker, richer flavor. Regular natural cocoa works too, but Dutch-processed tastes more “fancy.” This is optional but recommended if you want deep chocolate flavor.
Salt (½ teaspoon) — Essential. Salt makes chocolate taste like chocolate. Don’t skip it. If your butter is salted, reduce this to ¼ teaspoon.
Dark Chocolate Chips (½ cup / 85g) — For mix-ins. I use semi-sweet chips. If you want extra fudginess, chop up a chocolate bar instead. It melts into pockets of goo rather than staying as distinct chips.
Shopping Shortcuts
- Almond Flour Hack: If you don’t want to buy a whole bag, you can pulse raw almonds in a food processor until fine. It takes 3 minutes and saves you from buying a huge bag you might not use again.
- Chocolate Swap: If you’re on a tight budget, use high-quality chocolate bars chopped up. Sometimes bars are cheaper per ounce than baking squares.
Equipment Needed
You don’t need fancy equipment for this. Here’s what I actually use.
8×8 Inch Baking Pan — I use a glass Pyrex pan. It bakes evenly and is easy to clean. You can use metal, but glass gives a slightly more even bake. Line it with parchment paper for easy lifting. I’m obsessed with my parchment paper rolls—it’s like $2 and makes cleanup instant.
Microwave-Safe Bowl — For melting the chocolate and butter. I use a large glass measuring cup. It’s easier to whisk in the bowl. A regular bowl works fine too.
Mixing Bowl — Medium size. Just big enough to hold everything.
Whisk — For beating the eggs and sugar until glossy. A fork works, but a whisk is faster.
Spatula — Silicone is best for scraping the bowl clean. You want every bit of batter.
Knife — For chopping chocolate if you’re using bars instead of chips.
Wire Rack — For cooling. Don’t skip this. Hot brownies are messy and break easily.
How to Make It: Step-by-Step
Alright, let’s make this! I’m walking you through exactly how I do it, including the little tricks I’ve picked up.
Step 1: Prep Your Pan and Oven (5 minutes)
Preheat your oven to 350°F (175°C). Line your 8×8 inch pan with parchment paper, leaving an overhang on the sides. This is crucial for lifting the brownies out later. Grease the parchment lightly with butter or cooking spray so it stays put.
Step 2: Melt the Chocolate and Butter (2 minutes)
Chop your unsweetened chocolate into chunks if it’s not already. Place it in a microwave-safe bowl with the butter. Microwave in 30-second intervals, stirring between each, until smooth. If you don’t have a microwave, melt them in a double boiler over low heat. Do not burn the chocolate. Low and slow is the key. Stir until glossy and smooth.
Step 3: Whisk Eggs and Sugar (2 minutes)
In a separate medium bowl, whisk the eggs and granulated sugar vigorously. You want the mixture to look pale and slightly thickened. This takes about 1-2 minutes of arm work. This step creates that crackly top. Don’t rush it. I usually do this while the chocolate is melting.
Step 4: Combine Wet Ingredients (1 minute)
Pour the melted chocolate and butter mixture into the egg and sugar bowl. Whisk until combined. Stir in the vanilla extract. The batter will look thin and glossy. This is normal.
Step 5: Add Dry Ingredients (2 minutes)
Add the almond flour, cocoa powder, and salt to the wet mixture. Stir gently with a spatula until just combined. Do not overmix. Almond flour doesn’t have gluten, so it doesn’t need kneading. Just mix until no dry flour streaks remain. Fold in the chocolate chips if you’re using them.
Step 6: Bake (25-30 minutes)
Pour the batter into the prepared pan. Smooth the top with your spatula. Bake for 25-30 minutes. The brownies are done when the edges are set and pulling away from the pan, and the center is still slightly jiggly. A toothpick inserted in the center should come out with moist crumbs, not wet batter. If it comes out clean, they’re overbaked. I prefer them fudgy, so I pull them at 25 minutes.
Step 7: Cool Completely (1 hour)
This is the hardest part. Let the brownies cool in the pan on a wire rack for at least 1 hour. They continue to set as they cool. If you cut them hot, they’ll be mushy. I know, I know. But patience pays off. Once cool, lift them out using the parchment overhang and slice into squares.
Expert Tips & Tricks
Here’s everything I’ve learned from making this dozens of times. These tips will save you from my mistakes.
Don’t Overbake — This is the #1 mistake. Almond flour brownies dry out quickly. Pull them when the center still looks slightly underdone. They will firm up as they cool. I’ve ruined batches by baking them until the toothpick was clean. Don’t do that.
Use Fine Almond Flour — If your almond flour is coarse, sift it before adding. This ensures a smooth texture. I’ve used almond meal once and the brownies were gritty. Never again.
Room Temperature Eggs — Cold eggs can cause the melted chocolate to seize up. Bring your eggs to room temp for 10 minutes before starting. It makes the batter smoother.
Storage is Key — Store in an airtight container at room temperature for up to 3 days. They actually taste better on day 2, as the flavors meld. Don’t refrigerate them unless it’s very hot outside. The fridge dries them out.
Freezing — These freeze beautifully. Wrap individual squares in plastic wrap and store in a freezer bag for up to 3 months. Thaw at room temperature for 30 minutes. Perfect for grabbing a quick snack.
Variations & Substitutions
Once you’ve nailed the basic version, here’s how you can mix it up. I’ve tried all of these.
Chocolate Chip Version — Add ½ cup semi-sweet chocolate chips. Classic and crowd-pleasing.
Walnut or Pecan — Fold in ½ cup chopped nuts for crunch. Almond flour + walnut is a classic combo.
Espresso Powder — Add 1 teaspoon of instant espresso powder to the dry ingredients. It enhances the chocolate flavor without making it taste like coffee. Great for a morning treat.
Gluten-Free Flour Swap — If you don’t have almond flour, you can use a 1:1 gluten-free flour blend. But the texture will be cakeier, not fudgy. Almond flour is the secret sauce here.
Lower Sugar — Reduce sugar to ¾ cup. They’ll still be sweet, but less so. I recommend sticking with 1 cup for the best texture.
Serving & Storage
How to Serve: I serve these plain, but they’re amazing with a dollop of whipped cream or a scoop of vanilla ice cream. If you want to get fancy, pair them with a glass of red wine or a cup of coffee. For a lighter option, try them with a side of creamy strawberry cheesecake milkshake—the contrast of hot brownie and cold shake is addictive.
Side Dishes: These are dessert, so they don’t need sides. But if you’re serving them at a party, pair with fresh berries or a simple green salad to balance the richness.
Storage: Keep in an airtight container at room temperature for up to 3 days. In the fridge for up to 5 days (let warm up before eating). Freeze for up to 3 months.
Reheating: Microwave a square for 10-15 seconds to make it gooey again. Or warm in a 300°F oven for 5 minutes.
Nutrition Information
I’m not a nutritionist, but here’s the breakdown if you’re tracking.
Per Serving (based on 16 brownies):
- Calories: 140
- Protein: 4g
- Carbs: 12g
- Fiber: 2g
- Sugar: 10g
- Fat: 10g
- Saturated Fat: 4g
- Cholesterol: 25mg
- Sodium: 45mg
What’s Good: High in healthy fats from almonds. Low in carbs compared to regular brownies. Good source of protein.
What to Know: Higher in calories due to nut flour and butter. Contains tree nuts. Not suitable for nut allergies.
My Take: Look, this is dessert. It has sugar and butter. But it’s also packed with protein and healthy fats. It’s a more balanced treat than a cakey, flour-heavy brownie. Enjoy it in moderation.
Final Thoughts
So that’s my go-to gluten-free fudgy almond flour brownies! I’ve probably talked your ear off at this point, but when you make a recipe this often, you have a lot to say about it.
This has saved my sweet tooth more times than I can count. It’s my answer to “what’s for dessert” when I want something indulgent but don’t want to feel guilty about the gluten or the cost. My friends are happy, my sister is happy, and I’m happy because I’m not spending $20 on a box of gluten-free mix that tastes like cardboard.
Make it yours! Try different mix-ins, adjust the sugar, or add nuts. The best recipes are the ones you adapt to your tastes.
If you make this, drop a comment and let me know what you think! I love hearing how recipes turn out in your kitchen. And if something doesn’t work, tell me that too—I’m here to help troubleshoot.
Happy cooking! And I hope your kitchen smells half as good as mine does right now.
Frequently Asked Questions
Can I use almond meal instead of almond flour?
You can, but the texture will be different. Almond meal is coarser and will make the brownies gritty. Almond flour is finely ground and gives a smooth, fudgy texture. If you only have almond meal, pulse it in a food processor for 30 seconds to make it finer. But fine almond flour is best.
Why did my brownies come out dry?
You probably overbaked them. Almond flour brownies continue to cook in the pan after you take them out of the oven. Pull them when the center still looks slightly jiggly. They will set as they cool. Also, make sure you’re using fine almond flour, which retains moisture better than coarse meal.
Can I make these without eggs?
It’s tricky. Eggs provide structure in gluten-free baking. You can try using flax eggs (1 tbsp ground flax + 3 tbsp water per egg), but the texture will be denser and more cake-like. I haven’t tested this thoroughly, so I’d stick with eggs for the best fudgy result.
How do I store leftovers?
Store in an airtight container at room temperature for up to 3 days. They stay moist and fudgy. For longer storage, freeze them in a single layer on a baking sheet, then transfer to a freezer bag. They’ll last up to 3 months.
Can I double this recipe?
Yes, but you’ll need a 9×13 inch pan. Increase the baking time by 5-10 minutes. Check with a toothpick at 30 minutes. The center of a larger pan takes longer to bake.
Is this recipe keto-friendly?
It’s lower in carbs than regular brownies, but almond flour is still high in carbs. If you’re strict keto, you might want to reduce the sugar and use a keto-friendly sweetener like erythritol. But for general gluten-free, this is perfect.
Can I use oil instead of butter?
You can, but the flavor won’t be as rich. Butter adds a creamy taste that oil lacks. If you need to be dairy-free, use coconut oil. It solidifies when cool, so the brownies will be firmer. Butter is best for that classic brownie taste.
Pin This Recipe!
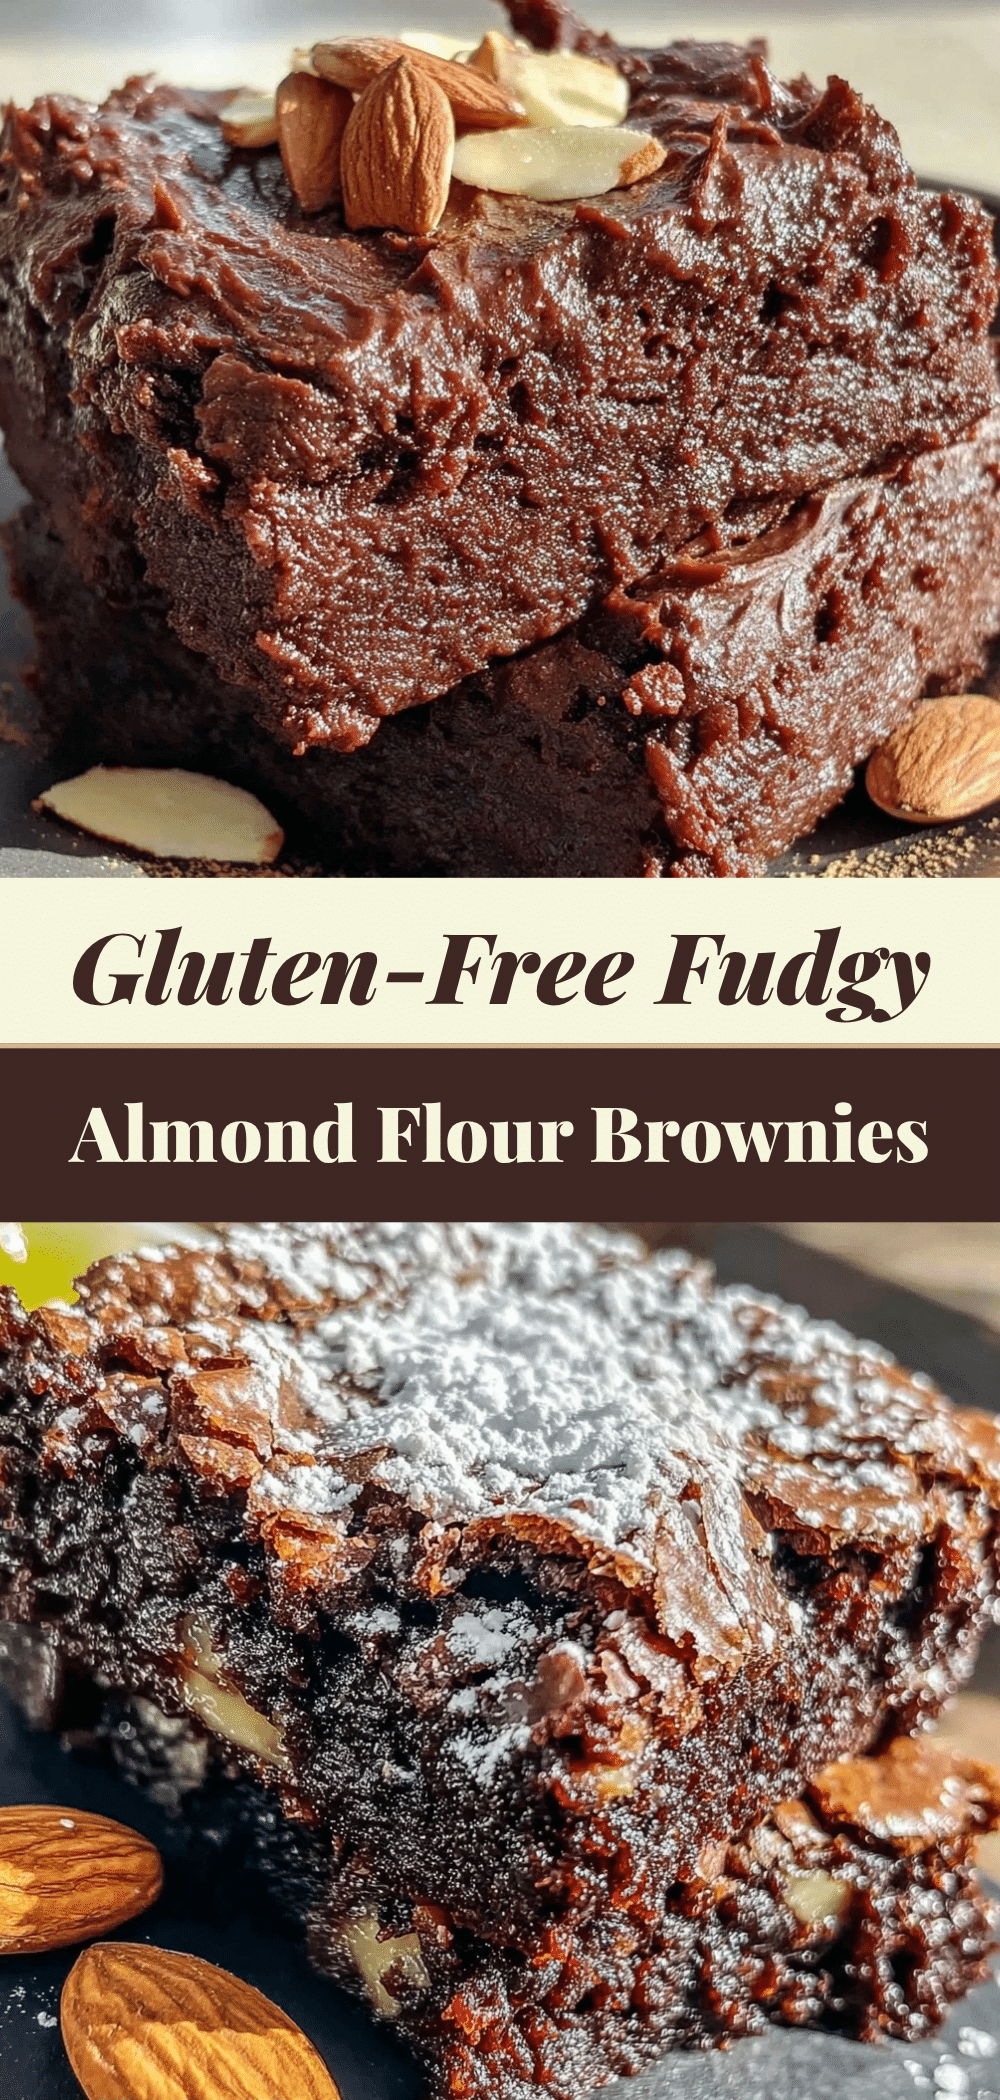
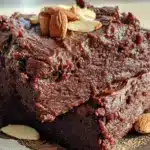
Gluten-Free Fudgy Almond Flour Brownies: Budget-Friendly Single Serve
- Total Time: 40 minutes
- Yield: 16 servings 1x
Description
These dense, fudgy, gluten-free brownies are made with almond flour, butter, and chocolate for a rich, bakery-quality texture without the high cost or dryness of typical gluten-free options.
Ingredients
- 4 ounces unsweetened chocolate (baking bars, chopped)
- ½ cup unsalted butter
- 1 cup fine-ground almond flour
- 1 cup granulated sugar
- 2 large eggs (room temperature)
- 1 teaspoon vanilla extract
- 2 tablespoons unsweetened cocoa powder (Dutch-processed recommended)
- ½ teaspoon salt
- ½ cup semi-sweet dark chocolate chips
Instructions
- Preheat oven to 350°F (175°C). Line an 8×8 inch baking pan with parchment paper, leaving an overhang on the sides, and grease lightly.
- Chop unsweetened chocolate into chunks. Place in a microwave-safe bowl with butter. Microwave in 30-second intervals, stirring between each, until smooth and glossy. Alternatively, melt in a double boiler.
- In a separate medium bowl, whisk eggs and granulated sugar vigorously for 1-2 minutes until pale and slightly thickened.
- Pour the melted chocolate and butter mixture into the egg and sugar bowl. Whisk until combined. Stir in vanilla extract.
- Add almond flour, cocoa powder, and salt to the wet mixture. Stir gently with a spatula until just combined. Do not overmix. Fold in chocolate chips.
- Pour batter into the prepared pan and smooth the top. Bake for 25-30 minutes until edges are set and pulling away from the pan, but the center is still slightly jiggly.
- Cool completely in the pan on a wire rack for at least 1 hour before lifting out and slicing into squares.
Notes
Ensure almond flour is fine-ground, not almond meal, to avoid a gritty texture. Do not overbake; the center should remain slightly jiggly as they continue to set while cooling. Store in an airtight container at room temperature for up to 3 days or freeze for up to 3 months.
- Prep Time: 10 minutes
- Cook Time: 30 minutes
- Category: Dessert
- Cuisine: American
Nutrition
- Serving Size: 1 brownie square
- Calories: 140
- Sugar: 10
- Sodium: 45
- Fat: 10
- Saturated Fat: 4
- Carbohydrates: 12
- Fiber: 2
- Protein: 4
Keywords: gluten-free, almond flour brownies, fudgy brownies, budget-friendly dessert, single serve brownies, dairy-free option, nut-free alternative