I still remember the summer I turned 24 and decided that store-bought ice cream was an insult to my dignity. I had just moved into a tiny apartment with a freezer that sounded like a jet engine taking off, and I was determined to make something better than anything I could buy at the grocery store. I tried a custard base first. It was a disaster. Curdled eggs, grainy texture, and a lot of tears over a double boiler. I was ready to give up.
Then I found the no-churn method. It felt almost cheating. Just whipped cream, condensed milk, and flavorings. No churning, no custard, no tempering eggs. I made my first batch with vanilla bean paste, and it was creamy, dreamy, and better than anything I’d ever tasted. Fast forward to last weekend: I was hosting a backyard barbecue for twenty people, and the heat was brutal. I needed something cold, something indulgent, and something that looked fancy enough to serve in little mason jars but was simple enough to make while managing a grill.
That’s when I made this no-churn strawberry cheesecake ice cream. It’s the ultimate summer party treat because it combines two of my favorite things: the tangy, creamy richness of cheesecake and the bright, fresh sweetness of strawberries. It’s no-churn, which means you don’t need an ice cream machine. You just need a mixer, a few hours in the freezer, and a willingness to eat a spoonful of the mixture before it’s fully set (I won’t tell if you won’t).
This recipe has become my go-to for every Memorial Day, Fourth of July, and random Tuesday in July when I need to cool down. It’s sturdy enough to hold up in a party bowl without melting into a puddle within ten minutes, yet light enough that guests don’t feel sluggish afterward. If you’ve ever been intimidated by ice cream making, this is your gateway drug. It’s foolproof, delicious, and absolutely perfect for sharing.
Why You’ll Love This No-Churn Strawberry Cheesecake Ice Cream
There are about ten reasons I keep coming back to this recipe, but here are the big ones that make it a summer staple in my house:
Zero Equipment Required — Seriously. If you have a hand mixer or a stand mixer, you can make this. No ice cream machine needed. I’ve made this in dorms, in houses with broken freezers, and in kitchens with limited counter space. It just works.
Tastes Like Dessert, Not Just Ice Cream — Most ice creams taste like sweetened cream. This tastes like actual cheesecake. The cream cheese adds a tangy depth that balances the sweetness of the condensed milk and strawberries. It’s complex. It’s rich. It’s the kind of ice cream you eat with a spoon while standing over the bowl because you’re afraid to leave it.
Party-Proof Texture — I’ve learned the hard way that some homemade ice creams melt into soup faster than you can say “sprinkles.” This one is stable. The whipped cream structure holds up well, and the cream cheese adds density. It scoops beautifully even if it’s been in the freezer for a week. This is crucial for parties where you can’t just make a new batch every hour.
Flexible and Forgiving — Did the strawberries look a little mushy? Use frozen. Didn’t have fresh graham crackers? Use store-bought crumbs. Made the mistake of using low-fat cream cheese? It’ll still taste good, even if it’s slightly less tangy. This recipe is incredibly forgiving, which is exactly what you want when you’re hosting a party and things are going sideways.
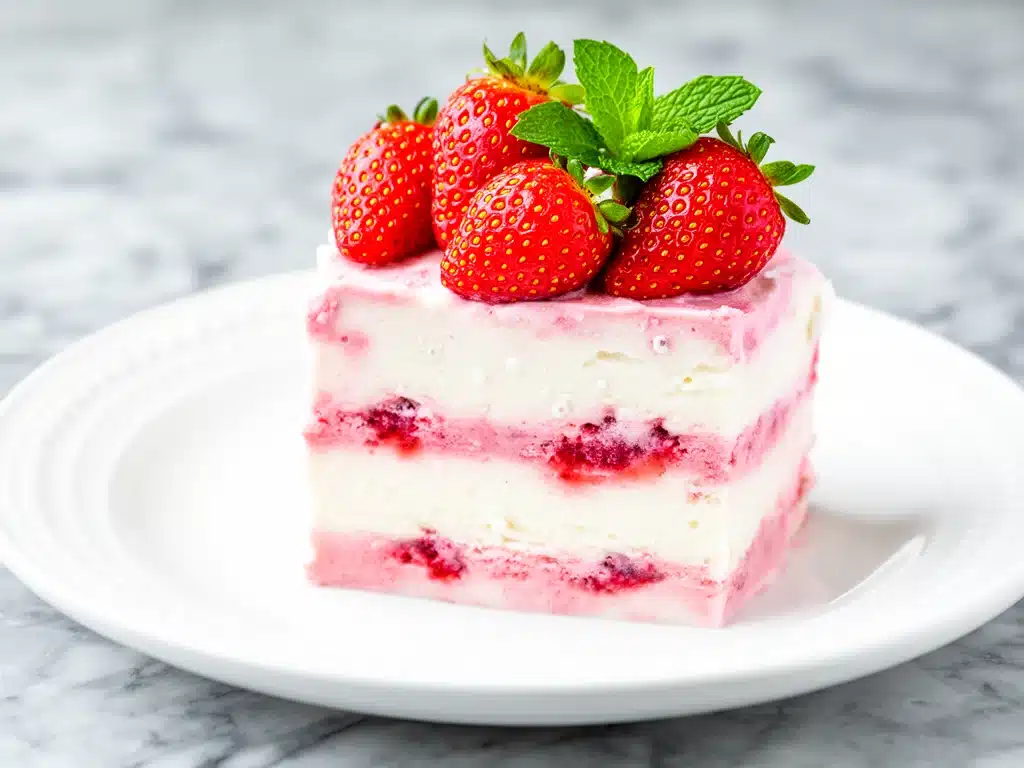
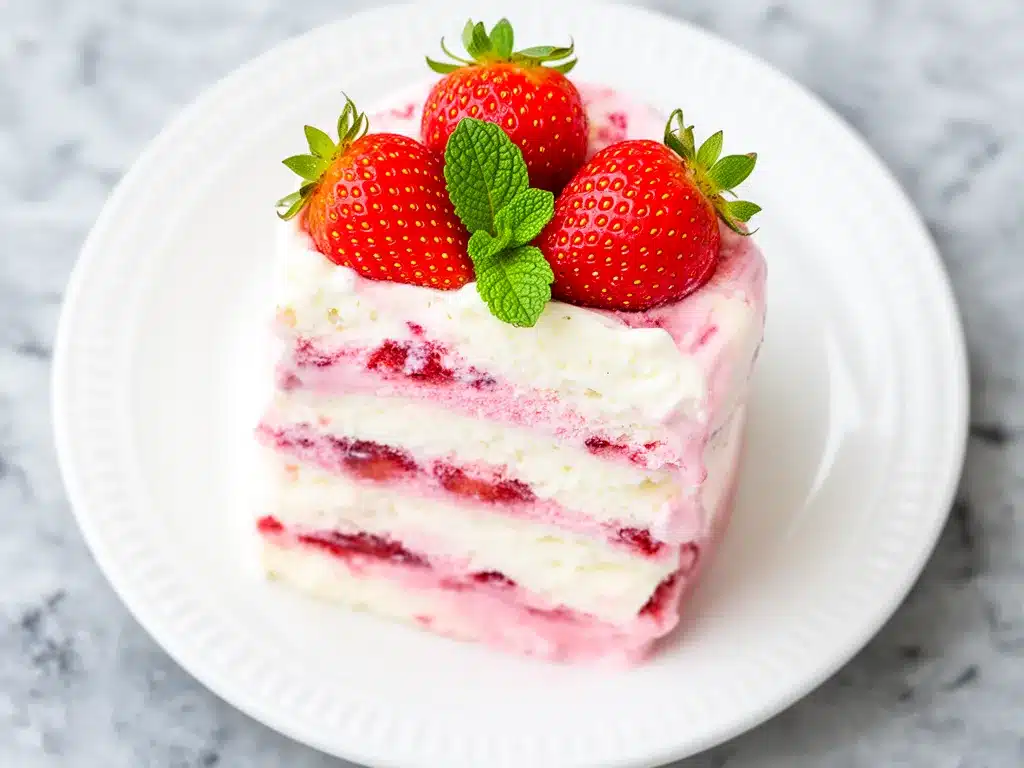
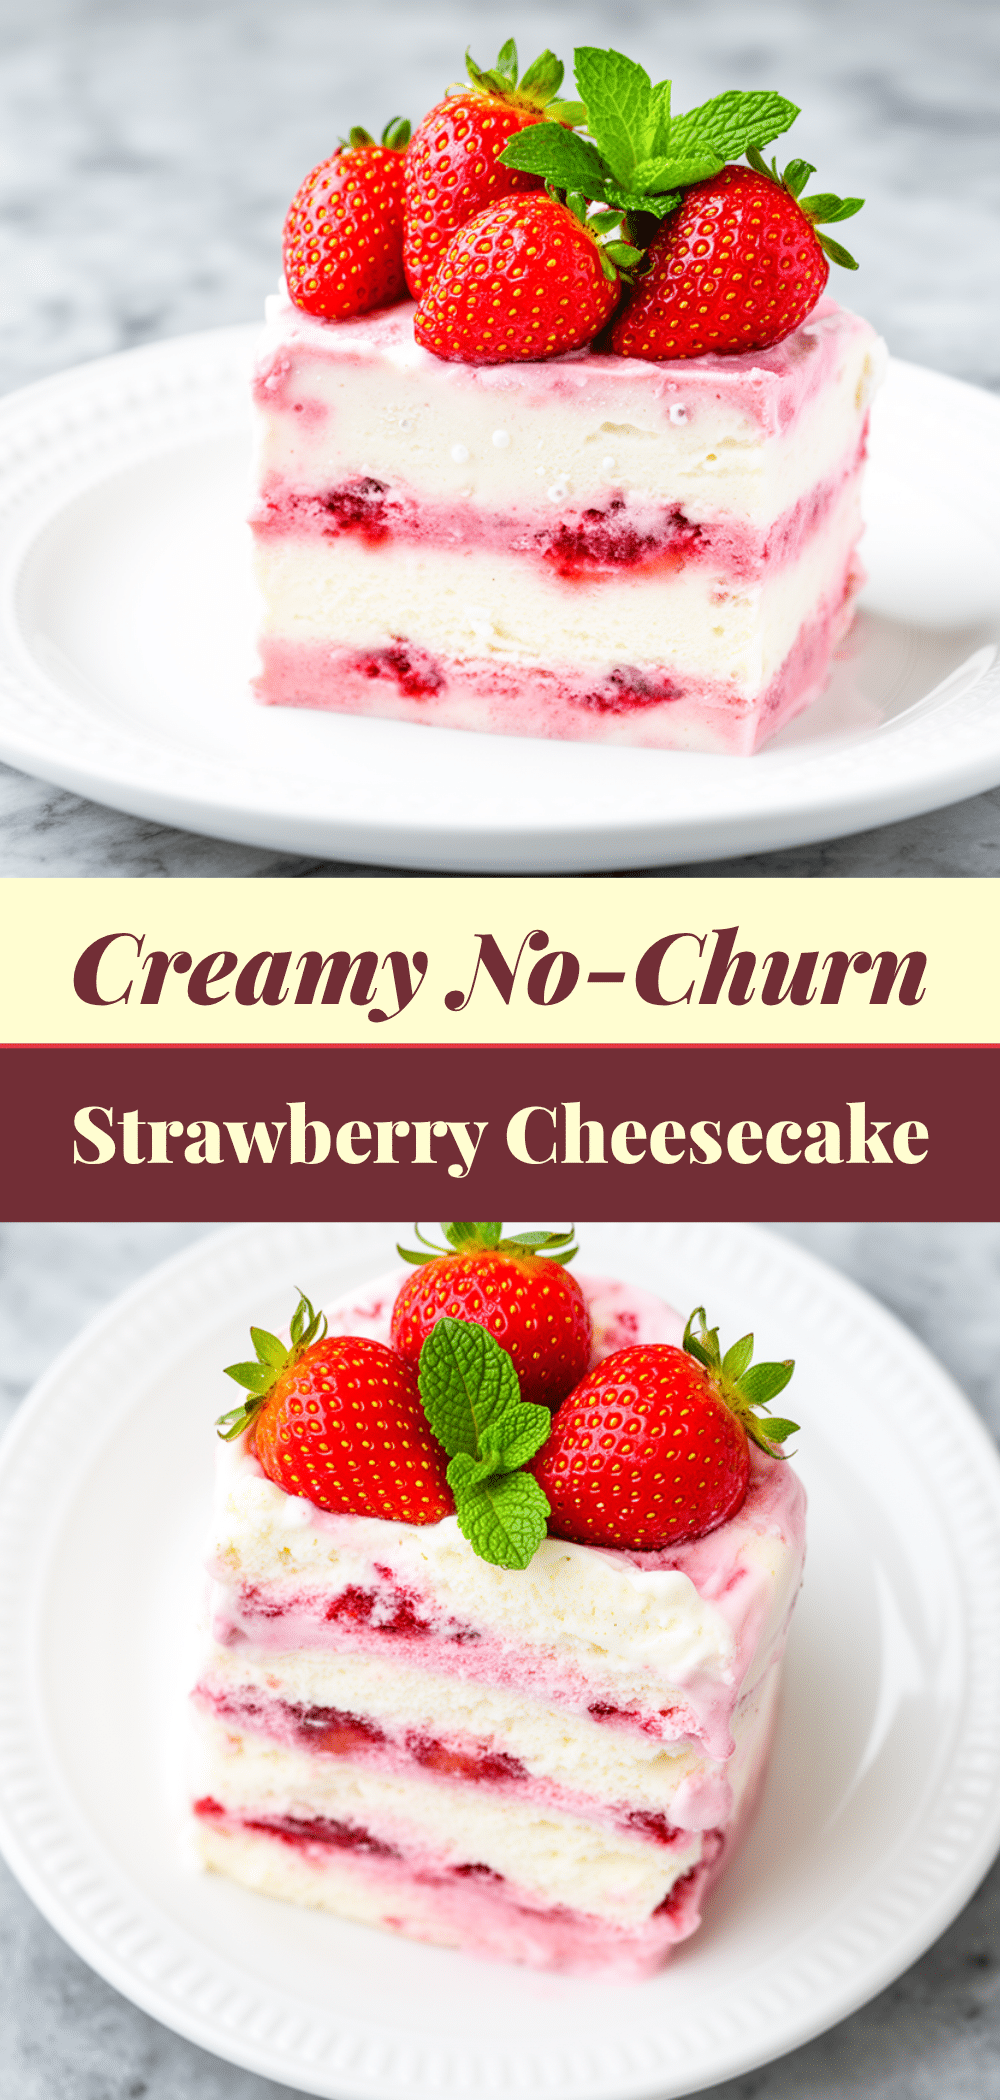
Visually Stunning — Let’s be honest, we eat with our eyes first. The swirls of pink strawberry against the white cheesecake base, topped with crunchy graham cracker bits, look incredible. It looks like you spent hours on it. In reality, it took me 20 minutes of active prep time. That’s the magic of no-churn ice cream.
Makes Amazing Leftovers — I deliberately make extra for lunch. Seriously. A bowl of this with a drizzle of honey and some fresh berries is the best lunch I’ve had all week. It’s better than cereal. Don’t judge me.
Budget-Smart — Compared to buying artisanal pints from the grocery store ($6-$8 each), this costs about $8-10 to make a whole gallon. That’s less than half the price per serving, and it tastes way better. Plus, you control the sugar level.
This is my go-to when I need a dessert that is impressive, easy, and universally loved. It doesn’t matter if your guests are picky eaters, dairy lovers, or just people who want something cold on a hot day. They will love this.
Ingredients You’ll Need
Here’s the best part: you probably have most of these ingredients already. This isn’t a recipe that requires a trip to three different specialty stores. It’s pantry-friendly with a quick stop for fresh berries.
For the Cheesecake Base:
Full-fat cream cheese (8 ounces / 225g) — This is non-negotiable. Do not use light cream cheese. It won’t have enough fat to create that rich, tangy cheesecake flavor and texture. Let it sit on the counter for 30 minutes before you start so it’s soft and easy to whip. I use Philadelphia brand because it’s consistent, but any high-quality full-fat block works.
Heavy whipping cream (2 cups / 480ml) — Cold is key here. Take it straight from the fridge. You need high fat content (35% or higher) to whip it into stiff peaks. If your cream is warm, it won’t hold air, and your ice cream will be icy and dense. I keep mine in the coldest part of the fridge until the last minute.
Sweetened condensed milk (14 ounces / 397g, one standard can) — This provides the sweetness and the creamy texture without needing eggs. It’s thick, sugary, and essential. Do not substitute with evaporated milk; it’s not sweet enough and will change the texture completely. I buy the large cans when they’re on sale.
Vanilla extract (1 teaspoon) — Use real vanilla, not imitation. I know it’s expensive, but a little goes a long way. I use Nielsen-Massey or Madagascar bourbon vanilla. It adds a floral note that pairs beautifully with the strawberry.
For the Strawberry Swirl:
Fresh strawberries (1 pound / 450g) — Ripe, red, and fragrant. If you’re making this in winter, frozen strawberries work fine, but you’ll need to thaw and drain them thoroughly to remove excess water. I prefer fresh in summer because they have more flavor. Look for berries that are dark red, not shiny red—that’s where the sugar is.
Lemon juice (1 tablespoon) — This brightens up the strawberry flavor and cuts through the richness of the cream cheese. It’s a small amount, but it makes a huge difference. Don’t skip it.
Sugar (2 tablespoons) — Depending on how sweet your strawberries are, you might need a little extra sugar. Taste your strawberries first. If they’re tart, add the sugar. If they’re like candy, skip it.
For the Graham Cracker Crunch:
Graham cracker crumbs (½ cup / 50g) — I buy pre-made crumbs to save time, but crushing them yourself is fun and tastes better. Use honey graham crackers for extra sweetness, or regular for a more traditional cheesecake flavor. I crush them in a Ziploc bag with a rolling pin—it’s therapeutic.
Melted butter (1 tablespoon) — This helps the crumbs stick together slightly so you get those nice crunchy clusters in the ice cream. It’s optional if you don’t mind loose crumbs, but I think it adds better texture.
Optional Add-ins:
Cream cheese frosting bits — I sometimes freeze small dollops of sweetened cream cheese mixture to drop into the ice cream for actual cheesecake chunks. It’s a nice surprise.
Fresh mint leaves — Chop a few and stir in for a refreshing garnish when serving.
Equipment Needed
You don’t need fancy equipment for this. Here’s what I actually use:
Stand mixer or hand mixer — A stand mixer is easier because you can do the cream cheese and cream in the same bowl, but a hand mixer works perfectly fine. I’ve used both for years. Just make sure the beaters are clean and dry.
Large mixing bowl — If using a hand mixer, you need a big bowl. I use a 6-quart stainless steel bowl. It needs to be deep enough that the whipped cream doesn’t fly out when you’re whipping.
Spatula — A silicone spatula is essential for folding. You need to gently combine the mixtures without deflating the whipped cream. I have a few different sizes, but a medium-sized one works best for this volume.
Loaf pan or freezer-safe container — A 9×5 inch loaf pan works great for layering. It makes slicing easier. But any airtight container works. I use a 1-gallon freezer-safe plastic container because it’s easier to store in my crowded freezer.
Blender or food processor — Optional, but helpful for pureeing the strawberries. I use my blender because it’s faster than mashing by hand. If you don’t have one, a potato masher works, but it takes longer.
Measuring cups and spoons — Standard stuff. Dollar store versions work fine. Just make sure they’re accurate.
Freezer — Obviously. But make sure it’s at least 0°F (-18°C). If your freezer is too warm, the ice cream won’t set properly.
How to Make It: Step-by-Step
Alright, let’s make this! I’m walking you through exactly how I do it, including the little tricks I’ve picked up over the years. This process is simple, but timing matters.
Step 1: Prep Your Strawberries (10 minutes)
Wash and hull your strawberries. Chop them into small pieces, leaving some larger chunks if you want texture. Place them in a blender or food processor with the lemon juice and sugar (if using). Pulse until you get a chunky puree. You don’t want it completely smooth; you want little bits of strawberry for flavor bursts. If you’re using frozen berries, thaw them first and drain off any excess liquid. Wet strawberries will make your ice cream icy. Set the puree aside.
Step 2: Whip the Cream Cheese (3 minutes)
In your large mixing bowl, add the softened cream cheese. Beat it on medium-high speed until it’s completely smooth and creamy, about 2 minutes. Scrape down the sides of the bowl with your spatula. This step is crucial—if there are lumps of cream cheese, they’ll show up in the final ice cream. I’ve made this mistake before, and it’s annoying. Take the time to get it smooth.
Step 3: Add Condensed Milk and Vanilla (1 minute)
With the mixer on low, slowly pour in the sweetened condensed milk. Add the vanilla extract. Mix until just combined. Don’t overmix here; you just want it incorporated. The mixture will be thick and sweet. Set this bowl aside. It’s your cheesecake base.
Step 4: Whip the Heavy Cream (5 minutes)
In a separate clean, cold bowl, whip the heavy cream on high speed. Watch it closely. You’re looking for stiff peaks. This means when you lift the beaters, the cream stands up straight and doesn’t droop. This usually takes 3-5 minutes. Do not under-whip, or your ice cream will be dense. Do not over-whip, or it will turn into butter. I stop when I see the peaks hold their shape firmly.
Step 5: Fold It All Together (3 minutes)
Now comes the gentle part. Add one-third of the whipped cream to the cream cheese mixture and fold it in with your spatula. This lightens the dense cream cheese mixture. Then, add the rest of the whipped cream and gently fold until no white streaks remain. Be gentle! You’re trying to keep the air in the cream. If you stir too vigorously, you’ll deflate it, and your ice cream won’t be fluffy. It should look like a thick, airy mousse.
Step 6: Layer and Swirl (5 minutes)
Spread half of the ice cream mixture into your prepared loaf pan or container. Spoon half of the strawberry puree over the top. Sprinkle half of the graham cracker crumbs. Repeat with the remaining ice cream, strawberry puree, and crumbs. Use a knife or chopstick to gently swirl the strawberry puree into the white base. Don’t over-swirl; you want distinct ribbons of pink, not a uniform pink mixture. It should look like a marble cake.
Step 7: Freeze (6+ hours)
Cover the container tightly with plastic wrap and then a lid or foil. Freeze for at least 6 hours, but overnight is best. The longer it freezes, the smoother it gets. I usually make it the night before a party so it’s fully set by the next day.
Step 8: Serve
Let the ice cream sit on the counter for 5-10 minutes before scooping. This makes it easier to get clean scoops. Serve in bowls, cones, or even stuffed into waffle cones for a party favor. Top with extra strawberry slices or graham cracker crumbs if you want to be fancy.
Expert Tips & Tricks
Here’s everything I’ve learned from making this dozens of times. These tips will save you from my mistakes.
Cold Everything Matters
Your cream cheese must be softened but not warm. Your heavy cream must be ice cold. If your cream is warm, it won’t whip. I keep my mixing bowl in the fridge for 15 minutes before I start if it’s a hot day. This small step ensures stiff peaks.
Don’t Skip the Lemon Juice
I know it seems small, but the acid in the lemon juice cuts the richness of the cream cheese and highlights the strawberry flavor. It makes the whole dessert taste brighter and less cloying. It’s the secret ingredient that makes it taste professional.
Drain Your Strawberries Well
If your strawberry puree is too watery, your ice cream will form ice crystals. If you’re using fresh berries, don’t add extra water. If using frozen, thaw them in a strainer and press out the liquid with a spoon. The drier the puree, the creamier the ice cream.
Fold, Don’t Stir
When combining the whipped cream and cream cheese mixture, use a folding motion. Cut down through the center, scrape the bottom, and fold over the top. Rotate the bowl. This keeps the air bubbles intact. Stirring in circles deflates the cream. I’ve ruined batches by rushing this step. Take your time.
Use a Loaf Pan for Easy Slicing
If you’re serving a crowd, a loaf pan makes it easy to slice into neat portions. Just lift the entire block out of the pan using the plastic wrap, slice it, and serve. It looks very elegant and makes serving much faster than scooping from a round container.
Common Mistakes (and how to avoid them):
Mistake: Ice cream is icy.
Fix: Your cream wasn’t whipped stiff enough, or your strawberry puree was too wet. Ensure stiff peaks and drain berries well.
Mistake: Cream cheese lumps.
Fix: Your cream cheese wasn’t softened enough. Beat it longer or microwave it for 10-second intervals until smooth.
Mistake: Ice cream is too dense.
Fix: You overmixed the whipped cream or folded too aggressively. Be gentle and watch for stiff peaks.
Variations & Substitutions
Once you’ve nailed the basic version, here’s how you can mix it up. I’ve tried all of these.
Blueberry Cheesecake Ice Cream
Swap strawberries for blueberries. Use blueberry jam or fresh blueberries mashed with a little sugar. It’s equally delicious and looks stunning with purple swirls.
Oreo Cheesecake Ice Cream
Skip the strawberry puree. Crush 10 Oreos and fold them into the mixture along with the graham cracker crumbs. It’s like eating an Oreo cheesecake in ice cream form.
Raspberry Swirl
Raspberries are tart and beautiful. Use fresh raspberries and a little less sugar since they’re naturally tart. The red color is intense and gorgeous.
Chocolate Chip Variation
Add ½ cup of mini chocolate chips when you add the graham cracker crumbs. It’s a fun twist that kids love.
Dairy-Free Option
Use coconut cream (the thick part from a can of full-fat coconut milk) instead of heavy cream, and use a vegan cream cheese alternative. The texture is slightly different but still creamy. I’ve made this for dairy-free friends, and they loved it.
Gluten-Free
Use gluten-free graham crackers or vanilla wafers crushed into crumbs. Everything else is naturally gluten-free.
Serving & Storage
How to Serve:
I usually serve this in little glass jars or bowls at parties. It looks rustic and chic. For a fancy touch, rim the glasses with crushed graham crackers and dip the rim in melted chocolate. It’s a nice presentation that doesn’t take much effort.
Side Dishes:
This is a dessert, so pair it with light appetizers. My sparkling watermelon cucumber agua fresca is the perfect pairing—it’s refreshing and balances the richness of the ice cream. I also serve it with fresh fruit platters or light salads.
Storage Instructions:
Store in an airtight container in the freezer for up to 2 weeks. It actually gets firmer over time, so let it sit out for 10 minutes before serving if it’s been frozen for a while. Do not refreeze after thawing, as it will become grainy.
Reheating:
You don’t reheat ice cream. But if it’s too hard to scoop, let it sit at room temperature for 5-10 minutes. That’s it.
Nutrition Information
I’m not a nutritionist, but here’s the breakdown if you’re tracking. Please remember this is an estimate and varies based on brands used.
Per Serving (based on 12 servings):**
– Calories: 380
– Protein: 6g
– Carbs: 32g
– Fiber: 1g
– Sugar: 28g
– Fat: 26g
– Saturated Fat: 16g
– Cholesterol: 75mg
– Sodium: 120mg
– Calcium: 100mg
What’s Good:
– Good source of calcium from the cream cheese and milk
– Provides energy from the carbs
– Contains protein
What to Know:
– High in saturated fat and sugar, as expected for a dessert
– Contains dairy and gluten
– Not suitable for vegan or dairy-free diets without modifications
My Take:
Look, this is ice cream. It’s meant to be indulgent. It’s not a health food. But it’s better than store-bought because you control the ingredients. When I make it, I sometimes use less sugar in the strawberry mix and add more berries to balance it out. But usually? I just enjoy a small scoop and appreciate the creamy, tangy goodness.
Final Thoughts
So that’s my no-churn strawberry cheesecake ice cream! I’ve probably talked your ear off at this point, but when you make a recipe this often, you have a lot to say about it. This has saved my summer parties more times than I can count. It’s my answer to “what dessert should I bring?” when I’m tired, don’t want to bake, and still want something that tastes really good.
My kids are happy, my husband’s happy, and my guests are always impressed. It’s the perfect balance of easy and elegant. Make it yours! Try different berries, swap the graham crackers for vanilla wafers, or add a layer of cheesecake frosting. The best recipes are the ones you adapt to your family’s tastes.
If you make this, drop a comment and let me know what you think! I love hearing how recipes turn out in your kitchen. And if something doesn’t work, tell me that too—I’m here to help troubleshoot. Happy cooking! And I hope your kitchen smells half as good as mine does right now.
Frequently Asked Questions
Can I use frozen strawberries?
Yes, absolutely. In fact, I often use frozen strawberries in the winter. Just make sure to thaw them completely and drain off as much liquid as possible. You can press them in a fine-mesh strainer to remove excess water. Wet strawberries will make your ice cream icy, so this step is crucial.
Why did my ice cream turn out icy?
Icy texture usually means one of two things: your heavy cream wasn’t whipped to stiff peaks, or your strawberry puree was too watery. Make sure your cream is cold and whipped until it holds sharp peaks. Also, ensure your fruit puree is thick and not runny. If you’re using berries with high water content, cook them down into a jam first to reduce the liquid.
Can I make this ahead for a party?
Yes! This is actually better if you make it a day or two ahead. The flavors meld together, and it freezes solid. I usually make it the night before a party. Just keep it in the freezer until an hour before serving, then let it sit on the counter for 10 minutes to soften slightly for scooping.
Why did my cream cheese mixture have lumps?
Your cream cheese wasn’t softened enough. Cold cream cheese is hard to beat smooth. Take it out of the fridge 30-60 minutes before you start. If you’re in a hurry, microwave it in 10-second intervals, checking after each one until it’s soft but not melted. Beat it longer than you think you need to until it’s completely creamy.
Can I substitute heavy cream with half-and-half?
I don’t recommend it. Half-and-half has too much water and not enough fat to whip into stiff peaks. Your ice cream will be dense and icy. You need heavy cream (35% fat or higher) for that light, fluffy texture. If you need a dairy-free option, use full-fat coconut cream, which whips similarly.
How long does this ice cream last in the freezer?
It lasts for about 2 weeks in an airtight container. After that, it might start to develop freezer burn or lose its texture. It’s best eaten within the first week for peak freshness. Label your container with the date so you know when to eat it!
Can I add alcohol to this?
Yes, a tablespoon or two of vodka or strawberry liqueur can be added to the strawberry puree. Alcohol lowers the freezing point, so it might make the ice cream slightly softer, but it adds a nice adult kick. Just don’t add too much, or it won’t freeze properly.
Pin This Recipe!
No-Churn Strawberry Cheesecake Ice Cream
- Total Time: 6 hours 20 minutes
- Yield: 12 servings 1x
Description
A creamy, no-churn strawberry cheesecake ice cream that requires no ice cream machine. This easy summer party treat combines tangy cream cheese, sweet condensed milk, and fresh strawberry swirls for a dessert that is both indulgent and foolproof.
Ingredients
- 8 ounces (225g) full-fat cream cheese, softened
- 2 cups (480ml) heavy whipping cream, cold
- 14 ounces (397g) sweetened condensed milk (1 standard can)
- 1 teaspoon vanilla extract
- 1 pound (450g) fresh strawberries, hulled and chopped
- 1 tablespoon lemon juice
- 2 tablespoons sugar (optional, depending on strawberry sweetness)
- 1/2 cup (50g) graham cracker crumbs
- 1 tablespoon melted butter
Instructions
- Wash, hull, and chop strawberries. Blend with lemon juice and sugar (if using) until chunky puree. Set aside.
- In a large mixing bowl, beat softened cream cheese on medium-high speed until smooth and creamy. Scrape down sides.
- With mixer on low, slowly add sweetened condensed milk and vanilla extract. Mix until just combined.
- In a separate clean, cold bowl, whip heavy cream on high speed until stiff peaks form (3-5 minutes).
- Gently fold one-third of the whipped cream into the cream cheese mixture to lighten it. Then, fold in the remaining whipped cream until no white streaks remain.
- Spread half of the ice cream mixture into a 9×5 inch loaf pan or freezer-safe container. Spoon half of the strawberry puree over the top and sprinkle with half of the graham cracker crumbs.
- Repeat layers with remaining ice cream mixture, strawberry puree, and crumbs.
- Use a knife or chopstick to gently swirl the strawberry puree into the base to create ribbons.
- Cover tightly with plastic wrap and a lid. Freeze for at least 6 hours or overnight.
- Before serving, let ice cream sit on the counter for 5-10 minutes to soften slightly for easier scooping.
Notes
Ensure cream cheese is fully softened to avoid lumps. Heavy cream must be very cold to whip properly. Do not substitute heavy cream with half-and-half as it lacks the fat content needed for stiff peaks. If using frozen strawberries, thaw and drain thoroughly to prevent icy texture. For best results, make the night before serving.
- Prep Time: 20 minutes
- Cook Time: 0 minutes
- Category: Dessert
- Cuisine: American
Nutrition
- Serving Size: 1 scoop
- Calories: 380
- Sugar: 28
- Sodium: 120
- Fat: 26
- Saturated Fat: 16
- Carbohydrates: 32
- Fiber: 1
- Protein: 6
Keywords: no-churn ice cream, strawberry cheesecake, summer dessert, party treat, easy ice cream recipe, frozen dessert


