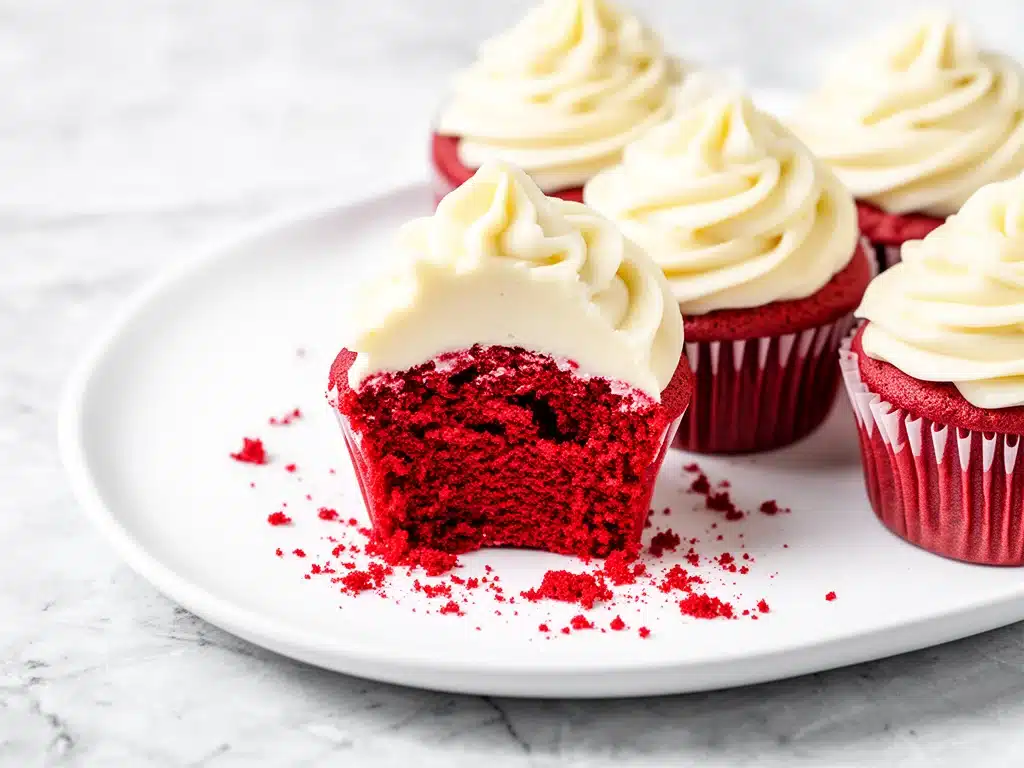
Let me tell you a quick story about failure, flour, and one very determined six-year-old. Last spring, I volunteered to bake the cupcakes for my daughter’s birthday party. I’m a decent cook, sure. I can make a mean crockpot cheesy taco pasta that clears the plate in seconds, and my creamy sun-dried tomato spinach chicken skillet is basically the family’s comfort food. But baking? Baking is a different beast. It’s chemistry. It’s precision. And I was about to learn that the hard way.
I decided to make red velvet cupcakes. They’re classic, they’re pretty, and kids love the color. I followed a Pinterest recipe that promised “easy” and “fluffy.” What it delivered was dense, dry bricks that tasted like cardboard with a hint of cocoa. My daughter stared at hers, took one polite bite, and whispered, “Mom, is this a rock?”
I was devastated. I felt like I’d let her down on her special day. But here’s the thing about bad baking experiences: they make you angry enough to fix them. I spent the next three weekends in my kitchen, testing batters, adjusting ratios, and swapping out ingredients. I tried buttermilk, I tried yogurt, I tried vinegar, and I tried enough cream cheese frosting to fill a small pool.
And then, on Sunday morning, I finally got it. The batter was vibrant ruby red, silky smooth, and baked into cupcakes that were impossibly soft. The frosting? Tangy, rich, and swirled with enough cream cheese to make your taste buds sing. When I brought these to the next party (a neighbor’s kid’s birthday, just to test them), three adults asked for the recipe before the kids even touched the plates. My daughter’s friends are still asking for them. Seriously.
So, these Frosted Red Velvet Cupcakes with Cream Cheese Swirl aren’t just a recipe. They’re my redemption arc. They’re the cupcakes that prove you don’t need to be a professional baker to make something that looks like it came from a high-end patisserie. You just need the right technique, a few key ingredients, and maybe a little bit of stubbornness. If you’ve ever been intimidated by baking or just want to impress your neighbors, this is the one. Trust me.
Why You’ll Love This Red Velvet Cupcake Recipe
Okay, so why are these cupcakes worth your oven time? I’ve made them at least twelve times since that first disaster, and here’s why they’ve become my go-to for every celebration, bake sale, and “I need to cheer someone up” moment.
- They’re Actually Red Velvet — Not just chocolate cupcakes with red food coloring. These have that distinct tangy, buttermilk flavor profile that defines real red velvet. It’s subtle, not overpowering, but definitely there. My husband, who claims he “doesn’t really like red velvet,” ate three of these and didn’t even realize he was having a second helping.
- The Cream Cheese Swirl is Non-Negotiable — Most recipes just frost the top. I swirl the cream cheese *into* the batter before baking. This creates pockets of tangy, creamy goodness inside each cupcake. It’s like a surprise in every bite. I learned this trick from a baker in New Orleans, and it changes the texture game completely.
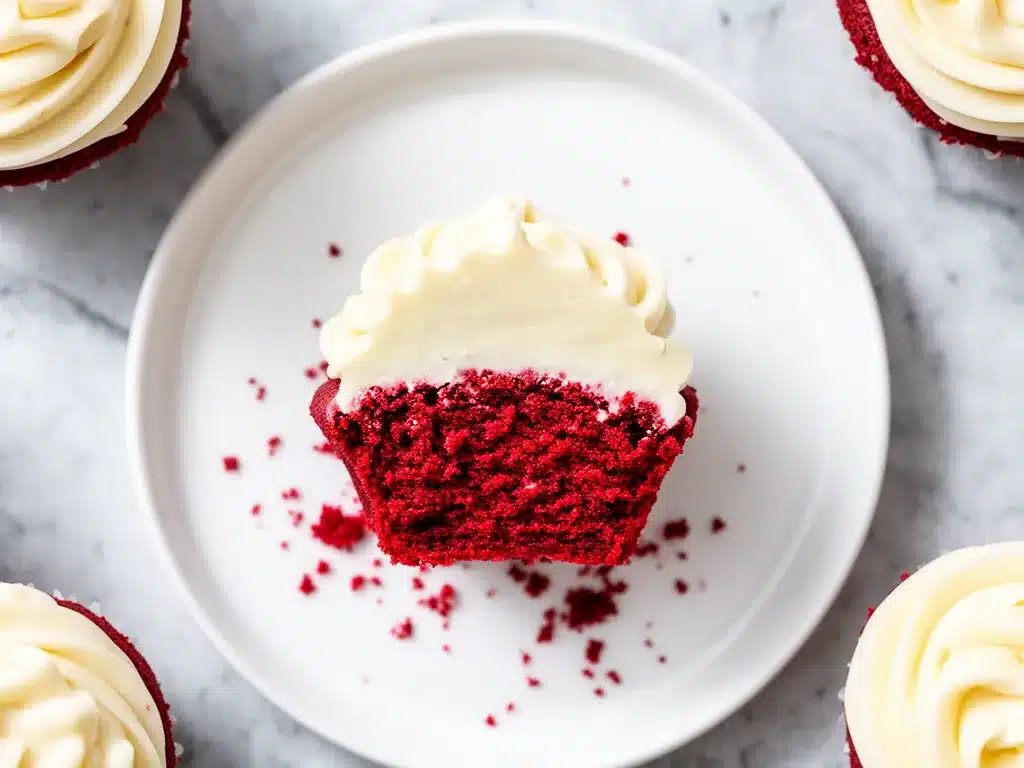
- Stunningly Beautiful — These cupcakes look incredible. The deep red color contrasts beautifully with the white cream cheese swirl and the fluffy vanilla frosting on top. They’re perfect for Pinterest, for Instagram, or just for making your kids feel like royalty. (Pro tip: They pair surprisingly well with a chilled glass of sparkling watermelon cucumber agua fresca if you’re serving them at a summer party.)
- Soft and Moist Every Time — The biggest complaint about homemade cupcakes is dryness. Not these. The combination of buttermilk, oil, and sour cream keeps them moist for days. I’ve kept leftovers in an airtight container for three days, and they still tasted fresh on day four (don’t judge me).
- Beginner-Friendly — I know baking can be scary. But this recipe is forgiving. You don’t need fancy equipment. You don’t need to temper chocolate or fold egg whites with surgical precision. Just mix, swirl, bake, and frost. If you can make ants on a log, you can make these cupcakes. (Okay, maybe not ants on a log, but you get the idea.)
Real talk: These cupcakes have saved me more times than I can count. They’re my answer to “What should I bring to the potluck?” or “I need to apologize for forgetting to buy milk.” They always work. They always impress. And they always make people smile.
Ingredients You’ll Need for Red Velvet Cupcakes
Here’s the good news: you probably have most of these ingredients in your pantry already. I’m particular about a few things here, so pay attention to the details. This isn’t just a list; it’s a guide to success.
For the Cupcakes:
All-Purpose Flour (2 ½ cups / 315g) — Don’t substitute cake flour unless you know what you’re doing. All-purpose gives the right structure. I always sift mine first to avoid lumps. It’s a small step that makes a big difference in texture.
Cocoa Powder (1 tablespoon / 5g) — Use unsweetened, natural cocoa powder. I prefer Hershey’s because it’s widely available and consistent. Dutch-processed cocoa can work, but it might change the color slightly. Stick to natural for that classic red velvet hue.
Salt (1 teaspoon / 6g) — Essential for balancing the sweetness. Don’t skip it. I use fine sea salt.
Baking Soda (1 teaspoon / 5g) — This reacts with the buttermilk to create lift. Make sure it’s fresh! Old baking soda won’t work, and you’ll end up with dense cupcakes. If it’s been in your cabinet for more than six months, toss it and buy new.
Buttermilk (1 cup / 240ml) — This is the secret weapon. Buttermilk tenderizes the gluten and adds that signature tang. If you don’t have buttermilk, make your own by adding 1 tablespoon of white vinegar or lemon juice to 1 cup of milk. Let it sit for 5-10 minutes until it curdles. It works perfectly.
Vegetable Oil (½ cup / 120ml) — I use oil instead of butter for the batter. Oil keeps cupcakes moist longer than butter does. I use a neutral-tasting oil like canola or vegetable. Olive oil will change the flavor, so avoid it here.
Sugar (1 ½ cups / 300g) — Granulated white sugar. Don’t substitute brown sugar; it will make the cupcakes too dense and change the color.
Eggs (2 large) — Room temperature eggs are crucial. They incorporate better into the batter, creating a smoother, more even texture. If you forget, just place them in a bowl of warm water for 5 minutes.
Vanilla Extract (1 teaspoon / 5ml) — Use real vanilla extract, not imitation. It makes a huge difference in flavor. I love Nielsen-Massey because it’s pure and potent.
Red Food Coloring (2 tablespoons / 30ml) — Gel food coloring is best because it’s more concentrated and doesn’t add extra liquid. I use a gel paste from Wilton. Liquid coloring works too, but you’ll need more, and it might affect the texture slightly.
For the Cream Cheese Swirl & Frosting:
Cream Cheese (8 oz / 225g) — Full-fat, brick-style cream cheese. NOT the spreadable kind in a tub. It has too much water and won’t hold its shape. Let it come to room temperature before mixing.
Butter (½ cup / 115g) — Unsalted, softened to room temperature. This is for the frosting. Softened means it should yield to gentle pressure but not be melted.
Powdered Sugar (3 cups / 360g) — Sift this! It’s crucial to avoid lumps in your frosting. I sift mine twice for extra smoothness.
Vanilla Extract (1 teaspoon / 5ml) — Again, real vanilla. It complements the cream cheese beautifully.
Salt (¼ teaspoon / 1.5g) — Just a pinch to balance the sweetness.
Optional: Extra Red Food Coloring — For the frosting, if you want it pink. I usually keep it white for contrast, but feel free to add a drop if you want a monochromatic look.
Equipment Needed
You don’t need fancy gear for this. Here’s what I actually use:
- Cupcake Pan — Standard 12-cup muffin tin. I use non-stick, but you can line with liners for easy cleanup.
- Cupcake Liners — Red liners are cute, but white or plain work fine. I prefer white to let the red color shine.
- Mixing Bowls — Two large bowls. One for dry ingredients, one for wet.
- Whisk — For mixing the dry ingredients and beating the frosting.
- Spatula — For folding the batter and scraping the bowl. Silicone is best.
- Cooling Rack — Essential for cooling cupcakes evenly. Don’t skip this step, or they’ll get soggy.
- Piping Bag (Optional) — For fancy frosting. I use a simple zip-top bag with the corner cut off. It works great.
- Offset Spatula — For spreading frosting smoothly. If you don’t have one, a regular knife works too.
That’s it. Nothing fancy. Just basic kitchen tools. If you can handle these, you can make these cupcakes.
How to Make Frosted Red Velvet Cupcakes with Cream Cheese Swirl
Alright, let’s get baking! I’m walking you through exactly how I do it, step by step. This process is straightforward, but attention to detail matters.
Step 1: Prep Your Oven and Pan (5 minutes)
Preheat your oven to 350°F (175°C). Line your cupcake pan with liners. I usually do 12 cupcakes, but you can adjust the recipe if you want fewer. Make sure your pan is clean and dry.
Step 2: Mix the Dry Ingredients (2 minutes)
In a large bowl, whisk together the flour, cocoa powder, salt, and baking soda. Whisking ensures everything is evenly distributed, so you don’t get pockets of baking soda in your cupcakes. Sift if you have lumps.
Step 3: Mix the Wet Ingredients (3 minutes)
In a separate bowl, whisk the buttermilk, oil, sugar, eggs, vanilla extract, and red food coloring. The mixture should be a vibrant red. Whisk until the sugar is mostly dissolved. It doesn’t need to be perfectly smooth, but no lumps of sugar should remain.
Step 4: Combine Wet and Dry (2 minutes)
Gradually add the dry ingredients to the wet ingredients. Mix on low speed if using a mixer, or stir by hand with a spatula. Stop mixing as soon as the flour disappears. Overmixing develops gluten, which makes cupcakes tough. You want them tender. The batter will be thick and red.
Step 5: Make the Cream Cheese Swirl (5 minutes)
In a small bowl, beat the cream cheese until smooth. Add a teaspoon of vanilla and a pinch of salt. This is your swirl mixture. Keep it simple. You don’t need to sweeten it yet; the sweetness comes from the frosting and the cupcake batter.
Step 6: Assemble and Swirl (5 minutes)
Divide the batter evenly among the cupcake liners, filling each about ⅔ full. Take a teaspoon of the cream cheese mixture and drop it on top of the batter in the center of each cupcake. Use a toothpick or a small knife to gently swirl the cream cheese into the batter. Don’t overdo it; you want visible swirls, not a uniform mix.
Step 7: Bake (18-20 minutes)
Place the pan in the oven and bake for 18-20 minutes. A toothpick inserted into the center should come out clean or with a few moist crumbs. Do not overbake, or they’ll be dry. The cupcakes will rise and the swirls will become visible on top.
Step 8: Cool Completely (30 minutes)
Let the cupcakes cool in the pan for 5 minutes, then transfer them to a cooling rack to cool completely. This is crucial. If you frost warm cupcakes, the frosting will melt and slide off. Patience pays off.
Step 9: Make the Frosting (5 minutes)
In a large bowl, beat the softened butter until creamy. Add the cream cheese and beat until smooth. Gradually add the powdered sugar, one cup at a time, beating on low speed. Add vanilla and salt. Beat on high speed for 2-3 minutes until light and fluffy. If it’s too thick, add a splash of milk. If it’s too thin, add more powdered sugar.
Step 10: Frost and Serve (10 minutes)
Spread or pipe the frosting onto the cooled cupcakes. I usually use a piping bag with a star tip for a classic look, but a knife works fine. Sprinkle with red velvet crumbs if you have them (save a few crumbs from the tops when you trim them). Serve immediately or store in an airtight container.
Expert Tips & Tricks for Perfect Cupcakes
Here’s everything I’ve learned from making these dozens of times. These tips will save you from my mistakes.
Room Temperature Ingredients are Key
I can’t stress this enough. Cold eggs, cold butter, cold cream cheese—they don’t mix well. They create a lumpy batter or frosting. Take everything out of the fridge 30-60 minutes before you start. If you forget, warm the eggs in water and microwave the butter/cream cheese for 10 seconds. It works.
Don’t Overmix the Batter
Once you add the dry ingredients to the wet, mix until just combined. Overmixing makes cupcakes dense and chewy instead of soft and tender. It’s a common mistake, but easy to avoid. Stop when you no longer see streaks of flour.
Use Gel Food Coloring
Liquid food coloring can make the batter too wet and dilute the color. Gel coloring is more concentrated and adds less liquid. It gives you that deep, vibrant red without affecting the texture. I’ve tried both, and gel is superior.
Swirl, Don’t Mix
When adding the cream cheese swirl, use a toothpick to create a marbled effect. Don’t stir it in completely. You want distinct pockets of cream cheese. It looks beautiful and adds texture.
Cool Completely Before Frosting
I know it’s tempting to frost them while they’re warm, but don’t. The heat will melt the frosting, and you’ll end up with a mess. Let them cool on a rack until they’re room temperature. It’s worth the wait.
Variations & Substitutions
Once you’ve mastered the basic version, here’s how you can mix it up. I’ve tried all of these.
White Velvet Cupcakes
Simply omit the cocoa powder and red food coloring. The buttermilk and cream cheese swirl will still give it a rich, tangy flavor. Perfect for spring parties.
Chocolate Swirl
Instead of cream cheese, mix together melted chocolate and a little butter. Swirl it into the batter for a chocolate-red velvet combo. My kids love this version.
Gluten-Free
Use a 1:1 gluten-free flour blend. The texture might be slightly denser, but it still works. I’ve used Bob’s Red Mill, and it’s reliable.
Dairy-Free
Replace buttermilk with almond milk + vinegar. Use coconut oil instead of vegetable oil. For the frosting, use vegan cream cheese and vegan butter. It’s not exactly the same, but it’s surprisingly good. My dairy-free friend approved.
Mini Cupcakes
Fill mini cupcake liners ¾ full and bake for 10-12 minutes. Great for parties and easier to eat. Frosting amount will be less.
Serving & Storage
These cupcakes are best served fresh, but they keep well.
Storage
Store in an airtight container at room temperature for up to 2 days. If your kitchen is hot, refrigerate them. They’ll last up to 5 days in the fridge. Let them come to room temperature before serving for the best texture.
Freezing
You can freeze the unfrosted cupcakes. Wrap them tightly in plastic wrap and store in a freezer bag for up to 2 months. Thaw overnight in the fridge, then frost. The frosting doesn’t freeze well, so add it after thawing.
Serving Suggestions
These cupcakes are perfect for any occasion. Birthdays, holidays, bake sales, or just because. They pair well with coffee, tea, or a glass of milk. For a summer party, serve with a cinnamon sugar tortilla chips and fruit dip for a fun contrast. Or keep it classic with just the cupcakes.
Leftovers
If you have leftovers (unlikely, but possible), keep them in the fridge. They’re best eaten within 3 days. The cream cheese swirl keeps them moist, but they do dry out eventually.
Nutrition Information
I’m not a nutritionist, but here’s the breakdown if you’re tracking. Keep in mind that this is an estimate.
Per Cupcake (with frosting):
- Calories: 350
- Fat: 18g
- Carbs: 45g
- Sugar: 30g
- Protein: 4g
These are indulgent cupcakes, so enjoy them in moderation. They’re a treat, not a health food. But they’re made with real ingredients, and they’re better than anything from a box.
Final Thoughts
So, there you have it. My Frosted Red Velvet Cupcakes with Cream Cheese Swirl. These aren’t just cupcakes; they’re a confidence booster. They’re proof that you can bake something beautiful and delicious without being a professional. I’ve made these for parties, for friends, and for myself, and they never fail to impress.
Make them your own. Add sprinkles, change the swirl, experiment with flavors. The best recipes are the ones you adapt to your taste. And if you make these, I want to hear about it. Drop a comment below with your results. Did the swirl work? Was the color vibrant? Did your family love them? I read every comment, and I love hearing how my recipes turn out in your kitchens.
Happy baking! And I hope your kitchen smells as amazing as mine does right now.
Frequently Asked Questions
Can I use liquid food coloring instead of gel?
Yes, but you’ll need more. Liquid coloring is less concentrated, so you might need 3-4 tablespoons instead of 2. It can also make the batter slightly wetter, so keep an eye on the consistency. Gel is still my preference for that deep red color.
Why did my cupcakes sink in the middle?
Usually, this means they were underbaked. Check them at 18 minutes, and if a toothpick comes out wet, bake for 2-3 more minutes. Also, make sure you didn’t open the oven door too early. Temperature fluctuations can cause sinking.
Can I make the cupcakes ahead of time?
Absolutely. Bake and cool them completely, then store in an airtight container at room temperature for up to 2 days. Frost them the day you serve them. This is great for meal prepping for parties.
Why is my frosting too runny?
This usually happens if the butter or cream cheese was too warm, or if you added too much liquid. Beat it on high speed for a few minutes; it might thicken up. If not, add more powdered sugar, a tablespoon at a time, until it reaches the right consistency.
Can I freeze the cream cheese swirl?
It’s not recommended. Cream cheese can separate when frozen and thawed, affecting the texture. It’s best to make the swirl fresh and use it immediately.
What if I don’t have a piping bag?
No problem! Use a zip-top bag. Fill it with frosting, snip off one corner, and pipe away. It’s not as professional-looking, but it works perfectly fine. Or just use a knife to spread it.
Can I make these into a cake?
Yes! Divide the batter between two 9-inch round cake pans and bake for 25-30 minutes. Frost the top and sides. It’s a great option for larger gatherings. Just check for doneness with a toothpick.
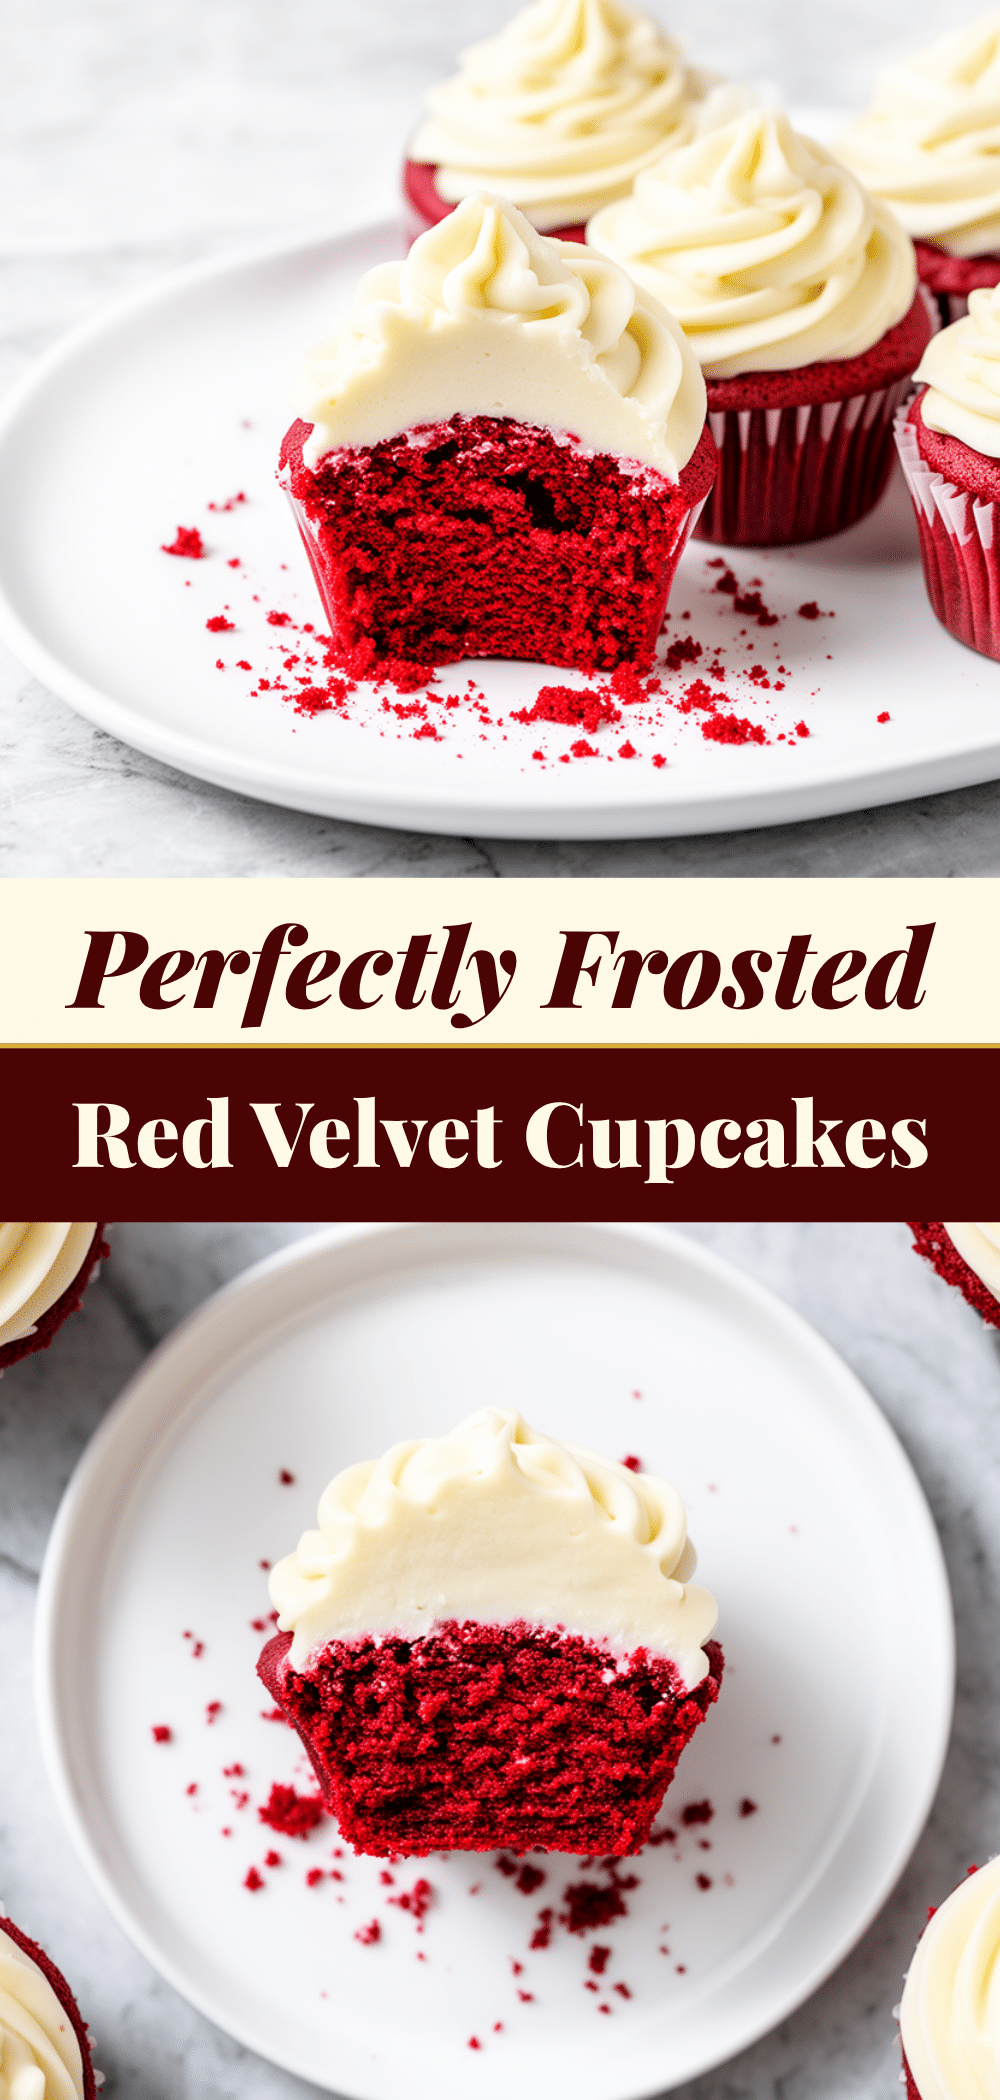
Pin This Recipe!
Frosted Red Velvet Cupcakes with Cream Cheese Swirl
- Total Time: 50 minutes
- Yield: 12 servings 1x
Description
Soft, moist red velvet cupcakes featuring a tangy cream cheese swirl baked into the batter and topped with fluffy vanilla cream cheese frosting. A beginner-friendly recipe that delivers bakery-quality results.
Ingredients
- 2 ½ cups all-purpose flour
- 1 tablespoon unsweetened natural cocoa powder
- 1 teaspoon fine sea salt
- 1 teaspoon baking soda
- 1 cup buttermilk
- ½ cup vegetable oil
- 1 ½ cups granulated white sugar
- 2 large eggs, room temperature
- 1 teaspoon vanilla extract
- 2 tablespoons red gel food coloring
- 8 oz full-fat brick-style cream cheese, room temperature
- ½ cup unsalted butter, softened
- 3 cups powdered sugar, sifted
- 1 teaspoon vanilla extract (for frosting)
- ¼ teaspoon salt (for frosting)
Instructions
- Preheat oven to 350°F (175°C) and line a 12-cup muffin tin with cupcake liners.
- In a large bowl, whisk together the flour, cocoa powder, salt, and baking soda.
- In a separate bowl, whisk the buttermilk, oil, sugar, eggs, vanilla extract, and red food coloring until the sugar is mostly dissolved.
- Gradually add the dry ingredients to the wet ingredients, mixing on low speed or stirring by hand until just combined. Do not overmix.
- In a small bowl, beat the cream cheese until smooth, then add a teaspoon of vanilla and a pinch of salt to create the swirl mixture.
- Divide the batter evenly among the liners, filling each about ⅔ full.
- Drop a teaspoon of the cream cheese mixture into the center of each cupcake and gently swirl with a toothpick or knife.
- Bake for 18-20 minutes, or until a toothpick inserted into the center comes out clean.
- Let cupcakes cool in the pan for 5 minutes, then transfer to a cooling rack to cool completely.
- In a large bowl, beat the softened butter until creamy. Add the cream cheese and beat until smooth.
- Gradually add the powdered sugar, one cup at a time, beating on low speed. Add vanilla and salt, then beat on high speed for 2-3 minutes until light and fluffy.
- Frost the cooled cupcakes with the cream cheese frosting and serve.
Notes
Ensure all ingredients, especially eggs, butter, and cream cheese, are at room temperature for the best texture. Use gel food coloring for vibrant color without altering batter consistency. Do not overmix the batter to keep cupcakes tender. Cool cupcakes completely before frosting to prevent melting.
- Prep Time: 30 minutes
- Cook Time: 20 minutes
- Category: Dessert
- Cuisine: American
Nutrition
- Serving Size: 1 cupcake
- Calories: 350
- Sugar: 30
- Sodium: 250
- Fat: 18
- Saturated Fat: 10
- Carbohydrates: 45
- Fiber: 1
- Protein: 4
Keywords: red velvet cupcakes, cream cheese swirl, baking, dessert, cupcakes, cream cheese frosting, red velvet cake, easy baking


