There is a specific kind of panic that sets in around 5:30 PM on a Tuesday. You’re staring into the fridge, the light flickering slightly, while your kids are already complaining that they’re “hangry.” You don’t have time to chop vegetables. You don’t have the energy to debate what’s for dinner. And you definitely don’t have time to wait for a waffle iron to preheat for ten minutes on a weekend morning.
That was me last week. I was ready to serve mac and cheese again. (Don’t judge me; sometimes mac and cheese is exactly what the doctor ordered.) But then I remembered I had a carton of buttermilk expiring tomorrow and a bag of frozen blueberries in the freezer. I had a sudden, desperate craving for something that felt like a treat but didn’t require a full morning commitment.
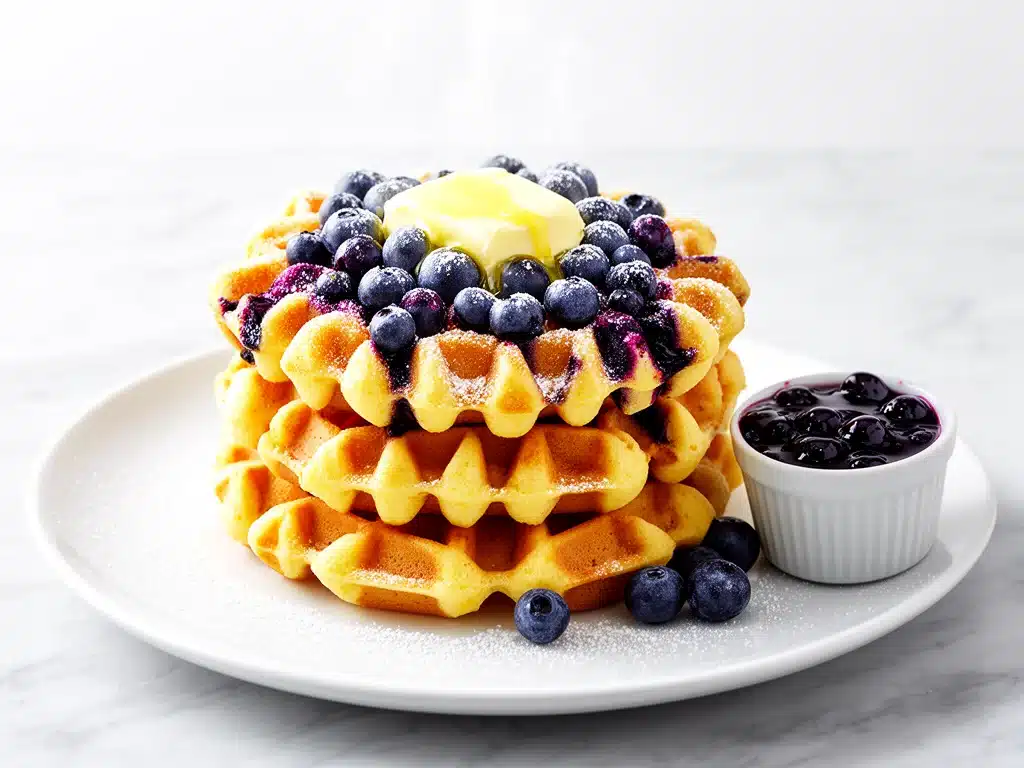
So I threw together these fluffy blueberry buttermilk waffles. I made them at 6:15 PM on a Tuesday. And honestly? They were better than any breakfast I’ve had on a lazy Saturday. The batter comes together in five minutes. The waffles cook in four. The kids didn’t even notice it wasn’t weekend food. In fact, my son asked if we could have “breakfast for dinner” every night from now on.
I’ve tested this fluffy blueberry buttermilk waffles recipe about a dozen times over the last month. I’ve tweaked the ratio of flour to liquid, played with the amount of baking powder, and argued with myself about whether to fold in the berries or mix them in. The version I’m sharing with you today is the winner. It’s light, airy, golden-brown, and packed with bursts of tart blueberry flavor in every bite. It’s the ultimate hack for busy weeknights when you want to feel fancy without the fuss.
If you’re like me and usually default to cereal or toast during the workweek, this recipe is going to change your life. It’s easy, it’s forgiving, and it tastes like you spent all morning in the kitchen. Spoiler alert: you didn’t. Let’s get into why these waffles are about to become your new best friend.
Why You’ll Love This Recipe
Look, I know what you’re thinking. Waffles on a weeknight? Isn’t that a lot of work? Here’s the thing: this fluffy blueberry buttermilk waffles recipe is designed specifically to beat the clock. I’ve stripped away all the complicated techniques and kept only the parts that actually matter for flavor and texture. Here’s why I keep making this for my family:
- Stupid Simple Batter — Seriously, if you can whisk flour and pour milk, you can make this. I’ve mixed this batter while holding my toddler on my hip. No electric mixer needed. Just a bowl and a whisk (or a fork, I’m not your boss).
- Lightning Fast — The batter takes 5 minutes to mix. The waffles take 4 minutes each. If you make a batch for four people, you’re eating in under 20 minutes. That’s faster than ordering pizza and waiting for delivery.
- Buttermilk Magic — The buttermilk isn’t just for flavor (though it adds a lovely tang). It tenderizes the gluten in the flour, which is why these waffles are so incredibly fluffy instead of dense like pancakes. It’s the secret ingredient that makes them feel restaurant-quality.
- Berry Burst — I use frozen blueberries here. And yes, you can use frozen ones directly from the freezer. They hold their shape better than fresh berries and don’t bleed all over the batter. Plus, they’re cheaper and available year-round.
- Leftover Gold — These waffles reheat beautifully. I keep a batch in the freezer. Pop one in the toaster for 90 seconds, and it tastes freshly made. Perfect for those mornings when you overslept and need to eat on the go.
This is my go-to when I need dinner to just work. No complicated techniques, no weird ingredients, just reliable, delicious food that makes everyone happy. It’s comfort food that doesn’t weigh you down.
Ingredients You’ll Need
Here’s the best part: you probably have most of this already in your pantry and fridge. This fluffy blueberry buttermilk waffles recipe relies on simple, accessible ingredients. I’m particular about a few things, so pay attention to the notes below.
For the Dry Mix
All-purpose flour (2 cups / 250g) — This is your base. Don’t use cake flour; it’ll make them too delicate. Don’t use bread flour; it’ll make them chewy. All-purpose is the sweet spot. Sift it if you’re feeling fancy, but I just whisk it to break up clumps.
Baking powder (2 teaspoons) — This is what makes them rise. Make sure yours isn’t expired! I keep a fresh canister on the counter. If your baking powder is old, your waffles will be flat bricks. Trust me.
Baking soda (½ teaspoon) — This reacts with the acid in the buttermilk. It gives that extra lift and helps with browning. Don’t skip it.
Salt (1 teaspoon) — Essential for flavor. It balances the sweetness. I use kosher salt because it’s easier to measure.
Cinnamon (½ teaspoon) — Optional, but I love a hint of warmth. It pairs perfectly with the blueberries. If you’re a purist, skip it.
For the Wet Mix
Buttermilk (1 ½ cups / 360ml) — This is non-negotiable for the texture. If you don’t have buttermilk, you can make a substitute: add 1 tablespoon of lemon juice or white vinegar to 1 ½ cups of milk. Let it sit for 10 minutes until it curdles. It won’t be exactly the same, but it works in a pinch.
Eggs (2 large) — Room temperature eggs mix better. If you’re in a hurry, just crack them into a small bowl of warm water for a minute.
Melted butter (¼ cup / 60g) — Use unsalted butter so you can control the salt. Let it cool slightly before adding so it doesn’t scramble the eggs.
Vanilla extract (1 teaspoon) — Pure vanilla, please. The fake stuff tastes chemical and ruins the delicate flavor.
Sugar (3 tablespoons) — These aren’t super sweet waffles. The blueberries provide plenty of sweetness. If you like them sweeter, bump it up to ¼ cup.
The Stars
Frozen blueberries (1 ½ cups) — Do not thaw them! Thawed blueberries turn the batter purple and gummy. Frozen berries stay distinct and juicy. I buy the store-brand frozen ones; they’re just as good as the name brand.
Extra flour for dusting — A little bit of flour tossed over the blueberries before folding them in helps prevent them from sinking to the bottom.
Equipment Needed
You don’t need fancy equipment for this. Here’s what I actually use. If you don’t have these, don’t worry—there are alternatives.
Waffle iron — Obviously. I use a standard square waffle iron. Round ones work too. Just check your specific model’s instructions for how much batter to pour. I like my waffles crispy on the outside, so I preheat my iron for a full 5 minutes before starting.
Large mixing bowl — Something big enough to hold all the dry ingredients and the wet ingredients without spilling. I use a 4-quart bowl.
Whisk — For combining the wet and dry ingredients. A whisk is better than a spoon because it incorporates air, which helps with fluffiness.
Spatula — A rubber spatula is best for folding in the blueberries gently so you don’t crush them.
Pastry brush or paper towel — To lightly grease the waffle iron between batches. Even if it’s non-stick, a little butter or oil helps with browning and prevents sticking.
Wire rack — This is crucial. Place your cooked waffles on a wire rack set over a baking sheet. This keeps them crisp. If you stack them on a plate, steam gets trapped and they get soggy. I learned this the hard way with a pile of sad, soggy waffles.
How to Make It: Step-by-Step
Alright, let’s make this! I’m walking you through exactly how I do it, including the little tricks I’ve picked up. This fluffy blueberry buttermilk waffles process is quick, so have everything measured out before you turn on the iron.
Step 1: Whisk the Dry Ingredients (2 minutes)
In your large bowl, whisk together the flour, baking powder, baking soda, salt, and cinnamon. I do this first because it takes zero effort, and then I can focus on the wet ingredients without worrying about clumps of baking powder in my batter. Make sure there are no white streaks of flour left.
Step 2: Mix the Wet Ingredients (1 minute)
In a separate medium bowl or large measuring cup, whisk the buttermilk, eggs, melted butter, vanilla, and sugar until smooth. The butter should be melted but not hot. If it’s boiling, let it cool for a minute. Whisk until everything is fully combined and the mixture looks uniform.
Step 3: Combine Wet and Dry (1 minute)
Pour the wet mixture into the dry mixture. Gently stir with your whisk or a spatula. Stop as soon as the flour is moistened. The batter will be lumpy. Do not overmix. Overmixing develops gluten, which makes waffles tough. Lumpy batter = fluffy waffles. If you see a few streaks of flour, that’s okay. Leave them.
Step 4: Fold in the Blueberries (1 minute)
Toss the frozen blueberries with a teaspoon of flour in a small bowl. This coats them and helps them stay suspended in the batter. Gently fold the blueberries into the waffle batter using your spatula. Be gentle! You just want to distribute them evenly. Don’t stir them to death.
Step 5: Cook the Waffles (4 minutes each)
Preheat your waffle iron. Lightly grease it with butter or oil. Pour about ½ cup of batter onto the center of the iron (adjust based on your iron’s size). Close the lid and cook for 3-4 minutes. Don’t peek! Opening the lid releases steam and can mess with the cooking time. Cook until the steam stops rising and the waffles are golden brown and crispy. Mine take about 4 minutes.
Step 6: Keep Warm and Crisp
Transfer the cooked waffle to a wire rack set over a baking sheet. Place the sheet in a 200°F (95°C) oven if you want to keep them warm while you cook the rest. This keeps them crispy. If you don’t have an oven, just leave them on the rack at room temperature for a few minutes. Eat immediately for the best texture.
Total Time: About 20 minutes for a batch of 4-6 waffles.
Expert Tips & Tricks
Here’s everything I’ve learned from making this dozens of times. These tips will save you from my mistakes.
Don’t Thaw the Berries
I know it’s tempting to thaw them so they’re softer, but don’t do it. Thawed berries release juice into the batter, turning it purple and making the waffles dense. Frozen berries create pockets of warm, juicy fruit without ruining the structure.
Let the Batter Rest (If You Have Time)
If you’re not in a huge rush, let the batter sit for 5-10 minutes after mixing. This allows the flour to hydrate fully and the baking powder to start working. You’ll get slightly taller, fluffier waffles. But if you’re rushing? Just cook them. They’ll still be good.
Grease Between Batches
Even if your waffle iron is non-stick, the first waffle might stick. Lightly brush or wipe it with butter or oil before each waffle. It helps with that golden-brown crust.
Don’t Press Down
Never press down on the waffle iron with the handle. This squeezes out the air and makes dense waffles. Just close the lid and let it do its job.
Temperature Check
If your waffles are browning too fast but aren’t cooked through, lower the temperature of your iron slightly. Every iron is different. Mine runs hot, so I have to be quick.
Variations & Substitutions
Once you’ve nailed the basic version, here’s how you can mix it up. I’ve tried all of these.
Strawberry Lemon Waffles
Swap blueberries for chopped fresh strawberries. Add the zest of one lemon to the dry ingredients. It’s bright, fresh, and perfect for spring.
Banana Walnut Waffles
Add 1 mashed ripe banana to the wet mix and fold in ½ cup chopped walnuts. It’s like banana bread in waffle form. Very comforting.
Chocolate Chip Waffles
Skip the berries and add ½ cup chocolate chips. Use dark chocolate for a less sweet option. My kids go crazy for these.
Gluten-Free Version
Use a 1:1 gluten-free flour blend. The texture will be slightly different (a bit more crumbly), but they’re still delicious. I’ve used Bob’s Red Mill and it works great.
Dairy-Free Version
Use dairy-free buttermilk (soy or oat milk with vinegar) and coconut oil instead of butter. They’re still fluffy and tasty. My lactose-intolerant friend loves these.
Other Berries
Raspberries or blackberries work too. Just be gentle when folding them in, as they’re more delicate than blueberries.
Serving & Storage
How to serve these fluffy blueberry buttermilk waffles is entirely up to you. Here’s how I do it.
How to Serve
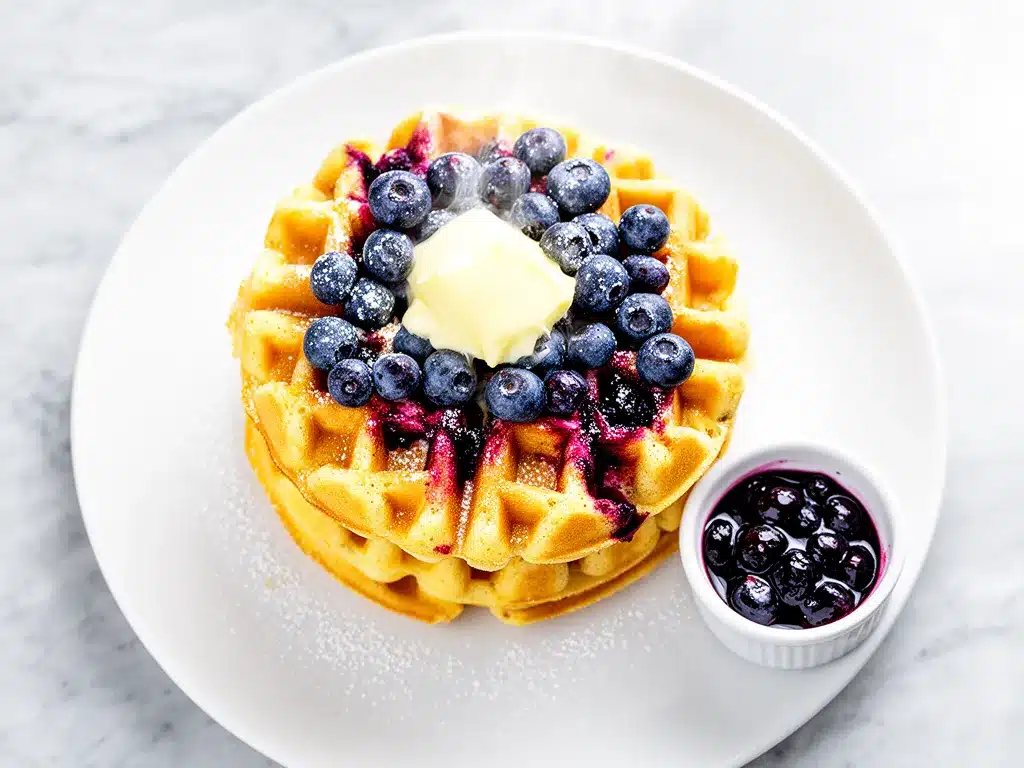
I usually serve them warm with a pat of butter and a drizzle of pure maple syrup. Simple is best. But if I’m feeling fancy, I add a dollop of whipped cream and a few fresh blueberries on top. For a savory twist, try serving them with fried chicken (yes, really, like Southern fried chicken). It’s a game-changer.
Side Dishes
These waffles pair well with crispy bacon or sausage links. A simple side salad with a vinaigrette cuts through the richness. If you want something sweet, fruit salad is perfect.
Storage
Refrigerator: Store leftovers in an airtight container for up to 3 days. They’ll soften a bit, but they’re still good cold or reheated.
Freezer: This is where these waffles shine. Let them cool completely, then freeze them in a single layer on a baking sheet. Once frozen, transfer to a freezer bag. They’ll last for up to 3 months. To reheat, pop them straight from the freezer into the toaster. No thawing needed. They come out crispy and perfect.
Reheating: Microwave works in a pinch (30-60 seconds), but it makes them soft. Toaster or oven is best for crispiness. If you microwave, do it for short bursts so they don’t get rubbery.
Pro Tip: If you’re meal prepping, make a big batch on Sunday and freeze them. Breakfast is solved for the whole week. Just grab and toast.
Nutrition Information
I’m not a nutritionist, but here’s the breakdown if you’re tracking. This is per waffle (based on 6 waffles).
Per Serving:
- Calories: 280
- Protein: 8g
- Carbs: 42g
- Fiber: 2g
- Sugar: 12g
- Fat: 9g
- Saturated Fat: 5g
- Cholesterol: 55mg
- Sodium: 320mg
What’s Good:
- Decent protein from the eggs and buttermilk.
- Calcium from the dairy.
- Antioxidants from the blueberries.
What to Know:
- Higher in carbs due to the flour and sugar.
- Contains dairy and gluten.
- Sodium can be reduced by using low-sodium baking powder and unsalted butter.
My Take:
Look, this is a treat. It’s not a diet food. But it’s way better than store-bought frozen waffles, which are full of preservatives. These are made with real ingredients. When I make them, I use a little less syrup and add a side of fruit to balance it out. But usually? I just enjoy them as they are.
Final Thoughts
So that’s my fluffy blueberry buttermilk waffles recipe! I’ve probably talked your ear off at this point, but when you make a recipe this often, you have a lot to say about it. These waffles have saved my weeknight breakfasts more times than I can count. They’re my answer to “what’s for breakfast” when I’m tired, don’t want to cook, but still want something that tastes really good. My kids are happy, my husband’s happy, and I’m happy because I’m not stressed about cooking.
Make it yours! Try different berries, swap in your favorite syrup, or add a dash of nutmeg. The best recipes are the ones you adapt to your family’s tastes. If you make this, drop a comment and let me know what you think! I love hearing how recipes turn out in your kitchen. And if something doesn’t work, tell me that too—I’m here to help troubleshoot.
Happy cooking! And I hope your kitchen smells half as good as mine does right now.
Frequently Asked Questions
Can I use fresh blueberries instead of frozen?
Yes, you can, but there’s a catch. Fresh berries are juicier and can bleed into the batter, turning it purple. To minimize this, toss them in a little flour before folding them in, and handle the batter very gently. Also, fresh berries might cook faster than the waffle, so keep an eye on them. Frozen berries are more reliable for structure.
Why are my waffles dense instead of fluffy?
This usually happens for two reasons: overmixing the batter or old baking powder. If you stir the batter until it’s smooth, you’re developing gluten, which makes waffles tough. Stop mixing when you see lumps. Also, check your baking powder. If it’s been sitting in the back of your cupboard for years, it might not have enough lift left. Test it by dropping a teaspoon into hot water—it should fizz vigorously.
Can I make the batter ahead of time?
I wouldn’t recommend it. Baking powder starts working as soon as it gets wet. If you let the batter sit for too long (more than 15-20 minutes), the bubbles escape, and your waffles won’t rise as much. It’s best to mix and cook immediately. If you must prep, mix the dry ingredients and wet ingredients separately and combine them right before cooking.
How do I keep waffles warm for a crowd?
Use a wire rack set over a baking sheet. Place the sheet in a 200°F (95°C) oven. This allows air to circulate around the waffles so they stay crispy. If you stack them on a plate, the steam gets trapped and they get soggy. This is the secret to serving hot, crispy waffles for everyone at the table.
Can I freeze these waffles?
Absolutely! These freeze beautifully. Let them cool completely, then freeze them in a single layer on a baking sheet. Once frozen, transfer to a freezer bag. They’ll last for up to 3 months. Reheat them directly from the freezer in a toaster or oven. They taste just as good as fresh.
What if I don’t have buttermilk?
You can make a quick substitute. Add 1 tablespoon of lemon juice or white vinegar to 1 cup of milk. Let it sit for 5-10 minutes until it curdles slightly. Use this as a 1:1 replacement for buttermilk. It won’t be exactly the same tangy flavor, but it will still tenderize the flour and give you good texture.
Can I add chocolate chips?
Yes! Chocolate chip waffles are delicious. Just fold ½ cup of chocolate chips into the batter along with the blueberries, or replace the blueberries entirely. If you add both, you might want to reduce the sugar slightly since chocolate is sweet.
Pin This Recipe!
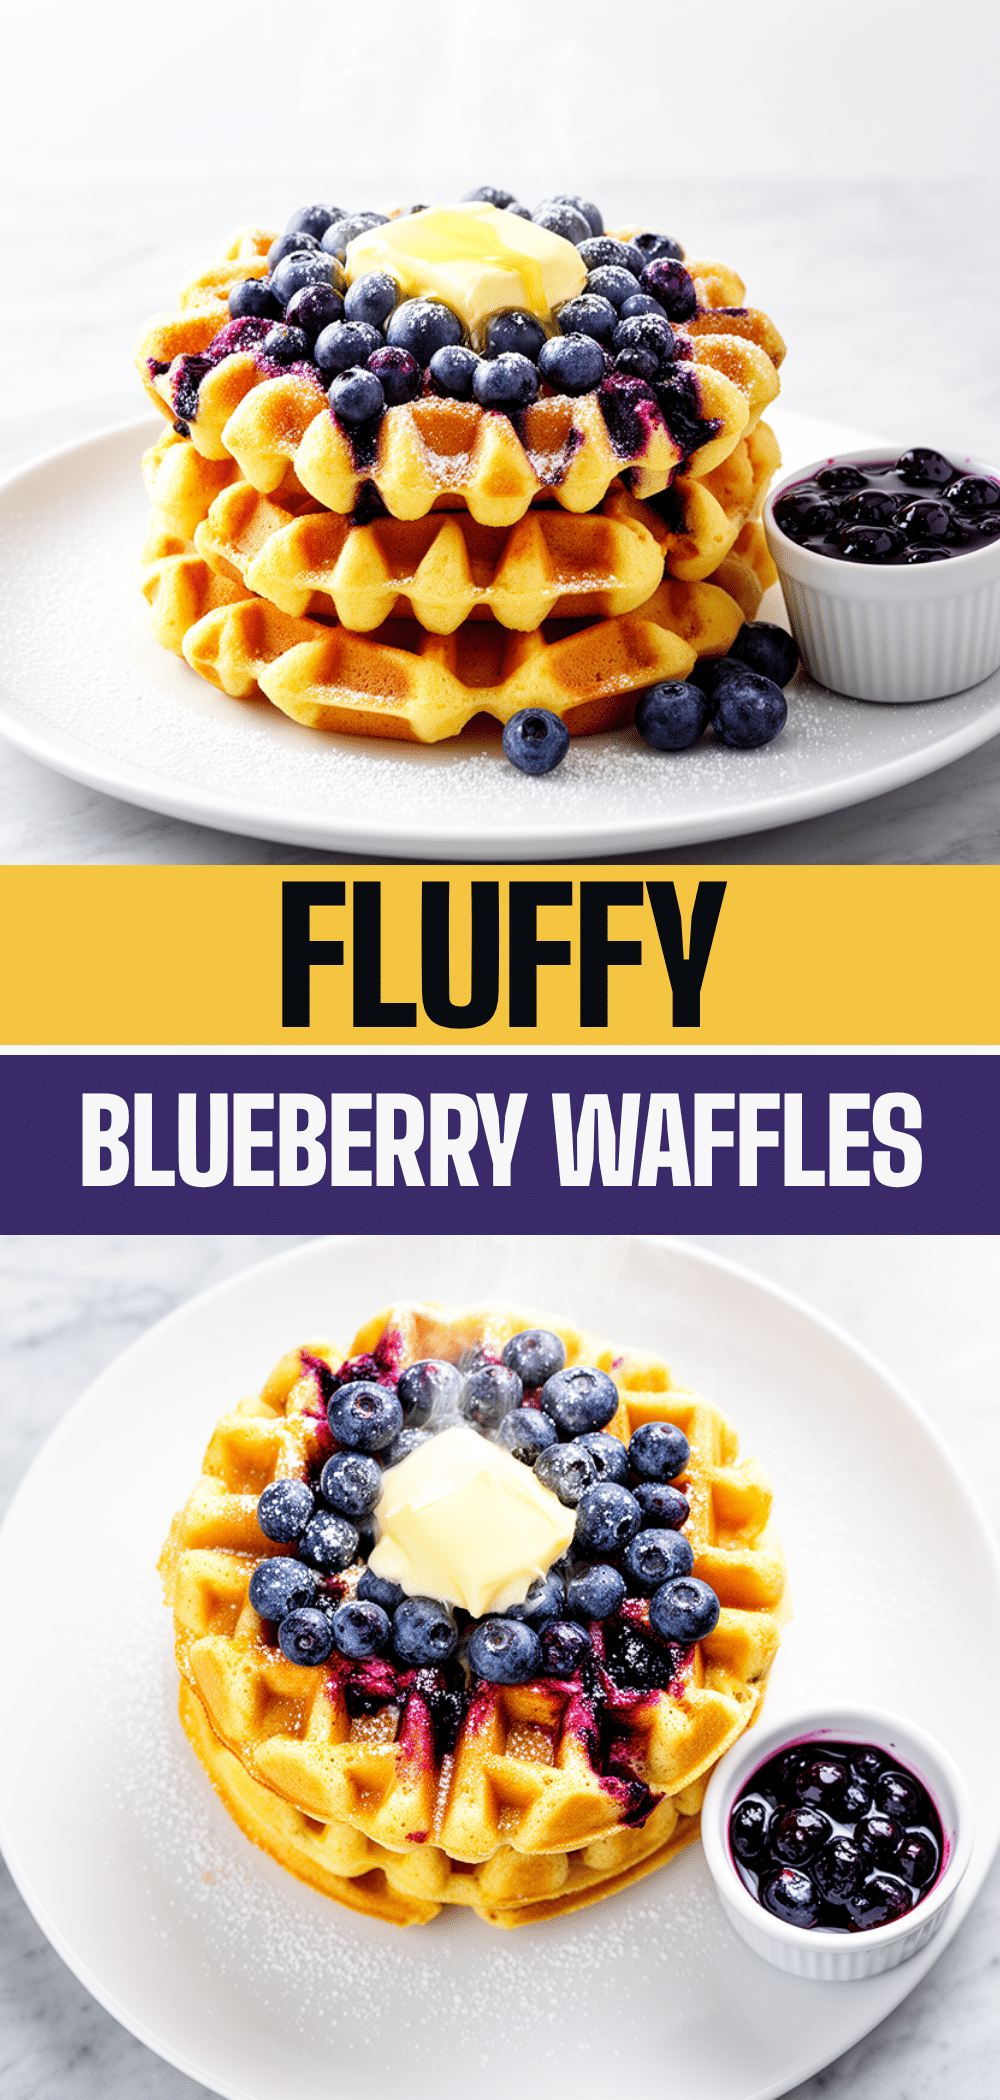
Fluffy Blueberry Buttermilk Waffles
- Total Time: 20 minutes
- Yield: 6 servings 1x
Description
Light, airy, and golden-brown waffles packed with bursts of tart blueberry flavor. This easy weeknight recipe uses buttermilk for tenderness and frozen berries for convenience, coming together in under 20 minutes.
Ingredients
- 2 cups (250g) all-purpose flour
- 2 teaspoons baking powder
- ½ teaspoon baking soda
- 1 teaspoon kosher salt
- ½ teaspoon cinnamon
- 1 ½ cups (360ml) buttermilk
- 2 large eggs
- ¼ cup (60g) melted unsalted butter
- 1 teaspoon vanilla extract
- 3 tablespoons sugar
- 1 ½ cups frozen blueberries
- Extra flour for dusting blueberries
Instructions
- Whisk together the flour, baking powder, baking soda, salt, and cinnamon in a large bowl until no white streaks remain.
- In a separate medium bowl or large measuring cup, whisk the buttermilk, eggs, melted butter, vanilla, and sugar until smooth and uniform.
- Pour the wet mixture into the dry mixture and gently stir until just moistened. The batter should remain lumpy; do not overmix.
- Toss the frozen blueberries with a teaspoon of flour to coat them, then gently fold them into the batter.
- Preheat a waffle iron for 5 minutes and lightly grease it with butter or oil.
- Pour about ½ cup of batter onto the center of the iron. Close the lid and cook for 3-4 minutes until steam stops rising and waffles are golden brown and crispy.
- Transfer cooked waffles to a wire rack set over a baking sheet to keep them crisp. Serve immediately or keep warm in a 200°F (95°C) oven.
Notes
Do not thaw the blueberries before adding them to the batter, as this can make the waffles dense and purple. Do not overmix the batter; lumps are okay and ensure fluffy texture. Let the batter rest for 5-10 minutes if time permits for extra fluffiness. Grease the waffle iron between batches for best browning.
- Prep Time: 5 minutes
- Cook Time: 15 minutes
- Category: Breakfast
- Cuisine: American
Nutrition
- Serving Size: 1 waffle
- Calories: 280
- Sugar: 12
- Sodium: 320
- Fat: 9
- Saturated Fat: 5
- Carbohydrates: 42
- Fiber: 2
- Protein: 8
Keywords: blueberry waffles, buttermilk waffles, easy breakfast, weeknight dinner, fluffy waffles, frozen blueberry recipe, breakfast for dinner


