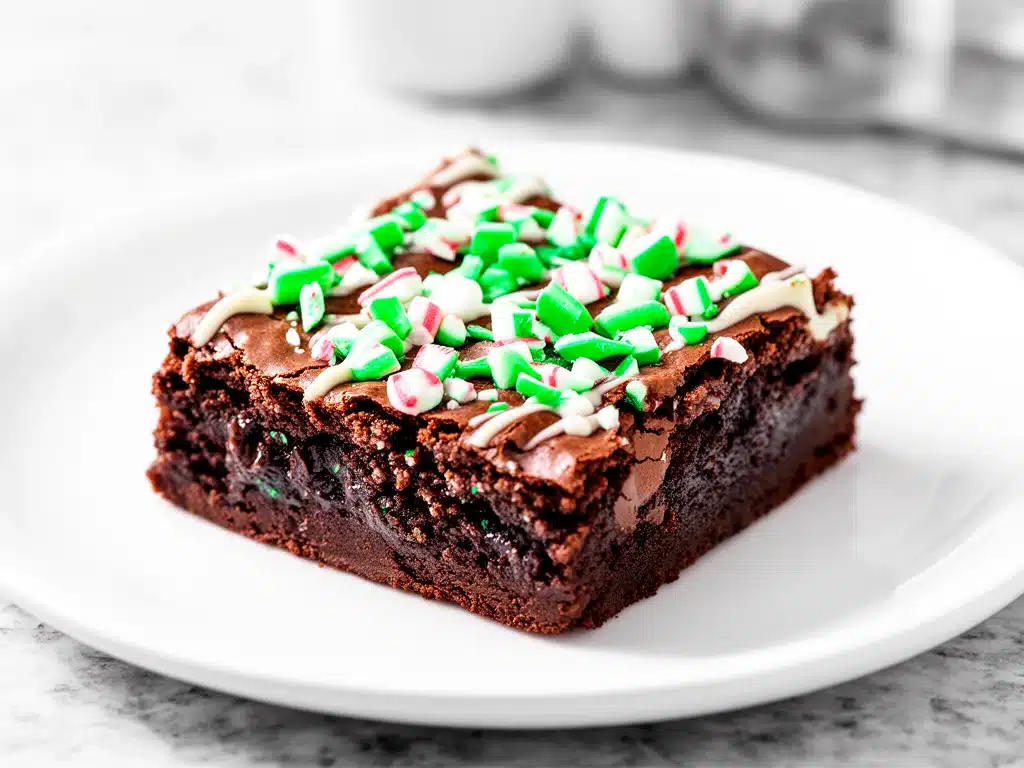
It’s 11:45 PM on a Tuesday, and my kitchen looks like a chocolate factory had a minor explosion. There are crumbs on the counter, a half-empty bag of chocolate chips, and my toddler is currently wearing what appears to be a dusting of powdered sugar. But here’s the thing: I’m not stressed. I’m smiling. Because I just pulled a pan of gooey chocolate peppermint brownie bars out of the oven, and the smell is literally the scent of holiday happiness.
I’ve been making these for three Christmases in a row now. The first time, I made them for a last-minute office party because I realized I forgot to buy gifts. I threw them in a tin, wrapped it with a bow, and handed it over with zero confidence. Two hours later, my coworker Sarah texted me: “Please send me the recipe. I need these in my life.” That was the moment I knew I had something special.
But honestly? I make them for me. These gooey chocolate peppermint brownie bars you’ll make on repeat are my secret weapon against holiday stress. They’re rich, they’re fudgy, they have that sharp, refreshing kick of peppermint that cuts through the sweetness, and best of all, they’re ridiculously easy. You don’t need to be a pastry chef. You don’t need to temper chocolate or fold egg whites with surgical precision. You just need five ingredients and about 30 minutes of active time.
Before we get into the nitty-gritty, let me tell you why this specific flavor combination works so well. Peppermint and chocolate is a classic for a reason—it’s like a mint chocolate chip ice cream bar but in bar form. The contrast of the deep, dark cocoa with the cool, crisp mint is addictive. And because these bars are so gooey, they melt in your mouth. I’ve served these to my picky brother (who usually only eats cheese cubes) and he asked for the recipe. That’s the ultimate test.
If you’re looking for other easy treats to keep in your rotation, I also have a recipe for ants on a log that’s perfect for younger kids, or these cinnamon sugar tortilla chips if you want something crunchy instead of fudgy. But for pure, unadulterated chocolatey comfort? These brownie bars are undefeated.
Why You’ll Love This Recipe
There are about ten reasons I keep making these, but here are the big ones. If you’re tired of complicated holiday baking that leaves you with a sink full of dishes and a headache, this is your answer.
- Stupid Simple — Seriously, if you can melt chocolate and mix a bowl, you can make these. I’ve walked my teenage son through it over FaceTime while I was at work. He nailed it on the first try.
- Lightning Fast — 30 minutes from start to finish, and only 15 of those are active mixing. The rest is just baking. I make these on weeknights when I get home at 6pm and need a win.
- Five Ingredients Only — You probably have most of this already. Chocolate, butter, sugar, eggs, and peppermint. That’s it. No fancy flours, no weird extracts, no mystery powders.
- Crowd-Pleaser — I’ve served these to my vegetarian sister, my gluten-free neighbor (if you swap the flour), and my I-only-eat-chicken dad (with modifications). Everyone loved it. Even the kids who usually say “no” to “fancy food” go back for seconds.
- Makes Amazing Leftovers — Actually tastes better the next day. The flavors meld together overnight. I deliberately make extra for breakfast snacks (yes, I eat brownies for breakfast sometimes, don’t judge).
- Budget-Smart — Feeds 12-16 people for under $10. That’s less than one movie ticket. Perfect for holiday parties, gift baskets, or just treating yourself without breaking the bank.
This is my go-to when I need dessert to just work. No complicated techniques, no weird ingredients, just reliable, delicious food that makes everyone happy. And honestly? It makes me happy. There’s something soothing about the ritual of melting chocolate and watching it turn into something beautiful.
Ingredients You’ll Need
Here’s the best part: you probably have most of this already in your pantry or fridge. I’m particular about three ingredients here, and I’ll tell you exactly why. Quality matters more here than in most recipes because there are so few components. If you use bad chocolate, it shows. Bad butter? It shows. Let’s get into it.
For the Base
Dark chocolate chips (1 cup / 175g) — I use semi-sweet or dark chocolate chips because they hold their shape better than milk chocolate. Milk chocolate can get too sweet and greasy. Guittard or Ghirardelli are my go-to brands. If you can’t find chips, chop up a chocolate bar. Just make sure it’s uniform pieces so it melts evenly.
Unsalted butter (½ cup / 115g) — Real butter only. No margarine, no oil substitutes. Butter gives you that rich, creamy texture. Use high-quality European-style butter if you can find it—it makes a noticeable difference in flavor. Room temperature is easier to mix, but melted works too.
Granulated sugar (1 cup / 200g) — White sugar keeps the texture crisp on the edges and gooey in the center. Brown sugar makes them chewier and denser. I like the contrast of white sugar here. If you’re watching sugar intake, you can reduce it slightly, but the texture will change.
Large eggs (2 large) — Room temperature eggs mix better and create a smoother batter. Don’t skip this step. If you’re in a rush, just drop them in a bowl of warm water for 5 minutes.
Vanilla extract (1 teaspoon) — Pure vanilla, not imitation. It adds depth to the chocolate. I use Nielsen-Massey or Simply Organic. It’s worth the extra dollar.
For the Flavor & Texture
All-purpose flour (½ cup / 60g) — Just regular flour. Don’t use self-rising; it has baking powder that will make them cakey. We want fudgy. Sift it if you want to be fancy, but honestly, just dumping it in works fine.
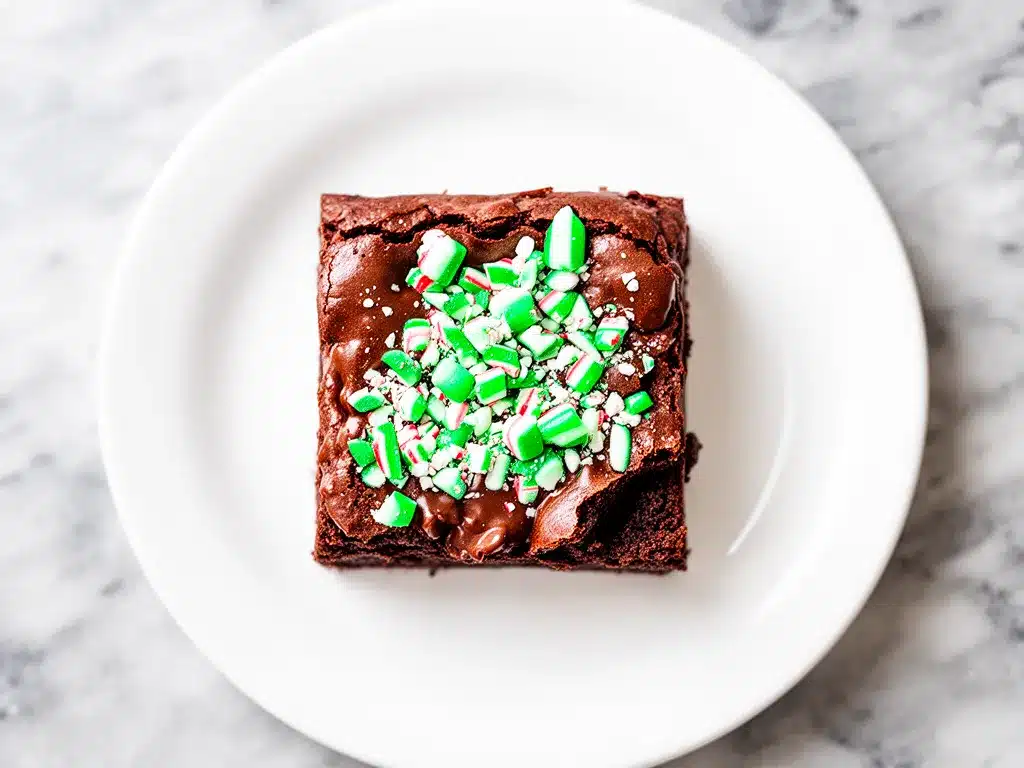
Candy canes or peppermint bark (½ cup / 50g, crushed) — This is the star. Use actual candy canes for that sharp mint flavor, or peppermint bark for a more chocolate-mint combo. Crush them into small pieces. Not powder, not huge shards. Think pea-sized chunks.
White chocolate chips (½ cup / 90g) — Optional, but I highly recommend it. Swirling in some white chocolate adds visual appeal and extra sweetness. It looks pretty and tastes amazing. If you’re allergic to dairy, skip this or use dairy-free white chocolate chips.
Sea salt flakes (pinch) — For finishing. A little salt on top enhances the chocolate flavor. It’s the secret ingredient in every good brownie.
Personal Tips
- Brand recommendations: I always use Ghirard semi-sweet chips. They melt smoothly and have a rich cocoa flavor.
- Shopping shortcuts: Buy pre-crushed candy canes if you’re lazy, but crushing them yourself gives you better texture control.
- Substitutions: No peppermint bark? Use ½ teaspoon peppermint extract in the batter. But real candy pieces add crunch, so you lose some texture.
- Storage: Keep extra chocolate chips in an airtight container. They last months and save you a trip to the store.
Equipment Needed
You don’t need fancy equipment for this. Here’s what I actually use. Most of it is stuff you already have in your kitchen.
8×8 inch baking pan — I use a metal pan. Glass pans bake slower and can make the edges too hard. If you only have glass, reduce the oven temp by 25 degrees. Line it with parchment paper for easy removal. This is non-negotiable for cleanup.
Microwave-safe bowl — For melting chocolate and butter. I use a large glass measuring cup. It’s easier to stir and pour. A double boiler works too, but who has time for that?
Mixing bowls — One medium bowl for the wet ingredients. One small bowl for the flour. You can do it in one bowl, but two keeps things organized.
Whisk — For beating the eggs and sugar. A whisk incorporates air better than a spoon. I use a medium-sized whisk. It’s my most-used tool.
Spatula — Silicone spatula for folding in the flour and chocolate chips. Rubber works too. Don’t use metal; it scratches the bowl.
Chef’s knife — For crushing candy canes. Put them in a ziplock bag and hit them with the knife. It’s satisfying and effective.
Parchment paper — Essential for easy removal. Overhang the edges so you have handles to lift the brownies out.
Knife or pizza cutter — For cutting the bars. A pizza cutter makes clean cuts without squishing them. I love this trick.
Optional but nice:
- Food processor — If you have a lot of candy canes, pulse them for even pieces.
- Pastry brush — For brushing the pan with butter before lining it.
How to Make It: Step-by-Step
Alright, let’s make this! I’m walking you through exactly how I do it, including the little tricks I’ve picked up. This is straightforward, but pay attention to the details.
Step 1: Prep Your Pan and Oven (5 minutes)
Preheat your oven to 350°F (175°C). Line your 8×8 inch baking pan with parchment paper. Leave an overhang on the sides so you can lift the brownies out later. This saves you from digging them out with a spoon. Grease the parchment lightly with butter or cooking spray. It helps the parchment stick and prevents sticking.
Step 2: Melt the Chocolate and Butter (3 minutes)
In a microwave-safe bowl, combine the chocolate chips and butter. Microwave in 30-second intervals, stirring between each. Stop when there are still a few unmelted chunks. The residual heat will melt them. Don’t overheat! Burnt chocolate tastes bitter. Stir until smooth and glossy. Set aside to cool slightly.
Step 3: Mix the Wet Ingredients (2 minutes)
In a medium bowl, whisk the sugar and eggs together until well combined. Add the melted chocolate-butter mixture and vanilla extract. Whisk vigorously. The batter will look thin and shiny. This is normal. Don’t worry if it looks too liquidy.
Step 4: Fold in the Dry Ingredients (1 minute)
Add the flour to the wet mixture. Fold it in gently with a spatula. Just until no dry streaks remain. Do not overmix! Overmixing develops gluten, which makes brownies cakey. We want fudgy. Stop as soon as the flour disappears.
Step 5: Add the Mix-ins (1 minute)
Stir in half of the candy cane pieces and all the white chocolate chips. Reserve some candy canes for the top. Fold them in gently so they don’t break apart too much.
Step 6: Bake (20-25 minutes)
Pour the batter into the prepared pan. Smooth the top with a spatula. Sprinkle the remaining candy canes and a pinch of sea salt on top. Bake for 20-25 minutes. The edges should be set, but the center should still jiggle slightly. A toothpick inserted in the center should come out with moist crumbs, not wet batter. If it’s clean, you overbaked it.
Step 7: Cool and Cut (30 minutes)
Let the brownies cool in the pan for at least 30 minutes. This is the hardest part. If you cut them hot, they’ll fall apart. Use the parchment handles to lift them out. Cut into squares. Store in an airtight container.
Total Time: About 30 minutes (15 minutes active, 20 minutes baking, 30 minutes cooling)
Expert Tips & Tricks
Here’s everything I’ve learned from making this dozens of times. These tips will save you from my mistakes.
The Game-Changers
Don’t Overbake
This is the #1 tip. These brownies continue to cook in the pan after you take them out. If the center looks done, it’s done. You want them gooey. If you bake until the toothpick is clean, they’ll be dry. Pull them when there are still moist crumbs on the toothpick.
Room Temperature Eggs
Room temperature eggs emulsify better with the sugar and fat. Cold eggs can cause the batter to separate. If you forget, soak them in warm water for 5 minutes. It’s worth the effort.
Quality Chocolate Matters
Since there’s no milk or flour to mask the flavor, your chocolate needs to be good. Use high-quality semi-sweet chips or chop a chocolate bar. Cheap chocolate has wax and tastes waxy. It’s obvious.
Crush Candy Canes Properly
Don’t crush them into dust. You want chunks. Put them in a ziplock bag and hit them with a rolling pin or knife. Aim for pea-sized pieces. Too small, and they melt into nothing. Too big, and they’re hard to bite through.
Cool Completely
I know it’s tempting to cut them hot. Don’t. They need to set. If you cut them warm, they’ll be messy. Patience is key. Use this time to clean up your kitchen.
Common Mistakes (and how to avoid them)
Mistake: Brownies are cakey
Fix: You overmixed the flour or overbaked them. Fold the flour gently and pull them from the oven when the center is still slightly gooey.
Mistake: Brownies are too sweet
Fix: Use dark chocolate chips instead of semi-sweet. Reduce the sugar by 2 tablespoons. Or add a pinch more salt.
Mistake: Brownies stick to the pan
Fix: You didn’t line the pan with parchment. Or you didn’t grease the parchment. Always line and grease.
Pro Tricks I’ve Learned
For Extra Crunch
Add chopped nuts like pecans or walnuts. They add texture and richness. I love the combo of crunch and gooeyness.
For Visual Appeal
Swirl the white chocolate chips on top before baking. Use a toothpick to create a marbled effect. It looks professional and impresses guests.
For Gift Giving
Stack them in a tin with parchment paper between layers. Tie it with a red ribbon. Add a tag with the recipe. It’s the perfect last-minute gift.
Variations & Substitutions
Once you’ve nailed the basic version, here’s how you can mix it up. I’ve tried all of these.
Tested Variations
Double Chocolate Version
Add 2 tablespoons of cocoa powder to the dry ingredients. Makes them even more chocolatey. My husband prefers this version.
Mint Chip Cookie Version
Swap the flour for cookie dough mix. Add mint chips instead of candy canes. Bake in a muffin tin for bite-sized treats.
Peppermint Bark Version
Use crushed peppermint bark instead of candy canes. It has both chocolate and mint. Adds extra richness.
Gluten-Free Version
Use gluten-free flour blend. Everything else is naturally gluten-free. I’ve used Bob’s Red Mill 1-to-1 and it works great.
Vegan Version
Use vegan chocolate chips and butter. Replace eggs with flax eggs (1 tablespoon ground flax + 3 tablespoons water per egg). It’s different but still tasty.
Dietary Modifications
- Gluten-Free: Use GF flour blend. Ensure chocolate chips are GF.
- Dairy-Free: Use dairy-free chocolate chips and butter. Skip white chocolate or use DF version.
- Lower Sugar: Reduce sugar by ¼ cup. Use dark chocolate (70% cocoa).
- Nut-Free: Ensure all ingredients are nut-free. Most chips are, but check labels.
Serving & Storage
How to Serve:
I usually serve these at room temperature. They’re best that way. But here are other ways I’ve enjoyed them:
- Warm them up for 10 seconds in the microwave for a gooey, melty treat.
- Serve with a scoop of vanilla ice cream for a brownie sundae.
- Pair with a cup of hot coffee or tea. The mint cuts through the richness.
Side Dishes:
These are a dessert, so they stand alone. But if you need more, I also have a recipe for blueberry baked oatmeal cups for breakfast, or these sparkling watermelon cucumber agua fresca if you want a drink to pair with them.
Storage Instructions:
Refrigerator:
Store in an airtight container for up to 5 days. They actually get firmer in the fridge, which some people prefer. Bring to room temperature before eating for best texture.
Freezing:
Yes, these freeze well! Wrap individual squares in plastic wrap, then put them in a freezer bag. They last up to 3 months. Thaw at room temperature. I do this all the time for holiday prep.
Pro tip:
If they get stale, warm them in the oven at 300°F for 5 minutes. They’ll be fresh again.
Nutrition Information
I’m not a nutritionist, but here’s the breakdown if you’re tracking. These are rich, so a little goes a long way.
Per Serving (based on 16 servings):
| Nutrient | Amount |
|---|---|
| Calories | 180 |
| Protein | 2g |
| Carbs | 24g |
| Fiber | 1g |
| Sugar | 18g |
| Fat | 10g |
| Saturated Fat | 6g |
| Cholesterol | 35mg |
| Sodium | 45mg |
What’s Good:
– Decent fat content keeps you satisfied
– Quick energy from sugar
– Small portion size helps with control
What to Know:
– High in sugar and fat
– Contains dairy and gluten
– Moderate calories, but easy to overeat
My Take:
Look, this is a treat. It’s not a health food. Enjoy it in moderation. When I want to make it lighter, I use dark chocolate and reduce the sugar. But usually? I just eat two squares and enjoy it. Life’s too short to deny yourself chocolate.
Final Thoughts
So that’s my go-to gooey chocolate peppermint brownie bars! I’ve probably talked your ear off at this point, but when you make a recipe this often, you have a lot to say about it.
This has saved holiday parties more times than I can count. It’s my answer to “what dessert should I bring?” when I’m tired, don’t want to bake a cake, and still want something that tastes really good. My family is happy, my friends are happy, and I’m happy because I’m not stressed about baking.
Make it yours! Try different add-ins, swap in your favorite candies, adjust the mint. The best recipes are the ones you adapt to your tastes.
If you make this, drop a comment and let me know what you think! I love hearing how recipes turn out in your kitchen. And if something doesn’t work, tell me that too—I’m here to help troubleshoot.
Happy baking! And I hope your kitchen smells half as good as mine does right now.
Frequently Asked Questions
Q: Can I use milk chocolate instead of dark chocolate?
A: You can, but the brownies will be sweeter and less intense. Milk chocolate has more sugar and milk solids. If you use it, reduce the granulated sugar by 2 tablespoons. I prefer dark chocolate for the rich flavor, but milk chocolate is fine if you like it sweeter.
Q: My brownies came out dry—what happened?
A: You probably overbaked them. These brownies continue to cook in the pan. Pull them when the center is still slightly gooey. Also, make sure you’re not measuring flour too densely. Spoon it into the cup and level it off. Don’t scoop and pack.
Q: Can I make this ahead for a party?
A: Absolutely! Make them 2 days ahead and store in an airtight container. They actually taste better the next day as the flavors meld. Bring to room temperature before serving. I do this all the time for holiday parties.
Q: Why did my brownies stick to the pan?
A: You probably didn’t line the pan with parchment. Or you didn’t grease the parchment. Always line and grease. It’s the only way to get clean removal. If you forgot, try running a knife around the edges and freezing them for 15 minutes. They might pop out.
Q: Can I use peppermint extract instead of candy canes?
A: You can add ½ teaspoon peppermint extract to the batter, but you’ll lose the crunch. Candy canes add texture. If you use extract, add some crushed nuts or chocolate chips for crunch. But the real candy canes are the star.
Q: How do I store leftovers without them getting stale?
A: Store in an airtight container at room temperature for up to 5 days. If you live in a humid climate, keep them in the fridge. They’ll get firmer, but they’ll stay fresh. For longer storage, freeze them in individual portions.
Q: Can I double this recipe?
A: Yes! Double everything and use a 9×13 inch pan. Increase baking time by 5-10 minutes. Check for doneness with a toothpick. I do this when I’m feeding a crowd.
Pin This Recipe!
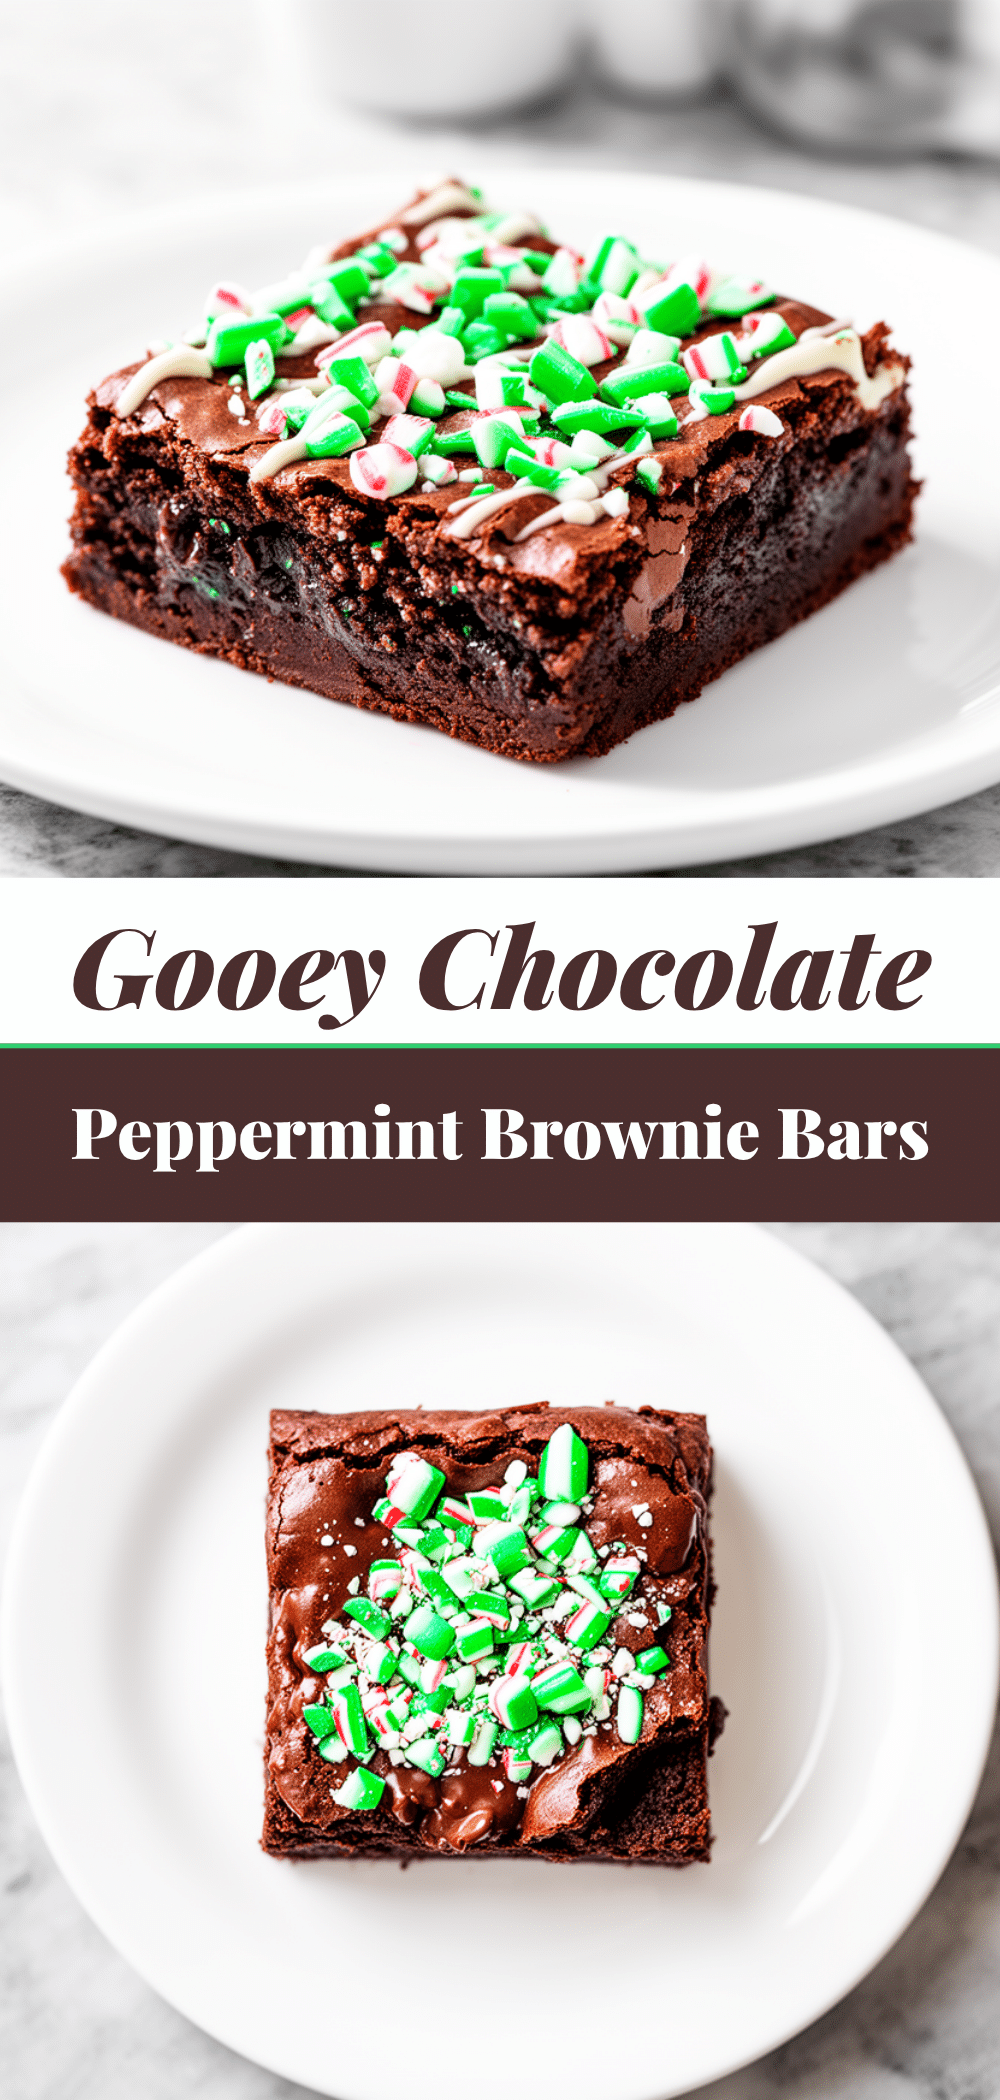
Gooey Chocolate Peppermint Brownie Bars: 5-Ingredient Easy Recipe
- Total Time: 30 minutes
- Yield: 16 servings 1x
Description
Rich, fudgy, and easy-to-make brownie bars featuring a classic peppermint and chocolate flavor combination. Ready in about 30 minutes with just five main ingredients.
Ingredients
- 1 cup (175g) dark chocolate chips (semi-sweet or dark)
- ½ cup (115g) unsalted butter
- 1 cup (200g) granulated sugar
- 2 large eggs (room temperature)
- 1 teaspoon vanilla extract
- ½ cup (60g) all-purpose flour
- ½ cup (50g) candy canes or peppermint bark, crushed
- ½ cup (90g) white chocolate chips (optional)
- pinch sea salt flakes
Instructions
- Preheat oven to 350°F (175°C). Line an 8×8 inch baking pan with parchment paper, leaving an overhang on the sides, and grease lightly.
- In a microwave-safe bowl, combine chocolate chips and butter. Microwave in 30-second intervals, stirring between each, until mostly melted. Stir until smooth and glossy, then set aside to cool slightly.
- In a medium bowl, whisk sugar and eggs together until well combined. Add the melted chocolate-butter mixture and vanilla extract, whisking vigorously until the batter is thin and shiny.
- Add the flour to the wet mixture and fold gently with a spatula until no dry streaks remain. Do not overmix.
- Stir in half of the crushed candy cane pieces and all the white chocolate chips. Reserve some candy canes for the top.
- Pour batter into the prepared pan and smooth the top. Sprinkle remaining candy canes and a pinch of sea salt on top.
- Bake for 20-25 minutes. The edges should be set, but the center should still jiggle slightly. A toothpick inserted in the center should come out with moist crumbs.
- Let brownies cool in the pan for at least 30 minutes before lifting them out using the parchment handles and cutting into squares.
Notes
Do not overbake; the brownies continue to cook in the pan. Room temperature eggs emulsify better. Quality chocolate matters for flavor. Crush candy canes into pea-sized chunks, not powder. Store in an airtight container for up to 5 days or freeze for up to 3 months.
- Prep Time: 15 minutes
- Cook Time: 20-25 minutes
- Category: Dessert
- Cuisine: American
Nutrition
- Serving Size: 1 square
- Calories: 180
- Sugar: 18
- Sodium: 45
- Fat: 10
- Saturated Fat: 6
- Carbohydrates: 24
- Fiber: 1
- Protein: 2
Keywords: chocolate peppermint brownies, easy holiday dessert, 5 ingredient recipe, fudgy brownies, peppermint bark dessert, quick baking


