I have a confession to make. For years, I was the person who ruined Saturday mornings. You know the type. The alarm goes off at 8:00 AM, but instead of waking up refreshed and ready to bake, I hit snooze three times. Then I’m scrambling, trying to find a recipe that looks impressive enough for guests but doesn’t require me to be awake before noon. The result? Usually a burnt batch of toast and a very disappointed spouse staring at a cold plate.
That was until I discovered the magic of pull-apart bread. Seriously. It changed my life. It changed our brunch game. It changed how I feel about hosting people on weekends (which, for the record, I still hate, but now I hate it less).
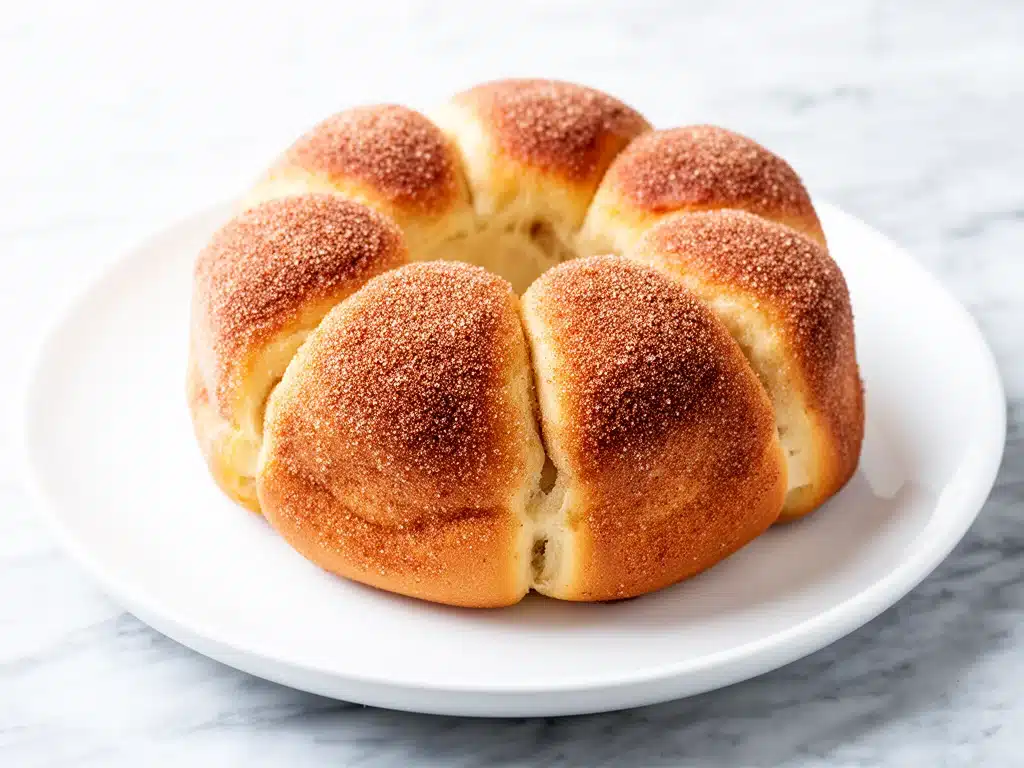
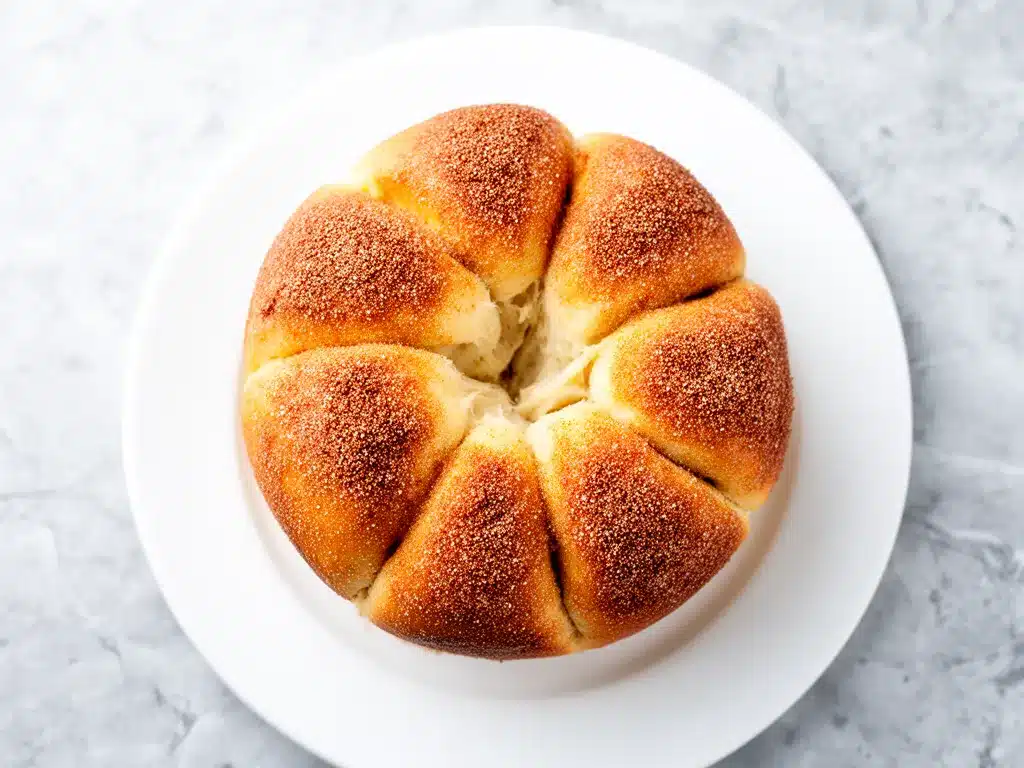
This soft cinnamon sugar breakfast pull-apart bread is the answer to every lazy weekend brunch dilemma I’ve ever had. It looks like something you’d buy at a fancy boutique bakery—golden, puffy, dripping with that sticky cinnamon-sugar glaze—but it’s actually made from simple store-bought ingredients. I’m not going to lie to you: I use canned biscuits. There is no shame in this. The dough is soft, the texture is pillowy, and the smell that fills the house while it bakes is enough to make anyone forgive you for sleeping in.
I’ve tested this recipe about a dozen times. I’ve tried different biscuit brands. I’ve tried brushing the glaze on before baking, after baking, and halfway through. I’ve added cream cheese swirls, I’ve added chocolate chips, I’ve tried using croissants instead of biscuits. And every single time, I come back to this exact method. It’s the most reliable, foolproof, crowd-pleasing way to start a weekend. Whether you’re feeding a hungry family of five or a small group of friends who just want something sweet to go with their coffee, this bread delivers. It’s warm, it’s comforting, and it’s ridiculously easy. Let’s get baking.
Why You’ll Love This Cinnamon Sugar Bread
There are a lot of reasons I keep coming back to this recipe, but let’s be real about the biggest ones. This isn’t just about convenience (though that’s huge). It’s about the experience.
Zero Baking Stress — Seriously, if you can open a can and stack biscuits, you can make this. I’ve made this recipe while holding a baby, while answering work emails, and while arguing with my dog about who gets to sit on the couch. It doesn’t require kneading, proofing, or a stand mixer. You mix the dough, stack it, bake it, and drizzle it. Done.
Smells Like Heaven — I don’t say that lightly. The moment that cinnamon and sugar hit the oven, the entire house transforms. It smells like a hug. Guests arrive and immediately ask, “What is that amazing smell?” It sets a warm, inviting tone for the whole day. It’s the olfactory equivalent of a warm blanket.
Interactive and Fun — Pull-apart bread is just fun. It’s interactive food. People love tearing pieces off. It’s great for kids (who will eat way more sugar if they have to pull it apart themselves). It’s great for parties because it’s a centerpiece. It’s also perfect for cinnamon sugar tortilla chips lovers, since we’re hitting that same sweet, spicy, warm flavor profile but in a bread form.
Makes Incredible Leftovers — And yes, there will be leftovers. This bread reheats beautifully. The next morning, I pop a piece in the microwave for 30 seconds, and it’s soft and gooey again. It’s basically a make-ahead breakfast that tastes fresh. I also love that it pairs perfectly with a make-ahead blueberry baked oatmeal if you want a full spread, but honestly? This bread is strong enough to stand on its own.
Customizable to Any Diet — Okay, full disclosure: this specific recipe uses dairy and gluten. But I’ve made variations with gluten-free dough and vegan butter, and they work. It’s adaptable. If you have guests with restrictions, you can tweak it. But for my standard weekend brunch? I stick to the classic, buttery, sugary goodness.
This is my go-to when I want to impress without investing hours of my life in the kitchen. It’s reliable, it’s delicious, and it makes everyone happy. No complicated techniques, no weird ingredients, just pure, carb-filled joy.
Ingredients You’ll Need
Here’s the best part: you probably have most of these ingredients already. This isn’t a recipe that requires a special trip to the grocery store. It’s pantry-friendly, fridge-staple goodness. I’m particular about three things here, and I’ll tell you exactly why.
For the Bread Base
Refrigerated Canned Biscuits (2 cans, 8 biscuits each / about 800g) — I use the large tube biscuits, not the flaky ones. The large ones are softer and stretchier, which is what you want for pull-apart bread. Brands like Pillsbury or Store Brand work fine. Don’t buy the ones with the weird shapes; get the classic round ones. They are the canvas for our masterpiece.
Unsalted Butter (½ cup / 113g, melted) — I use unsalted so I can control the saltiness. Melt it completely before you start. If it’s still solid chunks, it won’t coat the biscuits evenly. I microwave mine in 30-second bursts, stirring in between.
Granulated Sugar (½ cup / 100g) — This goes into the dough. It adds a little sweetness to the biscuit itself, so it’s not just plain dough. You can use brown sugar for a deeper, molasses-y flavor, but white sugar keeps that classic cinnamon roll taste.
For the Cinnamon Sugar Coating
Ground Cinnamon (2 tablespoons / 12g) — Yes, two tablespoons. Don’t be shy. Cinnamon is the star here. If your cinnamon is old and dusty, throw it out and buy fresh. It makes a huge difference in flavor. I keep a fresh jar at all times for recipes like this.
Granulated Sugar (1 cup / 200g) — This is for the coating. It creates that crunchy, sweet crust. Some people use powdered sugar, but I find granulated sugar creates a better texture—it gets slightly caramelized in the oven, giving you little crispy bits. I love those bits.
For the Glaze
Confectioners’ Sugar (1 cup / 120g) — Also known as powdered sugar. This is for the drizzle. Make sure it’s sifted if it’s lumpy. Lumpy glaze is a nightmare.
Milk or Half-and-Half (2-3 tablespoons / 30-45ml) — I use whole milk for a richer glaze, but half-and-half makes it extra creamy. Start with 2 tablespoons and add more if needed. You want a drizzle-able consistency, not a paste.
Vanilla Extract (1 teaspoon / 5ml) — Just a splash. It rounds out the sweetness and adds that bakery smell. Pure vanilla, not imitation. Your taste buds will thank you.
Pinch of Salt — A tiny pinch in the glaze balances the sugar. It’s the secret weapon. It makes the sweet taste sweeter. Trust me on this.
Equipment Needed
You don’t need fancy equipment for this. Here’s what I actually use.
9×13 Inch Baking Dish — I use a glass Pyrex dish. It heats evenly and I can see the bottom browning. Metal pans work too, but they might brown the edges faster, so watch them. A bundt pan is a fun alternative for a different shape, but a square dish is easiest for serving.
Mixing Bowl — Any medium bowl works for mixing the butter, sugar, and cinnamon. I use a ceramic bowl because it doesn’t slide around on the counter.
Pastry Brush — Optional, but helpful. I use a silicone brush to coat the biscuits. It’s easy to clean and doesn’t shed bristles. If you don’t have one, just use a spoon and get messy.
Small Whisk — For the glaze. A small whisk is perfect for mixing the powdered sugar and milk without splattering.
Wire Rack — For cooling. If you don’t have one, just let it cool in the pan for 10 minutes. It’s not critical.
Knife — A sharp knife for cutting the biscuits in half. If they are large, you’ll cut each one into quarters. If they are medium, halves are fine. I like quarters because it gives you more pieces to pull apart.
Measuring Cups and Spoons — Standard stuff. I use metal measuring spoons because they are durable and accurate.
Optional: Microwave-Safe Bowl — For melting the butter. If you prefer stovetop, use a small saucepan. Either works.
How to Make It: Step-by-Step
Alright, let’s make this! I’m walking you through exactly how I do it, including the little tricks I’ve picked up. It’s simple, but the order matters.
Step 1: Prep Your Oven and Pan (2 minutes)
Preheat your oven to 375°F (190°C). Grease your 9×13 inch baking dish generously with butter or non-stick spray. I use butter because it adds flavor and prevents sticking. If you’re worried about sticking, line it with parchment paper, but I find a good butter greasing is enough.
Step 2: Mix the Coating (1 minute)
In a medium bowl, combine the 1 cup of granulated sugar and the 2 tablespoons of ground cinnamon. Whisk them together until there are no brown spots. You want an even, sandy mixture. If you don’t mix it well, you’ll get pockets of pure cinnamon and pockets of pure sugar. Not ideal.
Step 3: Prep the Biscuits (3 minutes)
Open your cans of biscuits. If you’re using large biscuits, cut each one in half, then cut those halves in half again to make quarters. If they are medium, just cut them in half. You want bite-sized pieces. Separate them gently. Don’t tear them apart yet; just cut them.
Step 4: Coat the Dough (5 minutes)
Melt the ½ cup of butter. Pour the cinnamon-sugar mixture over the cut biscuits. Drizzle the melted butter over them too. Use your hands or a spoon to toss the biscuits until they are evenly coated in butter and cinnamon sugar. Every piece needs that coating. This is the most important step. If a piece is bare, it won’t be delicious.
Step 5: Arrange in the Pan (2 minutes)
Place the coated biscuit pieces into the prepared baking dish. Arrange them in a single layer, but don’t worry about perfect rows. They will puff up and merge together. Just pack them in nicely. I usually do about 4 rows of 4, but it depends on the size of your biscuits. The key is to leave a little space between them so they can expand.
Step 6: Bake (25-30 minutes)
Place the dish in the preheated oven. Bake for 25-30 minutes. You’ll know it’s done when the tops are golden brown and the centers look set. If the tops are browning too fast, tent the pan with foil for the last 10 minutes. Don’t underbake it; you want the center to be cooked through, not doughy. Insert a toothpick in the center—if it comes out clean, you’re good.
Step 7: Make the Glaze (2 minutes)
While the bread bakes, whisk together the confectioners’ sugar, vanilla, and 2 tablespoons of milk. Start with less milk and add more drop by drop until you reach a drizzle consistency. It should be thick enough to coat the back of a spoon but thin enough to pour. If it’s too thick, add another teaspoon of milk. If it’s too thin, add a sprinkle of powdered sugar.
Step 8: Glaze and Serve (2 minutes)
Remove the bread from the oven. Let it cool for 5 minutes. Then, drizzle the glaze over the warm bread. Use a spatula to scrape the pan and get all the gooey cinnamon sugar bits at the bottom. Serve immediately while warm. This is the best time to eat it. The bread is soft, the glaze is sticky, and the cinnamon is fragrant.
Total Time: About 45 minutes (10 minutes active, 35 minutes baking)
Expert Tips & Tricks
Here’s everything I’ve learned from making this dozens of times. These tips will save you from my mistakes.
Don’t Skimp on the Butter — The butter is what helps the sugar adhere to the dough and creates that rich flavor. If you try to cut it down, the coating will slide off. Use the full ½ cup. Your waistline will thank you later (okay, maybe not, but your taste buds will).
Watch the Oven Temp — Every oven is different. If your oven runs hot, check the bread at 20 minutes. If it runs cold, it might take 35 minutes. The visual cues are more important than the timer. Golden brown is your goal.
Use Fresh Cinnamon — I can’t stress this enough. Old cinnamon tastes like dust. Buy a new jar if yours has been sitting in the cupboard since 2019. Fresh cinnamon smells incredible and tastes vibrant.
Don’t Overmix the Glaze — Whisk the glaze just until smooth. Overmixing can incorporate air bubbles, which might make it look puffy and then deflate. You want a smooth, shiny drizzle.
Serve with Coffee — This bread is sweet and rich. It needs a bitter counterpart. Brew a strong pot of coffee or serve with sparkling watermelon cucumber agua fresca if you want a refreshing non-coffee option. The contrast is perfect.
Make-Ahead Strategy — You can assemble the bread the night before. Cover it tightly with plastic wrap and refrigerate. In the morning, take it out and let it sit on the counter for 20 minutes while the oven preheats. Then bake as directed. It might take an extra 5 minutes in the oven since it’s cold. This is a lifesaver for busy mornings.
Common Mistakes
- Sauce is too runny: You added too much milk to the glaze. Just let it sit for a minute; it will thicken as it cools. Or add a bit more powdered sugar.
- Bread is dry: You overbaked it. Next time, check it 5 minutes earlier. The center should still be slightly soft when you take it out; it will firm up as it cools.
- Coating didn’t stick: You didn’t use enough butter. Make sure every piece is well-coated in butter before adding the sugar.
Variations & Substitutions
Once you’ve nailed the basic version, here’s how you can mix it up. I’ve tried all of these.
Cream Cheese Swirl — Add 4oz of softened cream cheese to the biscuit pieces before baking. It creates pockets of creamy richness. My family loves this version. It tastes like a cinnamon roll cheesecake.
Maple Glaze — Replace the vanilla in the glaze with 1 tablespoon of pure maple syrup. It adds a deeper, autumnal flavor. Perfect for fall brunches.
Apple Cinnamon — Toss 1 cup of diced apples with the cinnamon sugar before adding to the pan. The apples soften and caramelize, adding a fruity sweetness. Great for fall.
Pecan Crunch — Sprinkle ½ cup of chopped pecans over the top before baking. Adds a nice crunch and nutty flavor. I use pecans from my local orchard—they’re fresher and better.
Chocolate Chip — Sprinkle ½ cup of chocolate chips over the top before baking. It’s like a dessert bread. Kids love it. I don’t judge.
Dietary Modifications
- Gluten-Free: Use gluten-free canned biscuits. They can be a bit more fragile, so handle them gently. The rest of the recipe is naturally gluten-free.
- Dairy-Free: Use vegan butter and dairy-free milk for the glaze. There are many good vegan butter options now that melt well. The taste is surprisingly close to the original.
- Lower Sugar
Serving & Storage
How to Serve: I usually serve this straight from the pan at the dinner table. It looks rustic and stays warm. But here are other ways I’ve enjoyed it:
- With Bacon: The salty, crispy bacon balances the sweet bread perfectly. It’s a classic brunch combo.
- With Fresh Fruit: A side of strawberries or blueberries adds freshness and cuts the richness.
- With Yogurt: A dollop of Greek yogurt on the side adds protein and tang.
Toppings Bar: When I have guests, I put out: extra cinnamon sugar, chopped pecans, fresh berries, and whipped cream. Everyone customizes their piece.
Storage Instructions:
Refrigerator: Store leftovers in an airtight container for up to 3 days. The bread will firm up, but it’s still good.
Reheating: Best method: Microwave for 30-60 seconds. It softens the bread and melts the glaze. Oven method: Reheat at 350°F for 10 minutes. It keeps the crust crispier. I prefer the microwave for convenience.
Freezing: You can freeze the baked bread for up to 2 months. Thaw at room temperature and reheat. The glaze might get a bit sticky, but it’s still delicious. I freeze extras for a quick breakfast later in the week.
Nutrition Information
I’m not a nutritionist, but here’s the breakdown if you’re tracking. This is per serving (based on 12 servings).
- Calories: 320
- Protein: 4g
- Carbs: 48g
- Fiber: 1g
- Sugar: 28g
- Fat: 12g
- Saturated Fat: 6g
- Cholesterol: 25mg
- Sodium: 450mg
What’s Good: It’s a decent source of carbohydrates for energy. It’s satisfying and filling.
What to Know: It’s high in sugar and saturated fat. It’s a treat, not a daily staple. When I want to make it lighter, I use half the sugar and add more fruit. But usually? I just eat a reasonable portion and enjoy it. It’s brunch. Live a little.
Final Thoughts
So that’s my go-to soft cinnamon sugar breakfast pull-apart bread! I’ve probably talked your ear off at this point, but when you make a recipe this often, you have a lot to say about it.
This has saved weekend brunches more times than I can count. It’s my answer to “what’s for breakfast” when I’m tired, don’t want to cook a big meal, and still want something that tastes really good. My kids are happy, my husband’s happy, and I’m happy because I’m not stressed about cooking.
Make it yours! Try different add-ins, swap in your favorite nuts, adjust the cinnamon. The best recipes are the ones you adapt to your family’s tastes. If you make this, drop a comment and let me know what you think! I love hearing how recipes turn out in your kitchen. And if something doesn’t work, tell me that too—I’m here to help troubleshoot.
Happy cooking! And I hope your kitchen smells half as good as mine does right now.
Frequently Asked Questions
Can I use homemade biscuit dough?
You can, but it will change the texture. Homemade biscuits are usually denser and flakier, which might not pull apart as easily. If you use homemade dough, roll it out and cut it into squares instead of quarters. It will still be delicious, but it won’t have that same soft, stretchy pull. I stick to canned for consistency.
Can I make this ahead of time?
Yes! Assemble the bread the night before, cover it tightly with plastic wrap, and refrigerate. In the morning, let it sit on the counter for 20 minutes while the oven preheats. Then bake as directed. It might take an extra 5-10 minutes in the oven since it’s cold. This is a lifesaver for busy mornings.
Why did my bread turn out dry?
Usually means you overbaked it. Check the bread 5 minutes before the timer goes off. The center should still be slightly soft when you take it out; it will firm up as it cools. Also, make sure you’re using large biscuits, not small ones. Smaller biscuits have less moisture.
Can I freeze the glaze?
No, the glaze is best made fresh. It separates if frozen and thawed. Make it right before you serve the bread. If you have extra glaze, store it in the fridge for up to 2 days and re-whisk it before using.
Can I use brown sugar for the coating?
Absolutely. Brown sugar will give you a deeper, molasses-y flavor and a slightly chewier texture. I sometimes use a mix of white and brown sugar for the best of both worlds. It’s delicious.
How do I reheat leftovers without it getting dry?
Microwave it for 30-60 seconds with a damp paper towel over it. The steam helps keep it moist. If you use the oven, cover it with foil to prevent drying out. I prefer the microwave for speed and moisture.
Can I double this recipe?
Yes, but you’ll need a larger baking dish, like a 9×13 inch or even two 8×8 inch dishes. The baking time might increase by 5-10 minutes. Keep an eye on it. I’ve doubled this for large parties, and it works great.
Pin This Recipe!
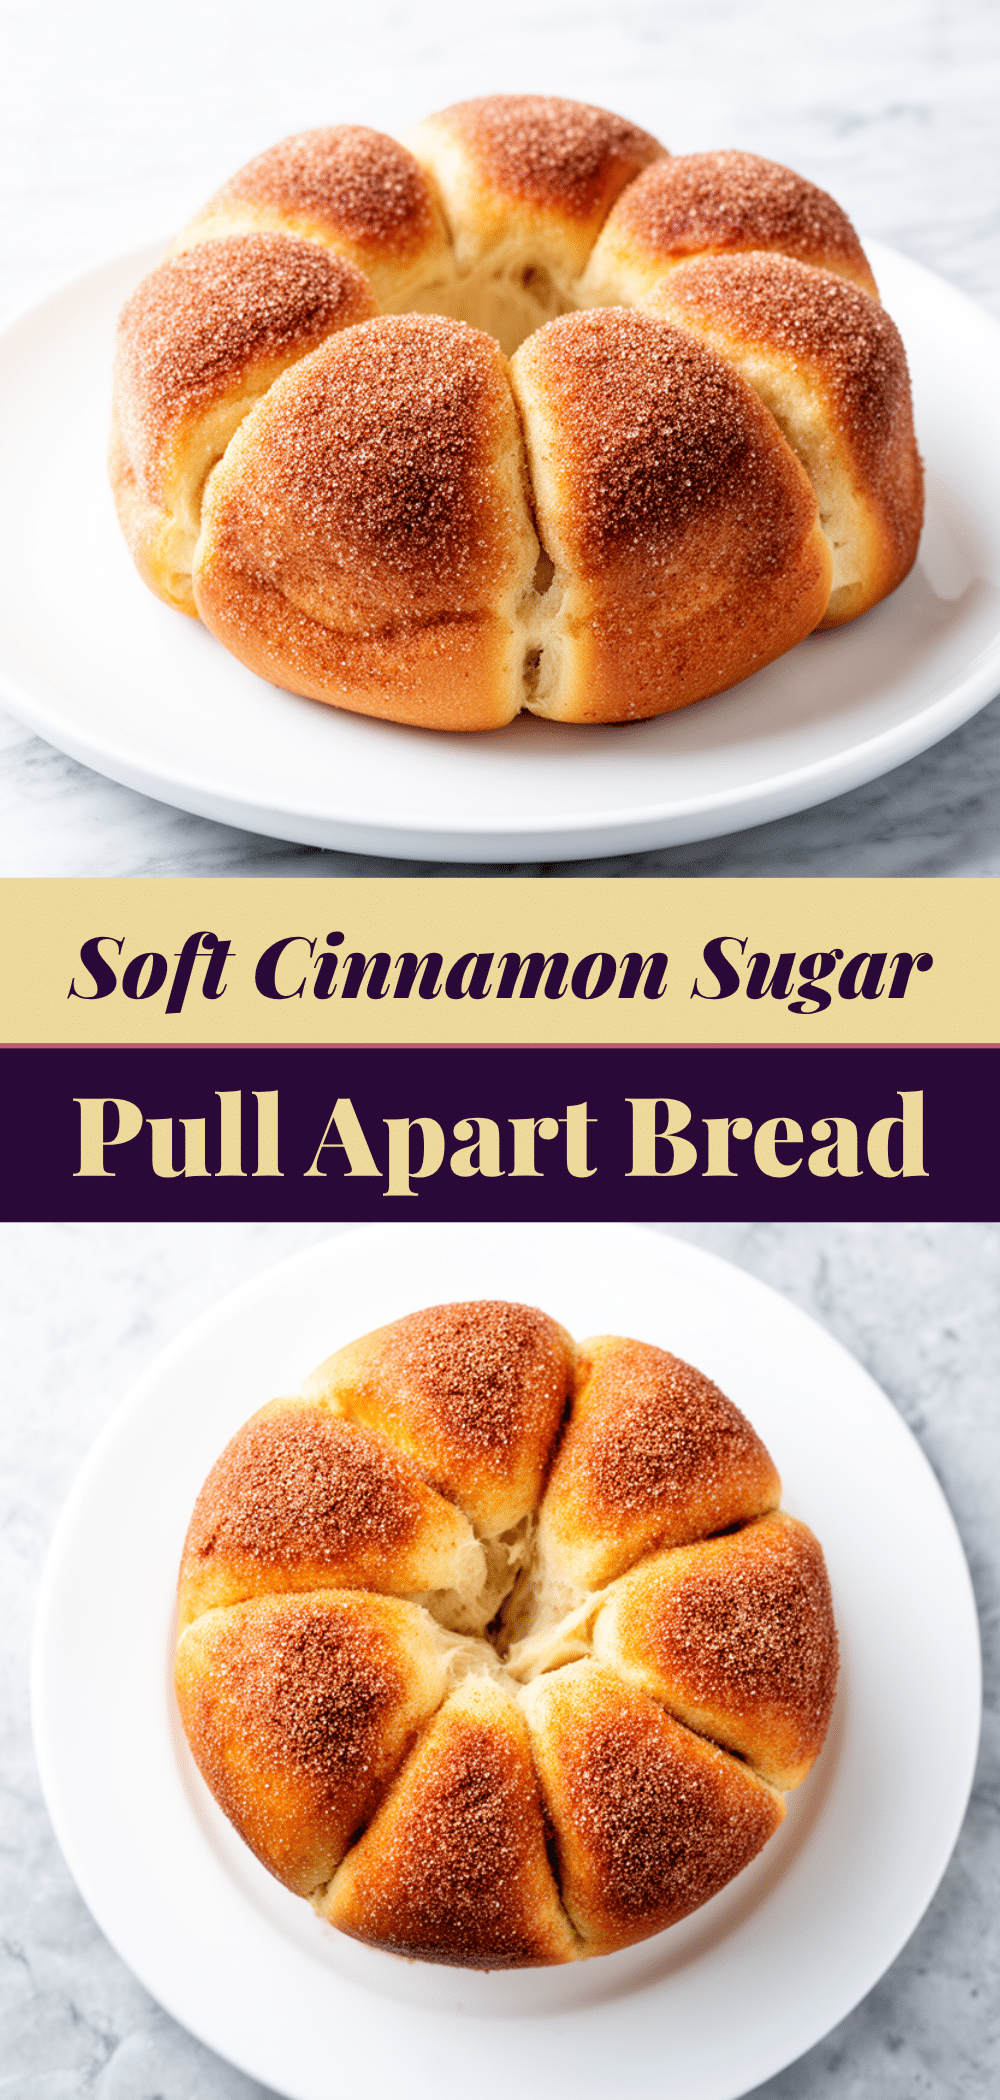
Soft Cinnamon Sugar Breakfast Pull-Apart Bread
- Total Time: 45 minutes
- Yield: 12 servings 1x
Description
A soft, pillowy pull-apart bread made from simple store-bought biscuits, coated in cinnamon sugar, and drizzled with a sweet vanilla glaze. It is an easy, foolproof recipe perfect for lazy weekend brunches.
Ingredients
- 2 cans (8 biscuits each) large refrigerated canned biscuits
- 1/2 cup unsalted butter, melted
- 1/2 cup granulated sugar (for dough)
- 1 cup granulated sugar (for coating)
- 2 tablespoons ground cinnamon
- 1 cup confectioners’ sugar (for glaze)
- 2–3 tablespoons milk or half-and-half
- 1 teaspoon vanilla extract
- Pinch of salt
Instructions
- Preheat oven to 375°F (190°C) and grease a 9×13 inch baking dish with butter or non-stick spray.
- In a medium bowl, whisk together 1 cup granulated sugar and 2 tablespoons ground cinnamon until evenly combined.
- Open biscuit cans. Cut large biscuits into quarters (or medium biscuits in half) to create bite-sized pieces.
- Drizzle melted butter over the cut biscuits and sprinkle the cinnamon-sugar mixture on top. Toss until every piece is evenly coated.
- Arrange the coated biscuit pieces in the prepared baking dish in a single layer, leaving small spaces between them for expansion.
- Bake for 25-30 minutes until tops are golden brown and centers are set. Tent with foil if browning too quickly.
- While baking, whisk confectioners’ sugar, vanilla, and 2 tablespoons of milk to create a drizzle-able glaze. Adjust milk for consistency.
- Remove bread from oven and let cool for 5 minutes.
- Drizzle the glaze over the warm bread and serve immediately.
Notes
For best results, use fresh cinnamon and large round biscuits. The bread can be assembled the night before and refrigerated, then baked in the morning. Reheat leftovers in the microwave for 30-60 seconds to maintain softness.
- Prep Time: 10 minutes
- Cook Time: 35 minutes
- Category: Breakfast
- Cuisine: American
Nutrition
- Serving Size: 1 piece
- Calories: 320
- Sugar: 28
- Sodium: 450
- Fat: 12
- Saturated Fat: 6
- Carbohydrates: 48
- Fiber: 1
- Protein: 4
Keywords: breakfast, brunch, cinnamon sugar, pull-apart bread, easy recipe, weekend brunch, biscuits, sweet breakfast


