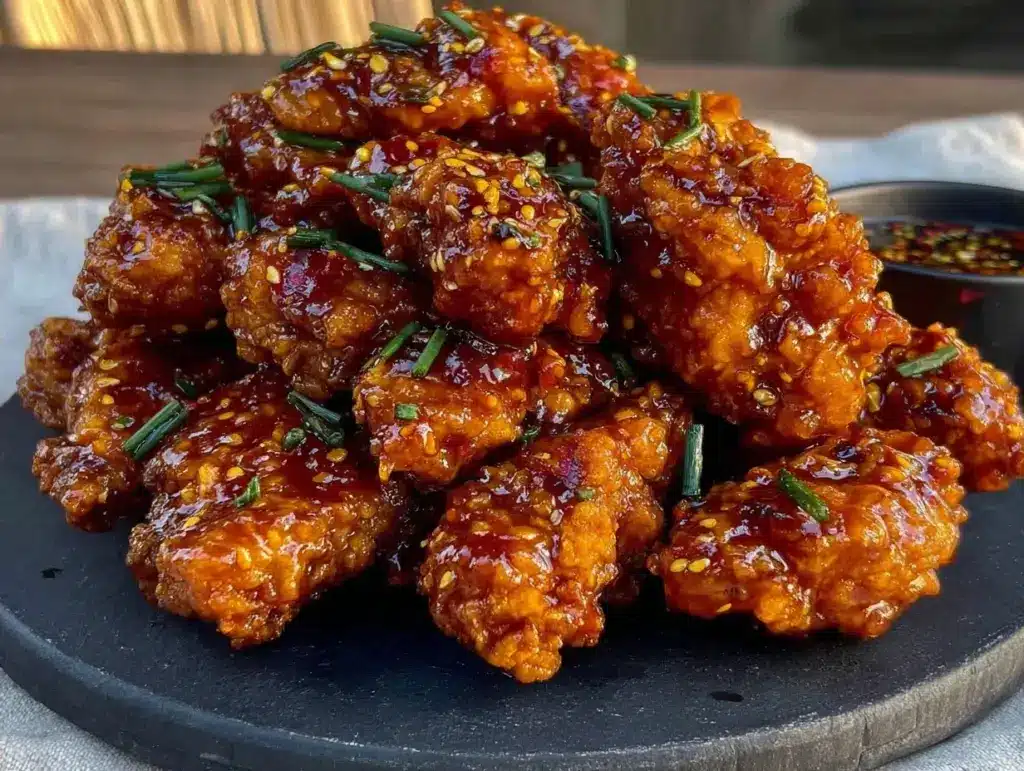
Last Sunday, I was standing in the parking lot of a local sports field, shivering in the November wind, watching thirty parents argue over who forgot the cooler. I had my hands full—holding a toddler with one arm and a folding chair with the other—and I realized my contribution to the tailgate was going to be… well, nothing. I had forgotten the main event entirely.
That was my wake-up call. I needed a snack that was cheap enough to make in bulk, sturdy enough to survive a car ride, and sticky enough that people would stop arguing long enough to wipe their hands on their jeans and say, “Okay, I’m here for the wings.”
So I went back to my kitchen and developed this easy tailgate sticky honey garlic chicken wings recipe. It’s my new secret weapon. It uses just three main ingredients (okay, four if you count the oil, but you probably have that), it costs about half of what a restaurant charges, and it tastes like it took hours to simmer. It’s the kind of dish that saves weekends. And honestly? Once you taste these, you’ll be making them on repeat, whether it’s for a game day crowd or just a Tuesday night when you’re too tired to cook a real meal.
Why You’ll Love This Recipe
I’ve been a wing-maker for years. I’ve tried baking, frying, deep-frying, and air-frying. I’ve used dry rubs, dry rubs with a slather of sauce, and complicated marinades that require a trip to the Asian market. But this version? It’s different. It’s the one that actually sticks to my weekly rotation.
Here’s why this recipe has completely changed our game-day game:
Pantry-Perfect Simplicity — Seriously, if you have honey, garlic, and soy sauce, you have dinner. I don’t mean to sound dramatic, but I’ve pulled this together on nights when I got home late and the store was closed. It’s that reliable. No fancy ingredients hiding in the back of your spice rack.
Budget-Friendly Bulk — Chicken wings are one of the most affordable cuts of meat you can buy, especially if you buy them in bulk or look for sales. I can feed a crowd of 10-12 people for under $25. Compare that to buying wings at a bar where you’ll pay $20 for a dozen that aren’t even this good. It’s a no-brainer.
Sticky, Not Soggy — The biggest complaint about homemade wings is that they get soggy in the bag. Not these. By baking them first to render the fat, then tossing them in a reduced glaze, they stay crispy on the outside and juicy on the inside. They hold up in a cooler or a serving bowl for an hour without turning into mush.
Kid-Approved Flavor — My kids are notoriously picky. They usually turn their noses up at anything “savory” unless it’s chicken nuggets. But this honey garlic flavor? It’s sweet enough for them but savory enough for the adults. I’ve made this for playdates, and other moms have asked for the recipe. It’s a universal crowd-pleaser.
Make-Ahead Friendly — You can bake the wings ahead of time and reheat them right before the game starts. This is huge for me. It means I’m not stuck in the kitchen when the guests arrive. I can grab a drink, sit down, and still pull out hot, fresh wings when it’s time to eat.
Ingredients You’ll Need
Here’s the best part: you probably have most of this already. I’m not asking you to buy five different bottles of obscure sauces. This is grounded, practical cooking for real families.
Chicken Wings (3-4 pounds / 1.5-2 kg) — I always buy the “party cut” wings (drumettes and flats mixed together). They’re cheaper than buying just flats, and they’re easier for kids and older folks to handle. Look for ones that are still pink and fresh, not frozen solid. If you buy them frozen, thaw them in the fridge the night before. I usually get a good deal at the local warehouse store, but any grocery store works.
Honey (½ cup / 170g) — Use real honey. Not the high-fructose corn syrup stuff in the bear bottle. Real honey gives that beautiful, glossy sheen and a complex sweetness that balances the salt. I use whatever brand is on sale, but Clover or Orange Blossom work great. Don’t cheap out here; it’s the star of the show.
Soy Sauce (½ cup / 120ml) — This provides the salty, umami depth. Regular soy sauce is fine. I like to use low-sodium if I can find it, just so I can control the saltiness, but regular works too. If you’re worried about sodium, just rinse the wings after cooking (a bit unusual, but it helps) or reduce the soy sauce to ⅓ cup.
Garlic (6-8 cloves, minced / about 3 tablespoons) — Fresh garlic is non-negotiable here. Jarred garlic has that weird metallic taste that clashes with the honey. I buy a head of garlic and mince it fresh. It takes two minutes, and the flavor difference is night and day. If you’re in a total pinch, you can use 2 teaspoons of garlic powder, but fresh is better.
Rice Vinegar (1 tablespoon / 15ml) — This is the secret ingredient. It cuts through the sweetness and fat of the honey and chicken. It adds a bright, tangy note that keeps the flavor from being cloying. If you don’t have rice vinegar, white wine vinegar or even a tiny splash of apple cider vinegar works, but rice vinegar is the most authentic.
Ginger (1 teaspoon, fresh grated / ½ teaspoon ground) — Fresh ginger adds a warm, spicy kick. I grate it on a microplane so it dissolves into the sauce. If you don’t have fresh, ½ teaspoon of ground ginger is fine, but it won’t be as bright.
Red Pepper Flakes (½ teaspoon) — Optional, but recommended. Just a pinch adds a little heat that balances the sweet. If you’re making these for strict kids, skip it or add it separately so they can opt out.
Neutral Oil (1 tablespoon) — Just a little oil to help the wings crisp up in the oven. Canola, vegetable, or light olive oil works. Avoid extra virgin olive oil here; it has a low smoke point and can burn in the hot oven.
Optional Garnish: Sesame seeds and chopped green onions. I sprinkle these on at the end for a pop of color and texture. It makes it look like you went to all that trouble (which you did).
Equipment Needed
You don’t need fancy equipment for this. Here’s what I actually use in my busy kitchen.
Rimmed Baking Sheet — I use a half-sheet pan. It needs to have a lip so the honey doesn’t drip everywhere and burn. If your pan is too small, use two. Crowding the wings steams them instead of baking them, and we want crispy skin.
Wire Rack — This is the game-changer. If you have a wire cooling rack that fits inside your baking sheet, use it. It lets air circulate under the wings so they crisp up evenly on all sides. If you don’t have one, just line the pan with parchment paper and flip the wings halfway through. It’s not quite as good, but it works.
Small Saucepan — For reducing the sauce. Any small pot will do. You’re just heating and simmering here, so it doesn’t need to be fancy.
Large Mixing Bowl — For tossing the wings. Make sure it’s big enough to hold all the wings and the sauce without spilling. I use a big stainless steel bowl.
Tongs — For flipping the wings and tossing them in the sauce. Wet hands slip; tongs don’t.
Microplane or Grater — For the fresh garlic and ginger. If you don’t have one, a sharp knife and a cutting board work fine. Just mince it as fine as you can.
How to Make It: Step-by-Step
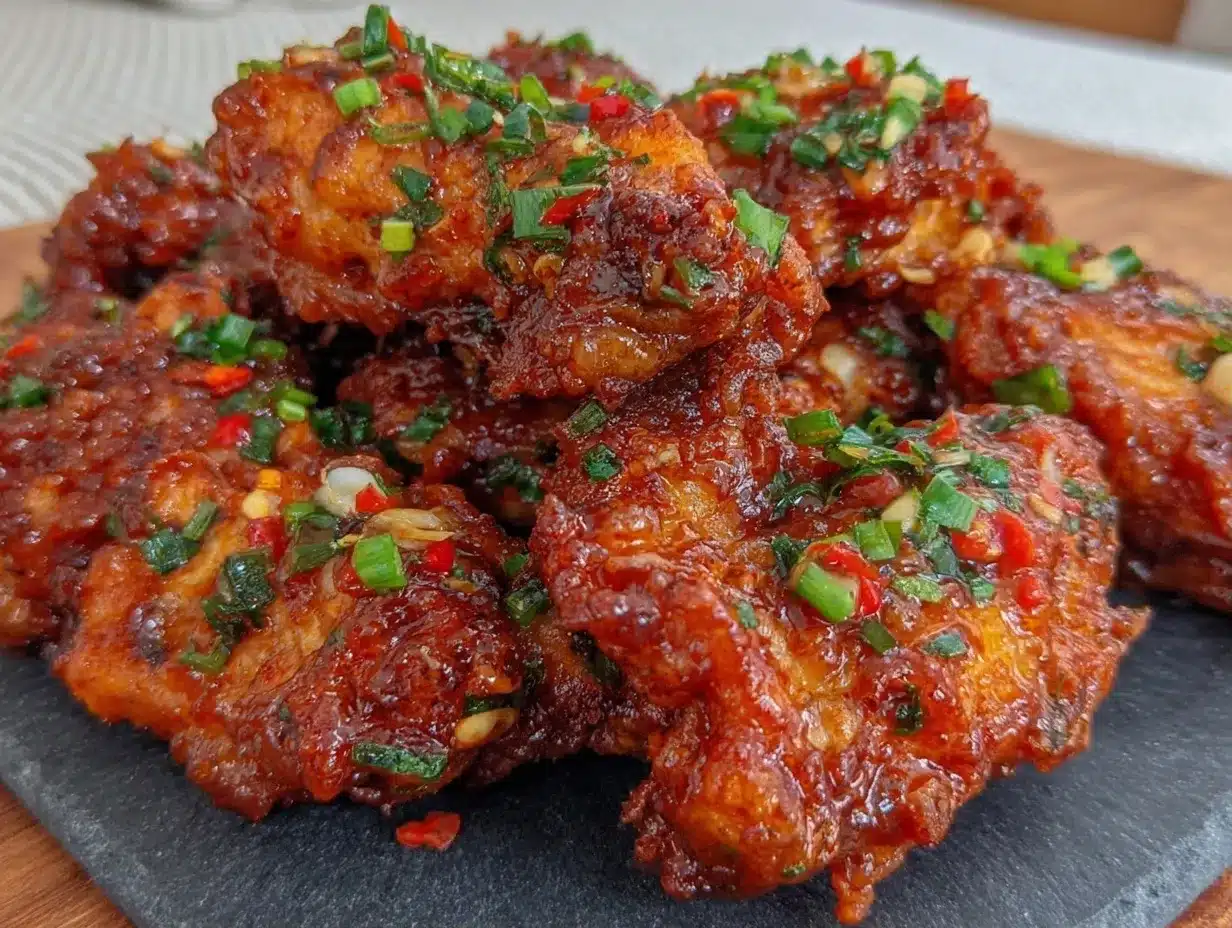
Alright, let’s make this! I’m walking you through exactly how I do it, including the little tricks I’ve picked up over time. This process is straightforward, but attention to detail makes the difference between okay wings and amazing wings.
Step 1: Prep the Oven and Wings (5 minutes)
Preheat your oven to 400°F (200°C). Line your baking sheet with parchment paper or foil for easy cleanup (trust me, honey sticks). If you’re using a wire rack, place it on the baking sheet. Pat the chicken wings dry with paper towels. This is crucial. Moisture is the enemy of crispiness. The drier the skin, the crispier the wings. Discard the paper towels—they’re greasy now.
Step 2: Season and Bake (40-45 minutes)
Toss the dried wings with the neutral oil and a pinch of salt. Spread them out on the baking sheet in a single layer. Make sure they aren’t touching. If they’re touching, they’ll steam. Bake for 20 minutes, then flip the wings. Bake for another 20-25 minutes until they are golden brown and crispy. The internal temperature should reach 165°F (74°C). If you don’t have a thermometer, poke one; the juices should run clear. Remove from the oven and set aside. Don’t worry if they’re not “fried” crispy yet; they’ll crisp up more when tossed in the sauce.
Step 3: Make the Glaze (5 minutes)
While the wings bake, make the sauce. In a small saucepan over medium heat, combine the honey, soy sauce, minced garlic, grated ginger, rice vinegar, and red pepper flakes. Whisk them together. Bring it to a simmer. Once it starts bubbling, reduce the heat to low and let it simmer for 3-5 minutes. You want it to thicken slightly—it should coat the back of a spoon. It will look glossy and smell incredible. Remove from heat.
Step 4: Toss and Serve (5 minutes)
Place the baked wings in your large mixing bowl. Pour the warm glaze over the hot wings. Toss them immediately and vigorously. The heat from the wings helps the sauce stick. Make sure every wing is coated. If you have extra sauce, save it for dipping. Garnish with sesame seeds and green onions if you’re feeling fancy.
Total Time: About 55 minutes (10 minutes active, 45 minutes hands-off baking)
Expert Tips & Tricks
Here’s everything I’ve learned from making this dozens of times. These tips will save you from my mistakes.
Don’t Skip the Drying Step
I know it seems like a nuisance, but patting the wings dry is the #1 reason these come out crispy. If you skip it, you’re essentially steaming them in their own juices. Take the extra two minutes.
Use a Wire Rack
If you have one, use it. It elevates the wings so the heat hits the bottom. If you bake them directly on the pan, the bottoms get soggy from the rendered fat. A rack solves this instantly.
Reduce the Sauce Properly
Don’t just mix the raw ingredients and pour it over. Simmering the sauce concentrates the flavors and creates a sticky glaze that clings. If you skip this step, you’ll have runny, watery wings. Let it bubble until it’s syrupy.
Toss Immediately
Add the sauce while the wings are still hot from the oven. The heat helps the sauce adhere. If you let the wings cool first, the sauce will slide off. Toss them in a big bowl so you get even coverage.
Double the Batch
This recipe scales up beautifully. I often double it for larger gatherings. Just make sure you use two baking sheets and rotate them in the oven halfway through so they bake evenly.
Common Mistakes (and how to avoid them):
- Sauce is too thin: Simmer it longer. It should coat the spoon. If it’s still runny after 5 minutes, you didn’t simmer it enough.
- Wings are soggy: You crowded the pan. Give them space. Airflow is key.
- Sauce is too salty: This happens if you use regular soy sauce and don’t taste the sauce first. Taste your glaze before tossing. If it’s too salty, add a splash more honey.
Variations & Substitutions
Once you’ve nailed the basic version, here’s how you can mix it up. I’ve tried all of these.
Spicy Honey Garlic
Add 1 tablespoon of sriracha or gochujang paste to the sauce. It adds a nice kick that balances the sweet. This is my favorite version for adults.
Teriyaki Style
Swap the soy sauce for teriyaki sauce and skip the rice vinegar. It’s sweeter and milder. Great for kids.
Buffalo Honey Garlic
Mix 2 tablespoons of Frank’s RedHot sauce into the glaze. It gives a tangy, spicy twist that’s different from traditional buffalo wings.
Gluten-Free
Use tamari instead of soy sauce. Everything else is naturally gluten-free. I’ve used tamari and it works perfectly.
Dietary Modifications:
- Lower Sodium: Use low-sodium soy sauce and reduce the amount by half, adding salt to taste.
- Dairy-Free: This recipe is naturally dairy-free.
- Vegan: Use plant-based wings (like Gardein) and maple syrup instead of honey. The method is the same.
Serving & Storage
These wings are best served warm, right out of the bowl. But they’re also great for meal prep.
How to Serve:
I usually serve these in a big platter or a slow cooker on the “warm” setting. If you’re tailgating, put them in a foil pan with a lid. They stay warm and juicy. Pair them with loaded chili cheese nachos for a serious game-day feast. The contrast of the crispy wings and the cheesy nachos is unbeatable.
Side Dishes:
I like to serve these with simple coleslaw or creamy bacon ranch potato salad. The cool, creamy sides balance the sticky, savory wings perfectly. It’s a classic combo for a reason.
Storage Instructions:
- Refrigerator: Store leftovers in an airtight container for up to 3 days. The sauce will thicken in the fridge, which is normal.
- Reheating: Reheat in the oven at 350°F for 10-15 minutes to crisp them up again. Microwave reheating makes them soggy. If you must microwave, do it in short bursts and let them rest.
- Freezing: You can freeze the baked wings (without sauce) for up to 2 months. Thaw in the fridge and reheat in the oven. Make the sauce fresh when you’re ready to serve.
Pro Tip: If you’re making these ahead, bake the wings, let them cool, and store them in the fridge. When you’re ready to serve, reheat the wings in the oven, then toss them in the warm glaze. This keeps them crispy longer.
Nutrition Information
I’m not a nutritionist, but here’s the breakdown if you’re tracking. Keep in mind that nutrition varies based on the specific cut of wings and brand of soy sauce you use.
Per Serving (based on 6 servings, approx. 4-5 wings per person):
- Calories: 380
- Protein: 22g
- Carbs: 28g
- Fiber: 0g
- Sugar: 26g
- Fat: 20g
- Sodium: 680mg
What’s Good:
High in protein from the chicken. The honey provides quick energy. It’s a satisfying snack that keeps you full.
What to Know:
Higher in sodium due to the soy sauce. Higher in sugar from the honey. It’s a treat, not a health food. Enjoy it as part of a balanced meal.
Final Thoughts
So that’s my go-to easy tailgate sticky honey garlic chicken wings! I’ve probably talked your ear off at this point, but when you make a recipe this often, you have a lot to say about it. This has saved me from many a parking lot dilemma. It’s my answer to “what do I bring?” when I’m stressed, on a budget, and still want to impress.
Make it yours! Try different add-ins, swap in your favorite vegetables, or adjust the garlic. The best recipes are the ones you adapt to your family’s tastes. If you make this, drop a comment and let me know what you think! I love hearing how recipes turn out in your kitchen.
Happy cooking! And I hope your kitchen smells half as good as mine does right now.
Frequently Asked Questions
Can I use frozen wings?
Yes, but you need to thaw them completely first. Cooking frozen wings in the oven will result in uneven cooking—some parts will be raw while others are burnt. Thaw them in the fridge overnight. If you’re in a hurry, you can thaw them in a bowl of cold water, changing the water every 30 minutes.
Why are my wings soggy?
Usually, this means the wings were crowded on the pan, or they weren’t patted dry before baking. Moisture is the enemy of crispiness. Make sure there’s space between each wing, and always use paper towels to dry them thoroughly. Also, using a wire rack helps air circulate.
Can I make the sauce ahead of time?
Yes! You can make the glaze up to 3 days ahead and store it in the fridge. Reheat it gently in a saucepan before tossing with the wings. This actually helps the flavors meld together. Just make sure the sauce is warm when you toss it with the hot wings.
Can I use chicken drumsticks instead of wings?
Absolutely. Drumsticks work great with this glaze. Just increase the baking time by 10-15 minutes, as they are thicker. Check the internal temperature to ensure they reach 165°F.
Is this recipe spicy?
Not by default. It’s sweet and savory. If you want heat, add red pepper flakes, sriracha, or a dash of cayenne to the sauce. Start with a little and taste as you go. It’s easy to add more, but hard to take it away.
How do I store leftovers?
Store them in an airtight container in the fridge for up to 3 days. Reheat in the oven at 350°F for 10-15 minutes to restore crispiness. Avoid the microwave, as it makes the skin soggy.
Can I freeze these wings?
I recommend freezing the baked wings without the sauce. Store them in a freezer-safe bag for up to 2 months. Thaw in the fridge, reheat in the oven, and then toss in fresh glaze. Freezing wings with the sauce can make the texture mushy.
Pin This Recipe!
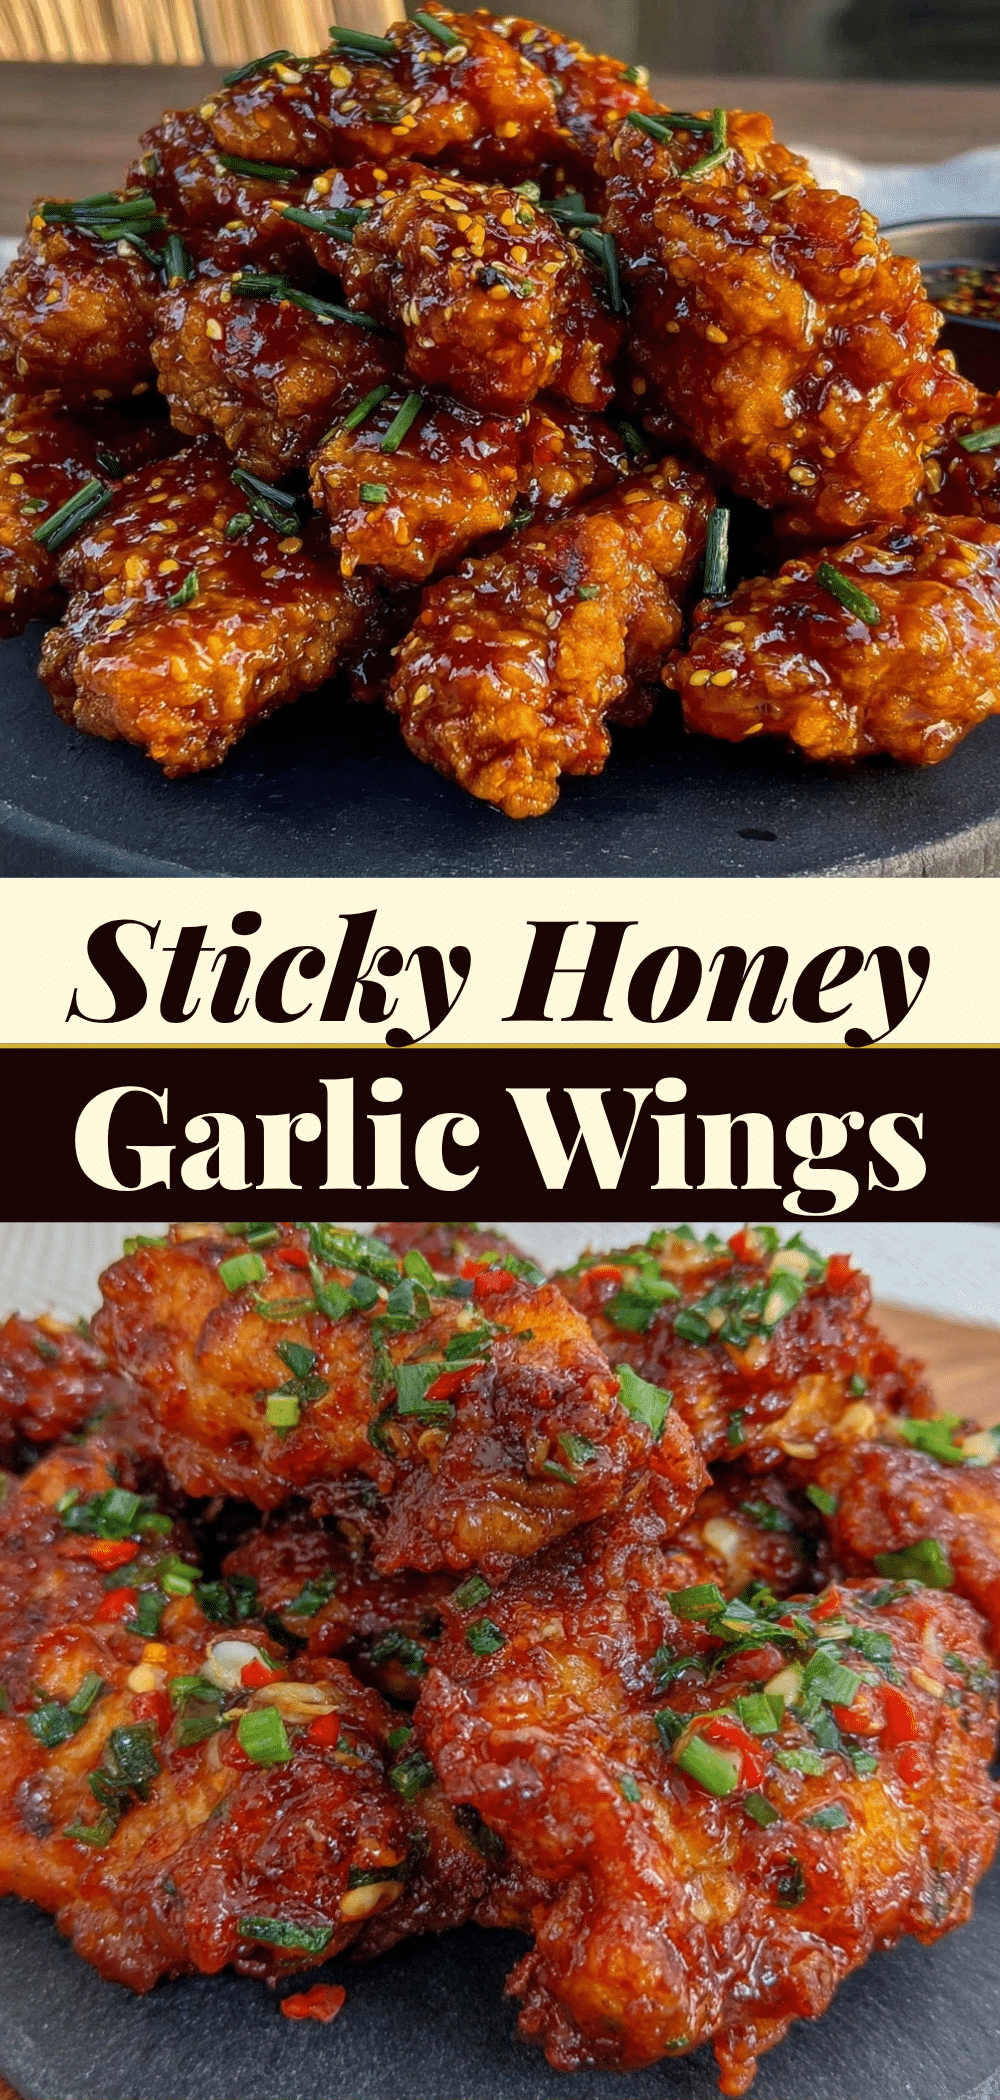

Easy Sticky Honey Garlic Chicken Wings: 3-Ingredient Budget Recipe
- Total Time: 55 minutes
- Yield: 6 servings 1x
Description
A budget-friendly, sticky honey garlic chicken wing recipe that uses simple pantry ingredients. Perfect for tailgating, game days, or busy weeknights, these wings are crispy on the outside and juicy on the inside.
Ingredients
- 3–4 pounds chicken wings (party cut)
- 1 tablespoon neutral oil (canola, vegetable, or light olive oil)
- Pinch of salt
- ½ cup honey
- ½ cup soy sauce (or low-sodium/tamari)
- 6–8 cloves garlic, minced
- 1 tablespoon rice vinegar
- 1 teaspoon fresh ginger, grated
- ½ teaspoon red pepper flakes (optional)
- Sesame seeds and chopped green onions for garnish (optional)
Instructions
- Preheat oven to 400°F (200°C). Line a rimmed baking sheet with parchment paper or foil. If using a wire rack, place it on the sheet.
- Pat chicken wings dry with paper towels to ensure crispiness. Toss wings with neutral oil and a pinch of salt.
- Spread wings in a single layer on the baking sheet, ensuring they are not touching. Bake for 20 minutes.
- Flip the wings and bake for another 20-25 minutes until golden brown, crispy, and internal temperature reaches 165°F (74°C). Set aside.
- While wings bake, combine honey, soy sauce, minced garlic, grated ginger, rice vinegar, and red pepper flakes in a small saucepan over medium heat.
- Bring sauce to a simmer, then reduce heat to low. Simmer for 3-5 minutes until the sauce thickens slightly and coats the back of a spoon.
- Place baked wings in a large mixing bowl. Pour the warm glaze over the hot wings and toss vigorously to coat evenly.
- Garnish with sesame seeds and green onions if desired. Serve immediately.
Notes
Patting the wings dry is crucial for crispiness. Do not crowd the pan; give wings space to air circulate. Simmer the sauce until it coats the spoon to ensure it sticks properly. Reheat leftovers in the oven at 350°F to maintain crispiness; avoid microwaving.
- Prep Time: 10 minutes
- Cook Time: 45 minutes
- Category: Appetizer
- Cuisine: Asian Fusion
Nutrition
- Serving Size: 4-5 wings per person
- Calories: 380
- Sugar: 26
- Sodium: 680
- Fat: 20
- Carbohydrates: 28
- Protein: 22
Keywords: chicken wings, honey garlic wings, tailgate food, game day snacks, budget recipe, easy dinner, sticky wings, party food


