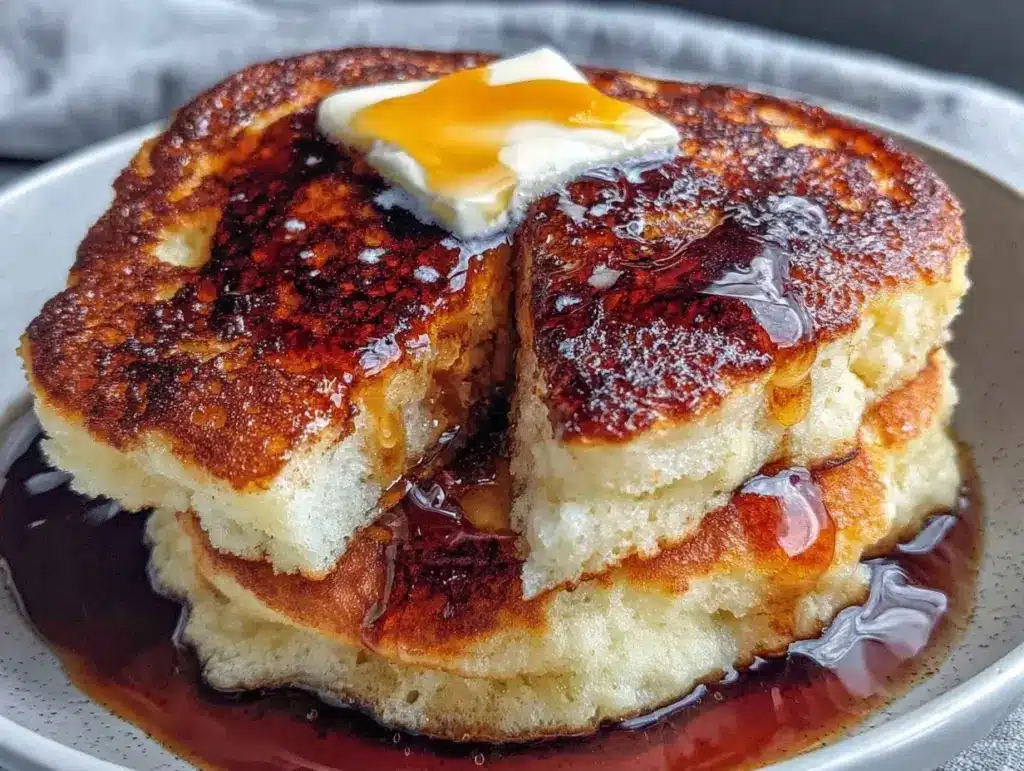
I have a confession to make. For years, I avoided Japanese soufflé pancakes like they were radioactive. Not because I didn’t love them—the ones I’ve seen in those viral videos, towering and jiggly and impossibly tall—but because making them felt like a commitment I couldn’t afford. And by “commitment,” I mean a kitchen full of egg whites, half a carton of cream cheese, and a guilt-ridden stare at a trash can full of unused ingredients.
Here’s the thing: I love pancakes. But I don’t love having pancakes for breakfast, lunch, and dinner for the next four days. That’s the tragedy of most pancake recipes. They’re designed for a family of four. They’re designed to be doubled for brunch parties. They are not designed for the lonely Tuesday morning when you just want something fluffy, sweet, and satisfying without the aftermath of a week’s worth of leftovers.
So, I did what any obsessive home cook would do. I reverse-engineered the recipe. I took the technique that makes those massive restaurant stacks so airy and light, and I scaled it down. Not just a little. I scaled it down to a perfect, single-serving portion that fits in a standard 8-inch non-stick skillet. No wasted egg whites. No half-used maple syrup. Just two perfectly golden, jiggly, cloud-like pancakes that disappear in three bites.
This is my ultra-fluffy Japanese soufflé pancakes for one recipe. It’s the answer to that nagging voice that says, “I want something special, but I don’t want to cook for an army.” It’s delicate, yes. It requires a tiny bit of patience. But the payoff? It’s worth every second. And unlike that creamy strawberry cheesecake milkshake which is great but also a bit heavy, these are light enough to feel like a treat rather than a meal that puts you in a food coma for the rest of the day.
Why You’ll Love This Single-Serve Pancake Recipe
There are a dozen reasons I keep coming back to this method, but let’s be real about the biggest ones. This isn’t just about saving food; it’s about the quality of the experience.
Zero Waste, Maximum Joy — Seriously. You use one egg. Just one. No cracking extra eggs and wondering if you can freeze the whites for a meringue you’ll never make. I’ve made this for myself and my partner, and we both get a stack that feels indulgent without the guilt of a giant batch sitting in the fridge.
Restaurant-Quality Texture at Home — You know those pancakes that are dense and flat? This isn’t that. These are airy, springy, and literally melt in your mouth. The key is the meringue, and getting it right for a small batch is actually easier than you think because you’re watching the bowl, not a giant mixer.
Fast Enough for Weekdays — Yes, it takes about 20 minutes. But only 5 minutes is active prep. The rest is low-and-slow cooking. I can make these while I brew my coffee. It’s the perfect “I want to treat myself but I have work in two hours” breakfast.
The Maple Butter Upgrade — Plain syrup is fine. But when you add a little browned butter and real maple syrup to the pan, the whole dish transforms. It’s subtle, but it’s the difference between “breakfast” and “brunch.” It pairs beautifully with something like fluffy ricotta cinnamon roll pancakes if you’re feeling extra fancy on a Sunday, but for a quick weekday, this simple maple butter is all you need.
This is my go-to when I need a moment of peace. No complicated techniques, no weird ingredients, just reliable, delicious food that makes me feel like I’m at a café in Tokyo, but in my pajamas.
Ingredients You’ll Need
Here’s the best part: you probably have most of this already. The beauty of this recipe is how few ingredients it uses, which makes scaling down a breeze. You don’t need a pantry full of specialty items.
For the Pancakes:
Egg (1 large, fresh / about 50g) — This is the star. It needs to be fresh because fresh eggs whip up higher and hold their structure better. Room temperature eggs whip faster, so if you’re in a rush, let it sit in warm water for 5 minutes.
Cake Flour (2 tablespoons / 15g) — I know, you might not have cake flour. But it’s crucial. It has less protein than all-purpose, which means less gluten development and a softer, more tender crumb. If you must use all-purpose, sift it twice to aerate it, but cake flour is worth the trip to the store.
Cornstarch (1 teaspoon / 3g) — This works with the cake flour to keep the texture light. It’s a secret weapon for that “soufflé” texture.
Sugar (2 tablespoons / 25g) — Granulated white sugar. It dissolves easily into the egg whites, creating a stable meringue. Don’t use brown sugar here; it adds moisture that can weigh down the peaks.
Milk (1 tablespoon / 15ml) — Whole milk is best for richness, but 2% works fine. Keep it cold.
Vanilla Extract (½ teaspoon) — Pure vanilla, not imitation. It adds that warm, comforting background note.
Cream of Tartar (¼ teaspoon) — This is the magic ingredient for stabilizing the egg whites. It helps them hold their shape so your pancakes don’t collapse. You can find it in the spice aisle.
Salt (a tiny pinch) — Just a pinch to balance the sweetness.
Butter (1 teaspoon, unsalted) — For greasing the pan. Don’t use oil; butter gives better flavor and helps with browning.
For the Maple Butter Topping:
Unsalted Butter (1 tablespoon / 15g) — We’re going to brown this slightly. It adds a nutty depth that regular butter doesn’t have.
Maple Syrup (1 tablespoon / 15ml) — Use real maple syrup. The artificial stuff is just sugar water and it won’t caramelize the same way.
Whipped Cream (optional) — If you want to go all out, a dollop of lightly sweetened whipped cream is amazing. But honestly, the maple butter is enough.
Equipment Needed
You don’t need fancy equipment for this. Here’s what I actually use.
8-Inch Non-Stick Skillet — This is critical. A standard 10 or 12-inch skillet is too big for a single serving; the pancakes will spread out and cook too fast, never getting that tall soufflé rise. I use a small 8-inch skillet, and it fits the batter perfectly.
Balloon Whisk — For whipping the egg whites. A fork won’t do it. You need to incorporate air quickly.
Spatula — A flexible silicone spatula is best for folding the meringue into the yolk mixture without deflating it.
Small Bowl — For the egg whites. Make sure it’s completely clean and dry. Even a drop of yolk or oil will prevent the whites from whipping.
Lid for Skillet — You need a lid that fits your 8-inch skillet. This traps steam and cooks the inside without burning the outside. If your lid is too big, you can foil a loose cover, but a snug fit is better.
How to Make It: Step-by-Step
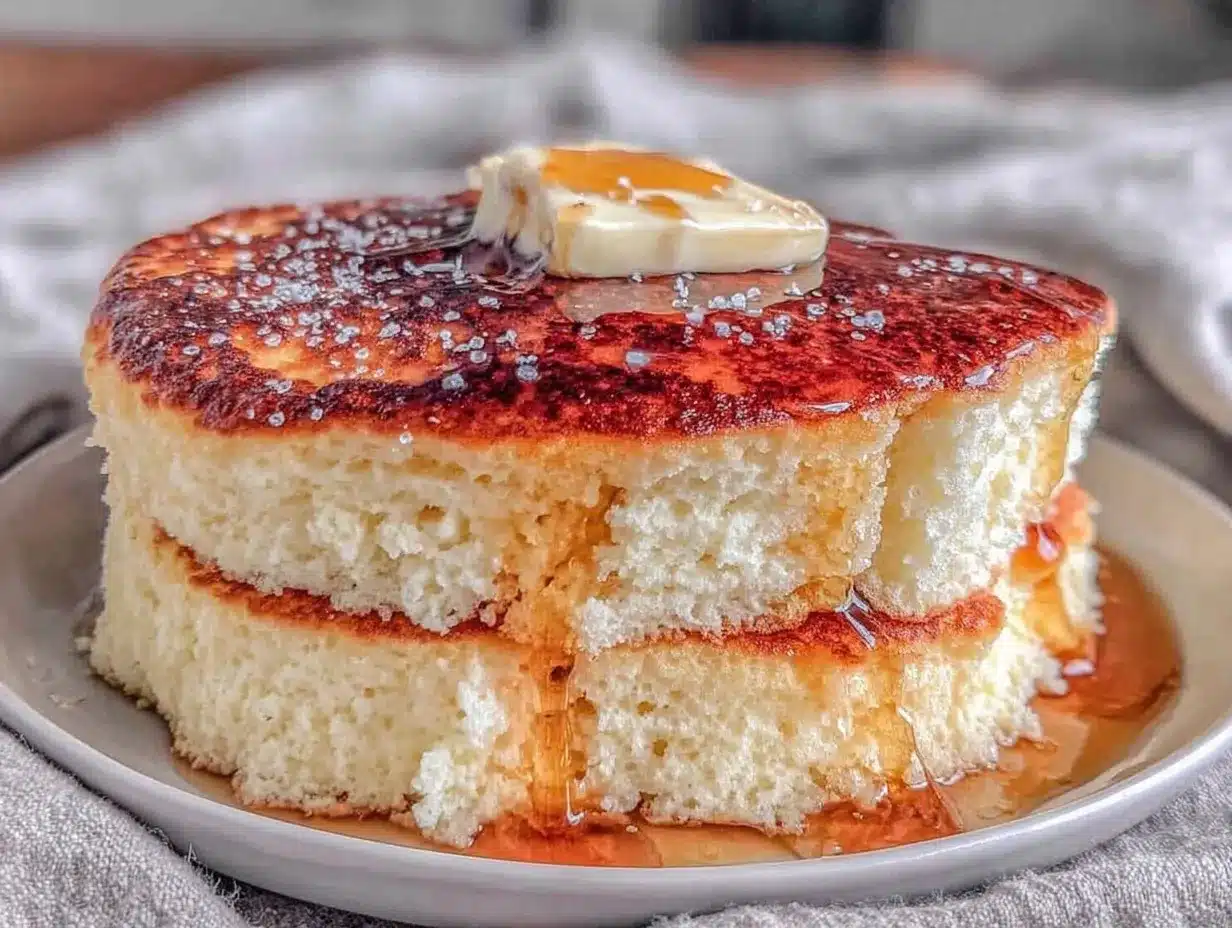
Alright, let’s make this! I’m walking you through exactly how I do it, including the little tricks I’ve picked up. It’s a bit of a process, but it’s rhythmic and satisfying.
Step 1: Separate the Egg (2 minutes)
Carefully separate the egg white from the yolk. Put the white in your clean, dry bowl. Put the yolk in a small separate bowl. Be careful not to get any yolk in the white—it will ruin the whip. Set the yolk aside.
Step 2: Whip the Meringue (3-4 minutes)
Add the cream of tartar and salt to the egg white. Using your balloon whisk, beat the white on medium-high speed. After about 30 seconds, it will become foamy. Slowly add the sugar, one tablespoon at a time, while continuing to whisk. Keep whisking until you have stiff, glossy peaks. The meringue should look like marshmallow fluff. If you turn the bowl upside down, it shouldn’t move. This takes about 3 minutes by hand. It’s a workout, but it’s worth it.
Step 3: Mix the Yolk Batter (2 minutes)
To the bowl with the egg yolk, add the milk, vanilla, and a tiny splash of the meringue (just to loosen the yolk). Whisk gently. In a separate small bowl, sift together the cake flour and cornstarch. Gently fold the dry ingredients into the yolk mixture until just combined. It should be a smooth, thick batter. Don’t overmix.
Step 4: Fold the Meringue In (3 minutes)
This is the most important step. Add half of the meringue to the yolk batter and gently fold it in. Use a spatula, cutting down the middle and folding over the top. Rotate the bowl. Once combined, add the remaining meringue and continue folding until there are no white streaks. The batter should be light, airy, and voluminous. If it looks dense, you’ve overmixed it. Be gentle.
Step 5: Cook the Pancakes (10-12 minutes)
Heat your 8-inch skillet over low heat. Add the teaspoon of butter and let it melt. Once it foams but doesn’t brown, pour in half of the batter (it should be about ½ inch thick). Cover with the lid immediately. Let it cook on low for 5-6 minutes. You’ll see bubbles forming on top and the edges setting.
Check the bottom—it should be golden brown. Carefully flip the pancake using a spatula. Cover again and cook for another 4-5 minutes on the other side. The second side cooks faster, so watch it closely. The pancake should feel springy to the touch and look puffed up.
Repeat with the remaining batter to make a second pancake. If you’re making two, you can cook them side-by-side if your skillet is wide enough, but usually, it’s better to do one at a time to ensure the best rise.
Step 6: Make the Maple Butter
While the pancakes cook, melt the tablespoon of butter in a tiny saucepan or microwave. Let it bubble for a minute until it turns golden brown and smells nutty. Stir in the maple syrup. It will bubble up, so be careful. Set aside.
Step 7: Serve
Stack the warm pancakes on a plate. Drizzle generously with the warm maple butter. Add a dollop of whipped cream if you’re feeling fancy. Serve immediately. These collapse quickly, so don’t delay.
Expert Tips & Tricks
Here’s everything I’ve learned from making this dozens of times. These tips will save you from my mistakes.
Don’t Rush the Meringue
If your meringue isn’t stiff, your pancakes will be flat. It’s better to whip them a little longer than too short. The sugar helps stabilize the bubbles, so add it slowly.
Low and Slow is the Rule
These pancakes are delicate. High heat will burn the outside before the inside is cooked. Keep your stove on the lowest setting. If your stove runs hot, use a heat diffuser or a heavy-bottomed pan.
Fold, Don’t Stir
When combining the meringue and yolk batter, use a folding motion. Stirring vigorously will deflate the air bubbles you worked so hard to create. You want to keep the air in there.
Use Fresh Eggs
Older eggs have thinner whites, which are harder to whip. Fresh eggs create a stronger structure. If your eggs are from the grocery store, they’re probably fine, but avoid eggs that are more than a week old.
Cover the Pan
The lid is essential. It traps steam, which helps the pancakes rise and cook through. Without the lid, you’re just making flat pancakes.
Serve Immediately
Japanese soufflé pancakes are best eaten right off the plate. They lose their height quickly as they cool. Have your maple butter ready to go.
Variations & Substitutions
Once you’ve nailed the basic version, here’s how you can mix it up. I’ve tried all of these.
Berry Blast
Fold a handful of fresh blueberries or raspberries into the batter just before cooking. The berries add bursts of tartness that cut through the sweetness. Note: This adds moisture, so cook for an extra minute.
Chocolate Chip
Sprinkle a few chocolate chips on top of the pancake after flipping. Cover and cook until the chips are melted. It’s like a mini chocolate cake.
Pandan Flavor
Add ½ teaspoon of pandan extract to the yolk mixture. This gives it that iconic green color and fragrant flavor found in many Asian desserts. It’s amazing.
Gluten-Free
Use a 1:1 gluten-free flour blend. Make sure it contains xanthan gum. The texture will be slightly different, but still fluffy.
Dairy-Free
Use coconut milk instead of dairy milk and coconut oil instead of butter. The maple syrup is naturally dairy-free.
Serving & Storage
How to Serve:
I usually serve these straight from the skillet. They look rustic and stay warm. Top with the maple butter, a dusting of powdered sugar, and maybe some fresh mint leaves for color. They pair wonderfully with a cup of iced brown sugar cinnamon cold brew if you’re having them for breakfast, or a warm cup of tea.
Storage:
Honestly, these don’t store well. They are best eaten fresh. If you must store leftovers, keep them in an airtight container in the fridge for up to 2 days. Reheat them in a toaster oven or skillet to restore some crispness. They will not be as fluffy as fresh, but they’re still good.
Freezing:
You can freeze them, but the texture will change. They might become a bit spongy. I don’t recommend freezing unless you’re meal-prepping for a busy week. To freeze, let them cool completely, then layer them between parchment paper in a freezer bag. Thaw and reheat gently.
Nutrition Information
I’m not a nutritionist, but here’s the breakdown if you’re tracking. This is for one serving (one stack of two pancakes with maple butter).
Per Serving:
- Calories: 280
- Protein: 8g
- Carbs: 32g
- Fiber: 1g
- Sugar: 20g
- Fat: 14g
- Saturated Fat: 8g
- Cholesterol: 180mg
- Sodium: 120mg
What’s Good:
It’s a reasonable portion size. The protein from the egg helps keep you full. The carbs are mostly from the flour and sugar, so it’s a quick energy boost.
What to Know:
It’s higher in sugar and fat due to the butter and syrup. But it’s a treat, not a daily staple. When I want to make it lighter, I reduce the maple syrup and skip the whipped cream. But usually? I just enjoy it.
Final Thoughts
So that’s my go-to ultra-fluffy Japanese soufflé pancakes for one! I’ve probably talked your ear off at this point, but when you make a recipe this often, you have a lot to say about it.
This has saved my mornings more times than I can count. It’s my answer to “I want something special, but I don’t want to make a mess” when I’m tired, don’t want cereal, and still want something that tastes really good. It’s delicate, yes. But it’s also rewarding. And unlike that soft cinnamon sugar breakfast pull-apart bread which is amazing but requires an hour of prep, these are quick enough for a weekday.
Make it yours! Try different toppings, swap in your favorite berries, or adjust the sweetness. The best recipes are the ones you adapt to your tastes. If you make this, drop a comment and let me know what you think! I love hearing how recipes turn out in your kitchen. And if something doesn’t work, tell me that too—I’m here to help troubleshoot.
Happy cooking! And I hope your kitchen smells half as good as mine does right now.
Frequently Asked Questions
Can I use all-purpose flour instead of cake flour?
You can, but the texture will be denser. Cake flour has less protein, which means less gluten and a softer pancake. If you use all-purpose, sift it twice to aerate it, and don’t overmix the batter. It will still be good, just not quite as fluffy.
Why did my pancakes collapse?
This usually happens if the meringue wasn’t stiff enough, or if you deflated the batter by mixing too vigorously. Make sure your meringue holds stiff peaks, and fold the ingredients gently. Also, serve immediately—these pancakes don’t hold their shape well as they cool.
Can I make these ahead of time?
Not really. The magic is in the fresh meringue. If you make them ahead, they will flatten out. The best approach is to have your ingredients prepped and your maple butter ready, so you can cook them fresh when you’re ready to eat.
Can I cook two pancakes at once?
If you have a large enough skillet (10 inches or bigger), you can cook two smaller pancakes side-by-side. But for the best rise, it’s better to cook one at a time in an 8-inch skillet. The heat distribution is more even, and they’ll puff up higher.
Can I use a non-stick spray instead of butter?
I don’t recommend it. Non-stick spray can leave a sticky residue that builds up over time and ruins the pan. Butter adds flavor and helps with browning. If you’re worried about sticking, make sure your pan is well-seasoned or use a high-quality non-stick pan.
What if I don’t have cream of tartar?
You can use a tiny splash of lemon juice or white vinegar instead. It serves the same purpose of stabilizing the egg whites. Add about ½ teaspoon of lemon juice. It won’t affect the flavor noticeably.
Pin This Recipe!
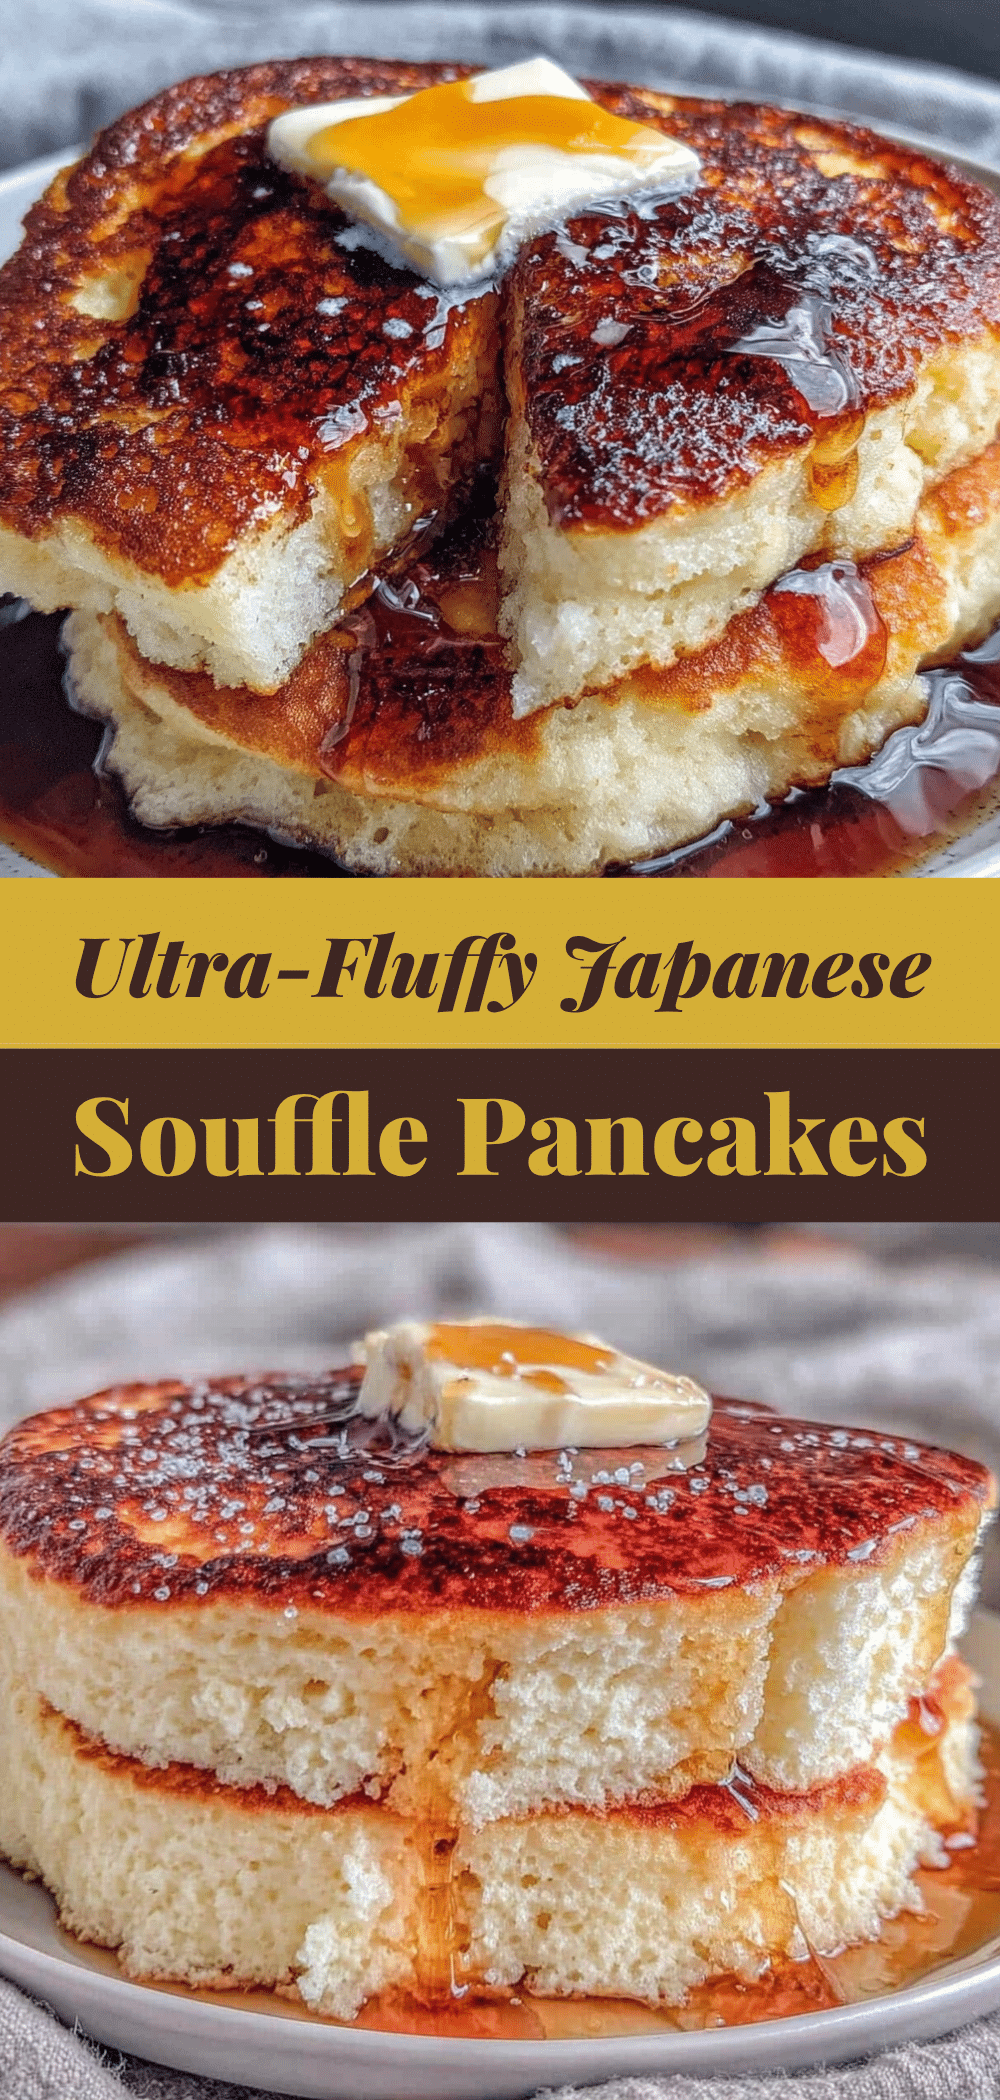
Ultra-Fluffy Japanese Souffle Pancakes for One
- Total Time: 20 minutes
- Yield: 1 serving 1x
Description
A single-serving recipe for airy, jiggly Japanese soufflé pancakes that require no wasted ingredients. This method scales down the classic technique to fit an 8-inch skillet, resulting in a delicate, restaurant-quality breakfast ready in 20 minutes.
Ingredients
- 1 large fresh egg (separated, about 50g)
- 2 tablespoons cake flour (15g)
- 1 teaspoon cornstarch (3g)
- 2 tablespoons granulated white sugar (25g)
- 1 tablespoon whole milk (15ml)
- 1/2 teaspoon pure vanilla extract
- 1/4 teaspoon cream of tartar
- 1 tiny pinch salt
- 1 teaspoon unsalted butter (for greasing)
- 1 tablespoon unsalted butter (for maple butter topping)
- 1 tablespoon real maple syrup (for topping)
Instructions
- Separate the egg white from the yolk, placing the white in a clean, dry bowl and the yolk in a separate small bowl.
- Add cream of tartar and salt to the egg white. Beat on medium-high speed with a balloon whisk until foamy.
- Slowly add sugar, one tablespoon at a time, while continuing to whisk until stiff, glossy peaks form (meringue should look like marshmallow fluff).
- To the egg yolk, add milk and vanilla, whisking gently. Sift cake flour and cornstarch into a separate bowl.
- Fold the dry ingredients into the yolk mixture until just combined to form a smooth batter.
- Add half of the meringue to the yolk batter and gently fold in. Add remaining meringue and continue folding until no white streaks remain.
- Heat an 8-inch non-stick skillet over low heat. Add 1 teaspoon butter and let it melt without browning.
- Pour half the batter into the skillet (about 1/2 inch thick). Cover immediately and cook for 5-6 minutes until bubbles form and edges set.
- Check bottom for golden brown color, then carefully flip. Cover and cook for another 4-5 minutes until springy.
- Repeat with remaining batter to make a second pancake.
- While pancakes cook, melt 1 tablespoon butter in a small saucepan until golden brown and nutty. Stir in maple syrup.
- Stack warm pancakes, drizzle with maple butter, and serve immediately.
Notes
Use fresh eggs for better whipping. Keep heat low to prevent burning before the inside cooks. Serve immediately as they collapse quickly. Do not overmix the batter to maintain airiness. If you don’t have cream of tartar, use a splash of lemon juice.
- Prep Time: 5 minutes
- Cook Time: 15 minutes
- Category: Breakfast
- Cuisine: Japanese
Nutrition
- Serving Size: One stack of two pan
- Calories: 280
- Sugar: 20
- Sodium: 120
- Fat: 14
- Saturated Fat: 8
- Carbohydrates: 32
- Fiber: 1
- Protein: 8
Keywords: Japanese pancakes, soufflé pancakes, single serve recipe, fluffy pancakes, breakfast for one, easy brunch, low waste cooking


