Last Labor Day, I was staring at a grill full of burgers and brats, sweating through my shirt, while my kids ran around the backyard with sticky faces. I had planned to make some fancy, multi-layered dessert that required tempering chocolate and piping mousse. You know the type. The kind that looks good in photos but turns into a stress-fest in real life.
Then, the power flickered. Just for a second. But it was enough to make me realize I had zero intention of turning on my oven. It was 90 degrees outside. The last thing I wanted to do was heat up my kitchen for 45 minutes just to bake a cake.
So, I did what any budget-savvy parent does: I raided the pantry. I grabbed a box of vanilla wafers, a tub of instant pudding mix, some bananas, and a carton of whipped topping. I threw it all into a 9×13 dish, layered it up, and popped it in the fridge. No baking. No standing over a stove. No expensive ingredients I’d never use again.
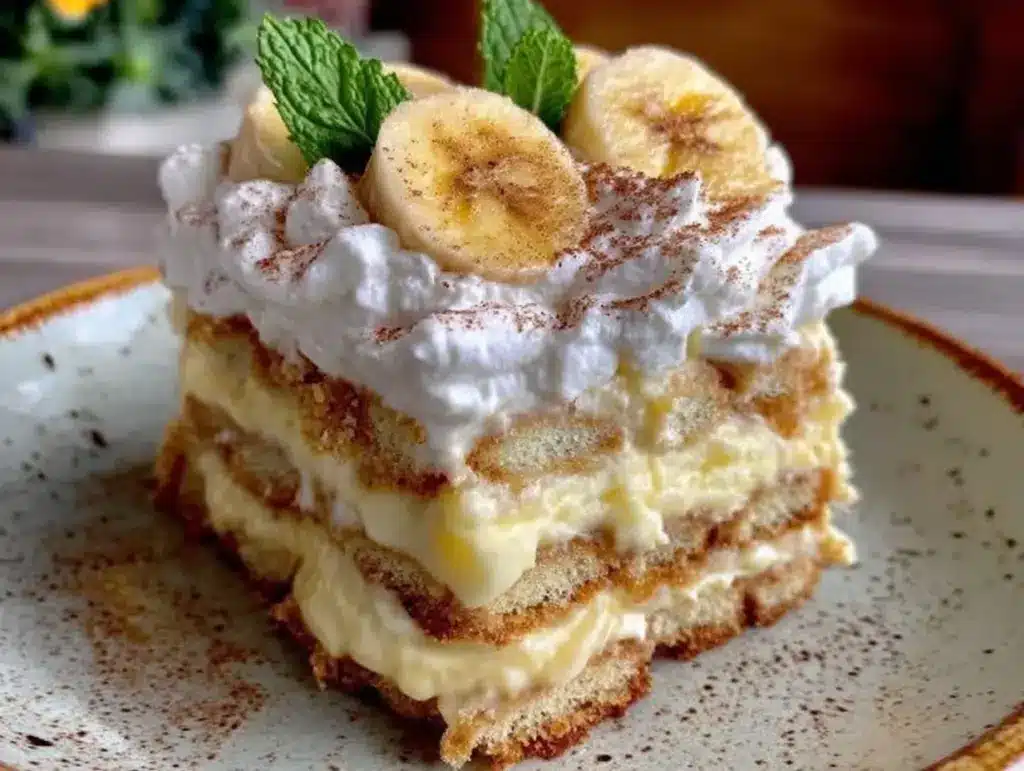
When I pulled it out three hours later, it was perfect. Creamy, cold, and sweet without being overly rich. My husband took one bite and said, “This is better than the bakery stuff.” And honestly? It was. It’s cheap, it’s easy, and it tastes like a hug from your grandmother. This no-bake banana pudding icebox cake has now become my go-to for every summer gathering, potluck, and lazy weekend. It’s the dessert that lets you enjoy the party instead of hiding in the kitchen.
Why You’ll Love This No-Bake Banana Pudding Icebox Cake
I’ve made this dessert for more family gatherings than I can count, and it never fails to disappear within minutes. Here’s why it’s become a staple in our house:
- Stupid Simple — Seriously, if you can layer cookies and spread pudding, you can make this. I’ve made it while helping my middle schooler with homework. No mixing bowls, no electric beaters, just assembly.
- Ultra Budget-Friendly — This feeds 12 people for under $10. We’re talking box mix, store-brand whipped topping, and bananas. That’s less than the cost of a single slice of fancy cake at a restaurant. For a crowd? It’s a steal.
- Make-Ahead Friendly — This is the ultimate pressure-reliever. You can assemble it the morning of the party, or even the night before. It needs time to set, so the later you make it, the better. It actually gets better overnight.
- Kid-Approved — My picky eaters love it. It’s sweet, creamy, and familiar. It tastes like banana pudding but feels special because it’s “cake.” Plus, no one can argue with no-bake.
- Pantry Staples — You probably have most of this already. Vanilla wafers, instant pudding, whipped topping, and bananas are things I keep stocked. If you don’t, it’s a quick trip to the store.
This is my answer to “what’s for dessert?” when I’m tired, broke, or just don’t want to deal with a mess. It’s reliable, delicious, and cheap. Just like I like my life.
Ingredients You’ll Need
Here’s the best part: this recipe doesn’t ask for anything fancy. You don’t need fresh heavy cream, vanilla extract, or expensive vanilla bean paste. Everything you need is probably already in your cupboard or freezer.
For the Layers
Vanilla Wafers (2 boxes / about 70 cookies) — This is your base. Don’t use shortbread or butter cookies; they’ll get soggy too fast. Standard Nilla Wafers or generic vanilla wafers work perfectly. They hold their structure just enough to create that nice contrast between crunchy and soft.
Instant Vanilla Pudding Mix (2 large boxes / 3.4 oz each) — Yes, the dry mix. Do not make the pudding on the stovetop. We need the powder to absorb moisture from the whipped topping and bananas as it sits. This is the secret to the cake’s structure. I always buy the store brand to save money—it tastes identical.
Whipped Topping (2 large tubs / 8 oz each, thawed) — This is the non-dairy whipped topping, like Cool Whip. Thaw it completely in the fridge before using. It’s lighter than whipped cream and stays stable in the fridge for hours. If you prefer dairy, you can use stabilized whipped cream, but it will be softer and harder to slice cleanly.
Ripe Bananas (4-5 medium) — You want bananas that are yellow with a few brown spots. They’re sweet and soft. Avoid green bananas; they’ll be hard and starchy. Avoid black mushy bananas; they’ll turn your cake into soup. Just right is the goal.
For the Topping (Optional but Recommended)
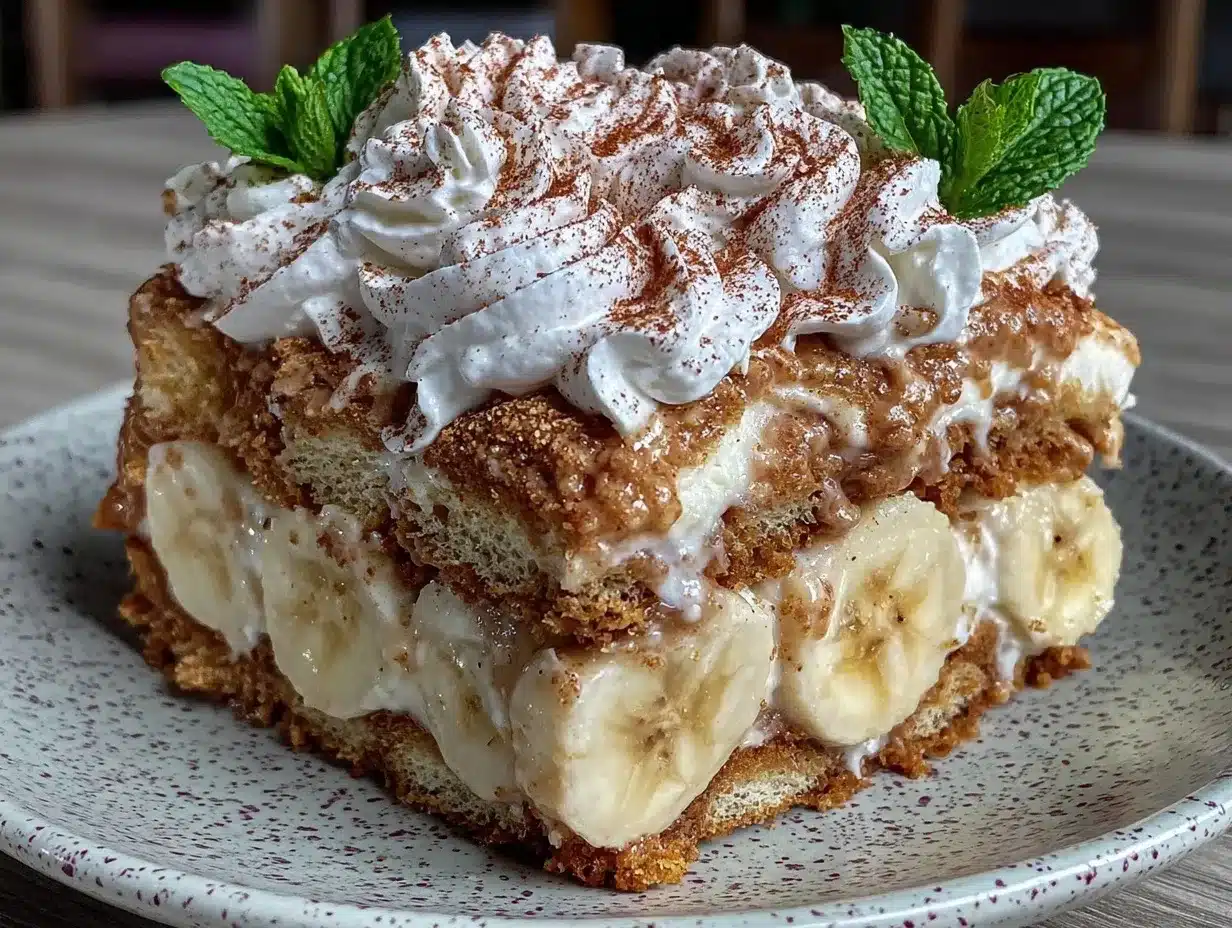
Extra Vanilla Wafers (10-12 cookies) — Crushed or whole, for the very top. Gives a nice crunch on the first bite.
Chocolate Shavings or Sprinkles — Optional. I sometimes add a few chocolate chips or shavings on top for contrast, but it’s not necessary. The purists say no, but my kids think it’s fancy.
Quick Tip on Bananas: Bananas oxidize (turn brown) quickly. Slice them right before you assemble so they don’t discolor. If you’re making this a day ahead, don’t worry—the pudding covers them up, so they’ll be fine inside.
Equipment Needed
You don’t need any fancy gadgets for this. Here’s what I actually use:
9×13 Inch Baking Dish — Glass or ceramic works best. I use a Pyrex dish because I can see the layers. You can use a large bowl or a trifle dish if you want to serve it family-style, but a rectangular dish slices easier.
Spatula — A large rubber spatula is perfect for spreading the whipped topping. I have a cheap one from the dollar store that does the job fine.
Knife — A sharp knife for slicing the bananas. I like to use a serrated knife for bananas because it doesn’t crush them as much.
Measuring Cups — Just for the pudding mix. I usually eyeball the rest, but the pudding boxes say how much milk to use, so measure that part.
Foil or Plastic Wrap — To cover the dish while it sets. I usually use foil because it’s easier to handle.
Optional: Food Processor — If you want to crush the cookies for the top, a food processor works fast. But I usually just put them in a ziplock bag and smash them with a rolling pin. It’s therapeutic.
How to Make It: Step-by-Step
Alright, let’s make this! It’s basically just layering, but there’s a method to the madness. I’m walking you through exactly how I do it, including the little tricks I’ve picked up.
Step 1: Prepare Your Bananas
Peel and slice your bananas into rounds, about 1/4 inch thick. I like to cut them in half lengthwise first, then slice across. It’s faster and creates a nicer shape. Set them aside on a plate. If you’re making this ahead, sprinkle them with a tiny bit of lemon juice to prevent browning, though it’s not strictly necessary if you assemble quickly.
Step 2: Make the Pudding
In a large bowl, combine the instant vanilla pudding mix with the milk specified on the box (usually 2 cups per box). Whisk vigorously for about 2 minutes. The mix says “2 minutes,” but I whisk for 3 just to be safe. It should thicken up quickly. Don’t skip this step—the pudding needs to be thick enough to hold its shape in the layers.
Step 3: First Layer of Cookies
Take about half of your vanilla wafers. I usually break them in half to fit the corners of the 9×13 dish. Lay them down in a single, even layer. It doesn’t have to be perfect, but try to cover the bottom completely. No gaps! You want that pudding to soak into every crumb.
Step 4: First Layer of Pudding
Spread half of the whipped topping over the cookies. Use your spatula to get it into the corners. It should be an even layer, about 1/4 inch thick. Don’t worry if it’s not perfect; it’ll settle.
Step 5: First Layer of Bananas
Arrange half of the banana slices over the whipped topping. I like to overlap them slightly so there are no bare spots. Bananas are flexible, so you can bend them to fit the edges. This layer is crucial for flavor distribution.
Step 6: Repeat the Layers
Now, repeat. Add the remaining vanilla wafers, then the remaining whipped topping, then the remaining bananas. End with a layer of whipped topping on the very top. This top layer will protect the bananas underneath and give you a nice surface to decorate.
Step 7: The Pudding Dusting
This is the secret step. Take the remaining dry instant pudding mix (about 1/2 cup) and sprinkle it evenly over the top layer of whipped topping. It looks like snow. It might seem weird, but as the cake sets, this dry mix absorbs moisture and creates that classic banana pudding flavor on the surface. It’s the best part.
Step 8: Chill
Cover the dish tightly with foil or plastic wrap. Refrigerate for at least 4 hours, but overnight is best. I usually make it the night before. This is when the magic happens—the cookies soften into a cake-like texture, and the flavors meld together. Do not skip the chilling time! If you eat it immediately, it’s just cold cookies and pudding. Give it time to become a cake.
Step 9: Slice and Serve
When you’re ready to serve, remove the cover. If you want, you can crush a few extra vanilla wafers and sprinkle them on top for garnish. Slice with a sharp knife. I wipe the knife clean between cuts for neat slices. Serve cold. It’s that simple.
Expert Tips & Tricks
Here’s everything I’ve learned from making this dozens of times. These tips will save you from my mistakes.
Don’t Skimp on the Pudding Mix
The dry mix is what thickens the cake. If you skip it or use too little, your dessert will be soupy. I’ve tried it, and it’s a mess. Trust the box ratios.
Thaw the Topping Completely
If your whipped topping is still frozen in chunks, it will tear the cookies and create lumps. Thaw it in the fridge the night before. If you’re in a hurry, microwave it in 10-second bursts, stirring in between, until smooth. But don’t melt it!
Use Ripe Bananas
Green bananas are bitter and hard. Overripe bananas are mushy. Look for yellow with brown speckles. They’re sweet and soft, which is exactly what you want in a no-bake cake.
Chill Longer, Not Shorter
I know it’s tempting to eat it after 2 hours. Don’t. The cookies need time to soften. If you cut it too soon, you’ll get dry, hard cookie pieces. 4 hours is the minimum. Overnight is the goal. The flavor improves significantly with time.
Prevent Soggy Bottoms
If your dish is very wide, you might need two layers of cookies. If the bottom gets too soggy, try using a slightly thicker cookie or adding a thin layer of crushed nuts (like pecans) at the bottom for crunch. But for standard Nilla Wafers, one layer is usually fine.
Make-Ahead Strategy
You can assemble this up to 24 hours in advance. In fact, it’s better the next day. The flavors have time to blend. Just keep it covered in the fridge until serving time.
Variations & Substitutions
Once you’ve nailed the basic version, here’s how you can mix it up. I’ve tried all of these.
Chocolate Banana Pudding
Swap the vanilla pudding mix for chocolate pudding mix. It’s like a banana split in a dish. My kids go crazy for this version. You can also add chocolate chips to the layers.
Strawberry Banana
Swap the bananas for sliced strawberries. It’s a classic combo. The acidity of the strawberries cuts through the sweetness of the pudding. Use fresh strawberries, not frozen, unless you thaw and drain them first.
Coconut Twist
Add a can of crushed pineapple (drained) between the banana and cookie layers. Top with toasted coconut flakes. It’s tropical and refreshing. Great for summer parties.
Gluten-Free
Use gluten-free vanilla wafers. The rest of the ingredients are naturally gluten-free (check your pudding mix label to be sure). I’ve used gluten-free cookies, and they work well, though they might be slightly softer.
Dairy-Free
Use dairy-free whipped topping (like So Delicious or Reddi-wip Dairy-Free) and check your pudding mix for dairy content. Some instant puddings contain milk solids. There are dairy-free pudding mixes available, or you can make a homemade version with cornstarch and coconut milk.
Nutty Version
Add a layer of chopped pecans or walnuts between the banana and pudding layers. It adds a nice crunch and richness. I like this version when I want something a bit more sophisticated.
Serving & Storage
This dessert is best served cold, straight from the fridge. It’s perfect for potlucks because it travels well. Just cover it with foil and transport it in a cooler or with ice packs if it’s hot outside.
Side Dishes:
Since this is a sweet, creamy dessert, it pairs well with savory mains. If you’re serving it for Labor Day, it goes great with grilled burgers, grilled bacon-wrapped corn, or charred corn zucchini elote pasta salad. It’s also a nice contrast to spicy dishes like sticky honey sriracha chicken wings.
Refrigerator:
Store in an airtight container or covered with plastic wrap for up to 3 days. It stays fresh and creamy. The bananas might darken slightly, but the flavor remains great.
Reheating:
Do not reheat this. It’s meant to be eaten cold. Reheating will melt the whipped topping and make the cookies mushy. Just eat it cold.
Freezing:
I don’t recommend freezing this cake. The texture of the bananas and whipped topping changes when frozen and thawed. It can become watery and grainy. It’s best made fresh or refrigerated.
Leftovers:
This makes a lot! If you have leftovers, they’re great for lunch or a late-night snack. I usually cut them into smaller squares for lunchboxes. They’re sweet but not overwhelming.
Nutrition Information
I’m not a nutritionist, but here’s the breakdown if you’re tracking. Keep in mind that this is a sweet treat, so it’s higher in sugar and calories.
Per Serving (based on 12 servings):
- Calories: 280
- Protein: 4g
- Carbs: 45g
- Fiber: 2g
- Sugar: 30g
- Fat: 10g
- Saturated Fat: 4g
What’s Good:
It’s relatively low in fat compared to other cakes. The bananas add some potassium and fiber.
What to Know:
It’s high in sugar from the pudding mix and whipped topping. If you’re watching sugar, consider using a sugar-free pudding mix and whipped topping.
My Take:
Look, this is a dessert. It’s supposed to be sweet and indulgent. It’s not a health food. But it’s better than store-bought cakes because you control the ingredients. When I make it for the kids, I use regular ingredients. When I make it for myself, I might use sugar-free options. Either way, it’s delicious.
Final Thoughts
So that’s my no-bake banana pudding icebox cake! It’s simple, cheap, and absolutely delicious. I’ve probably talked your ear off at this point, but when you make a recipe this often, you have a lot to say about it.
This has saved me more times than I can count. It’s my answer to “what’s for dessert?” when I’m tired, don’t want to bake, and still want something that tastes really good. My kids are happy, my husband’s happy, and I’m happy because I’m not stressed about cooking.
Make it yours! Try different add-ins, swap in your favorite fruits, or change up the cookies. The best recipes are the ones you adapt to your family’s tastes. If you make this, drop a comment and let me know what you think! I love hearing how recipes turn out in your kitchen.
Happy cooking! And I hope your Labor Day gathering is amazing.
Frequently Asked Questions
Can I use homemade whipped cream instead of Cool Whip?
You can, but the texture will be different. Homemade whipped cream is lighter and softer, so your cake might be a bit messier to slice. If you use it, make sure it’s very stiffly whipped. Also, homemade whipped cream can deflate over time, so the cake might settle. Cool Whip holds its shape better for a no-bake cake. If you prefer dairy, you can stabilize your whipped cream with a little gelatin or cream cheese.
Why is my cake too runny?
This usually happens if you didn’t whisk the pudding mix enough, or if you used fresh whipped cream that deflated. Make sure you whisk the instant pudding mix for the full 2-3 minutes until it’s thick. Also, ensure your whipped topping is fully thawed but not melted. If the cake is still runny after chilling, it might be too warm in your fridge. Try chilling it for a longer period.
Can I make this in a trifle dish?
Absolutely! A trifle dish is perfect for this. The layers will be more visible, which looks pretty. Just adjust the layering to fit the dish. You might need to use smaller cookies or break them into pieces to fit the curves. The recipe quantities stay the same.
How do I prevent the bananas from turning brown?
Bananas oxidize quickly. To prevent browning, slice them right before assembling. If you’re making this ahead, you can sprinkle them with a little lemon juice or pineapple juice. The acidity slows down the browning process. But remember, once they’re layered with pudding, the browning is less visible.
Can I freeze leftovers?
I don’t recommend freezing this cake. The texture of the bananas and whipped topping changes when frozen and thawed. It can become watery and grainy. It’s best made fresh or refrigerated for up to 3 days.
Can I use chocolate wafers instead of vanilla?
Yes! Chocolate wafers work great. It’s like a chocolate banana cream pie. You can also use chocolate pudding mix for an even more intense chocolate flavor. It’s a nice variation for chocolate lovers.
Is this recipe kid-friendly?
Yes, very! Kids love it because it’s sweet, creamy, and familiar. It tastes like banana pudding but in a cake form. It’s also easy to eat with a spoon. Just be careful with the banana slices—they can be a slipping hazard if not cut properly. I usually cut them into smaller pieces for little ones.
Pin This Recipe!
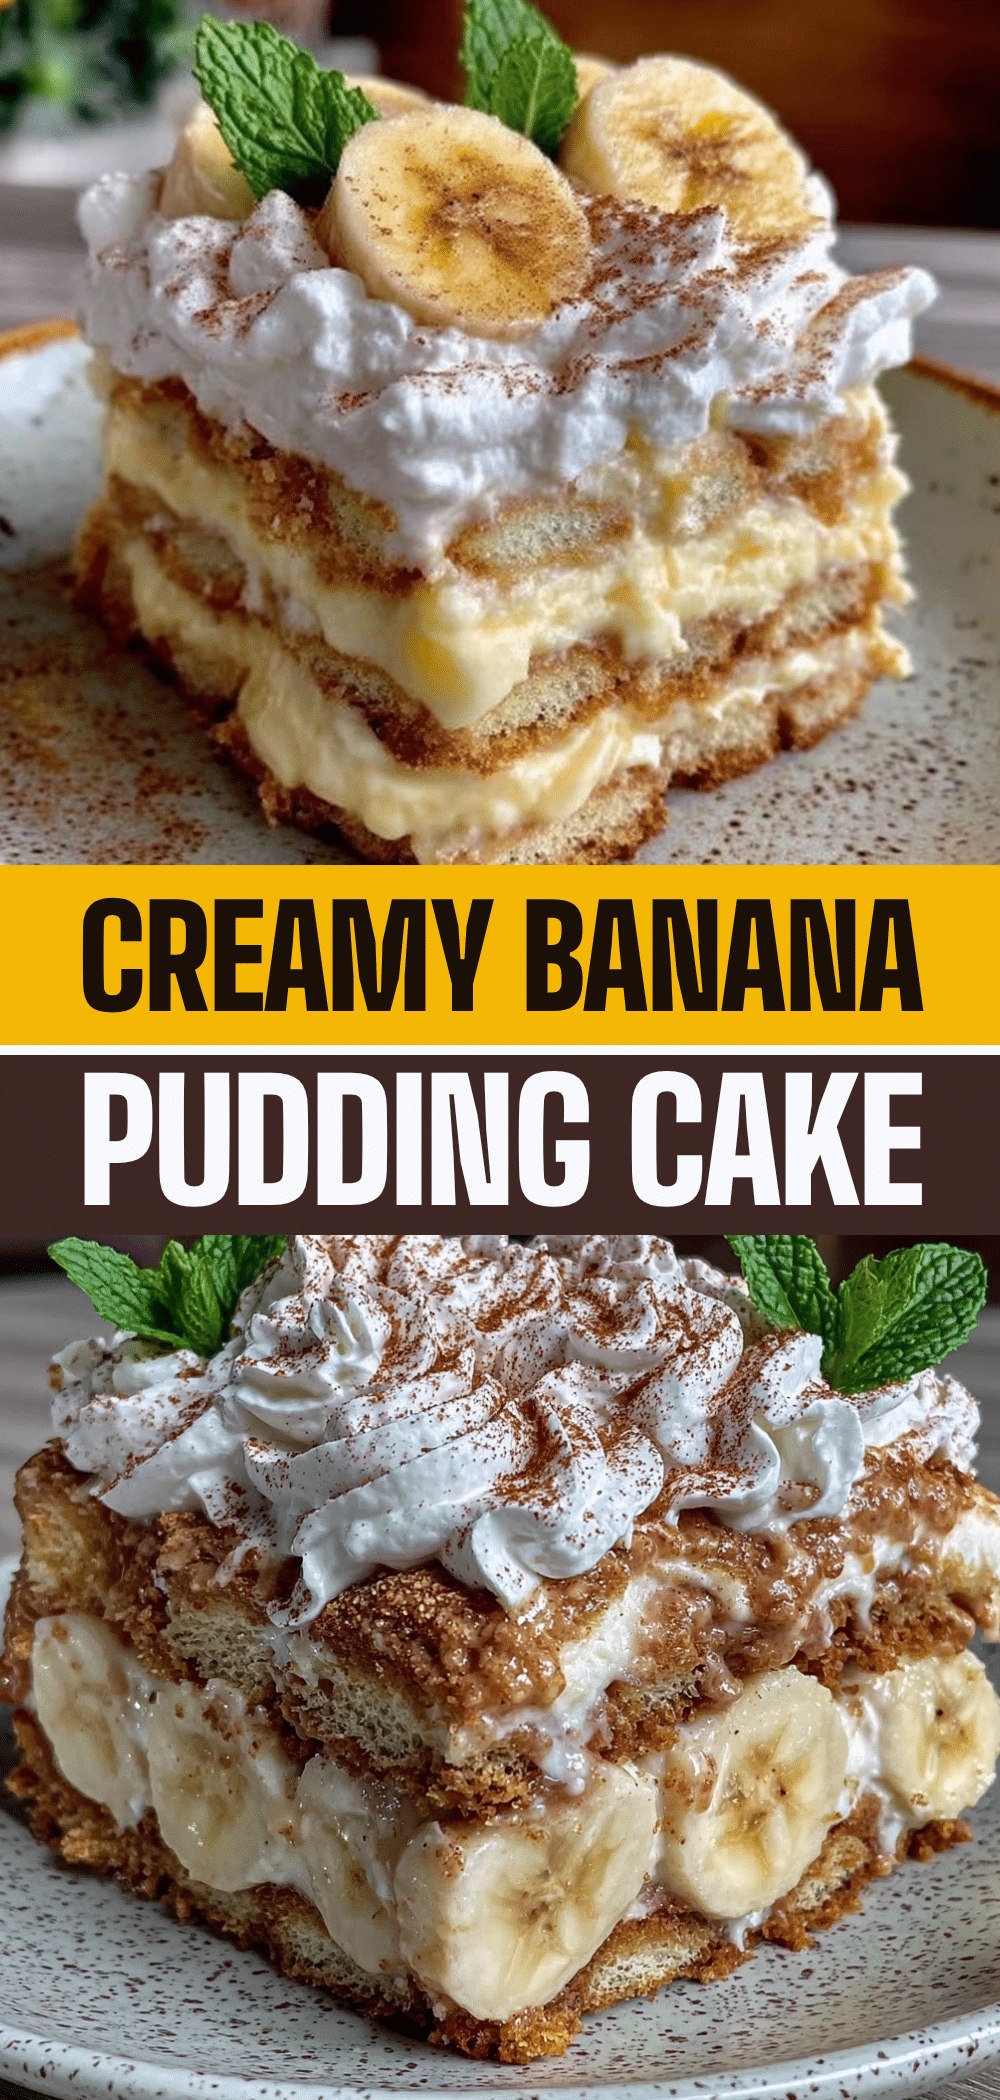
Best No-Bake Banana Pudding Icebox Cake
- Total Time: 4 hours 20 minutes
- Yield: 12 servings 1x
Description
A simple, budget-friendly, no-bake dessert made with vanilla wafers, instant pudding, whipped topping, and bananas. It requires no oven and is perfect for summer gatherings.
Ingredients
- 2 boxes (about 70 cookies) vanilla wafers
- 2 large boxes (3.4 oz each) instant vanilla pudding mix
- 2 large tubs (8 oz each) whipped topping (e.g., Cool Whip), thawed
- 4–5 medium ripe bananas, sliced
- Milk (amount specified on pudding box, typically 2 cups per box)
- Optional: Extra vanilla wafers for garnish
- Optional: Chocolate shavings or sprinkles
Instructions
- Peel and slice bananas into 1/4 inch rounds. Set aside.
- In a large bowl, whisk instant vanilla pudding mix with milk for 2-3 minutes until thickened.
- Place half of the vanilla wafers in a 9×13 inch baking dish to form the first layer.
- Spread half of the whipped topping over the cookies.
- Arrange half of the banana slices over the whipped topping.
- Repeat layers with remaining vanilla wafers, whipped topping, and bananas.
- Sprinkle remaining dry instant pudding mix evenly over the top layer of whipped topping.
- Cover tightly with foil or plastic wrap and refrigerate for at least 4 hours or overnight.
- Slice and serve cold.
Notes
Bananas should be ripe but not mushy. Slice them right before assembling to prevent browning. The cake must chill for at least 4 hours to allow cookies to soften. Do not freeze as texture will suffer. Can be made gluten-free by using GF wafers and checking pudding mix labels.
- Prep Time: 20 minutes
- Cook Time: 0 minutes
- Category: Dessert
- Cuisine: American
Nutrition
- Serving Size: 1 slice
- Calories: 280
- Sugar: 30
- Fat: 10
- Saturated Fat: 4
- Carbohydrates: 45
- Fiber: 2
- Protein: 4
Keywords: no-bake, banana pudding, icebox cake, easy dessert, budget-friendly, family dessert, summer dessert, kid-friendly


