Last winter, it was snowing sideways. I mean, the kind of snow that makes you question all your life choices and consider moving to a desert. I was stuck inside, my oven was already hot from baking bread, and I had zero desire to wash a bunch of cookie sheets or wait 18 minutes for a dozen small cookies to bake. I just wanted chocolate. Warm, gooey, melty chocolate. Something that felt like a hug.
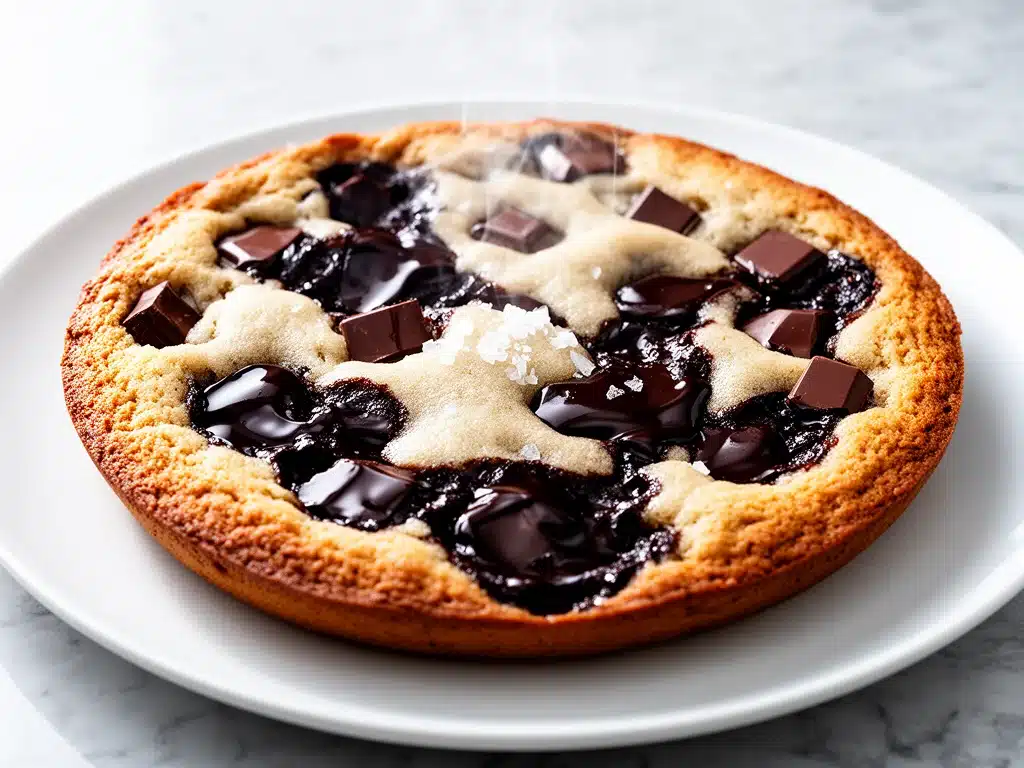
So I did what any desperate home cook does: I raided the pantry, grabbed a cast-iron skillet, and threw together what I thought would be a disaster. I mixed dough, pressed it into the hot pan, and shoved it into the oven. The result? A giant, golden-brown, chewy chocolate chunk skillet cookie that cracked slightly at the edges and was soft and fudgy in the middle. My kids came running. My husband stopped complaining about the cold. And suddenly, that blizzard wasn’t so bad.
This chewy chocolate chunk skillet cookie has been my go-to rescue dessert ever since. It’s not fancy. It doesn’t require a stand mixer or three hours of chilling time. It’s rustic, messy, and incredibly satisfying to eat straight out of the pan with a spoon. If you’re looking for easy desserts that actually taste like you spent hours in the kitchen (but really took 30 minutes), this is it. I’ve made this at least a dozen times since that snowy night, tweaking the ratios until it was perfect. And let me tell you, it’s perfect.
Why You’ll Love This Chewy Chocolate Chunk Skillet Cookie
There are about ten reasons I keep making this, but here are the big ones. This isn’t just another cookie recipe; it’s a mood. It’s a vibe. It’s the dessert you make when you want to impress people without actually trying too hard.
- Zero Cleanup Stress — Seriously, if you can mix ingredients in a bowl, you can make this. No rolling dough balls, no lining multiple baking sheets. One skillet, one bowl, done. I’ve made this on nights when I was too tired to lift a finger, and it still turned out amazing.
- Lightning Fast — From mixing to eating, it takes about 30 minutes. And only 10 of those are active work. The rest is just waiting for the oven to do its thing. I make this on weeknights when I get home late and need something sweet ASAP.
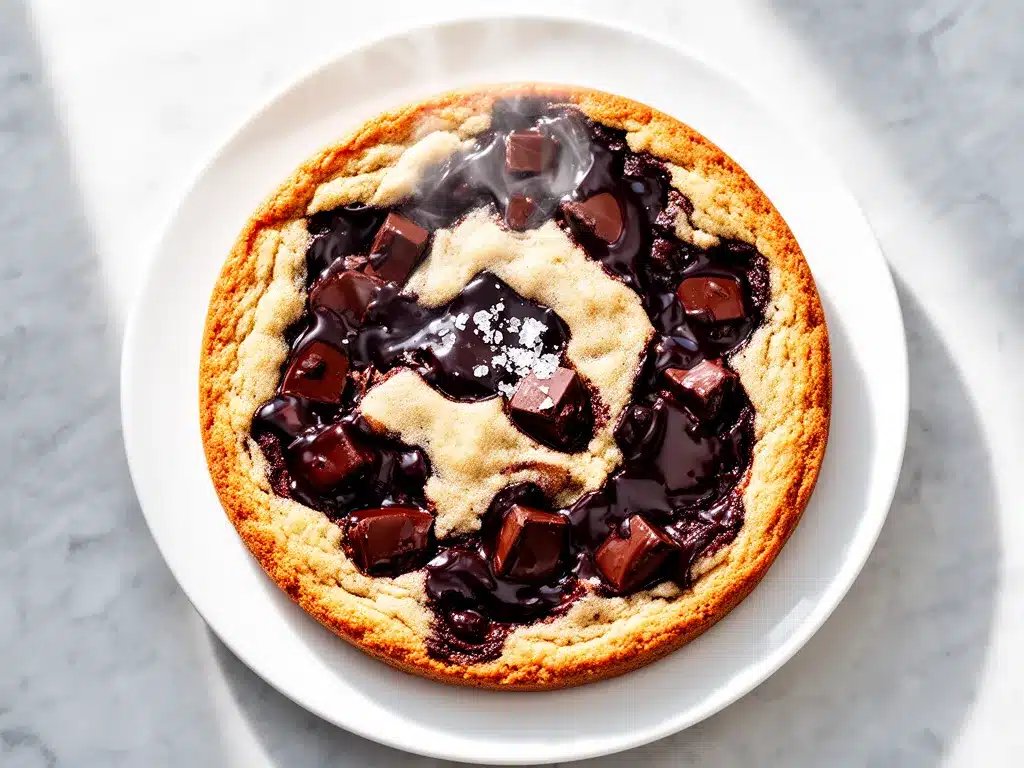
- Texture Heaven — This isn’t a crisp cookie. It’s not a cake. It’s that perfect chewy, fudgy middle with crispy, caramelized edges. The chocolate chunks melt into pockets of goo. It’s the best of both worlds.
- Crowd-Pleaser — I’ve served this to picky teenagers, food-snobby friends, and my grandmother (who usually only eats plain toast). Everyone asks for the recipe. Even the dogs beg for scraps.
- Makes Amazing Leftovers — Actually tastes better the next day. I deliberately make extra for lunch. By day two, the flavors have melded, and it’s even chewier. I eat it cold from the fridge like a brownie.
- Budget-Smart — Feeds 6-8 people for under $10. That’s less than one delivery pizza, and it feels way more special. Plus, you probably have most of the ingredients already.
This is my go-to when I need dessert to just work. No complicated techniques, no weird ingredients, just reliable, delicious food that makes everyone happy. It’s the definition of easy desserts that taste gourmet.
Ingredients You’ll Need for the Perfect Skillet Cookie
Here’s the best part: you probably have most of this already. This isn’t a recipe that requires a trip to three different specialty stores. It’s pantry staples done right. I’m particular about three ingredients here, and I’ll tell you exactly why.
For the Dough Base
Unsalted butter (½ cup / 113g, softened) — This is non-negotiable. Don’t use margarine. Don’t use oil. You need real butter for that rich, nutty flavor. Soften it in the microwave for 10 seconds if you’re in a hurry, but don’t melt it completely.
Granulated sugar (½ cup / 100g) — This helps create those crispy edges. Don’t skip it for brown sugar only. The mix is key.
Brown sugar (½ cup / 110g, packed) — This is what makes it chewy. Dark brown sugar has more molasses, which adds depth. I use dark brown sugar because I like the caramel notes.
One large egg — Room temperature works best. If you forgot, just drop it in warm water for 5 minutes. It helps bind everything together.
Vanilla extract (1 teaspoon) — Use real vanilla. I don’t mean the stuff in the green bottle. Get the dark, thick stuff. It makes a huge difference in flavor.
For the Dry Mix
All-purpose flour (1 ¾ cups / 220g) — Don’t over-measure! Spoon it into the cup and level it off. If you scoop, you’ll get too much flour, and your cookie will be dry. I’ve made that mistake. Don’t be me.
Baking soda (½ teaspoon) — Helps it spread and brown. Make sure it’s not expired. I keep a fresh box just for this.
Salt (½ teaspoon) — Crucial. It balances the sweetness. Don’t skip it, even if you’re watching sodium.
For the Star: Chocolate
Chocolate chunks (1 ½ cups / 250g) — I use a mix of semi-sweet and dark chocolate bars chopped up myself. Pre-chips work, but they don’t melt as well. Chopped bars create those irregular, gooey pockets. I buy Ghirardelli or Lindt bars and chop them with a knife.
Flaky sea salt (optional, for topping) — This is the game-changer. Sprinkling flaky salt on top right after baking adds a savory crunch that cuts through the sweetness. I can’t live without it now.
Ice cream — Vanilla bean or salted caramel. Not an ingredient in the dough, but essential for serving. Trust me.
Equipment Needed
You don’t need fancy equipment for this. Here’s what I actually use.
10-inch Cast Iron Skillet — This is ideal. It holds heat well and gives you those crispy edges. I use a Lodge skillet that’s been seasoned for years. If you don’t have cast iron, a 9-inch oven-safe skillet or even a pie dish works, but the texture won’t be quite the same.
Mixing Bowl — Any large bowl works. I use a glass one so I can see everything.
Whisk or Wooden Spoon — For mixing. I prefer a wooden spoon because it feels more honest.
Measuring Cups and Spoons — Standard stuff. Dollar store versions work fine.
Knife — For chopping the chocolate bars. A serrated knife works best for chocolate.
Oven — Obviously. Preheated to 350°F (175°C).
How to Make It: Step-by-Step
Alright, let’s make this! I’m walking you through exactly how I do it, including the little tricks I’ve picked up.
Step 1: Prep Your Oven and Skillet (2 minutes)
Preheat your oven to 350°F (175°C). If your skillet is cold, you can put it in the oven while it preheats, or just grease it well with butter or oil. I grease mine with a little butter to add flavor. Make sure your chocolate is chopped and ready.
Step 2: Mix the Wet Ingredients (3 minutes)
In your mixing bowl, combine the softened butter, granulated sugar, and brown sugar. Mix until it looks like wet sand and is slightly fluffy. This takes about 2 minutes with a wooden spoon or hand mixer. Add the egg and vanilla. Mix until just combined. Don’t overmix here. You want it smooth but not aerated.
Step 3: Add the Dry Ingredients (2 minutes)
Add the flour, baking soda, and salt. Mix on low speed or with a spoon until just combined. It will look crumbly. That’s okay. Don’t add more flour. If it’s too dry, it means you measured wrong earlier. Stop mixing once you see no more white streaks.
Step 4: Fold in the Chocolate (2 minutes)
Add the chocolate chunks. Fold them in gently. Reserve a small handful to sprinkle on top later. This ensures you get chocolate in every bite. Press the dough into the greased skillet. Use your hands or the back of a spoon to flatten it evenly. It should be about ¾ inch thick. Sprinkle the reserved chocolate on top.
Step 5: Bake (15-18 minutes)
Place the skillet in the oven. Bake for 15-18 minutes. You want the edges to be golden brown and slightly crispy, but the center should still look slightly underbaked. It will continue to cook from residual heat. This is crucial for that chewy texture. If you bake it until the center looks done, it will be dry.
Step 6: Cool and Serve (5 minutes)
Remove from the oven. Let it cool for 5 minutes. Sprinkle with flaky sea salt if using. Serve warm with a scoop of vanilla ice cream. Eat it straight from the skillet. No plates needed.
Expert Tips & Tricks
Here’s everything I’ve learned from making this dozens of times. These tips will save you from my mistakes.
Don’t Overbake — This is the #1 mistake. The center should look soft and slightly gooey when you take it out. It will firm up as it cools. If you wait for it to look “done,” you’ll regret it.
Chop Your Chocolate — Pre-chips are uniform. Chopped bars are chaotic. I love chaos. It creates those irregular pockets of melted chocolate. Use a serrated knife and chop roughly.
Use Real Butter — I know it’s more expensive, but it tastes better. Margarine has water content that can affect texture. Real butter gives you that rich, nutty flavor.
Room Temperature Ingredients — Cold butter doesn’t mix well with sugar. Softened butter creates a better emulsion. Take your butter out 30 minutes before you start.
Flaky Salt is Key — I used to skip this. Then I tried it once with flaky salt, and I was blown away. The salt crunch against the sweet chocolate is addictive. Don’t skip it.
Make-Ahead Strategy — You can mix the dough and store it in the fridge for up to 2 days. When you’re ready, press it into the skillet and bake. It might take 2 extra minutes in the oven since the dough is cold.
Variations & Substitutions
Once you’ve nailed the basic version, here’s how you can mix it up. I’ve tried all of these.
Peanut Butter Skillet Cookie — Swirl 2 tablespoons of peanut butter into the dough before baking. Adds a salty-sweet kick. My kids love this version.
Chips Ahoy Version — Crush 1 cup of chocolate chip cookies and fold them into the dough. Adds crunch and extra chocolate. It’s like a cookie within a cookie.
White Chocolate Macadamia — Swap dark chocolate for white chocolate and add ½ cup macadamia nuts. It’s rich and tropical. Great for holidays.
Gluten-Free — Use a 1:1 gluten-free flour blend. I’ve used Bob’s Red Mill and it works great. Add ½ teaspoon xanthan gum if your blend doesn’t have it.
Vegan — Use coconut oil instead of butter, flax egg instead of regular egg, and vegan chocolate chips. It’s not quite the same, but it’s still good. My vegan friend approved.
Lower Sugar — Reduce sugar by ¼ cup. It’s still sweet, just less so. I do this when I’m trying to be “healthy,” but it’s less chewy.
Serving & Storage
How to Serve: I usually serve this straight from the skillet at the dinner table—it looks rustic and stays warm. But here are other ways I’ve enjoyed it:
- Warm with a scoop of vanilla bean ice cream (classic)
- With a dollop of whipped cream and fresh berries (lighter)
- With a drizzle of caramel sauce (indulgent)
- Crumbled over yogurt (breakfast for dessert? yes.)
Storage: Store leftovers in an airtight container at room temperature for up to 3 days. It actually gets chewier after a day. If it gets soft, pop it in the toaster oven for 2 minutes to crisp the edges.
Reheating: Best method: Toaster oven or regular oven at 350°F for 5 minutes. Microwave works but makes it chewy in a different way. I like the oven method for that crispy edge.
Freezing: You can freeze the baked cookie for up to 2 months. Wrap it tightly in plastic wrap and foil. Thaw at room temperature. It tastes almost as good as fresh.
Nutrition Information
I’m not a nutritionist, but here’s the breakdown if you’re tracking. This is a rich dessert, so portion control is key.
Per Serving (based on 8 servings):
- Calories: 380
- Protein: 4g
- Carbs: 45g
- Fiber: 2g
- Sugar: 28g
- Fat: 22g
- Saturated Fat: 13g
- Cholesterol: 35mg
- Sodium: 220mg
Look, this is comfort food with butter and chocolate. It’s not a diet recipe. But it’s way better than takeout, costs less, and I know exactly what’s in it. When I want to make it lighter, I use the half-and-half version and load up on vegetables. But usually? I just eat a reasonable portion and enjoy it.
Final Thoughts
So that’s my go-to chewy chocolate chunk skillet cookie! I’ve probably talked your ear off at this point, but when you make a recipe this often, you have a lot to say about it.
This has saved dinner parties more times than I can count. It’s my answer to “what’s for dessert” when I’m tired, don’t want takeout, and still want something that tastes really good. My kids are happy, my husband’s happy, and I’m happy because I’m not stressed about cooking.
Make it yours! Try different add-ins, swap in your favorite chocolate, adjust the salt. The best recipes are the ones you adapt to your family’s tastes.
If you make this, drop a comment and let me know what you think! I love hearing how recipes turn out in your kitchen. And if something doesn’t work, tell me that too—I’m here to help troubleshoot.
Happy cooking! And I hope your kitchen smells half as good as mine does right now.
Frequently Asked Questions
Can I use a non-cast iron skillet?
Yes! Any oven-safe skillet works. Stainless steel, ceramic, or even a pie dish. Just make sure it’s oven-safe. Cast iron gives the best browning, but you’ll still get a great cookie in other pans. Just watch it closely so it doesn’t burn.
Why did my cookie turn out cakey?
Usually means you added too much flour or overmixed the dough. Spoon the flour into the cup and level it off. Don’t pack it down. Also, don’t overmix once you add the flour. Stop as soon as it’s combined.
Can I make this ahead for a party?
Absolutely! Mix the dough and store it in the fridge for up to 2 days. When you’re ready, press it into the skillet and bake. It might take 2 extra minutes in the oven. Or bake it ahead and reheat it before serving. It tastes great reheated.
What kind of chocolate is best?
I prefer a mix of semi-sweet and dark chocolate bars chopped up. They melt better than chips. But if you’re in a hurry, chips work fine. Just know the texture will be different.
Can I double this recipe?
Yes! Use a larger skillet (12-inch) and double the ingredients. Cooking time might increase by 2-3 minutes. Watch it closely.
Is this recipe gluten-free friendly?
Yes, if you use a 1:1 gluten-free flour blend. I’ve tested it with Bob’s Red Mill and it works well. Add xanthan gum if your blend doesn’t have it.
How do I reheat leftovers without it getting dry?
Warm it in the toaster oven or regular oven at 350°F for 5 minutes. This brings back the crispy edges. Microwave works but makes it chewy. If you microwave, do it in short bursts (15 seconds) and stop when it’s just warm.
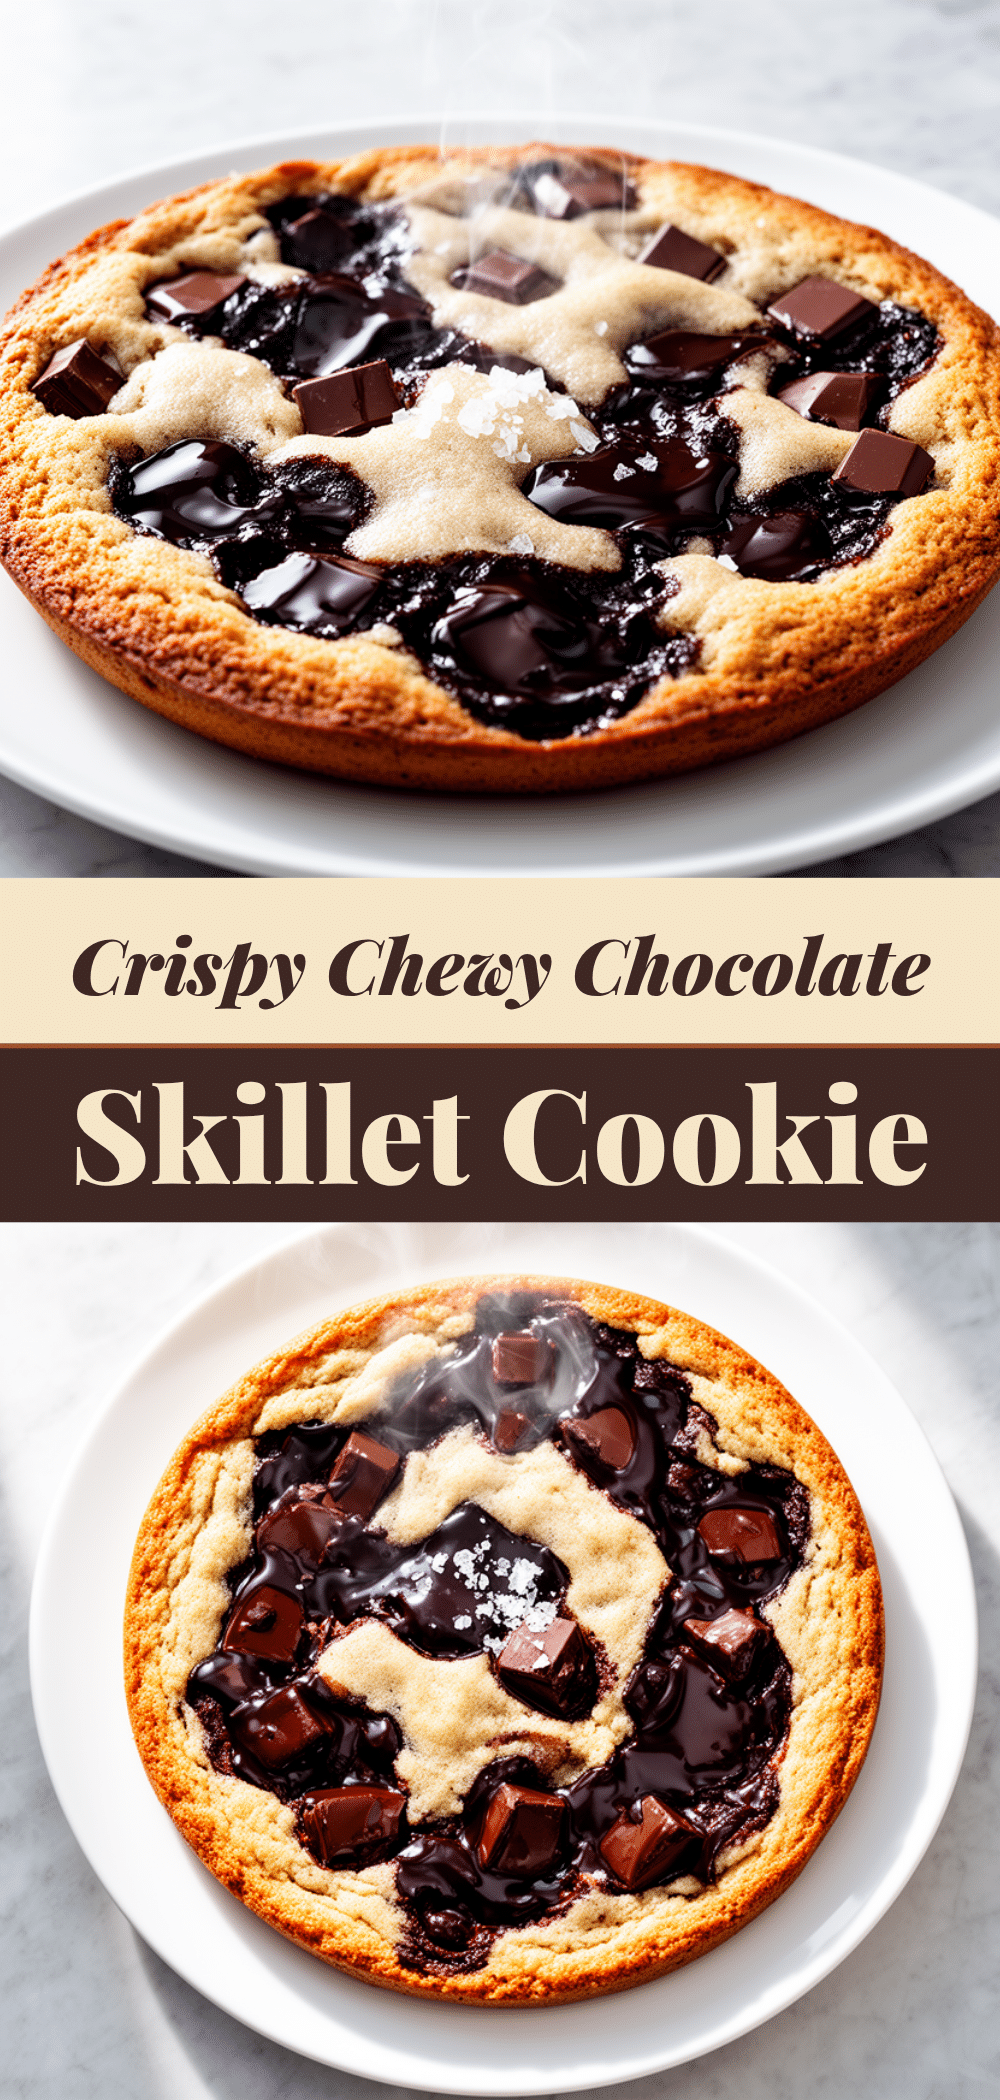
Pin This Recipe!
Chewy Chocolate Chunk Skillet Cookie
- Total Time: 30 minutes
- Yield: 8 servings 1x
Description
A rustic, giant skillet cookie with crispy caramelized edges and a soft, fudgy, chewy center loaded with melted chocolate chunks. This easy dessert requires minimal cleanup and comes together in about 30 minutes.
Ingredients
- 1/2 cup (113g) unsalted butter, softened
- 1/2 cup (100g) granulated sugar
- 1/2 cup (110g) dark brown sugar, packed
- 1 large egg, room temperature
- 1 teaspoon vanilla extract
- 1 3/4 cups (220g) all-purpose flour
- 1/2 teaspoon baking soda
- 1/2 teaspoon salt
- 1 1/2 cups (250g) chocolate chunks (semi-sweet and dark)
- Flaky sea salt, for topping (optional)
- Vanilla bean or salted caramel ice cream, for serving
Instructions
- Preheat oven to 350°F (175°C). Grease a 10-inch cast iron skillet with butter or oil.
- In a mixing bowl, combine softened butter, granulated sugar, and brown sugar. Mix until the mixture resembles wet sand and is slightly fluffy (about 2 minutes).
- Add the egg and vanilla extract. Mix until just combined; do not overmix.
- Add the flour, baking soda, and salt. Mix on low speed or with a spoon until just combined. The dough will look crumbly.
- Fold in the chocolate chunks, reserving a small handful to sprinkle on top later.
- Press the dough into the greased skillet, flattening it evenly to about 3/4 inch thick. Sprinkle the reserved chocolate chunks on top.
- Bake for 15-18 minutes, until the edges are golden brown and slightly crispy, but the center still looks slightly underbaked.
- Remove from the oven and let cool for 5 minutes.
- Sprinkle with flaky sea salt if using. Serve warm with ice cream.
Notes
Do not overbake; the center should look soft when removed from the oven as it will firm up while cooling. For best texture, chop chocolate bars rather than using pre-made chips. Dough can be made ahead and refrigerated for up to 2 days.
- Prep Time: 10 minutes
- Cook Time: 18 minutes
- Category: Dessert
- Cuisine: American
Nutrition
- Serving Size: 1/8 of the skillet
- Calories: 380
- Sugar: 28
- Sodium: 220
- Fat: 22
- Saturated Fat: 13
- Carbohydrates: 45
- Fiber: 2
- Protein: 4
Keywords: skillet cookie, chocolate chunk cookie, easy dessert, no-bake alternative, chewy cookie, cast iron dessert, family friendly dessert


