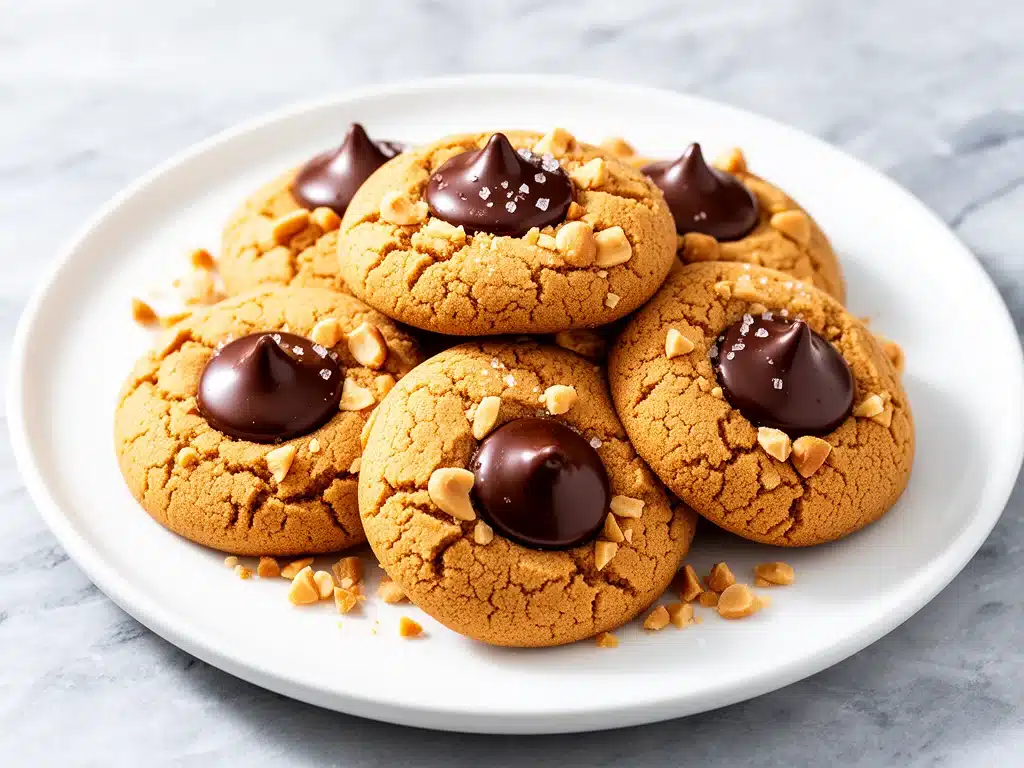
I have a confession to make. For years, I was a soft cookie person. I wanted my chocolate chip cookies to be gooey in the center and my snickerdoodles to be pillowy clouds of cinnamon sugar. But then, about six months ago, I stumbled into a bakery in Portland and bought a peanut butter blossom that completely changed my relationship with baking. It wasn’t just chewy; it was dense, rich, and deeply flavorful, with a chocolate kiss that melted into the crumb without overpowering the nuttiness. I went home and tried to replicate it, failing twice before getting it right. The first batch was too cakey. The second was too dry. But the third? The third batch was perfection. I ate three of them in one sitting and immediately started planning how to make them again.
That was the birth of my quest for the ultimate chewy peanut butter blossom. I’ve tested this recipe at least fifteen times, tweaking the flour ratio, the butter temperature, and the baking time, all in pursuit of that specific texture: a cookie that holds its shape but yields to the bite with a satisfying resistance. It’s the kind of cookie that keeps you coming back to the plate, even when you’re full. And honestly? It’s the only peanut butter blossom I’ll make now. If you’re looking for a dessert that balances the salty-sweet crunch of peanut butter with the smooth melt of chocolate, this is it. These aren’t just cookies; they’re a weekend ritual.
Why You’ll Love This Recipe
There are plenty of peanut butter cookie recipes out there, but this one stands out for reasons that have nothing to do with fancy ingredients and everything to do with technique. Here’s why this chewy peanut butter blossom recipe has earned a permanent spot in my rotation:
- Texture Perfection — These cookies are dense and chewy, not cakey or crumbly. I’ve achieved this by using a higher ratio of brown sugar to white sugar and slightly underbaking them. The result is a cookie that stays soft for days.
- Simple Ingredients — You don’t need a specialty store run for this. Just peanut butter, butter, sugars, eggs, flour, and chocolate kisses. If you can make ants on a log for your kids, you can make these cookies. Seriously.
- Make-Ahead Friendly — The dough freezes beautifully. I often double the batch, freeze the dough balls, and bake them fresh whenever I need a quick dessert. It’s like having homemade cookies on standby.
- Classic Flavor Profile — The combination of salty peanut butter and sweet chocolate is timeless. Adding the chocolate kiss on top adds a layer of visual appeal and a burst of sweetness that complements the nutty base perfectly.
- Quick and Easy — From start to finish, these cookies take about 25 minutes. That’s less time than it takes to order and wait for delivery. Perfect for last-minute guests or a midweek treat.
This recipe has saved me more times than I can count. Whether I’m hosting a casual dinner or just craving something sweet with my coffee, these cookies are my go-to. They’re reliable, delicious, and always a hit with everyone from picky eaters to serious dessert lovers.
Ingredients You’ll Need
One of the best things about this recipe is how simple the ingredient list is. You probably have most of this already in your pantry. Here’s what you need to make the best chewy peanut butter blossoms:
For the Cookie Dough
Peanut Butter (1 cup / 250g) — Use creamy, unsalted peanut butter. Natural peanut butter with separated oil can make the dough too wet, so stick to standard brands like Jif or Skippy. If you must use natural, make sure to mix it thoroughly until smooth.
Unsalted Butter (½ cup / 115g, softened) — Softened means cool to the touch but leaves a fingerprint when pressed. Don’t melt it! Melted butter will make the cookies spread too thin and lose their chewy texture.
Granulated Sugar (½ cup / 100g) — This provides structure and a slight crispness to the edges.
Light Brown Sugar (1 cup / 200g, packed) — This is the key to chewiness. The molasses in brown sugar retains moisture. Don’t skimp on this, or you’ll lose that soft, dense texture.
Egg (1 large) — Room temperature eggs incorporate better into the dough, leading to a more uniform texture.
Vanilla Extract (1 teaspoon) — Adds depth of flavor. Use real vanilla extract, not imitation, if you can help it.
All-Purpose Flour (1 ½ cups / 190g) — Measure correctly! Spoon the flour into the measuring cup and level it off. Packing the flour will make the cookies dry and tough.
Baking Soda (1 teaspoon) — Helps the cookies spread and brown.
Salt (½ teaspoon) — Enhances the flavor of the peanut butter and chocolate. Don’t skip it!
For the Topping
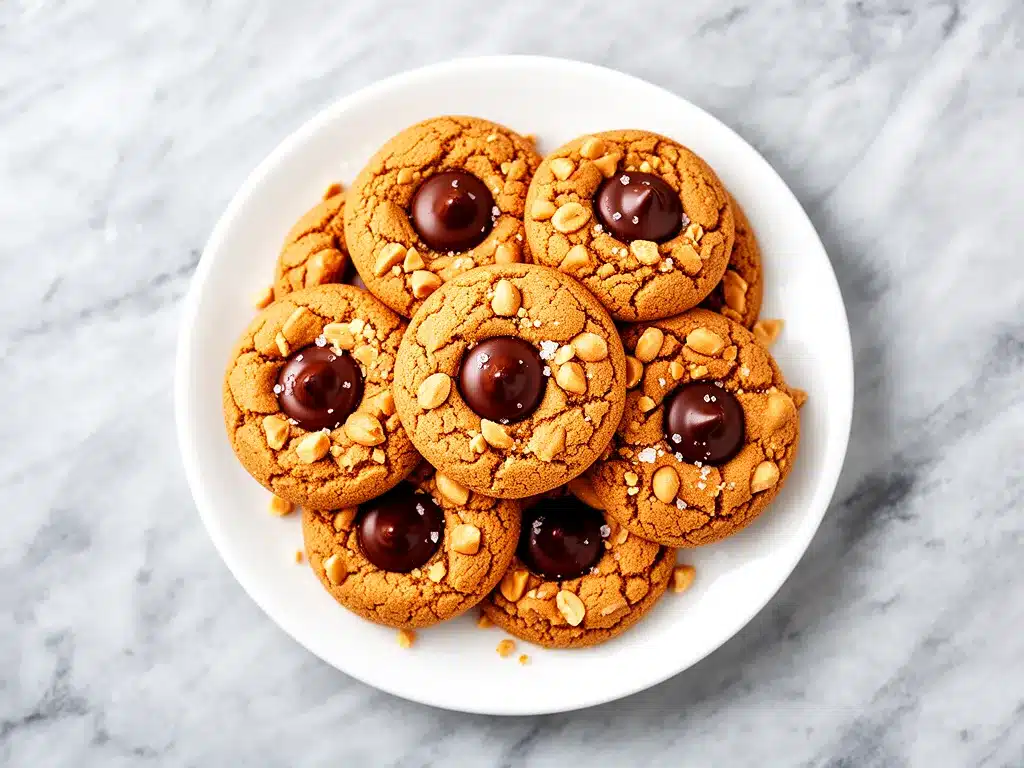
Hershey’s Kisses (1 bag, about 36 pieces) — These are traditional, but you can use any milk chocolate candies. I’ve tried semi-sweet chocolate chips, but the kiss shape is iconic and melts beautifully into the center.
Foil Wrappers — You’ll need to remove these before pressing the kisses into the cookies. Pro tip: Save the wrappers and fold them into cones to hold the kisses while you work. It makes the process much faster.
Equipment Needed
You don’t need fancy gadgets for this recipe. Here’s what I actually use:
- Large Mixing Bowl — For combining the dough. A glass or ceramic bowl works well.
- Electric Mixer — Handheld or stand mixer. Creaming the butter and sugars is easier with a mixer, but you can do it by hand if you have strong arms.
- Measuring Cups and Spoons — Accuracy is key in baking. Use a set of dry measuring cups for the flour and a liquid measuring cup for the egg and vanilla.
- Baking Sheets — Light-colored aluminum sheets are best. Dark sheets can cause the bottoms to burn, so keep an eye on them.
- Parchment Paper — Lines the baking sheets for easy cleanup and even baking. I never bake these directly on the pan.
- Cooling Rack — Allows air to circulate around the cookies so they cool evenly and don’t get soggy from trapped steam.
- Cookie Scoop — A 1.5 tablespoon scoop ensures uniform size. This helps them bake evenly and look professional.
If you don’t have a cookie scoop, use two spoons to drop mounds of dough onto the sheet. Just try to keep them all roughly the same size.
How to Make It: Step-by-Step
Alright, let’s get baking! This process is straightforward, but there are a few tricks to ensure those perfect chewy centers.
Step 1: Prep Your Station (5 minutes)
Preheat your oven to 350°F (175°C). Line two large baking sheets with parchment paper. This is crucial for even baking and easy cleanup. If you’re using foil wrappers, fold them into small cones to hold the kisses. It sounds like a hassle, but it saves time later.
Step 2: Cream the Butter and Sugars (2-3 minutes)
In a large bowl, beat the softened unsalted butter, granulated sugar, and brown sugar together until light and fluffy. This step takes about 2-3 minutes with an electric mixer. You’re incorporating air into the mixture, which helps the cookies rise slightly and become tender. If the butter is too cold, it won’t cream properly. If it’s too warm, the cookies will spread too much.
Step 3: Add Wet Ingredients (1 minute)
Add the egg and vanilla extract to the butter mixture. Beat on medium speed until fully combined. Scrape down the sides of the bowl with a spatula to ensure everything is evenly mixed. The mixture should look smooth and homogenous.
Step 4: Mix in Dry Ingredients (1-2 minutes)
In a separate bowl, whisk together the flour, baking soda, and salt. Gradually add the dry ingredients to the wet ingredients, mixing on low speed until just combined. Be careful not to overmix! Overmixing develops gluten, which leads to tough cookies. Stop as soon as you no longer see streaks of flour.
Step 5: Scoop the Dough (5 minutes)
Use a cookie scoop or spoon to drop tablespoon-sized balls of dough onto the prepared baking sheets. Space them about 2 inches apart, as they will spread slightly during baking. You should get about 24 cookies from this recipe.
Step 6: Bake (9-11 minutes)
Bake the cookies for 9-11 minutes. They are done when the edges are lightly golden but the centers still look soft and slightly underbaked. This is the secret to chewiness! If you wait until they look fully set in the center, they will be cakey. The residual heat will continue to cook them as they cool.
Step 7: Add the Kisses (1 minute)
Immediately after removing the cookies from the oven, press one Hershey’s Kiss into the center of each hot cookie. The heat from the cookie will soften the chocolate, allowing it to adhere. Do this quickly, as the cookies firm up fast. If you wait too long, the kisses won’t stick.
Step 8: Cool (10 minutes)
Let the cookies cool on the baking sheet for 5 minutes. This allows them to set enough to be moved without breaking. Then, transfer them to a cooling rack to cool completely. This step is important for texture development.
Total Time: About 30 minutes (5 minutes prep, 10 minutes baking, 15 minutes cooling).
Expert Tips & Tricks
Here’s everything I’ve learned from making these cookies dozens of times. These tips will save you from common pitfalls:
- Chill the Dough (Optional but Recommended) — If your kitchen is warm, chill the dough balls in the fridge for 30 minutes before baking. This prevents excessive spreading and helps the cookies maintain their shape. I usually do this if I’m making the dough ahead.
- Don’t Overbake — I cannot stress this enough. Pull the cookies out when they look slightly underdone. They will continue to cook on the hot pan. Overbaking is the #1 reason for dry, cakey cookies.
- Use Room Temperature Ingredients — Cold butter and eggs won’t cream properly, leading to a dense, uneven dough. Take your butter and eggs out of the fridge 30 minutes before you start.
- Measure Flour Correctly — Scooping flour directly from the bag packs it down, leading to too much flour and dry cookies. Spoon the flour into the cup and level it off with a knife. This simple change makes a huge difference.
- Press Kisses Immediately — The chocolate needs the residual heat of the cookie to stick. If the cookies cool too much, the kisses will slide off. Have your kisses ready and press them in right after taking the pan out of the oven.
Common Mistakes:
- Mistake: Cookies spread too thin — Fix: Your butter was too warm, or you didn’t chill the dough. Next time, ensure your butter is cool and chill the dough for 30 minutes.
- Mistake: Cookies are dry — Fix: You overbaked them or used too much flour. Next time, reduce baking time by 1 minute and measure flour more carefully.
- Mistake: Kisses don’t stick — Fix: You waited too long to press them in. Press them in immediately while the cookies are still hot.
Variations & Substitutions
Once you’ve mastered the basic recipe, here are some fun ways to mix it up:
- Dark Chocolate Kisses — For a more sophisticated flavor, use dark chocolate kisses. The bitterness balances the sweetness of the peanut butter beautifully.
- White Chocolate Kisses — For a sweeter, milder taste, try white chocolate kisses. This is a popular variation, especially for kids.
- Mini Chocolate Chips — If you don’t like the kiss shape, use mini chocolate chips. Press them into the cookies right after baking for a similar effect.
- Sea Salt Topping — Sprinkle a pinch of flaky sea salt on top of the kisses immediately after pressing them in. The salt enhances the chocolate and peanut butter flavors. This is my personal favorite variation.
- Pretzel Crumble — Sprinkle crushed pretzels on top of the cookies before baking for a sweet-and-salty crunch. This adds a nice texture contrast.
Dietary Modifications:
- Gluten-Free — Use a 1:1 gluten-free flour blend. The texture will be slightly different but still delicious.
- Dairy-Free — Use dairy-free butter and dairy-free chocolate kisses. Many brands offer these now, so check your local grocery store.
- Reduced Sugar — You can reduce the sugar by ¼ cup, but the cookies will be less chewy and more cakey. I don’t recommend reducing it too much, as sugar plays a role in texture.
Serving & Storage
These cookies are best served at room temperature, where the peanut butter is soft and the chocolate is slightly melted. Here’s how to store and enjoy them:
Storage Instructions
- Room Temperature — Store cookies in an airtight container at room temperature for up to 5 days. Place a slice of bread in the container to keep them soft. The bread will dry out, but the cookies will stay chewy.
- Refrigerator — Not recommended, as the cold can make the cookies hard and the chocolate brittle. Only refrigerate if your kitchen is very hot.
- Freezer — You can freeze baked cookies for up to 3 months. Place them in a single layer in an airtight container, separated by parchment paper. Thaw at room temperature before serving. Alternatively, freeze the dough balls for up to 3 months. Bake from frozen, adding 1-2 minutes to the baking time.
Serving Suggestions
These cookies pair wonderfully with a cold glass of milk, a cup of coffee, or even a slice of blueberry baked oatmeal for a weekend brunch. They’re also perfect for potlucks and parties because they hold up well and are easy to eat. I often pack them in a tin for friends and family—they’re a guaranteed crowd-pleaser.
Nutrition Information
I’m not a nutritionist, but here’s the breakdown if you’re tracking. Note that these values are estimates and can vary based on specific brands and measurements.
Per Cookie (based on 24 cookies):
- Calories: 180
- Protein: 4g
- Carbs: 22g
- Fiber: 1g
- Sugar: 14g
- Fat: 10g
- Saturated Fat: 4g
- Cholesterol: 15mg
- Sodium: 120mg
These cookies are a treat, so enjoy them in moderation! They’re higher in sugar and fat, but they’re also satisfying, so you likely won’t need more than one or two.
Final Thoughts
So, there you have it—my go-to chewy peanut butter blossom recipe. I’ve probably talked your ear off at this point, but when you make a recipe this often, you have a lot to say about it. These cookies have saved me more times than I can count. They’re my answer to “what’s for dessert?” when I’m tired, don’t want takeout, and still want something that tastes really good. My kids are happy, my husband’s happy, and I’m happy because I’m not stressed about cooking.
Make it yours! Try different chocolate toppings, add a sprinkle of sea salt, or experiment with different types of peanut butter. The best recipes are the ones you adapt to your family’s tastes. If you make this, drop a comment and let me know what you think! I love hearing how recipes turn out in your kitchen. And if something doesn’t work, tell me that too—I’m here to help troubleshoot.
Happy baking! And I hope your kitchen smells half as good as mine does right now.
Frequently Asked Questions
Can I use crunchy peanut butter instead of creamy?
Yes, you can use crunchy peanut butter. The cookies will have a bit more texture from the peanut pieces. I prefer creamy for a smoother, more uniform chew, but crunchy adds a nice contrast. Just make sure it’s well-mixed if it’s natural peanut butter.
Why did my cookies spread too much?
This usually happens if the butter was too warm or if the dough wasn’t chilled. Butter that’s too soft melts too quickly in the oven, causing the cookies to spread. Next time, ensure your butter is cool and consider chilling the dough for 30 minutes before baking.
Can I freeze the dough?
Absolutely! This is one of my favorite tricks. Scoop the dough into balls and freeze them on a baking sheet until solid. Then transfer them to a freezer bag. You can bake them straight from the freezer, just add 1-2 minutes to the baking time. This is perfect for having homemade cookies on standby.
Why didn’t the chocolate kisses stick to the cookies?
The kisses need the residual heat of the cookie to melt slightly and adhere. If you waited too long to press them in, the cookies cooled down and became too firm. Press the kisses in immediately after removing the cookies from the oven for the best results.
Can I make these cookies gluten-free?
Yes! Use a 1:1 gluten-free flour blend in place of the all-purpose flour. The texture will be slightly different, but they’ll still be delicious. Make sure to check that your peanut butter and chocolate kisses are also gluten-free if you have celiac disease.
How do I keep the cookies soft for longer?
Store them in an airtight container with a slice of bread. The bread releases moisture into the container, which keeps the cookies soft. They’ll stay chewy for up to 5 days this way. Avoid refrigerating them, as the cold will make them hard.
Can I double the recipe?
Yes, you can double the recipe. Just make sure you have enough space on your baking sheets. Bake in batches if necessary, and try to keep the oven temperature consistent. I often double the recipe when I’m meal-prepping or feeding a crowd.
Pin This Recipe!
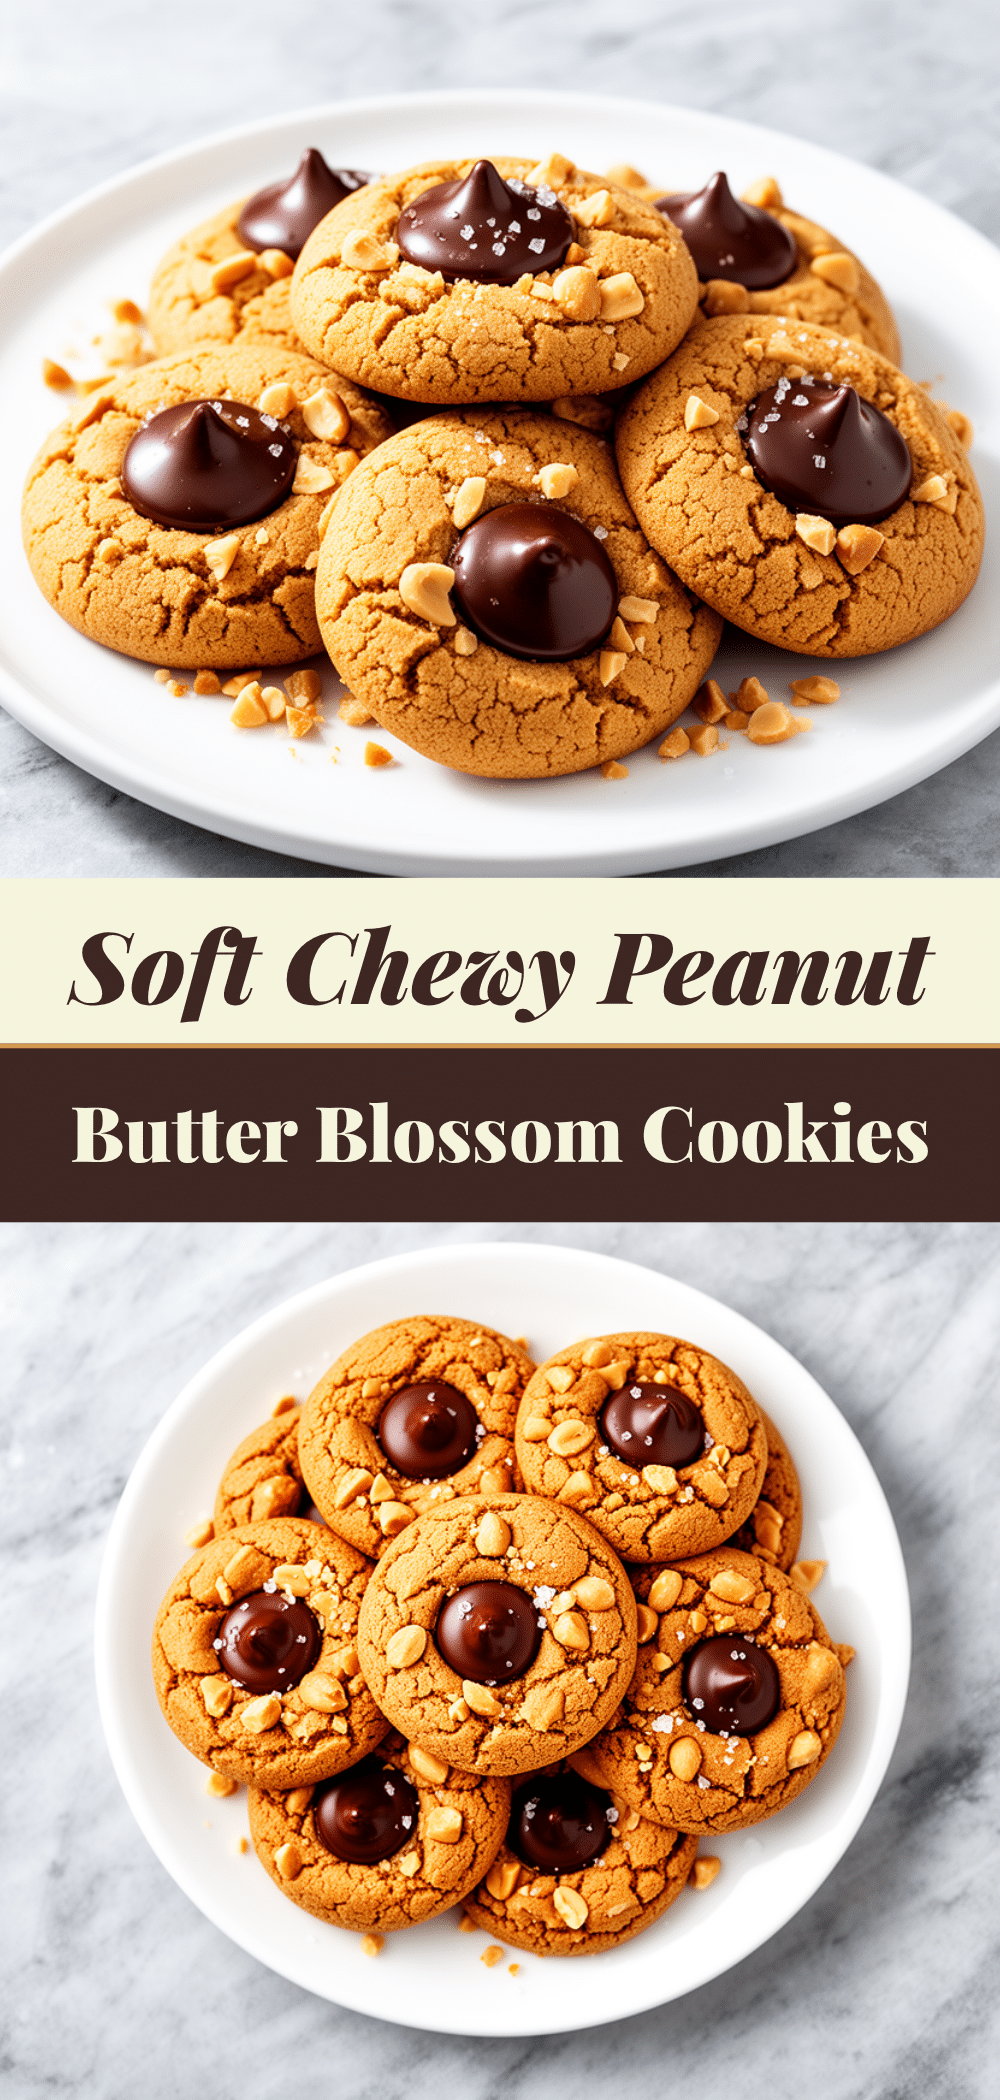
Chewy Peanut Butter Blossom Cookies
- Total Time: 30 minutes
- Yield: 24 servings 1x
Description
These dense, chewy peanut butter cookies are studded with melted Hershey’s Kisses. Achieved through a specific ratio of brown sugar and careful baking, they offer a perfect balance of salty peanut butter and sweet chocolate.
Ingredients
- 1 cup (250g) creamy unsalted peanut butter
- ½ cup (115g) unsalted butter, softened
- ½ cup (100g) granulated sugar
- 1 cup (200g) light brown sugar, packed
- 1 large egg, room temperature
- 1 teaspoon vanilla extract
- 1 ½ cups (190g) all-purpose flour
- 1 teaspoon baking soda
- ½ teaspoon salt
- 1 bag (about 36 pieces) Hershey’s Kisses
Instructions
- Preheat oven to 350°F (175°C). Line two large baking sheets with parchment paper.
- In a large bowl, beat the softened butter, granulated sugar, and brown sugar together until light and fluffy (2-3 minutes).
- Add the egg and vanilla extract to the butter mixture. Beat on medium speed until fully combined.
- In a separate bowl, whisk together the flour, baking soda, and salt.
- Gradually add the dry ingredients to the wet ingredients, mixing on low speed until just combined. Do not overmix.
- Scoop tablespoon-sized balls of dough onto the prepared baking sheets, spacing them about 2 inches apart.
- Bake for 9-11 minutes, or until edges are lightly golden but centers still look soft.
- Immediately remove from oven and press one Hershey’s Kiss into the center of each hot cookie.
- Let cookies cool on the baking sheet for 5 minutes, then transfer to a cooling rack to cool completely.
Notes
For best results, ensure butter is softened but not melted. Measure flour by spooning it into the cup and leveling it off to avoid dry cookies. Press kisses immediately after baking while cookies are hot so they adhere. Dough can be frozen for up to 3 months.
- Prep Time: 5 minutes
- Cook Time: 10 minutes
- Category: Dessert
- Cuisine: American
Nutrition
- Serving Size: 1 cookie
- Calories: 180
- Sugar: 14
- Sodium: 120
- Fat: 10
- Saturated Fat: 4
- Carbohydrates: 22
- Fiber: 1
- Protein: 4
Keywords: peanut butter cookies, chewy cookies, peanut butter blossoms, chocolate kiss cookies, easy dessert, bake from scratch


