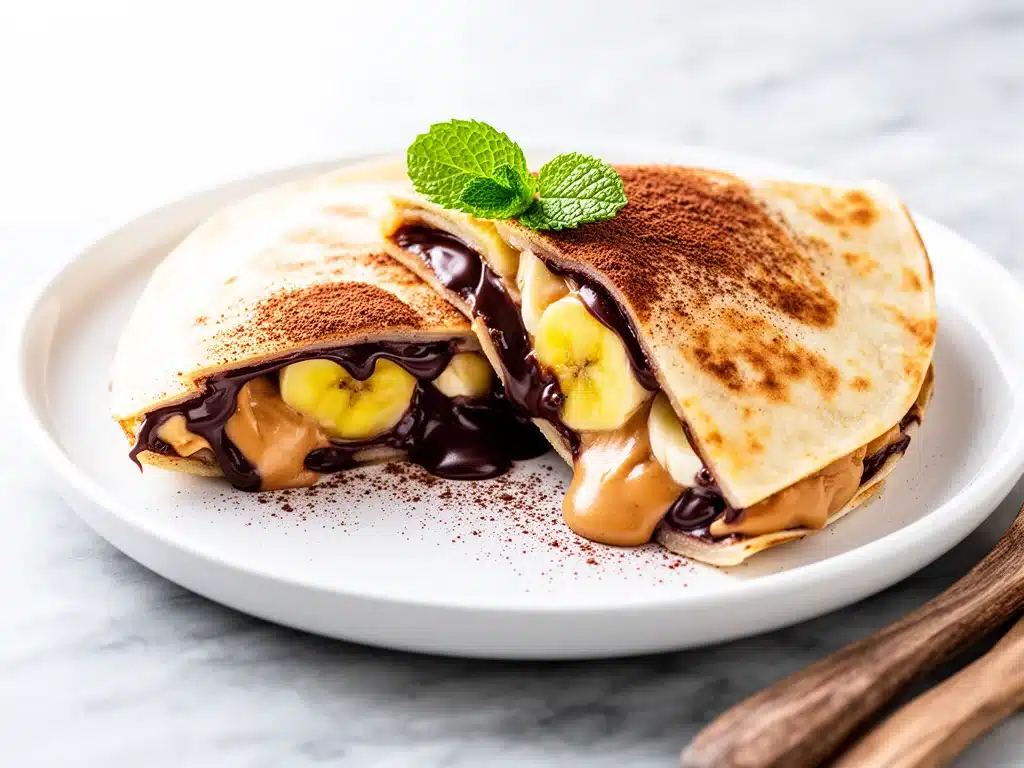
It was 3:45 PM on a Tuesday, and the house was in that specific state of chaos that only exists between school dismissal and dinner prep. My kids had just walked in, backpacks thumping against the floor, legs wobbling with that specific brand of exhaustion that comes from six hours of sitting still, and they were looking at me with the same pleading eyes they always do when they’re hungry but not quite ready for a “real meal.” I needed something fast. Something sweet but not completely depraved. Something that felt like a treat but didn’t require a twenty-minute bake time while I tried to keep the rest of the household from collapsing.
I opened the fridge, stared at the sad remnants of lunch ingredients, and then my eyes landed on the bananas on the counter and the jar of peanut butter in the pantry. It wasn’t a gourmet inspiration moment. It was a survival moment. I threw together what I thought would be a mediocre snack, but when I pulled that golden-brown, crispy tortilla out of the pan and saw the gooey, melty chocolate and peanut butter center, my kids’ faces changed instantly. The complaining stopped. The hunger was addressed. And best of all, it took less time than it takes to order takeout.
That afternoon, I discovered that Chocolate Peanut Butter Banana Quesadillas are the ultimate after-school savior. I’ve made them at least a dozen times since then, tweaking the ratios and testing different types of chocolate until I landed on the perfect balance. They’re sweet, salty, warm, and incredibly satisfying. If you’re looking for a quick snack that gets approved by both the sugar-crazed toddler and the picky pre-teen, this is it. It’s basically dessert, but it has banana and peanut butter in it, so we can pretend it’s healthy. (Don’t tell the dietitians.)
Why You’ll Love This Recipe
There are a million snack ideas out there, but very few hit this specific trifecta: fast, delicious, and actually good for your soul. Here’s why this Chocolate Peanut Butter Banana Quesadillas recipe has permanently replaced everything else in my after-school rotation.
- Stupid Simple — Seriously, if you can open a package and spread peanut butter, you can make this. I’ve walked my teenage son through it over the phone while I was stuck in traffic. He nailed it. No special skills required.
- Lightning Fast — 5 minutes from start to finish. I’m not joking. The only thing that takes longer is waiting for the microwave. I make these on weeknights when I get home at 6 PM and the fridge is looking bleak.
- Pantry-Friendly — You probably have 90% of these ingredients already. Tortillas, peanut butter, bananas, and chocolate chips are staples in my house. I keep them stocked just so I can make this on a whim.
- Crowd-Pleaser — I’ve served these to my vegetarian sister, my nut-allergic neighbor (with sunflower seed butter), and my dad who thinks snacks should be savory. Everyone loved them. Even the dog wanted one, but I said no.
- Makes Amazing Leftovers — Okay, full disclosure: they rarely last until the next day. But if they do, they’re still good cold or reheated in the toaster oven. I deliberately make extra for my own afternoon slump.
- Budget-Smart — Feeds 4-6 people for under $5. That’s less than a box of fancy cookies at the grocery store. It’s cheap, it’s filling, and it tastes expensive.
This is my go-to when I need a snack to just work. No complicated techniques, no weird ingredients, just reliable, delicious food that makes everyone happy. It’s the culinary equivalent of a warm hug.
Ingredients You’ll Need
Here’s the best part: you probably have most of this already. This Chocolate Peanut Butter Banana Quesadillas recipe relies on simple, high-quality ingredients that do all the heavy lifting. I’m particular about three things here, and I’ll tell you exactly why.
For the Base
Flour tortillas (8 small / 20cm diameter) — I use the small burrito-sized ones. They’re the perfect size for individual servings. Large tortillas get floppy and hard to flip. If you’re gluten-free, use gluten-free tortillas, but know that they can be a bit more delicate. I like to warm them up in the microwave for 10 seconds before assembling to make them more pliable.
Peanut butter (½ cup / 125g) — This is the binder. I use creamy, natural peanut butter because it spreads easily and melts smoothly. Crunchy peanut butter works too if you like texture, but it can be harder to spread evenly. Avoid the “no-stir” processed stuff with hydrogenated oils; it doesn’t melt as nicely and has a weird waxy mouthfeel. Look for a brand with just peanuts and salt.
Bananas (2 medium, sliced) — This is the fruit component. I prefer slightly ripe bananas—they’re sweeter and softer, which helps them cook down into a jammy consistency inside the quesadilla. If your bananas are too green, they won’t be sweet enough. If they’re too brown and mushy, they’ll fall apart. Aim for yellow with a few brown spots.
For the Flavor
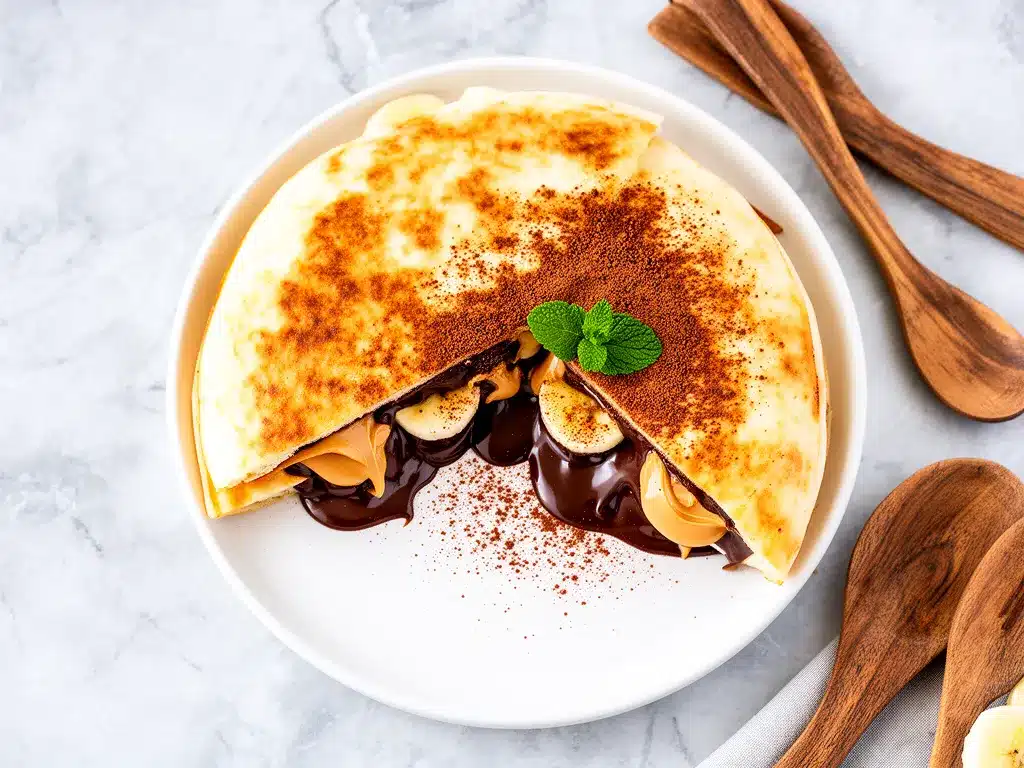
Semi-sweet chocolate chips (½ cup / 85g) — I use high-quality semi-sweet chips because they melt into a rich, glossy pool. Milk chocolate works too, but it can be overly sweet when paired with the peanut butter. Dark chocolate chips (60-70%) are great if you want to tone down the sugar. I’ve tried both, and semi-sweet is the sweet spot.
Butter (2 tablespoons) — For frying. I use unsalted butter because I like to control the salt, and the peanut butter already has some. Melted butter brushed on the outside of the tortilla gives that golden, crispy, restaurant-quality finish. You can use oil, but butter tastes better. Always butter.
Cinnamon (½ teaspoon) — Optional, but I think it adds a warm, cozy note that pairs beautifully with the banana. It’s the secret ingredient that makes it taste like dessert.
Optional Add-ins
Honey or maple syrup (1 tablespoon) — If your bananas aren’t super ripe, a drizzle of honey adds extra sweetness. I drizzle it on top after cooking for a fancy touch.
Sea salt flakes — A tiny pinch on top after cooking enhances the peanut butter flavor. It’s a chef’s trick, but it works.
Common Questions
Can I use almond butter? Yes! Almond butter works perfectly and has a slightly more delicate flavor. Just make sure it’s smooth.
Where do I find small tortillas? They’re usually in the same aisle as the large tortillas, near the bread. Look for “burrito” or “taco” size.
Can I make this ahead? Not really. They’re best made fresh and eaten warm. The tortilla gets soggy if you let it sit in the fridge.
Equipment Needed
You don’t need fancy equipment for this. Here’s what I actually use. I keep it minimal because simplicity is the point.
- Non-stick skillet (8-10 inch) — I use an 8-inch skillet because it’s the perfect size for two small quesadillas at once. If you have a 10-inch, great. Just don’t use a huge 12-inch pan; the heat distribution isn’t as even for small items. My ancient non-stick pan from Target still works fine for this.
- Spatula — A thin, flexible spatula is crucial for flipping without breaking the tortilla. I use a metal one, but silicone works too. Just make sure it’s thin enough to slide under the tortilla easily.
- Knife and cutting board — For slicing the bananas. I use a serrated knife because it cuts through the banana without squishing it. Learned this the hard way with a dull paring knife.
- Pastry brush or spoon — For buttering the outside of the tortillas. A brush gives an even coat, but a spoon works if you’re being lazy. I’m often being lazy.
- Microwave-safe bowl — For melting the peanut butter if it’s too thick to spread. I microwave it for 15-20 seconds. Don’t overheat it or it’ll separate.
Tool Tips: Don’t have a non-stick skillet? A well-seasoned cast iron skillet works great, but you’ll need less butter because cast iron is naturally non-stick. I’m obsessed with my small non-stick pan—it’s lightweight and easy to clean.
How to Make It: Step-by-Step
Alright, let’s make this! I’m walking you through exactly how I do it, including the little tricks I’ve picked up over the last few weeks of after-school snacking.
Step 1: Prep Your Ingredients (2 minutes)
Before you start cooking, slice your bananas into thin rounds. I like them thin because they cook faster and distribute more evenly. Measure out your chocolate chips and peanut butter. I know it seems fussy, but it makes the actual cooking way less stressful. Once you start cooking, things move fast, and you don’t want to be hunting for ingredients while the pan is heating up.
Step 2: Warm the Tortillas (1 minute)
Microwave the tortillas for 10-15 seconds. This makes them pliable and less likely to crack when you fold them. If you skip this step, you might end up with broken tortillas, and nobody wants a messy quesadilla. It’s a small step that makes a big difference.
Step 3: Assemble the Quesadillas (2 minutes)
Lay a tortilla flat on your cutting board. Spread a generous layer of peanut butter over half of the tortilla, leaving a small border around the edge. This border is important—it prevents the filling from leaking out. Arrange the banana slices in a single layer on top of the peanut butter. Sprinkle the chocolate chips over the bananas. Fold the empty half of the tortilla over the filling, pressing down gently to seal. Repeat with the remaining tortillas.
Step 4: Butter the Outside (1 minute)
Melt the butter in a small bowl. Using a pastry brush or a spoon, lightly brush the outside of each quesadilla with melted butter. This is what gives them that golden, crispy exterior. Don’t skimp on the butter—it’s what makes them taste like a treat. If you’re worried about calories, use less, but I say go for it.
Step 5: Cook the Quesadillas (2-3 minutes per side)
Heat the skillet over medium heat. Once the pan is warm, place the quesadillas in the skillet. Cook for 2-3 minutes, until the bottom is golden brown and crispy. Use your spatula to check the color. Then, carefully flip the quesadilla and cook for another 2-3 minutes on the other side. The chocolate should be melted and the peanut butter warm and gooey. If the chocolate isn’t melting, lower the heat and cook a bit longer. High heat burns the tortilla before the filling warms up.
Step 6: Cool and Serve (1 minute)
Remove the quesadillas from the pan and let them cool for 1-2 minutes. This allows the chocolate and peanut butter to set slightly, making them easier to cut and eat. Cut into wedges and serve immediately. Dust with cinnamon or sea salt if you’re feeling fancy.
Total Time: About 10 minutes (5 minutes active, 5 minutes cooking)
Built-in Troubleshooting:
- Tortilla cracking: Warm them in the microwave first. Don’t force a cold tortilla to fold.
- Filling leaking: Leave a border around the edge when assembling. Press the edges together firmly.
- Burnt tortilla: Lower the heat. Medium heat is your friend. High heat is the enemy.
Expert Tips & Tricks
Here’s everything I’ve learned from making these dozens of times. These tips will save you from my mistakes.
- Use Slightly Ripe Bananas — This is the #1 tip. Ripe bananas are sweeter and softer, which helps them cook down into a jammy consistency. I forgot this once and used a very green banana, and the quesadilla tasted bland. Now I always check the ripeness before starting.
- Don’t Skimp on the Butter — The butter on the outside is what makes them crispy. If you use too little, they’ll be pale and soggy. I learned this the hard way with a sad, soft quesadilla that looked like it had given up on life.
- Melt the Peanut Butter First — If your peanut butter is stiff or cold, it’s hard to spread. Microwave it for 15 seconds to loosen it up. It spreads like butter then, which makes assembly much easier.
- Low and Slow for Chocolate — Chocolate melts quickly, but if the heat is too high, the tortilla burns before the chocolate melts. Keep the heat at medium or medium-low. Patience pays off.
- Cool Before Cutting — Hot chocolate and peanut butter are liquid gold. If you cut immediately, it oozes out everywhere. Let it cool for 2 minutes so it sets slightly. It’s worth the wait.
Common Mistakes (and how to avoid them):
- Mistake: Tortilla is soggy — Fix: Make sure you’re using a non-stick skillet and not overcrowding the pan. Cook in batches if needed. Moisture is the enemy of crispiness.
- Mistake: Filling is cold — Fix: Cook longer on low heat. The filling needs time to warm up. Don’t rush it.
- Mistake: Everything is too sweet — Fix: Use semi-sweet chocolate and natural peanut butter without added sugar. Balance the sweetness with a pinch of salt.
Variations & Substitutions
Once you’ve nailed the basic version, here’s how you can mix it up. I’ve tried all of these, and they’re all winners.
Tested Variations:
Nut-Free Version — Swap peanut butter for sunflower seed butter or soy nut butter. It works perfectly and is safe for school zones. My daughter’s class is nut-free, so I make this version often. It tastes almost identical.
Gluten-Free — Use gluten-free tortillas. Everything else is naturally gluten-free. I’ve used several brands, and the ones with rice flour work best because they’re more flexible. Corn tortillas are an option, but they have a stronger flavor that might not pair as well with the chocolate.
Extra Crunchy — Add a handful of crushed peanuts or granola on top of the chocolate chips before folding. It adds a nice texture contrast. I do this when I want to feel like I’m being fancy.
Maple Pecan — Swap the chocolate chips for chopped pecans and drizzle maple syrup on top after cooking. It’s a different vibe—more autumnal and warm. Great for fall.
White Chocolate — Use white chocolate chips instead of semi-sweet. It’s sweeter and creamier. My kids prefer this version, but I find it a bit too sweet for my taste. Half white, half semi-sweet is a good compromise.
Dietary Modifications:
Lower Sugar — Use dark chocolate chips (70% cocoa) and no added sugar in the peanut butter. It’s less sweet but still satisfying. I make this when I’m trying to cut back on sugar.
Vegan — Use vegan chocolate chips and vegan peanut butter. Everything else is naturally vegan. I’ve used brands like Enjoy Life for chocolate, and they melt beautifully.
Serving & Storage
I usually serve these straight from the pan at the dinner table—they look rustic and stay warm. But here are other ways I’ve enjoyed them.
Side Dishes:
- Apple slices (for a fresh contrast)
- Yogurt parfait (if you want a fuller snack)
- Just plain water or milk (they’re sweet enough on their own)
Toppings Bar:
When I have guests, I put out: powdered sugar, extra chocolate chips, crushed nuts, and honey. Everyone customizes their bowl.
Storage Instructions:
Refrigerator: Store in an airtight container for up to 2 days. The tortilla will soften, but you can reheat them in a skillet or toaster oven to crisp them up again. I rarely have leftovers, but if I do, they’re good.
Reheating: Best method: Skillet over medium heat for 1-2 minutes per side. Toaster oven works too. Microwave works in a pinch but makes them soggy. I avoid the microwave unless I’m in a huge rush.
Freezing: Honestly, this doesn’t freeze well because of the banana. The texture gets weird when thawed. Make them fresh or store in the fridge for up to 2 days.
Pro tip: If leftovers are drying out, reheat them in a skillet with a tiny splash of water. The steam helps re-crisp the tortilla.
Nutrition Information
I’m not a nutritionist, but here’s the breakdown if you’re tracking. Keep in mind that these are estimates based on standard ingredients.
Per Serving (based on 4 servings, 2 quesadillas each):
- Calories: 280
- Protein: 8g
- Carbs: 35g
- Fiber: 3g
- Sugar: 18g
- Fat: 14g
- Saturated Fat: 5g
- Cholesterol: 10mg
- Sodium: 250mg
What’s Good:
- Decent protein from peanut butter
- Fiber from bananas and tortillas
- Healthy fats from peanut butter
What to Know:
- Higher in sugar from chocolate and bananas
- Contains peanuts and dairy (if using butter)
- Moderate sodium
My Take: Look, this is a snack. It’s sweet, it’s tasty, and it’s meant to be enjoyed. It’s not a diet recipe. But it’s way better than a bag of chips, and it has actual fruit in it. When I want to make it lighter, I use less chocolate and more banana. But usually? I just eat a reasonable portion and enjoy it.
Final Thoughts
So that’s my Chocolate Peanut Butter Banana Quesadillas! I’ve probably talked your ear off at this point, but when you make a recipe this often, you have a lot to say about it.
This has saved after-school snacks more times than I can count. It’s my answer to “I’m hungry” when I’m tired, don’t want to cook dinner yet, and still want something that tastes really good. My kids are happy, I’m happy because it takes 5 minutes, and we’re all happy because we’re not fighting over what to eat.
Make it yours! Try different types of chocolate, swap the peanut butter for almond butter, or add some nuts. The best recipes are the ones you adapt to your family’s tastes.
If you make this, drop a comment and let me know what you think! I love hearing how recipes turn out in your kitchen. And if something doesn’t work, tell me that too—I’m here to help troubleshoot.
Happy snacking! And I hope your kitchen smells half as good as mine does right now.
Frequently Asked Questions
Can I use almond butter instead of peanut butter?
Absolutely! Almond butter works perfectly and has a slightly more delicate flavor. Just make sure it’s smooth so it spreads easily. I’ve used both, and my kids can’t tell the difference. Sunflower seed butter is another great option for nut-free schools.
Why did my quesadillas break when I flipped them?
Usually means the tortilla was too cold or not buttered enough. Warm the tortillas in the microwave first to make them pliable. Also, make sure you’re using a non-stick skillet and enough butter on the outside. If they’re sticking, they’ll break. Be patient and use a thin spatula.
Can I make these ahead for a party?
Not really. They’re best made fresh and eaten warm. The tortilla gets soggy if you let it sit in the fridge. If you’re making a large batch, cook them in batches and keep them warm in a low oven (200°F) while you finish the rest. They’ll stay crispy for about 15 minutes.
Why did the chocolate not melt?
The heat was too high, so the tortilla burned before the chocolate melted. Keep the heat at medium or medium-low. Chocolate melts slowly, and it needs time. If the tortilla is getting dark but the chocolate is still hard, lower the heat and cover the pan for a minute to trap the steam. It helps melt the chocolate.
Can I use whole wheat tortillas?
You can, but they have a stronger flavor that might not pair as well with the sweet filling. I prefer white flour tortillas for their mild taste and soft texture. If you use whole wheat, make sure they’re thin and flexible. Thick whole wheat tortillas can be tough to flip.
How do I store leftovers?
Store in an airtight container in the fridge for up to 2 days. Reheat in a skillet or toaster oven to crisp them up again. They won’t be as good as fresh, but they’re still tasty. I rarely have leftovers, but if I do, this is the best way to enjoy them.
Pin This Recipe!
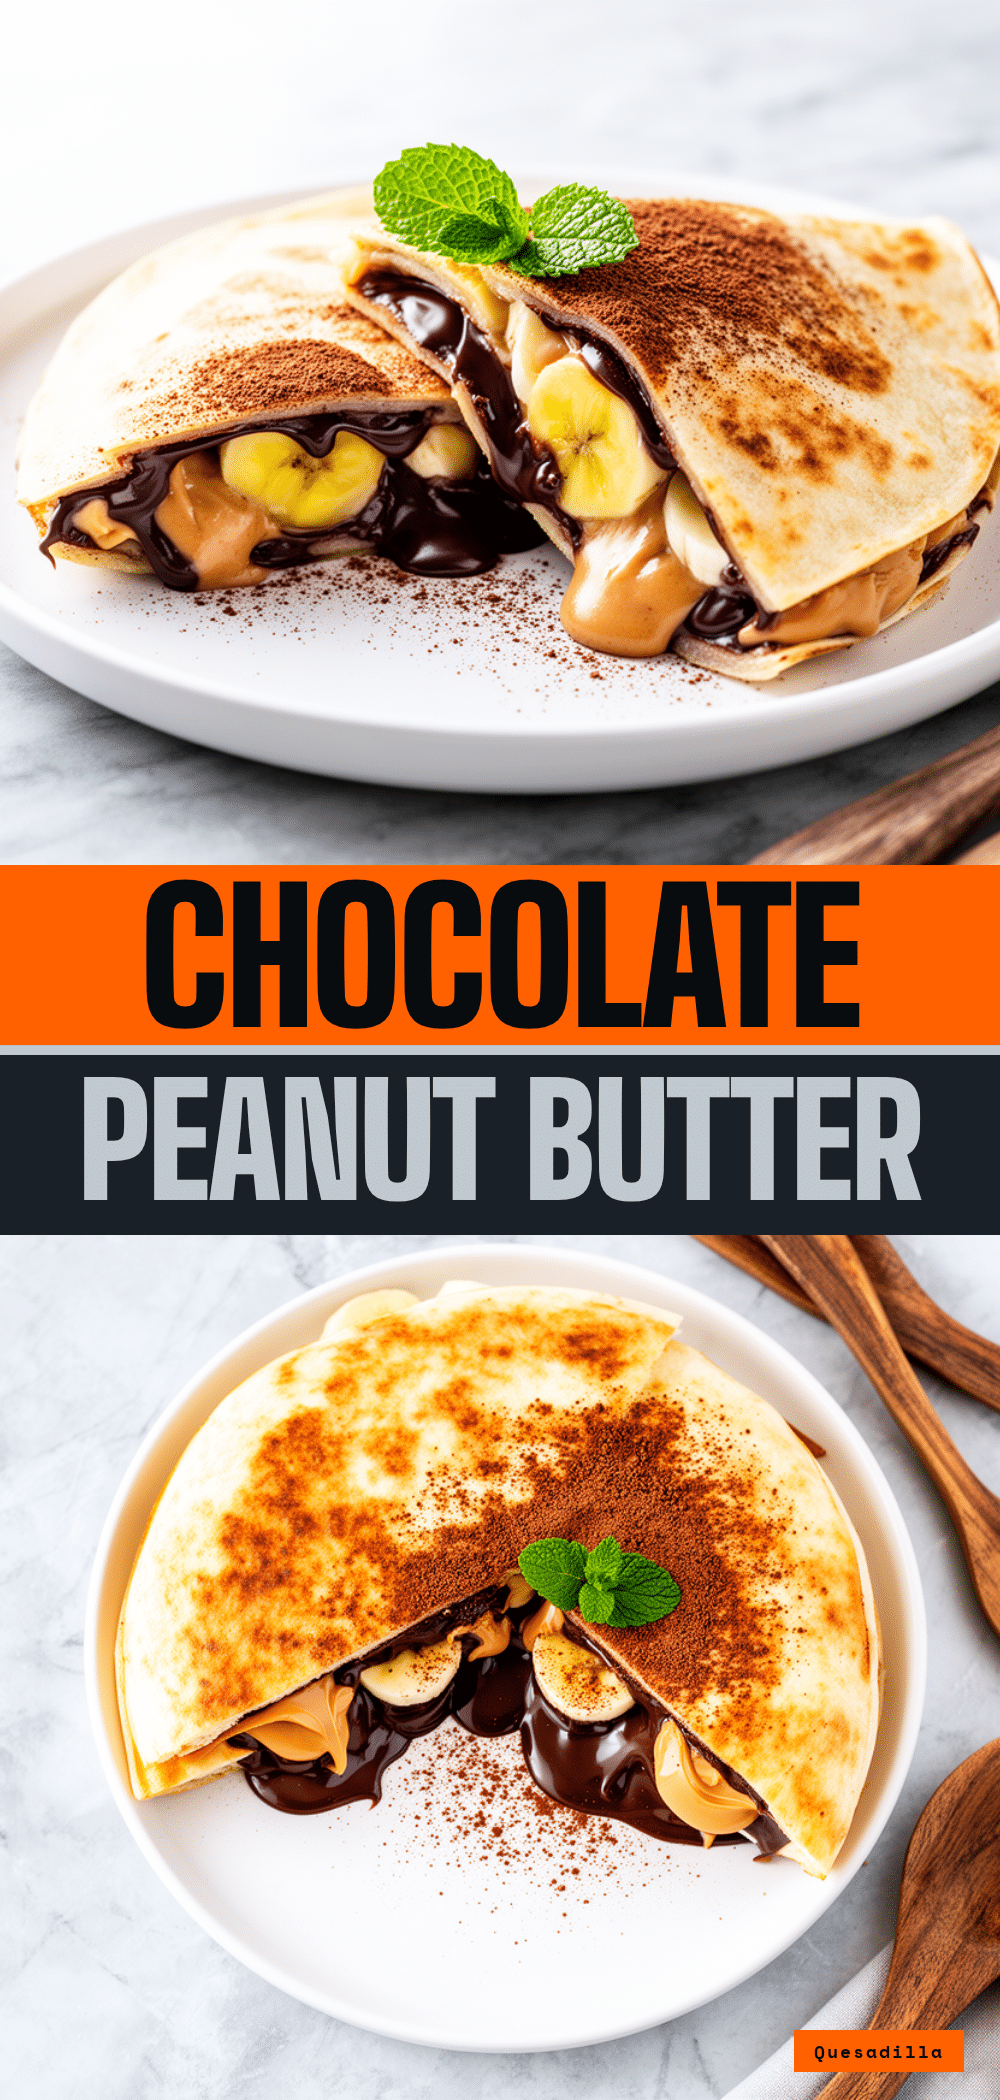
Chocolate Peanut Butter Banana Quesadillas: 5-Minute After School Snack
- Total Time: 10 minutes
- Yield: 4 servings 1x
Description
A quick, pantry-friendly after-school snack that combines crispy tortillas with creamy peanut butter, sweet bananas, and melty chocolate chips. Ready in just 5-10 minutes, this treat is perfect for busy weeknights.
Ingredients
- 8 small flour tortillas (20cm diameter)
- ½ cup (125g) creamy natural peanut butter
- 2 medium bananas, sliced into thin rounds
- ½ cup (85g) semi-sweet chocolate chips
- 2 tablespoons unsalted butter, melted
- ½ teaspoon cinnamon (optional)
- 1 tablespoon honey or maple syrup (optional)
- Sea salt flakes (optional)
Instructions
- Slice bananas into thin rounds and measure out chocolate chips and peanut butter.
- Microwave tortillas for 10-15 seconds to make them pliable and prevent cracking.
- Lay a tortilla flat and spread peanut butter over half, leaving a small border around the edge.
- Arrange banana slices in a single layer on the peanut butter, then sprinkle with chocolate chips.
- Fold the empty half of the tortilla over the filling and press gently to seal.
- Brush the outside of each quesadilla lightly with melted butter.
- Heat a non-stick skillet over medium heat and place quesadillas in the pan.
- Cook for 2-3 minutes until the bottom is golden brown and crispy, then flip and cook another 2-3 minutes.
- Remove from pan and let cool for 1-2 minutes to allow filling to set slightly.
- Cut into wedges and serve immediately, dusting with cinnamon or sea salt if desired.
Notes
Use slightly ripe bananas for better sweetness and texture. Do not skimp on the butter on the outside of the tortilla to ensure crispiness. Cook on medium heat to prevent burning the tortilla before the chocolate melts. Let cool for 2 minutes before cutting to prevent filling from oozing out. These are best eaten fresh but can be stored in the fridge for up to 2 days and reheated in a skillet.
- Prep Time: 5 minutes
- Cook Time: 5 minutes
- Category: Snack
- Cuisine: American
Nutrition
- Serving Size: 2 quesadillas per se
- Calories: 280
- Sugar: 18
- Sodium: 250
- Fat: 14
- Saturated Fat: 5
- Carbohydrates: 35
- Fiber: 3
- Protein: 8
Keywords: chocolate peanut butter banana quesadillas, after school snack, quick snacks, 5 minute recipes, kid friendly snacks, easy dessert, gluten-free option, nut-free option


