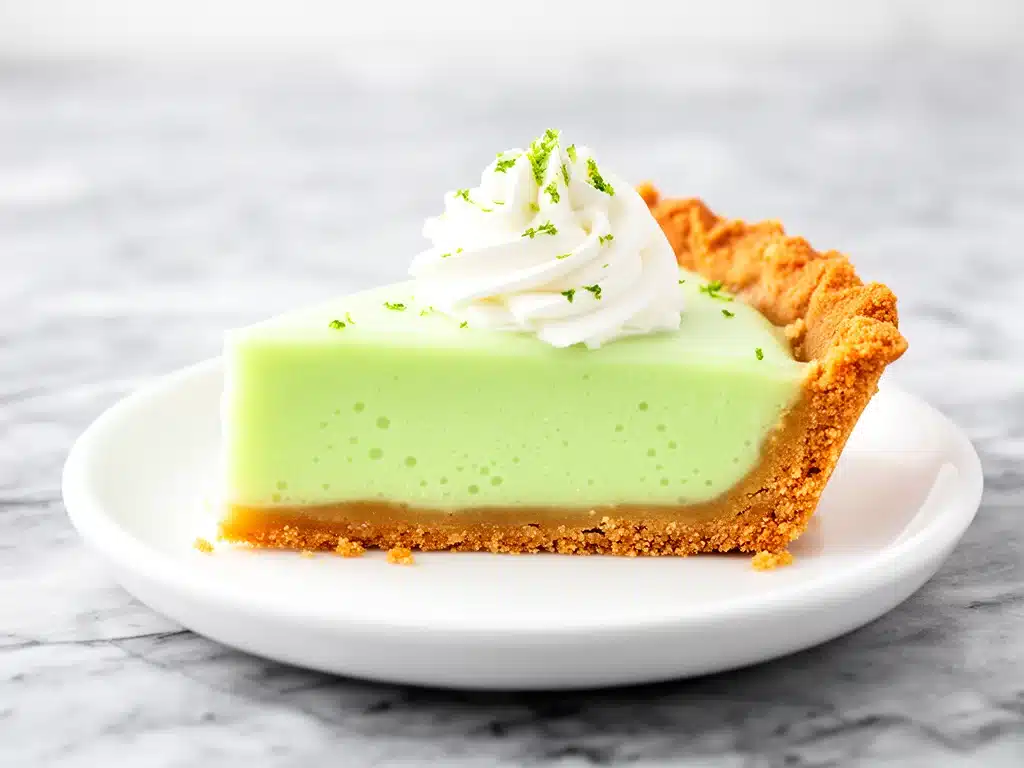
Last Saturday, I was standing in my kitchen at 4 PM, staring at a grocery list that felt more like a demand than a suggestion. We were hosting a backyard barbecue for about twenty people, and somehow, I had forgotten to plan dessert. Not just forgotten—completely blanked out. In my panic, I raided the pantry, found a can of sweetened condensed milk, some limes, and graham crackers, and decided to make a key lime pie. I didn’t have a stand mixer. I didn’t have time to bake a crust. And I definitely didn’t have the patience for a complicated meringue that would collapse if I looked at it wrong.
So I made the easiest, creamiest key lime pie with a graham crust that exists. No baking required. Just four ingredients, a blender, and five minutes of actual work. I set it on the counter, assuming it would be a nice little footnote to the grilled burgers and corn. Instead, it was the first thing people reached for. My neighbor, who usually sticks to plain vanilla ice cream, asked for the recipe twice. My husband, who claims he “doesn’t really like pie,” ate three slices. That’s when I knew I had struck gold.
This creamy key lime pie is the kind of dessert that feels like cheating. It’s bright, tangy, and incredibly rich, but it takes less effort than making a grilled cheese sandwich. I’ve made this for potlucks, for spontaneous dinner guests, and just for myself on lazy Sunday afternoons. It’s become my secret weapon for summer entertaining because it requires zero last-minute stress. You make it the night before, it sets in the fridge, and it tastes like a vacation in every bite. If you’re looking for a summer dessert that actually works when life gets busy, this is it.
Why You’ll Love This No-Bake Key Lime Pie
There are about ten reasons I keep coming back to this recipe, but here are the big ones that make it a permanent fixture in my summer rotation.
Zero Baking Required — Seriously. No oven, no preheating, no waiting for a crust to cool down. You just mix, pour, and chill. I make this on days when the house is already hot from cooking dinner, and I don’t want to turn the oven on. It’s a lifesaver.
Only Four Ingredients — I’m not exaggerating. You probably have three of these in your fridge or pantry right now. Sweetened condensed milk, key lime juice (or regular lime juice if you’re desperate), whipped topping (like Cool Whip), and graham cracker crumbs. That’s it. No eggs to worry about raw or undercooked. No complex techniques.
Make-Ahead Magic — This pie needs to chill, which means it’s actually better made the day before. I love that I can prep it Friday night for a Saturday party. It saves me so much stress on the day of the event. Unlike my make-ahead blueberry baked oatmeal cups, which are great for breakfast but require baking, this pie is purely fridge time. Zero active effort.
Crowd-Pleasing Tang — Key lime pie has a reputation for being polarizing—some people love the sharp tang, others find it too sour. This version strikes the perfect balance. The sweetness of the condensed milk cuts the acid just enough, while the whipped topping adds a light, airy texture that doesn’t weigh you down. It’s refreshing, not heavy.
Budget-Friendly — You don’t need expensive specialty ingredients. Graham crackers are cheap. Lime juice is seasonal and affordable. This feeds 8-10 people for under $10. It’s way cheaper than buying a dessert from a bakery, and it tastes fresher.
This is my go-to when I need a dessert that looks impressive but requires almost no skill. It’s reliable, delicious, and makes everyone happy. No complicated techniques, no weird ingredients, just reliable, bright, creamy food that makes summer evenings feel special.
Ingredients You’ll Need
Here’s the best part: you probably have most of this already. I’m particular about three things here, and I’ll tell you exactly why they matter.
For the Filling
Sweetened Condensed Milk (1 can, 14 oz / 397g) — This is non-negotiable. Do not use evaporated milk. Do not use regular milk with sugar. Sweetened condensed milk is thick, syrupy, and provides the structure and sweetness for the pie. I always buy the standard Nestlé can, but any brand works. Just check that it’s the thick, sweet kind.
Key Lime Juice (½ cup / 120ml) — Authentic key lime juice is tart and floral. If you can find bottled key lime juice (like Kalamazoo brand), use it. It’s cheaper and easier than squeezing 20 key limes. If you can’t find it, regular Persian lime juice works, but it’s slightly less aromatic. Fresh squeezed is best if you have a lime tree, but bottled is fine for convenience.
Whipped Topping (8 oz / 227g, thawed) — I use Cool Whip or a similar frozen whipped topping. It’s light, stable, and mixes easily into the lime juice. If you prefer dairy-only, you can whip 2 cups of heavy cream with ¼ cup sugar until stiff peaks form, but it takes more effort and the texture is slightly denser. For this recipe, I’m keeping it simple with the tub.
Lime Zest (1 tablespoon) — Freshly grated zest from one or two limes. This adds the aromatic oils that make the pie smell amazing. Don’t skip this. It brings the flavor to life.
For the Crust
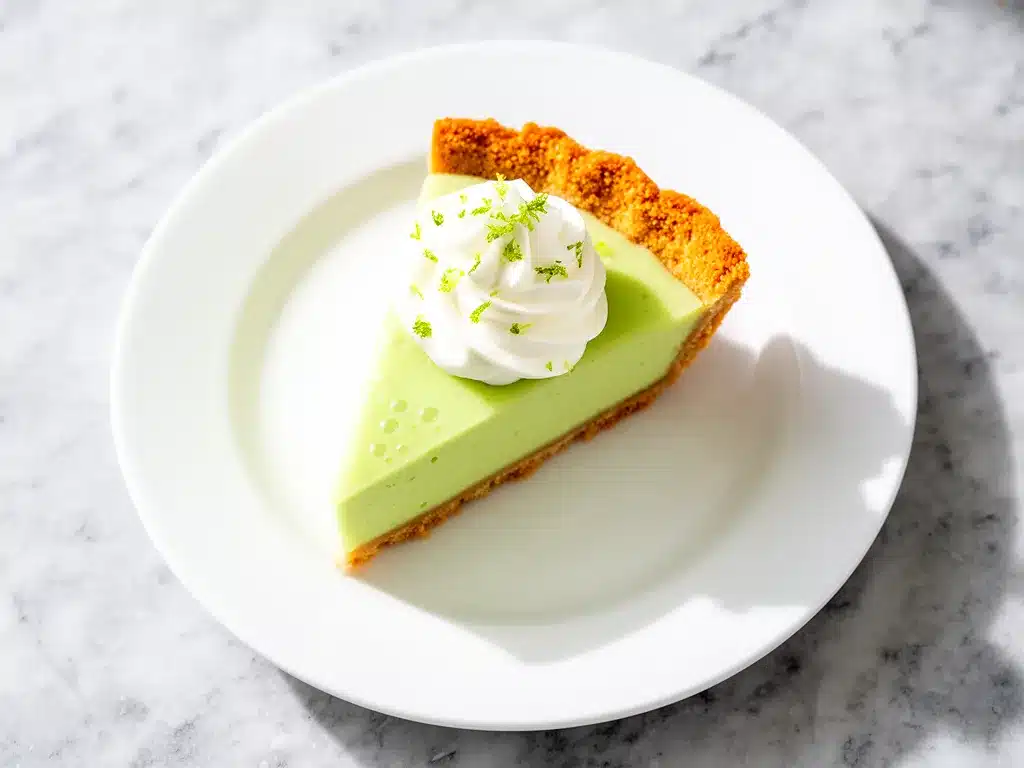
Graham Cracker Crumbs (1 ½ cups / 150g) — You can buy pre-made crumbs, but I usually just crush the crackers myself. It’s faster and tastes better. I use regular graham crackers, not the honey or cinnamon ones, unless you want a sweeter crust.
Butter (3 tablespoons / 45g, melted) — This binds the crumbs together. Use unsalted butter so you can control the salt. If you’re dairy-free, use coconut oil, but the flavor will be different.
Sugar (2 tablespoons / 25g) — Optional, but I like a little extra sweetness in the crust to balance the tart filling. If your graham crackers are already very sweet, you can skip this.
Salt (¼ teaspoon) — Just a pinch to enhance the flavor. It sounds weird in a sweet crust, but it makes the lime taste more like lime.
Optional Garnishes
Extra Whipped Cream — For dollops on top.
Lime Wheels — Thinly sliced limes for decoration.
Crushed Graham Crackers — For a rustic finish.
Equipment Needed
You don’t need fancy equipment for this. Here’s what I actually use.
9-Inch Pie Dish — A standard glass or ceramic pie plate works best. Glass shows off the layers nicely for photos. If you don’t have a pie dish, a 9-inch springform pan works, but the crust might be harder to remove.
Mixing Bowls — Two medium bowls. One for the crust, one for the filling. I use glass bowls because they’re easy to clean.
Fork — For mixing the crust. No need for a food processor unless you’re lazy.
Whisk or Spatula — To mix the filling. A spatula is better because it folds the whipped topping without deflating it.
Grater or Zester — For the lime zest. A microplane works best, but a box grater is fine.
Plastic Wrap — To cover the pie while it chills. Keeps it from absorbing fridge smells.
Blender or Food Processor (Optional) — If you’re making the crust from whole crackers, this speeds things up. But crushing them in a bag with a rolling pin works too.
How to Make It: Step-by-Step
Alright, let’s make this! I’m walking you through exactly how I do it, including the little tricks I’ve picked up.
Step 1: Prep the Crust (5 minutes)
Start by making the crust. If you’re using whole graham crackers, put them in a zip-top bag and crush them with a rolling pin until they’re fine crumbs. You want them to look like wet sand. If you’re using pre-made crumbs, skip this.
In a medium bowl, mix the crumbs with the melted butter, sugar, and salt. Stir with a fork until it looks like damp sand. Press this mixture firmly into the bottom and up the sides of your pie dish. Use the bottom of a measuring cup to pack it down tight. This is crucial—if you don’t pack it, the crust will fall apart when you slice it. Set it aside in the fridge while you make the filling.
Step 2: Make the Filling (5 minutes)
In a large bowl, combine the sweetened condensed milk and the key lime juice. Whisk them together until smooth. The mixture will thicken slightly as the acid reacts with the milk—it’s a natural curdling that creates that creamy texture. Don’t worry if it looks a little lumpy at first; it will smooth out.
Add the lime zest and mix again. Taste it. It should be tart but sweet. If it’s too sour, add a teaspoon more condensed milk. If it’s too sweet, add a splash more lime juice.
Step 3: Fold in the Whipped Topping (3 minutes)
This is the most important step for texture. Gently fold the thawed whipped topping into the lime mixture. Use a spatula and cut down the middle, scrape the bottom, and flip it over. Do this gently—don’t stir vigorously, or you’ll deflate the air and lose the light, fluffy texture. Fold until just combined. It should look marbled at first, then smooth.
Step 4: Assemble and Chill (4 hours minimum)
Pour the filling into the prepared crust. Smooth the top with a spatula. Cover loosely with plastic wrap. Place it in the fridge for at least 4 hours, but overnight is best. The longer it chills, the firmer it gets and the better the flavors meld. If you’re in a rush, you can freeze it for 1 hour, but it won’t set as perfectly.
Step 5: Serve
When you’re ready to serve, garnish with extra whipped cream, lime zest, and maybe a thin slice of lime on top. Slice with a sharp knife dipped in hot water for clean cuts. Serve cold.
Total Time: About 10 minutes active, plus 4 hours chilling.
Expert Tips & Tricks
Here’s everything I’ve learned from making this dozens of times. These tips will save you from my mistakes.
Don’t Skimp on the Zest — The juice provides the flavor, but the zest provides the aroma. Without zest, it tastes like sweetened lime milk. With zest, it smells like a key lime grove. Grate only the green part, not the white pith, which is bitter.
Thaw the Whipped Topping Properly — If your Cool Whip is still frozen solid, it won’t mix well. Let it sit on the counter for 20-30 minutes until it’s soft but still cold. If it melts completely, it will separate from the filling.
Pack the Crust Tight — I’ve seen people press the crumbs loosely, and then the crust crumbles when you slice it. Press it down hard. Think of it like making a mud pie—pack it in.
Use a Sharp Knife — For clean slices, dip your knife in hot water and wipe it dry before each cut. This prevents the creamy filling from sticking to the blade.
Balance the Tartness — Key limes are more tart than regular limes. If you use regular limes, you might need a bit more condensed milk. Taste the mixture before folding in the whipped topping to get the balance right.
Variations & Substitutions
Once you’ve nailed the basic version, here’s how you can mix it up. I’ve tried all of these.
Strawberry Key Lime Pie — Blend 1 cup of fresh strawberries with 2 tablespoons of sugar until smooth. Swirl it into the filling before chilling. The pink swirls look beautiful, and the sweetness balances the lime perfectly.
Coconut Version — Replace the whipped topping with coconut whipped cream. Use coconut oil instead of butter in the crust. Top with toasted coconut flakes. It’s dairy-free and tropical.
Chocolate Crust — Mix ¼ cup cocoa powder into the graham cracker crumbs. It creates a chocolate-lime combination that sounds weird but tastes amazing. Like a lime-filled chocolate truffle.
Gluten-Free — Use gluten-free graham crackers. Most brands work fine. Just check the label for cross-contamination if you have celiac disease.
Vegan — This is harder because sweetened condensed milk is dairy-based. You can use coconut milk-based condensed milk (like So Delicious brand) and vegan whipped topping. It’s not quite the same, but it’s close.
Serving & Storage
How to Serve: I usually serve this straight from the pie dish at the dinner table—it looks rustic and stays cold. But here are other ways I’ve enjoyed it:
Side Dishes: Since this is a dessert, it pairs well with light summer drinks. I love serving it with my sparkling watermelon cucumber agua fresca for a refreshing, non-alcoholic option. If you want something with a kick, a light rosé wine works great.
Toppings Bar: When I have guests, I put out: extra whipped cream, crushed graham crackers, and fresh lime wedges. Everyone customizes their slice.
Storage Instructions:
Refrigerator: Store in an airtight container or covered tightly with plastic wrap for up to 5 days. The crust might soften slightly after day 3, but it’s still good.
Freezing: You can freeze this pie for up to 1 month. Wrap it tightly in plastic wrap and then foil. Thaw in the fridge overnight before serving. The texture might be slightly icier, but it’s still delicious.
Pro Tip: If you’re making this for a party, make it the night before. It tastes better after the flavors have had time to meld. Freshly made pie is good, but overnight pie is great.
Nutrition Information
I’m not a nutritionist, but here’s the breakdown if you’re tracking. This is a rich dessert, so portion control is key.
Per Serving (based on 8 servings):
- Calories: 280
- Protein: 4g
- Carbs: 42g
- Fiber: 1g
- Sugar: 38g
- Fat: 12g
- Saturated Fat: 8g
- Cholesterol: 15mg
- Sodium: 180mg
What’s Good: It’s relatively low in protein, but the fat content comes from the whipped topping, which is lighter than a custard-based pie. It’s also lower in calories than a traditional baked key lime pie with egg yolks.
What to Know: High in sugar from the condensed milk. If you’re watching sugar, keep portions small. It’s a treat, not a health food.
My Take: Look, this is dessert. It’s sweet, creamy, and tangy. It’s not a diet recipe. But it’s way better than store-bought, costs less, and I know exactly what’s in it. When I want to make it lighter, I use less whipped topping and more fruit. But usually? I just eat a reasonable slice and enjoy it.
Final Thoughts
So that’s my go-to creamy key lime pie with a graham crust! I’ve probably talked your ear off at this point, but when you make a recipe this often, you have a lot to say about it.
This has saved summer dinners more times than I can count. It’s my answer to “what’s for dessert” when I’m tired, don’t want to bake, and still want something that tastes really good. My kids are happy, my guests are happy, and I’m happy because I’m not stressed about cooking.
Make it yours! Try different garnishes, swap in your favorite berries, or adjust the lime to your taste. The best recipes are the ones you adapt to your family’s tastes.
If you make this, drop a comment and let me know what you think! I love hearing how recipes turn out in your kitchen. And if something doesn’t work, tell me that too—I’m here to help troubleshoot.
Happy cooking! And I hope your kitchen smells half as good as mine does right now.
Frequently Asked Questions
Can I use regular lime juice instead of key lime juice?
Yes, you can. Key lime juice is more tart and aromatic, but regular Persian lime juice works fine if you can’t find key limes. Just taste the mixture before adding the whipped topping—if it’s less tart, you might want to add a little extra zest or a splash of lemon juice to brighten it up.
Why did my pie turn out runny?
This usually happens if the whipped topping was too warm or if you didn’t pack the crust tightly. Make sure your whipped topping is thawed but still cold, and fold it gently. Also, ensure the pie chills for at least 4 hours. If it’s still runny, it might need more time in the fridge.
Can I make this ahead for a dinner party?
Absolutely. This pie is actually better made a day ahead. The flavors meld together overnight, and the crust sets firmly. I usually make it the night before the party. Just keep it covered in the fridge until you’re ready to serve.
Can I freeze this pie?
Yes, you can freeze it for up to 1 month. Wrap it tightly in plastic wrap and then foil. Thaw in the fridge overnight before serving. The texture might be slightly icier, but it’s still delicious. Don’t freeze it for longer than that, or the crust will get soggy.
Do I have to use Cool Whip?
No, you can use freshly whipped heavy cream. Whip 2 cups of heavy cream with ¼ cup sugar until stiff peaks form, then fold it into the lime mixture. It takes more effort, but it tastes richer and more homemade. Just make sure the cream is cold.
How long does this pie last?
It lasts up to 5 days in the fridge. After that, the crust might start to get soggy, and the whipped topping might lose its texture. It’s best eaten within the first 2-3 days for optimal freshness.
Can I use gluten-free graham crackers?
Yes, most gluten-free graham crackers work well for this crust. Just check the label to ensure they’re crushed finely enough. Some gluten-free crackers are crumblier, so you might need a little extra butter to bind them.
Pin This Recipe!
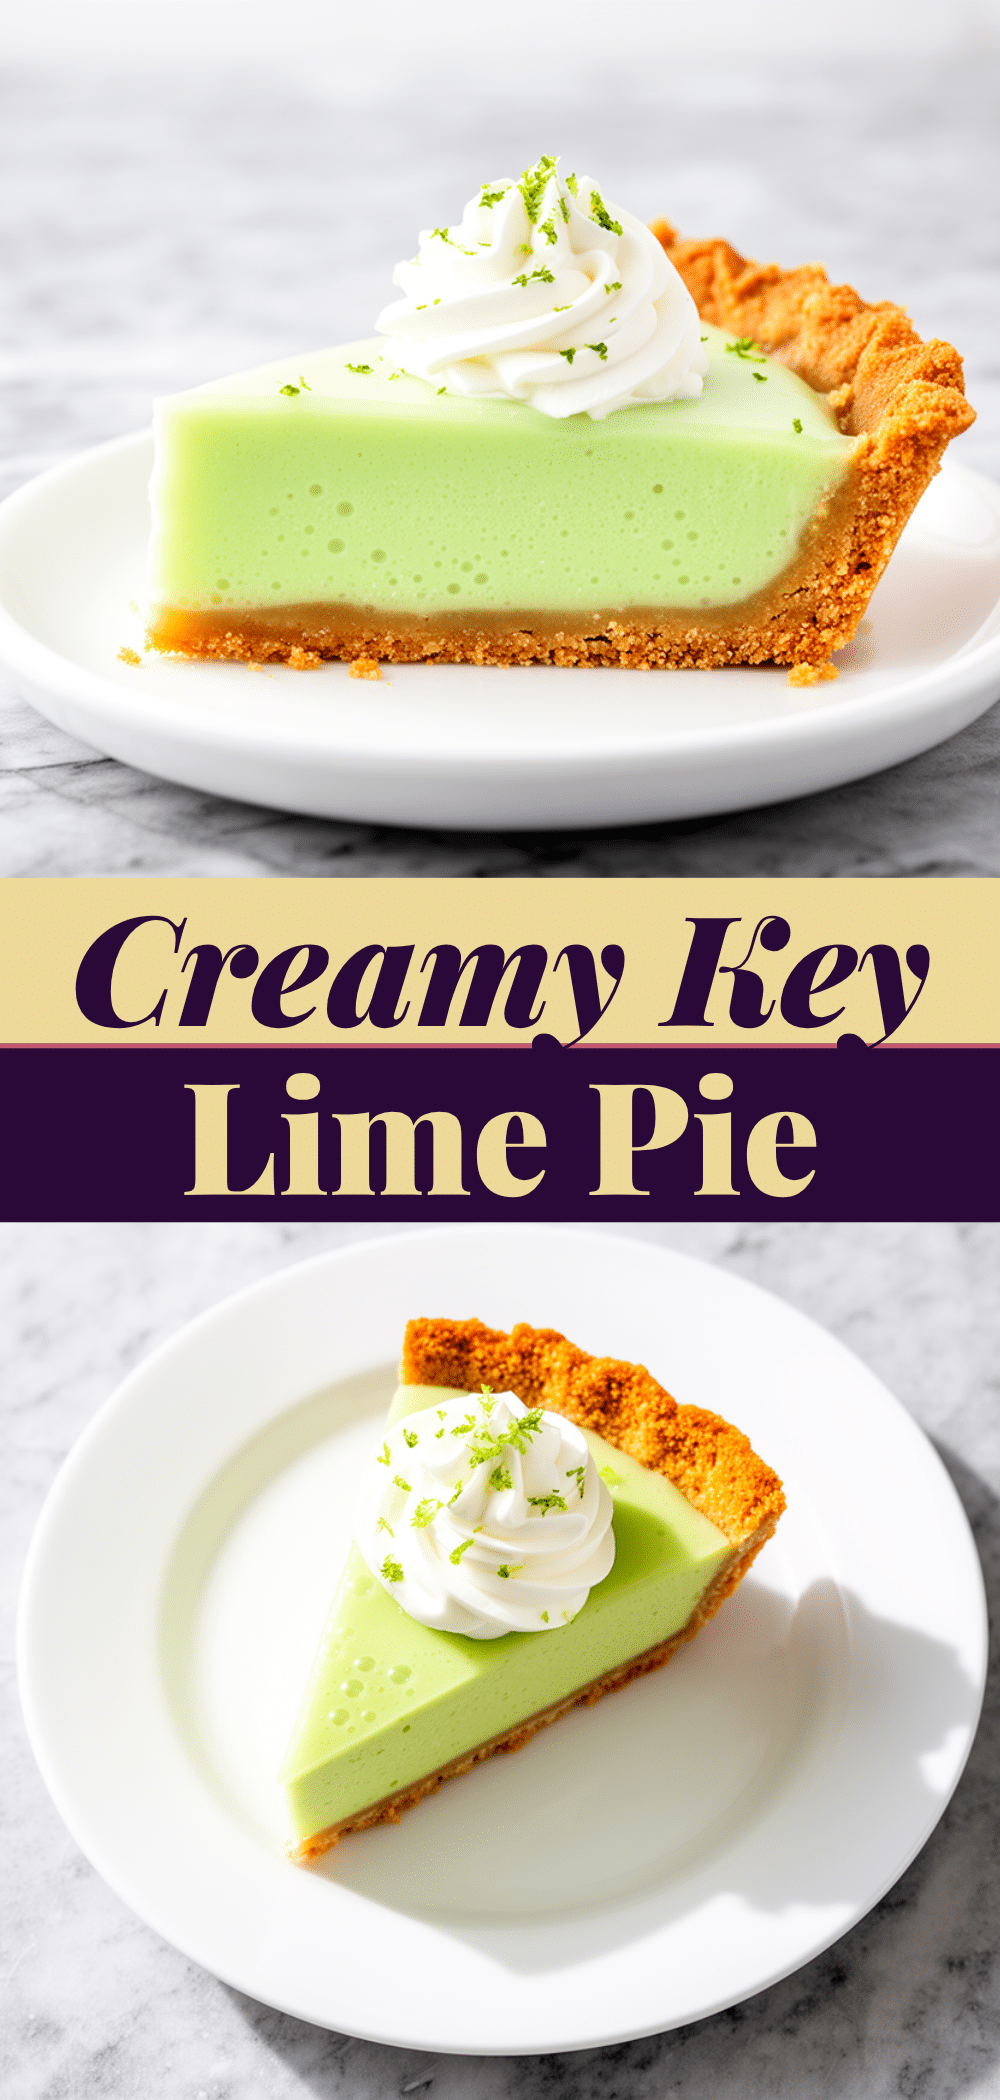
Creamy Key Lime Pie: Best Easy 4-Ingredient Summer Dessert
- Total Time: 4 hours 10 minutes
- Yield: 8 servings 1x
Description
A no-bake, creamy key lime pie with a graham cracker crust that requires only four ingredients and minimal effort. This tangy, sweet dessert is perfect for summer entertaining and can be made ahead of time.
Ingredients
- 1 can (14 oz / 397g) sweetened condensed milk
- ½ cup (120ml) key lime juice (or regular lime juice)
- 8 oz (227g) whipped topping (like Cool Whip), thawed
- 1 tablespoon lime zest
- 1 ½ cups (150g) graham cracker crumbs
- 3 tablespoons (45g) butter, melted
- 2 tablespoons (25g) sugar (optional)
- ¼ teaspoon salt
Instructions
- Crush graham crackers into fine crumbs if using whole crackers.
- In a medium bowl, mix crumbs with melted butter, sugar, and salt until it resembles damp sand.
- Press the mixture firmly into the bottom and up the sides of a 9-inch pie dish. Chill in the fridge.
- In a large bowl, whisk sweetened condensed milk and lime juice until smooth. The mixture will thicken slightly.
- Add lime zest and mix again. Taste and adjust sweetness or tartness if needed.
- Gently fold the thawed whipped topping into the lime mixture using a spatula until just combined.
- Pour the filling into the prepared crust and smooth the top.
- Cover loosely with plastic wrap and refrigerate for at least 4 hours, or overnight for best results.
- Serve chilled, garnished with extra whipped cream, lime zest, or lime slices.
Notes
For clean slices, dip a sharp knife in hot water and wipe dry before cutting. Ensure the whipped topping is thawed but still cold to prevent separation. The pie is best made the night before to allow flavors to meld and the crust to set firmly.
- Prep Time: 10 minutes
- Cook Time: 0 minutes
- Category: Dessert
- Cuisine: American
Nutrition
- Serving Size: 1 slice
- Calories: 280
- Sugar: 38
- Sodium: 180
- Fat: 12
- Saturated Fat: 8
- Carbohydrates: 42
- Fiber: 1
- Protein: 4
Keywords: key lime pie, no-bake dessert, summer dessert, easy dessert, graham cracker crust, creamy pie, 4-ingredient recipe


