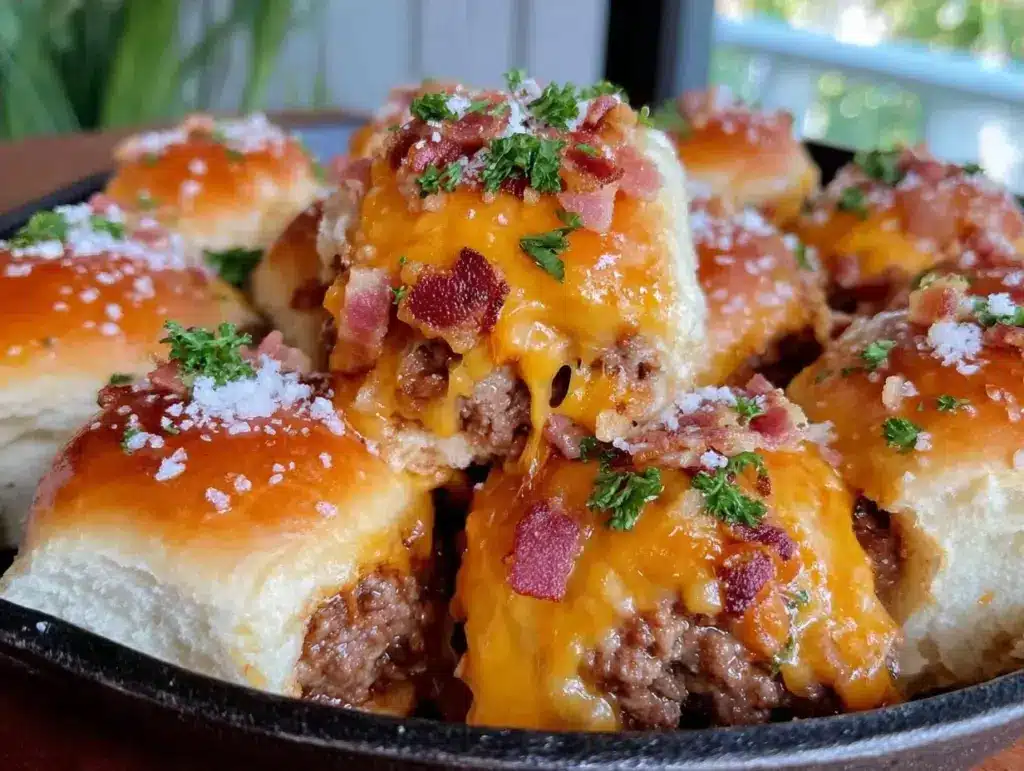
Last Super Bowl Sunday, I was staring at a mountain of empty chip bags and three bowls of dip, feeling that familiar mix of pride and panic. I had fed the crowd. But then my son, who is notoriously picky and claims he “hates everything that isn’t chicken nuggets,” looked at me with wide eyes and asked, “Can we make those little burgers again?”
That was the moment I knew I had struck gold. Not just with a recipe, but with a game day staple that actually works for families who are trying to save money but still want something that feels like a treat.
These Game Day Bacon Cheeseburger Sliders have become my secret weapon. They are cheap to make, incredibly easy to assemble, and they disappear faster than you can say “pass the ketchup.” I’ve tested this recipe so many times—sometimes with regular hamburger buns, sometimes with Hawaiian sweet rolls, and even once when I forgot to buy bacon and used just cheese (don’t do that, it’s not the same). The version with crispy bacon and gooey cheese is the winner, hands down.
If you’ve ever stressed about what to serve when the whole neighborhood shows up for the big game, this is your answer. It’s basically a hamburger, but in a form that’s easier to eat with one hand while holding a beer or a soda. Plus, they’re budget-friendly, which is exactly what I need when I’m feeding a team of hungry people.
Why You’ll Love These Game Day Bacon Cheeseburger Sliders
There are about ten reasons I keep making these sliders, but here are the big ones that keep me coming back to this recipe week after week.
Stupid Simple Assembly — Seriously, if you can chop a burger patty and melt cheese, you can make this. I’ve made these while helping my daughter with her math homework. The kids can even help! Let them press the buns down or sprinkle the bacon. It turns dinner prep into a fun activity.
Budget-Friendly Feast — Feeding six people burgers from the grill can get expensive with all the wasted fuel and charcoal. With these sliders, you use one pound of ground beef to make twelve tiny burgers. That’s less than a dollar per slider if you shop smart. It’s way cheaper than going out to a sports bar, and you control the ingredients.
Lightning Fast Cook Time — The patties cook in about 10-12 minutes total. You’re not standing over a hot grill for an hour. You’re inside, where it’s cool, watching the game, while the oven does the rest of the work. I can have these ready in under 30 minutes from the time I start cooking the meat.
Crowd-Pleaser Factor — I’ve served these to my meat-eating husband, my vegetarian niece (who happily eats the bun and cheese part, though I usually make a few separate veggie ones), and my neighbor who claims he’s “too fancy” for sliders. He asked for the recipe the next day. They’re universally loved.
Makes Amazing Leftovers — And there are always leftovers. These reheat surprisingly well in the microwave for about 20 seconds. They’re not quite as crispy, but they’re still delicious. I deliberately make extra for a late-night snack while watching the second half of the game.
This is my go-to when I need dinner to just work. No complicated techniques, no weird ingredients, just reliable, delicious food that makes everyone happy.
Ingredients You’ll Need
Here’s the best part: you probably have most of this already in your fridge and pantry. This isn’t a gourmet recipe with ingredients you need to hunt down at a specialty store. It’s practical, tasty, and uses staples.
Ground Beef (1 pound / 450g) — I use 80/20 lean-to-fat ratio. It keeps the little patties juicy. If you use leaner beef, they can get dry. Don’t skimp on the fat here; it’s what makes them taste like a burger.
Hawaiian Sweet Rolls (12 count) — This is the secret ingredient. The sweetness balances the salty bacon and savory beef. Regular slider buns work too, but Hawaiian rolls hold together better and add that flavor profile people love. You can find them in the bread aisle near the standard sandwich buns.
Cheddar Cheese (6 ounces / about 1.5 cups shredded) — I use sharp cheddar for more flavor, but mild works if you have kids who are picky about cheese. Grate your own block if you can. Pre-shredded cheese has anti-caking agents that make it melt slower and less smoothly.
Bacon (8-10 strips) — Thick-cut bacon is best because it stays crispy. If you use thin bacon, it might burn in the oven. Cook it until it’s just starting to crisp up, then chop it into small pieces. You want bits of bacon in every bite.
Slider Sauce — You’ll need ½ cup mayonnaise, 2 tablespoons ketchup, 1 tablespoon yellow mustard, and 1 teaspoon Worcestershire sauce. Mix it all together. It’s basically a fancy thousand-island dressing, and it ties everything together. If you’re out of Worcestershire, skip it, but it adds a nice depth.
Optional Add-ins — I like adding thinly sliced pickles (dill pickles are classic) and finely diced red onion. If you’re not a fan of raw onion, you can skip it. Caramelized onions are amazing but take extra time, so I usually stick to raw for speed.
Seasoning — Salt and black pepper. That’s it. You don’t need garlic powder or onion powder because the sauce and bacon provide plenty of flavor. Keep it simple.
Butter (2 tablespoons, melted) — For brushing the tops of the buns. This gives them that golden, bakery-shop look and keeps them from getting soggy from the sauce.
Equipment Needed
You don’t need fancy equipment for this. Here’s what I actually use.
Large Skillet or Cast Iron Pan — I use a 12-inch skillet to cook the beef. It needs to be big enough to hold all the patties without overcrowding. If you have to cook in two batches, that’s fine.
Baking Sheet or 9×13 Dish — To hold the rolls while they bake. A baking sheet is easier for sliding them out, but a 9×13 dish keeps them contained if you’re worried about the sauce dripping.
Small Mixing Bowl — For the sauce. Any bowl works.
Spatula — For flipping the patties. A thin, flexible spatula is best for getting under small burgers.
Pastry Brush or Spray Bottle — To apply the melted butter. I use a silicone brush, but a paper towel dipped in butter works in a pinch.
Knife — To chop the bacon and slice the burgers.
That’s it. No special gadgets required. Just basic kitchen tools you already own.
How to Make It: Step-by-Step
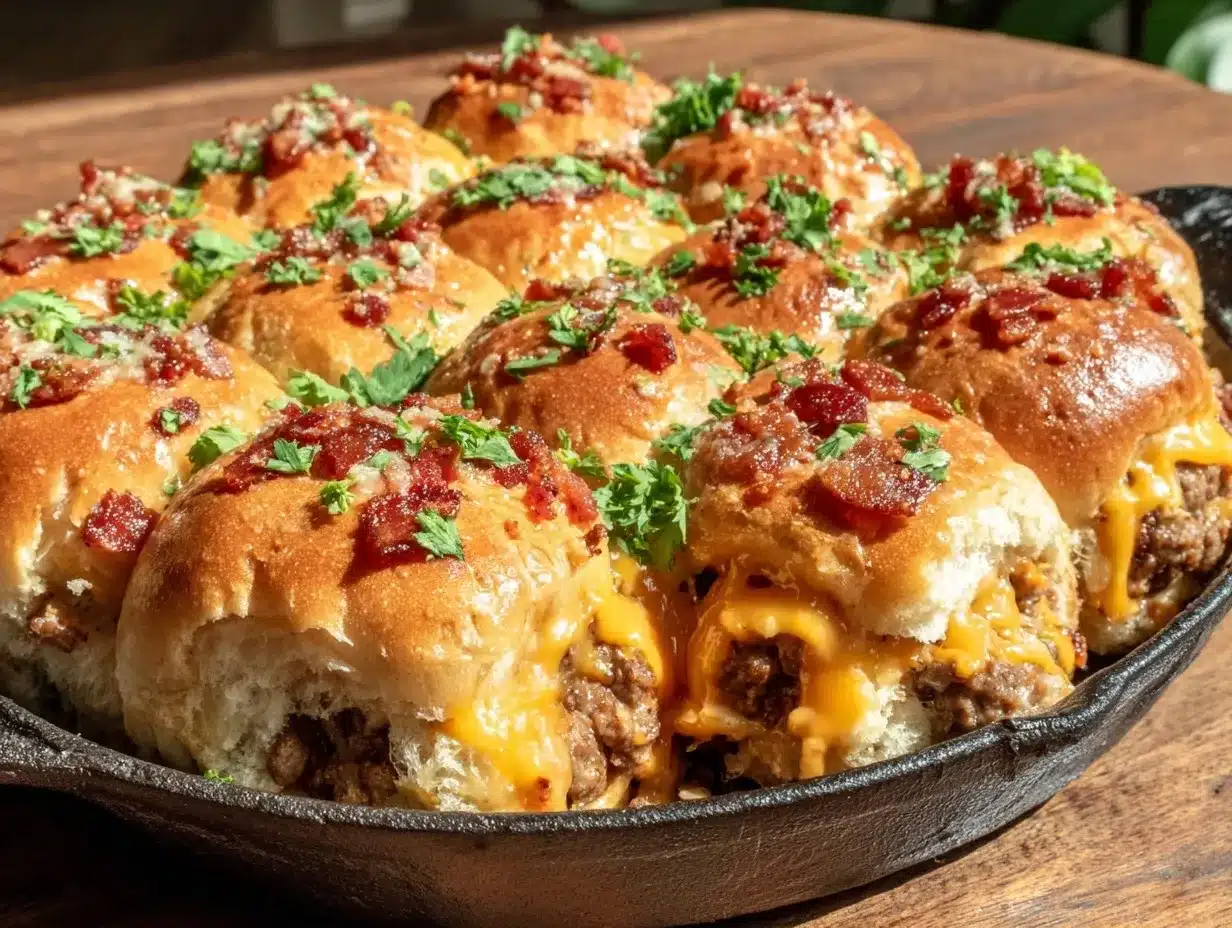
Alright, let’s make this! I’m walking you through exactly how I do it, including the little tricks I’ve picked up over the years.
Step 1: Prep the Beef (5 minutes)
Divide your 1 pound of ground beef into 12 equal portions. I don’t weigh them every time, but I try to make them roughly the same size so they cook evenly. Form each portion into a small patty, about the size of a hockey puck. Press a tiny dimple in the center of each patty with your thumb. This stops them from puffing up into balls while cooking. Season lightly with salt and pepper.
Step 2: Cook the Patties (8-10 minutes)
Heat your skillet over medium-high heat. Add a tiny splash of oil if your pan isn’t non-stick. Lay the patties in the skillet. Cook for 3-4 minutes on the first side until browned. Flip them and cook for another 3-4 minutes. You want them cooked through but still juicy. Since they’re small, they cook fast. Remove from heat and set aside on a plate. Don’t overcook them!
Step 3: Prepare the Rolls and Bacon
Keep the Hawaiian roll sheet intact. Do not separate the individual rolls yet. This is crucial—it makes them easier to handle. Chop your cooked bacon into small pieces. If you haven’t cooked the bacon yet, bake it at 400°F for 15-20 minutes until crispy, then chop it.
Step 4: Assemble the Sliders
Place the cooked patties on the bottom half of the intact roll sheet. One patty per roll. Sprinkle the shredded cheddar cheese generously over each patty. Then, scatter the chopped bacon on top of the cheese. If you’re using pickles or onions, add those now.
Step 5: Add the Sauce and Top
Drizzle the slider sauce over the top of the cheese and bacon. Use about 1-2 tablespoons per roll. It doesn’t need to be heavy-handed, just enough to flavor the top bun. Place the top half of the roll sheet back over the sliders.
Step 6: Butter and Bake
Melt the 2 tablespoons of butter. Brush it generously over the top of the rolls. This is what makes them golden and delicious. Place the baking sheet in a preheated 350°F oven. Bake for 10-12 minutes, or until the cheese is melted and the tops are golden brown.
Step 7: Slice and Serve
Remove from the oven. Let them cool for just 1-2 minutes so the cheese sets slightly. Then, slice between the individual rolls. Serve immediately while hot and gooey.
Total Time: About 30 minutes (10 minutes active, 20 minutes mostly hands-off).
Expert Tips & Tricks
Here’s everything I’ve learned from making this dozens of times. These tips will save you from my mistakes.
Don’t Overcrowd the Pan
When cooking the beef, give the patties some space. If they’re touching, they’ll steam instead of brown. Browned meat tastes better. Cook in batches if you have to.
Keep the Roll Sheet Intact
I know it’s tempting to separate the rolls early, but keeping them together makes assembly much faster and prevents the buns from falling apart when you add the sauce.
Use Sharp Cheddar
Mild cheddar is fine, but sharp cheddar has more flavor and stands up better to the salty bacon and sweet rolls. It’s a small difference, but it matters.
Butter the Tops Generously
Don’t skimp on the butter. It’s what gives the sliders that irresistible, bakery-style crust. If you’re worried about calories, you can use less, but honestly, a little goes a long way.
Make-Ahead Strategy
You can assemble the sliders completely (including the sauce and butter) and cover them tightly with foil. Store them in the fridge for up to 24 hours before baking. Just add 2-3 minutes to the baking time if they’re cold from the fridge. This is perfect for game day prep!
Common Mistakes
Mistake: Mushy buns. Fix: Make sure you don’t add too much sauce. The rolls absorb liquid quickly. A light drizzle is enough.
Mistake: Dry patties. Fix: Don’t overcook them. Small patties cook in minutes. Pull them off the heat when they’re just barely done.
Variations & Substitutions
Once you’ve nailed the basic version, here’s how you can mix it up. I’ve tried all of these.
Turkey Version
Use ground turkey instead of beef. Add a tablespoon of olive oil to the meat to keep it moist, since turkey is leaner. Use Swiss cheese instead of cheddar for a classic turkey club vibe.
BBQ Bacon Sliders
Swap the slider sauce for BBQ sauce. Use smoked gouda cheese instead of cheddar. This is my husband’s favorite variation.
Spicy Jalapeño Sliders
Add sliced jalapeños on top of the cheese before baking. Use pepper jack cheese instead of cheddar. Great for fans who like a kick.
Veggie Sliders
Use black bean patties or store-bought veggie burgers. Skip the bacon or use tempeh bacon. Serve on whole wheat buns.
Bacon Wrapped
For a more decadent option, wrap each small patty in a half-strip of bacon before cooking. It adds extra crispiness and flavor.
Serving & Storage
How to Serve:
I usually serve these straight from the baking sheet, maybe with a side of grilled bacon wrapped corn for a fun, interactive meal. They’re perfect for finger food, so no forks needed. Pair them with a cold drink or maybe a frozen blueberry lemonade slush for a refreshing contrast to the rich burgers.
Side Dishes:
– Potato chips (classic)
– Coleslaw (creamy or vinegar-based)
– Pickle spears
– Fruit salad (to balance the heaviness)
Storage Instructions:
Store leftovers in an airtight container in the fridge for up to 3 days. The buns will soften, which is normal.
Reheating:
Microwave for 20-30 seconds. Or, if you want them crispy again, pop them under the broiler for 1-2 minutes. Watch them closely so the butter doesn’t burn.
Freezing:
I don’t recommend freezing these because the buns get soggy when thawed. They’re best made fresh. But if you have to, freeze the cooked patties and cheese separately, then assemble and bake when needed.
Nutrition Information
I’m not a nutritionist, but here’s the breakdown if you’re tracking. Keep in mind that these are rich, flavorful sliders, so they’re not exactly light fare.
Per Slider (based on 12 servings):
– Calories: 280
– Protein: 12g
– Carbs: 22g
– Fiber: 1g
– Sugar: 6g
– Fat: 16g
– Saturated Fat: 7g
– Cholesterol: 45mg
– Sodium: 550mg
What’s Good:
– Decent protein from the beef and cheese
– Quick to make, so you’re not eating processed fast food
– You control the ingredients, so you can choose leaner beef if you want
What to Know:
– Higher in calories and sodium from the cheese, bacon, and sauce
– Contains gluten and dairy
– Great for occasional indulgence, not every day
Final Thoughts
So that’s my go-to Game Day Bacon Cheeseburger Sliders! I’ve probably talked your ear off at this point, but when you make a recipe this often, you have a lot to say about it.
This has saved game day dinners more times than I can count. It’s my answer to “what’s for dinner” when the whole family is hungry, the budget is tight, and I still want something that tastes really good. My kids are happy, my husband’s happy, and I’m happy because I’m not stressed about cooking.
Make it yours! Try different cheeses, add different veggies, adjust the sauce. The best recipes are the ones you adapt to your family’s tastes.
If you make this, drop a comment and let me know what you think! I love hearing how recipes turn out in your kitchen. And if something doesn’t work, tell me that too—I’m here to help troubleshoot.
Happy cooking! And I hope your kitchen smells half as good as mine does right now.
Frequently Asked Questions
Can I use regular hamburger buns instead of Hawaiian rolls?
Yes, you can! Regular buns work fine. The only difference is that Hawaiian rolls are sweeter, which balances the salty bacon. If you use regular buns, you might want to add a tiny bit of sugar to the butter brush, or just enjoy the savory flavor. I’ve used both, and both are good.
How do I keep the sliders from getting soggy?
The key is not to over-sauce them. A light drizzle of sauce is enough. Also, make sure the cheese is melted and acting as a barrier between the sauce and the bun. If you’re making them ahead, assemble them right before baking, not hours before.
Can I make these in an air fryer?
It’s tricky because the rolls are connected. You’d have to separate them first, which defeats the purpose of the sheet method. If you want to use an air fryer, cook the patties there, then assemble individual sliders on a plate and warm them up. But for the classic experience, the oven is best.
Why did my patties fall apart?
This usually happens if the meat is too lean or if you handled it too much. Use 80/20 beef, and form the patties gently. Don’t press them too hard. Also, make sure they’re cooked through before moving them; raw patties are fragile.
Can I freeze the sauce?
Yes, the sauce freezes well. Store it in an airtight container for up to 3 months. Thaw it in the fridge before using. The texture might change slightly, but it’s still tasty.
What’s a good side dish for these?
I love serving these with crispy buffalo chicken egg rolls for a fun appetizer spread, or a simple one-pot creamy sausage tortellini if you want something heartier. But honestly, potato chips and pickles are the classic pairing.
Can I double this recipe?
Absolutely! Double everything and use two baking sheets. The cooking time stays the same. I do this when I’m feeding a crowd. Just make sure your oven has room for two sheets, or bake in batches.
Pin This Recipe!
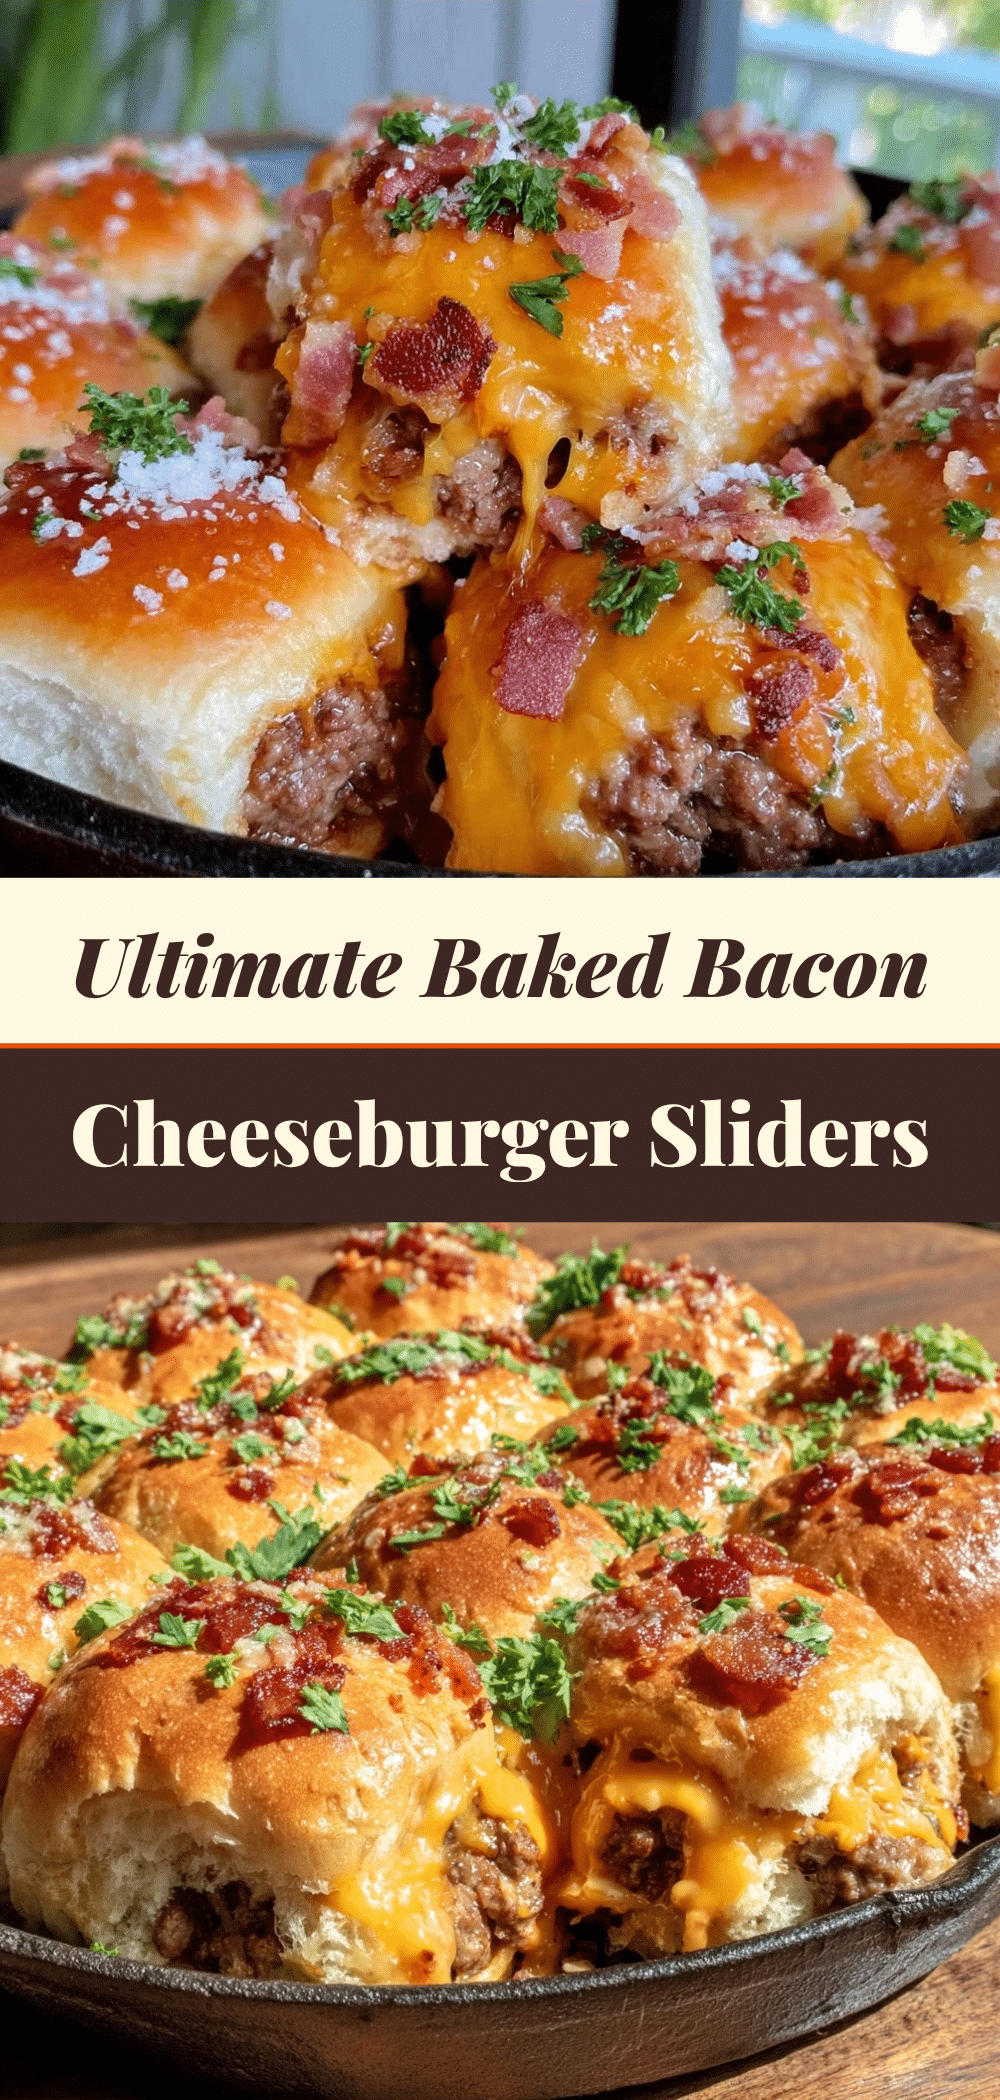
Game Day Bacon Cheeseburger Sliders
- Total Time: 30 minutes
- Yield: 12 servings 1x
Description
Easy, budget-friendly bacon cheeseburger sliders made with Hawaiian sweet rolls, perfect for feeding a crowd during game day or family gatherings.
Ingredients
- 1 pound ground beef (80/20 lean-to-fat ratio)
- 12 Hawaiian sweet rolls
- 6 ounces sharp cheddar cheese, shredded
- 8–10 strips thick-cut bacon
- 1/2 cup mayonnaise
- 2 tablespoons ketchup
- 1 tablespoon yellow mustard
- 1 teaspoon Worcestershire sauce
- 2 tablespoons butter, melted
- Salt and black pepper to taste
- Optional: thinly sliced dill pickles
- Optional: finely diced red onion
Instructions
- Divide ground beef into 12 equal portions and form into small patties. Press a dimple in the center of each patty and season lightly with salt and pepper.
- Heat a large skillet over medium-high heat. Cook patties for 3-4 minutes per side until browned and cooked through. Remove from heat and set aside.
- If not already cooked, bake bacon at 400°F for 15-20 minutes until crispy, then chop into small pieces.
- In a small bowl, mix mayonnaise, ketchup, mustard, and Worcestershire sauce to create the slider sauce.
- Keep the Hawaiian roll sheet intact. Place one cooked patty on the bottom half of each roll.
- Sprinkle shredded cheddar cheese generously over each patty, followed by chopped bacon and optional pickles/onions.
- Drizzle 1-2 tablespoons of slider sauce over the top of each slider.
- Place the top half of the roll sheet back over the sliders.
- Brush the tops of the rolls generously with melted butter.
- Bake in a preheated 350°F oven for 10-12 minutes, or until cheese is melted and tops are golden brown.
- Let cool for 1-2 minutes, then slice between individual rolls and serve immediately.
Notes
Do not overcrowd the pan when cooking beef to ensure proper browning. Keep the roll sheet intact during assembly to prevent buns from falling apart. For make-ahead prep, assemble sliders, cover tightly with foil, and refrigerate for up to 24 hours before baking (add 2-3 minutes to bake time if cold). Avoid freezing as buns become soggy.
- Prep Time: 10 minutes
- Cook Time: 20 minutes
- Category: Main Course
- Cuisine: American
Nutrition
- Serving Size: 1 slider
- Calories: 280
- Sugar: 6
- Sodium: 550
- Fat: 16
- Saturated Fat: 7
- Carbohydrates: 22
- Fiber: 1
- Protein: 12
Keywords: game day food, sliders, bacon cheeseburger, easy dinner, budget friendly, family recipes, super bowl snacks, hawaiian rolls


