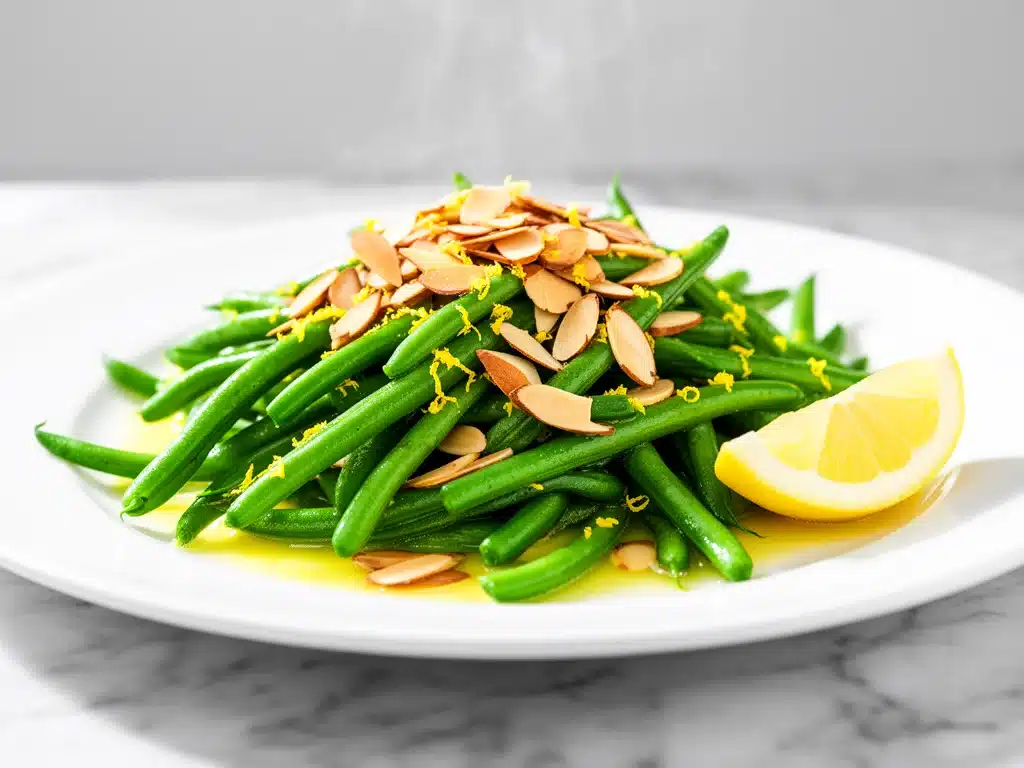
There is a specific kind of panic that sets in at 5:30 PM on a Tuesday when you realize you have nothing in the fridge except a sad, limp bag of green beans and half a stick of butter. I’ve been there. Multiple times. Last week, I was staring at those green beans, wondering if I should just order pizza again (don’t judge me, I’ve done it), when I remembered a side dish my sister used to make when we were kids. It was simple, bright, and somehow made the most mundane vegetable feel like a treat.
That dish was Garden Green Bean Almondine with Lemon Butter, and I realized I’d never actually written it down properly. So, I grabbed my apron, dug through the pantry for the slivered almonds, and got to work. What came out of the pan wasn’t just “edible.” It was vibrant, crunchy, and so fresh that my kids actually asked for seconds. Not the usual polite “thanks for dinner” mumble, but actual seconds.
I’ve made this lemon green bean recipe at least a dozen times since that Tuesday. Some nights it’s just beans and almonds. Other nights I add a pinch of red pepper flakes or swap the almonds for walnuts. But the core method—the one that gives you that perfect snap and that glossy, lemony coating—hasn’t changed. It’s hands-down the best way to handle green beans when you’re short on time but don’t want to serve boring boiled veggies. It’s elegant enough for a holiday table but fast enough for a random Wednesday. Here’s exactly how to make it, including the little tricks that keep them crisp and flavorful.
Why You’ll Love This Recipe
Look, I know what you’re thinking. Green beans. Again. But hear me out. This isn’t the mushy, olive-drab green beans that get relegated to the back of the serving platter. This is Garden Green Bean Almondine with Lemon Butter, and it changes the game entirely. Here’s why this side dish has earned a permanent spot in our rotation:
- Stupid Simple — Seriously, if you can boil water and chop an onion (or just use pre-sliced almonds), you can make this. I’ve walked my teenager through it over FaceTime while I was folding laundry. It’s that easy.
- Lightning Fast — 15 minutes from start to finish. I’m not exaggerating. The beans cook in 5 minutes. The almonds toast in 3. The sauce comes together in 2. I make this on weeknights when I get home at 7pm and need dinner on the table by 7:30.
- Texture Heaven — This is the main event. The slivered almonds get golden and crunchy, contrasting perfectly with the tender-crisp beans. It’s not just “soft veggies.” It has bite. It has crunch. It has personality.
- Bright and Fresh — The lemon butter cuts through the richness of the butter and keeps the dish tasting light. It doesn’t feel heavy or greasy. It feels clean. My husband says it tastes like spring, which is high praise from a guy who usually just likes carbs.
- Pantry-Friendly — You probably have most of these ingredients already. Green beans (fresh or frozen), butter, almonds, lemon, garlic. That’s it. No weird spices you’ll only use once a year.
- Kid-Approved — This is the secret weapon for picky eaters. The almonds make it feel like a snack, and the lemon isn’t overpowering. I’ve served this to my vegetarian sister, my gluten-free neighbor, and my picky 8-year-old. Everyone loved it.
This is my go-to when I need a side dish to just work. No complicated techniques, no weird ingredients, just reliable, delicious food that makes everyone happy. It pairs beautifully with almost any main course, from crispy garlic chicken to roast salmon or even a simple steak.
Ingredients You’ll Need
Here’s the best part: you probably have most of this already. This recipe relies on high-quality, simple ingredients because there’s nowhere to hide. If the beans are old, you’ll taste it. If the butter is rancid, it’s game over. So let’s talk about what to buy and what to skip.
For the Beans
Fresh green beans (1.5 pounds / 680g) — I always buy fresh for this recipe. They have a better snap and brighter color. Look for beans that are bright green and firm, not dull or limp. If you must use frozen, use whole green beans (not cut), but thaw and pat them very dry first. Fresh is worth the extra trip to the store.
Water (4 cups / 1 liter) — For blanching. You’ll need a large pot. Make sure it’s big enough to fit the beans comfortably without crowding.
Salt (1 tablespoon / 15g) — For the boiling water. It should taste like the ocean. This seasons the beans from the inside out.
For the Almond Butter Sauce
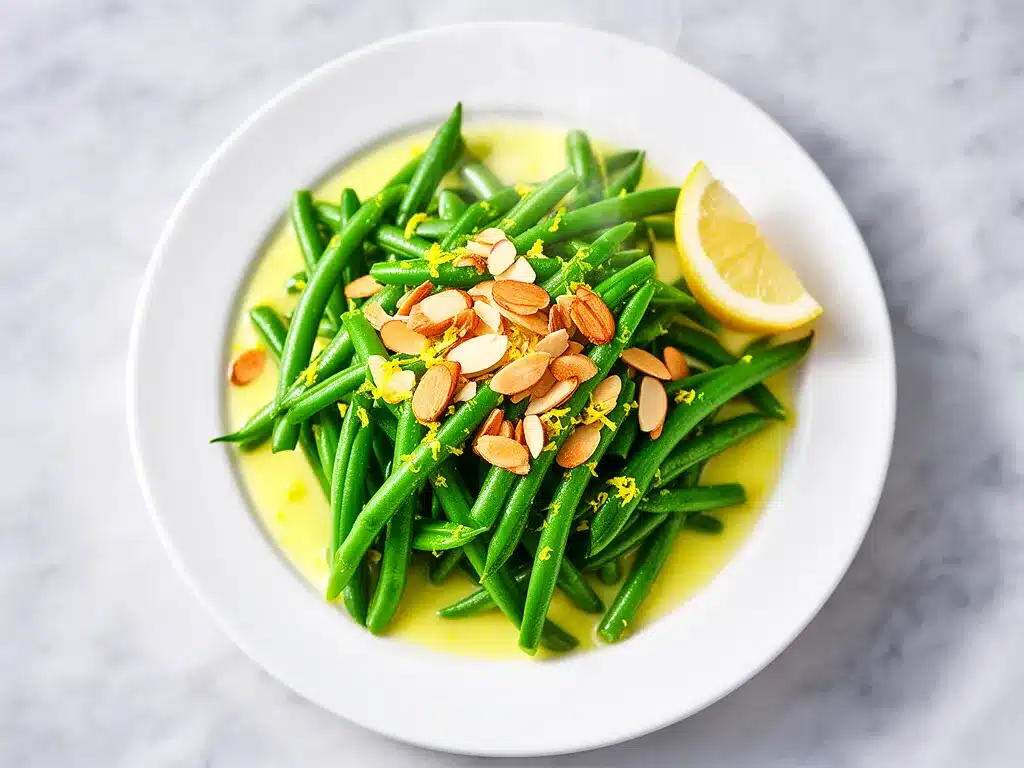
Unsalted butter (4 tablespoons / 60g) — I use unsalted so I can control the saltiness. If you only have salted, reduce the added salt in the recipe. Good quality butter makes a difference here—it’s the main flavor.
Slivered almonds (½ cup / 50g) — Do not skip this. Do not use whole almonds (they’re too big). Do not use almond flour (it burns instantly). Slivered is perfect. It toasts quickly and coats the beans evenly. I buy them in the baking aisle, not the nut section, to save money.
Garlic (2 cloves, minced / about 1 tablespoon) — Yes, two cloves. Fresh only. No jarred garlic. The heat from the pan will release the garlic’s oils, and it smells incredible. Just don’t let it burn.
Fresh lemon juice (2 tablespoons / 30ml) — Squeeze it yourself. Bottled lemon juice tastes metallic and flat. One medium lemon should do it. If your lemons are small, squeeze two.
Lemon zest (1 teaspoon / from one lemon) — This is where the bright, aromatic flavor lives. Use a microplane or fine grater. Just the yellow part, not the white pith (it’s bitter).
Red pepper flakes (¼ teaspoon, optional) — Just a pinch. It adds a tiny warmth that balances the lemon. I add it every time, but leave it out if you’re serving kids who hate spice.
Fresh parsley (2 tablespoons, chopped / optional) — For garnish. It adds color and a fresh herbal note. I use it when I have it, but it’s not essential.
Common Questions
Can I use blanched almonds? Yes, but slivered are better because they toast faster and have more surface area for the butter to cling to. Blanched are fine if that’s all you have.
Can I use frozen green beans? Yes, but you need to thaw them completely and pat them dry with paper towels. Wet beans will steam instead of crisp up in the butter. I prefer fresh, but frozen works in a pinch.
Where do I find slivered almonds? Usually in the baking aisle, near the flour and sugar. Sometimes in the nut section. If you can’t find them, you can pulse whole almonds in a food processor until they’re slivered-sized, but be careful not to turn them into almond butter.
Equipment Needed
You don’t need fancy equipment for this. Here’s what I actually use:
Large pot — I use a 6-quart pot. Needs to fit 1.5 pounds of beans comfortably. My ancient pot from college still works fine. Any large pot will do.
Large skillet or sauté pan — 12-inch works best for the sauce. I prefer stainless steel or cast iron, but non-stick works too. You need enough surface area to toast the almonds evenly without crowding.
Sharp knife — For trimming the bean ends. Dull knives make you cry more—learned this the hard way.
Cutting board — Any size works. I use plastic for easier cleanup.
Colander — For draining the beans after blanching. Or just use the lid to drain—I do this when I’m lazy.
Microplane or fine grater — For the lemon zest. A regular box grater works, but it’s harder to get just the yellow part. A microplane makes it effortless.
Wooden spoon or spatula — For stirring. Silicone works too. Don’t use metal on non-stick.
Measuring cups and spoons — Pretty standard stuff. Dollar store versions work fine.
Optional but nice:
- Tongs — For tossing the beans in the sauce. Makes it easier to coat everything evenly.
- Paper towels — For drying the beans if using frozen. Crucial step.
How to Make It: Step-by-Step
Alright, let’s make this! I’m walking you through exactly how I do it, including the little tricks I’ve picked up. This process is simple, but timing is everything. If you rush the almonds, they burn. If you overcook the beans, they’re mush. Here’s the right way.
Step 1: Prep Your Ingredients (5 minutes)
Before you start cooking, trim the ends of your green beans. Snap off the tough stem end and discard it. If the beans are long, you can cut them in half, but I usually leave them whole for presentation. Mince your garlic, zest your lemon, and squeeze the juice. Measure out your almonds and butter. I know it seems fussy, but it makes the actual cooking way less stressful. Once you start cooking, things move fast.
Step 2: Blanch the Beans (5 minutes)
Bring a large pot of salted water to a boil—it should taste like the ocean. Add the green beans and cook for 3-4 minutes. They should be bright green and tender-crisp, not soft. IMPORTANT: If you’re using fresh beans, this is all you need. If you’re using frozen, cook for 1 minute less, then drain and plunge them into a bowl of ice water to stop the cooking. This keeps them vibrant. Drain the beans and set aside. Don’t dry them yet—we’ll do that in the pan.
Step 3: Toast the Almonds (3 minutes)
While the beans cook (or right after), heat a large skillet over medium heat. Add the slivered almonds in a single layer. Toast them for 2-3 minutes, stirring frequently. They’ll turn golden brown and smell nutty. Watch them closely—almonds go from perfect to burnt in about 10 seconds. Once they’re golden, remove them from the pan and set them aside on a plate. This prevents them from burning in the butter later.
Step 4: Make the Lemon Butter Sauce (2 minutes)
Reduce the heat to medium-low. Add the butter to the same skillet. Let it melt and foam slightly. Add the minced garlic and red pepper flakes. Cook for 30 seconds, stirring constantly. The garlic should smell amazing but not brown—browned garlic tastes bitter. If it starts to smoke, lower the heat immediately.
Step 5: Combine and Finish (2 minutes)
Add the blanched green beans to the skillet. Toss them in the butter mixture until they’re well coated. Pour in the lemon juice and sprinkle the lemon zest. Toss again. The beans should be glossy and fragrant. Taste one. If it needs more salt, add a pinch. If it needs more lemon, add a squeeze. Adjust to your liking.
Step 6: Serve
Transfer the beans to a serving dish. Sprinkle the toasted almonds on top. Garnish with fresh parsley if you’re using it. Serve immediately while hot. The almonds will stay crunchy for about 10 minutes before they start to soften from the steam. I usually serve this straight from the skillet at the dinner table—it looks rustic and stays warm.
Total Time: About 15 minutes (5 minutes active, 10 minutes mostly hands-off)
Expert Tips & Tricks
Here’s everything I’ve learned from making this dozens of times. These tips will save you from my mistakes.
Don’t Overcook the Beans
This is the #1 mistake people make. Green beans should be tender-crisp, not mushy. They continue to cook slightly after you remove them from the heat. If they’re soft in the pot, they’ll be mush on the plate. Aim for a bright green color and a slight bite when you bite into one.
Toast Almonds Separately
Never toast almonds in the butter. Butter burns at a lower temperature than almonds need to toast. If you toast them together, the butter will burn before the almonds are golden. Toast them dry first, then add the butter. It’s a small step that makes a huge difference.
Use Fresh Lemon Zest
The zest is where the flavor is. Bottled lemon juice has no zest flavor. If you skip the zest, the dish tastes flat. Just a little bit of yellow skin makes it taste like a restaurant dish. Don’t be shy with the zest.
Keep the Beans Warm
If you’re serving this with a main course that takes longer, keep the beans warm in a low oven (200°F / 95°C) while you finish cooking. Don’t let them sit at room temperature—they’ll lose their vibrant color and become soggy.
Common Mistakes (and how to avoid them)
- Mistake: Almonds are burnt — Fix: Lower the heat. Toast them slowly. Stir constantly. If they’re already burnt, throw them out and start over. Burnt almonds taste awful.
- Mistake: Beans are watery — Fix: Make sure you’re not adding too much liquid. If using frozen beans, pat them dry thoroughly. The butter sauce should coat the beans, not pool at the bottom.
- Mistake: Sauce is too salty — Fix: Use unsalted butter and control the salt in the boiling water. You can always add more, can’t take it away.
Variations & Substitutions
Once you’ve nailed the basic version, here’s how you can mix it up. I’ve tried all of these.
Garlic Lovers’ Version
Add 4 cloves of minced garlic instead of 2. Or add 1 teaspoon of garlic powder to the butter. My husband prefers this version—it’s bold and pungent.
Spicy Kick
Add ½ teaspoon of red pepper flakes instead of ¼. Or add a pinch of cayenne. Great if you like heat.
Herb-Infused
Add 1 teaspoon of dried thyme or oregano to the butter. Or use fresh thyme leaves. Adds a savory, earthy note.
Lemon Parmesan
Add 2 tablespoons of grated Parmesan cheese at the end. It melts into the butter and adds a salty, umami boost. Great with chicken.
Dietary Modifications:
- Gluten-Free — This recipe is naturally gluten-free. Just make sure your almonds and butter are certified gluten-free if you’re cross-contamination sensitive.
- Dairy-Free — Replace butter with olive oil or dairy-free butter. It’s not as rich, but it still works. Add a splash of lemon juice to compensate for the missing richness.
- Lower-Fat — Use 2 tablespoons of butter instead of 4. It’s still good, just less luxurious. I make this when I’m trying to be “healthy.”
Serving & Storage
How to Serve:
I usually serve this straight from the skillet at the dinner table—it looks rustic and stays warm. But here are other ways I’ve enjoyed it:
Side Dishes:
- Roasted potatoes (obviously)
- Simple green salad with balsamic vinaigrette
- Quinoa pilaf (for a grain-based meal)
- Crusty bread (to soak up the lemon butter)
Toppings Bar:
When I have guests, I put out: extra almonds, red pepper flakes, fresh parsley, lemon wedges. Everyone customizes their bowl.
Storage Instructions:
- Refrigerator: Store in an airtight container for up to 3 days. The beans will soften slightly, but they’re still good.
- Reheating: Best method: Add to a skillet with a splash of water or broth over low heat. Stir until heated through. Microwave method: Heat in 30-second intervals, stirring between. It will lose some crunch.
- Freezing: Honestly, this doesn’t freeze well. The beans get mushy and the sauce separates. Make it fresh or store in the fridge for up to 3 days.
Nutrition Information
I’m not a nutritionist, but here’s the breakdown if you’re tracking.
Per Serving (based on 6 servings):
- Calories: 120
- Protein: 3g
- Carbs: 8g
- Fiber: 3g
- Sugar: 3g
- Fat: 9g
- Saturated Fat: 4g
- Cholesterol: 15mg
- Sodium: 180mg
- Calcium: 40mg
What’s Good:
- High in fiber from the beans
- Good source of vitamin K and C
- Low in calories
- Healthy fats from almonds
What to Know:
- Higher in fat from butter and almonds
- Contains dairy and nuts
- Moderate sodium (use low-sodium broth to reduce)
My Take:
Look, this is a vegetable side dish with butter and nuts. It’s not a diet recipe, but it’s way better than fried veggies, costs less, and I know exactly what’s in it. When I want to make it lighter, I reduce the butter and load up on beans. But usually? I just eat a reasonable portion and enjoy it.
Final Thoughts
So that’s my go-to Garden Green Bean Almondine with Lemon Butter! I’ve probably talked your ear off at this point, but when you make a recipe this often, you have a lot to say about it.
This has saved weeknight dinners more times than I can count. It’s my answer to “what’s for dinner” when I’m tired, don’t want takeout, and still want something that tastes really good. My kids are happy, my husband’s happy, and I’m happy because I’m not stressed about cooking.
Make it yours! Try different add-ins, swap in your favorite nuts, adjust the lemon (though more is always better in my opinion). The best recipes are the ones you adapt to your family’s tastes.
If you make this, drop a comment and let me know what you think! I love hearing how recipes turn out in your kitchen. And if something doesn’t work, tell me that too—I’m here to help troubleshoot.
Happy cooking! And I hope your kitchen smells half as good as mine does right now.
Frequently Asked Questions
Q: Can I use frozen green beans?
A: You can, but you need to thaw them completely and pat them dry with paper towels. Wet beans will steam instead of crisp up in the butter. I prefer fresh, but frozen works in a pinch.
Q: Why did my sauce get watery?
A: Usually means you didn’t dry the beans well enough after blanching, or you added too much lemon juice. Let the butter foam and reduce slightly before adding the beans. If it’s already watery, turn up the heat and let it reduce for another minute or two.
Q: Can I make this ahead for a dinner party?
A: Sort of. Prep the beans and toast the almonds ahead of time. Just before serving, blanch the beans and toss them in the butter sauce. It won’t be quite as good as fresh, but it’s close and saves you stress during the party. I do this all the time.
Q: Why did my almonds burn?
A: The heat was too high. Toast them over medium-low heat and stir constantly. Almonds have a high oil content and burn quickly. If they’re already burnt, throw them out. Burnt almonds taste bitter and ruin the dish.
Q: Can I use whole almonds?
A: You can, but they’re harder to coat in the butter and don’t distribute as evenly. Slivered or sliced almonds are better for this recipe. If you only have whole almonds, pulse them in a food processor until they’re slivered-sized.
Q: How do I reheat leftovers without it getting dry?
A: Add a splash of water or broth to a skillet, add your leftover beans, and heat gently over low heat, stirring frequently. The extra liquid brings back the moisture. Microwave sort of works but tends to dry them out.
Q: Can I double this recipe?
A: Absolutely! Double everything and use your biggest pot. The cooking times stay the same. I do this when I’m meal-prepping or feeding a crowd. Just make sure your skillet is big enough for the sauce—you might need to use two pans or a very large skillet.
Pin This Recipe!
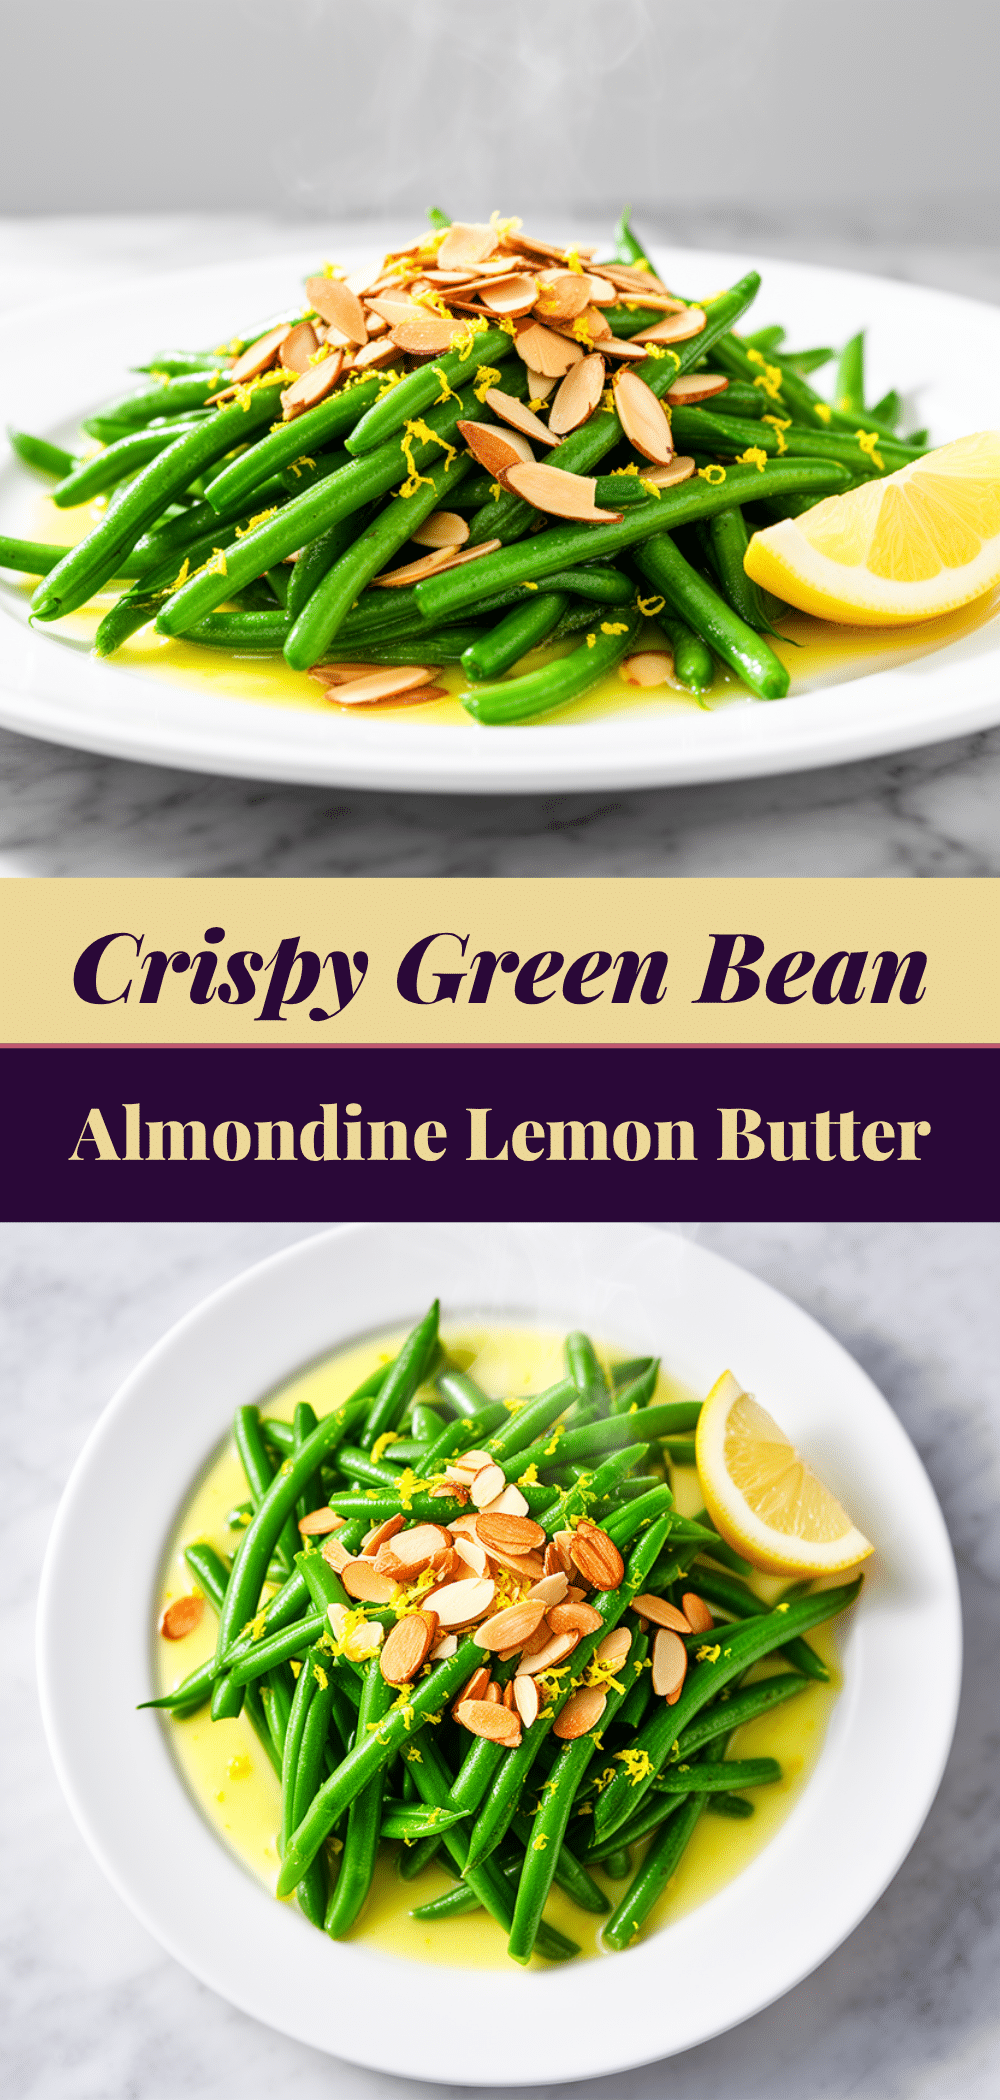
Garden Green Bean Almondine with Lemon Butter
- Total Time: 15 minutes
- Yield: 6 servings 1x
Description
A vibrant, crunchy, and bright side dish featuring tender-crisp green beans tossed in a glossy lemon butter sauce with toasted slivered almonds. Ready in just 15 minutes, this elegant yet simple recipe is perfect for weeknights or holiday tables.
Ingredients
- 1.5 pounds fresh green beans
- 4 cups water (for blanching)
- 1 tablespoon salt (for boiling water)
- 4 tablespoons unsalted butter
- ½ cup slivered almonds
- 2 cloves garlic, minced
- 2 tablespoons fresh lemon juice
- 1 teaspoon lemon zest
- ¼ teaspoon red pepper flakes (optional)
- 2 tablespoons fresh parsley, chopped (optional)
Instructions
- Trim the ends of the green beans. Mince the garlic, zest the lemon, and squeeze the juice. Measure out the almonds and butter.
- Bring a large pot of salted water to a boil. Add the green beans and cook for 3-4 minutes until bright green and tender-crisp. Drain and set aside.
- Heat a large skillet over medium heat. Add slivered almonds in a single layer and toast for 2-3 minutes, stirring frequently, until golden brown. Remove almonds from the pan and set aside.
- Reduce heat to medium-low. Add butter to the same skillet and let it melt and foam. Add minced garlic and red pepper flakes, cooking for 30 seconds until fragrant but not brown.
- Add the blanched green beans to the skillet and toss to coat in the butter mixture. Pour in lemon juice and sprinkle with lemon zest. Toss again.
- Taste and adjust seasoning with salt or lemon if needed. Transfer to a serving dish, sprinkle with toasted almonds and parsley, and serve immediately.
Notes
Do not overcook the beans; they should remain tender-crisp. Toast almonds separately in a dry pan before adding butter to prevent burning. Use fresh lemon zest for the best flavor. If using frozen green beans, thaw completely and pat very dry before cooking.
- Prep Time: 5 minutes
- Cook Time: 10 minutes
- Category: Side Dish
- Cuisine: American
Nutrition
- Serving Size: 1 serving
- Calories: 120
- Sugar: 3
- Sodium: 180
- Fat: 9
- Saturated Fat: 4
- Carbohydrates: 8
- Fiber: 3
- Protein: 3
Keywords: green beans, almondine, lemon butter, side dish, easy recipe, weeknight dinner, vegetarian, gluten-free, healthy vegetables


