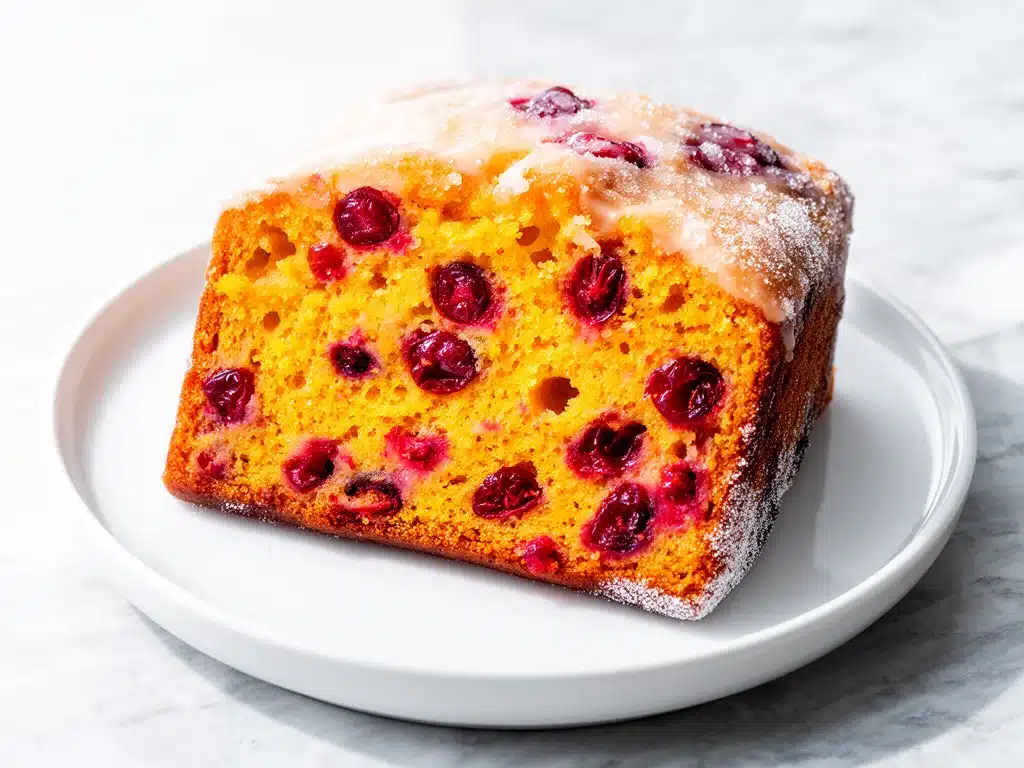
I still remember the panic of standing in my kitchen at 6 PM on Christmas Eve, realizing I had nothing for the morning-after brunch. You know the scenario. The house is quiet, the wrapping paper is gone, and suddenly you’re faced with the daunting task of feeding a house full of relatives who are hungry, hangry, and expecting something special. Usually, I’d default to store-bought pastries or a sad, dry casserole, but this year I decided to try something different. I pulled out some dried cranberries, an orange, and a stick of butter, and threw together what I thought would be a simple breakfast bread.
What happened next changed my holiday game forever. That Glazed Orange Cranberry Loaf Cake didn’t just save my holiday; it became the centerpiece of every gathering since. The first time I made it, I brought it to my in-laws’ house. I watched my father-in-law, a man who claims he “doesn’t really eat sweets,” go back for a second slice. Then my niece, who usually sticks to plain yogurt, asked if she could have a piece with her coffee. It was the kind of quiet victory that makes all the flour on the counter worth it.
Here’s the thing about this cake: it’s not fussy. It doesn’t require a stand mixer or three hours of prep time. It’s a one-bowl wonder that smells like a cozy winter morning the moment it hits the oven. The tangy sweetness of the cranberries cuts through the rich butter, and that bright orange glaze ties it all together with a glossy, professional finish. I’ve tested this recipe at least ten times over the last two holiday seasons, tweaking the glaze ratio and baking time until it was absolutely perfect. If you’re looking for a dessert that feels fancy but cooks itself, this is it.
I’ve also found that this loaf travels incredibly well. Unlike delicate layer cakes that collapse in the car, this dense, moist loaf stays fresh for days. I’ve packed slices for coworkers, brought them to potlucks, and even frozen extra loaves for last-minute guests. It’s versatile enough to be a dessert, a breakfast treat, or an afternoon snack with tea. Once you taste that first bite—soft crumb, burst of citrus, and a hint of tartness—you’ll understand why this has become my go-to recipe for impressing people without breaking a sweat.
Why You’ll Love This Glazed Orange Cranberry Loaf Cake
There are about a dozen reasons I keep coming back to this loaf, but let’s be honest: you’re here because you want something that works, tastes amazing, and makes you look like a baking pro. Here’s why this specific cake has earned a permanent spot in my rotation:
- One-Bowl Simplicity — Seriously, you don’t need a mixer. I mix everything in one large bowl with a whisk. If you can whisk, you can make this. I’ve even made it while holding a toddler on my hip (don’t recommend, but it’s possible!).
- Make-Ahead Magic — This cake actually tastes better the next day. The flavors meld overnight, and the glaze sets into a beautiful, shiny crust. I often bake it the night before a party so I’m not stressing in the morning.
- Perfectly Balanced Flavor — It’s not too sweet. The tartness of the cranberries keeps it from being cloying, and the orange adds a fresh lift that makes it feel light despite being a rich cake. It’s sophisticated but comforting.
- Impressive Presentation — That glossy orange glaze? It looks like something you’d buy at a high-end bakery for $8. But you’re making it for a fraction of the cost, and you can customize the orange intensity to your liking.
- Long-Lasting Freshness — Unlike other quick breads that go stale by noon, this loaf stays moist for up to four days at room temperature. I’ve even frozen slices for later. It’s the ultimate stress-free baking project.
This is my answer to “what should I bring?” when I’m invited to a holiday gathering. It’s reliable, delicious, and always gets compliments. Plus, it pairs beautifully with coffee or tea, making it a versatile treat for any time of day.
Ingredients You’ll Need
Here’s the best part: you probably have most of these ingredients already. This isn’t a recipe that requires a trip to three different specialty stores. I’m particular about a few things here, but mostly, it’s about quality over complexity.
For the Cake Base
All-purpose flour (2 cups / 250g) — The foundation. Don’t use self-rising flour; the leavening agents in this recipe are specific. Spoon the flour into the cup and level it off. Don’t pack it down, or your cake will be dense.
Baking powder (1 ½ teaspoons) — Fresh is key. If your baking powder has been sitting in the back of the cabinet since last Christmas, toss it and get a new box. It needs to be active to give the cake its lift.
Baking soda (½ teaspoon) — This reacts with the buttermilk to create that tender crumb. Again, check the expiration date.
Salt (½ teaspoon) — Essential for balancing the sweetness. Don’t skip it, even if you’re watching sodium. It makes the orange flavor pop.
Unsalted butter (½ cup / 113g, softened) — Softened means cool to the touch but squishable. Not melted! Melted butter changes the texture completely. I take mine out of the fridge about an hour before baking.
Granulated sugar (1 cup / 200g) — Standard white sugar gives a clean sweetness. You can use half brown sugar if you want a deeper, molasses note, but I prefer the bright taste of white here.
Eggs (2 large, room temperature) — Room temperature eggs emulsify better into the batter. If you forget, just drop them in a bowl of warm water for 5 minutes. Cold eggs can cause the butter to seize up.
Vanilla extract (1 teaspoon) — Use real vanilla, not imitation. It makes a subtle but noticeable difference in flavor.
For the Moisture and Flavor
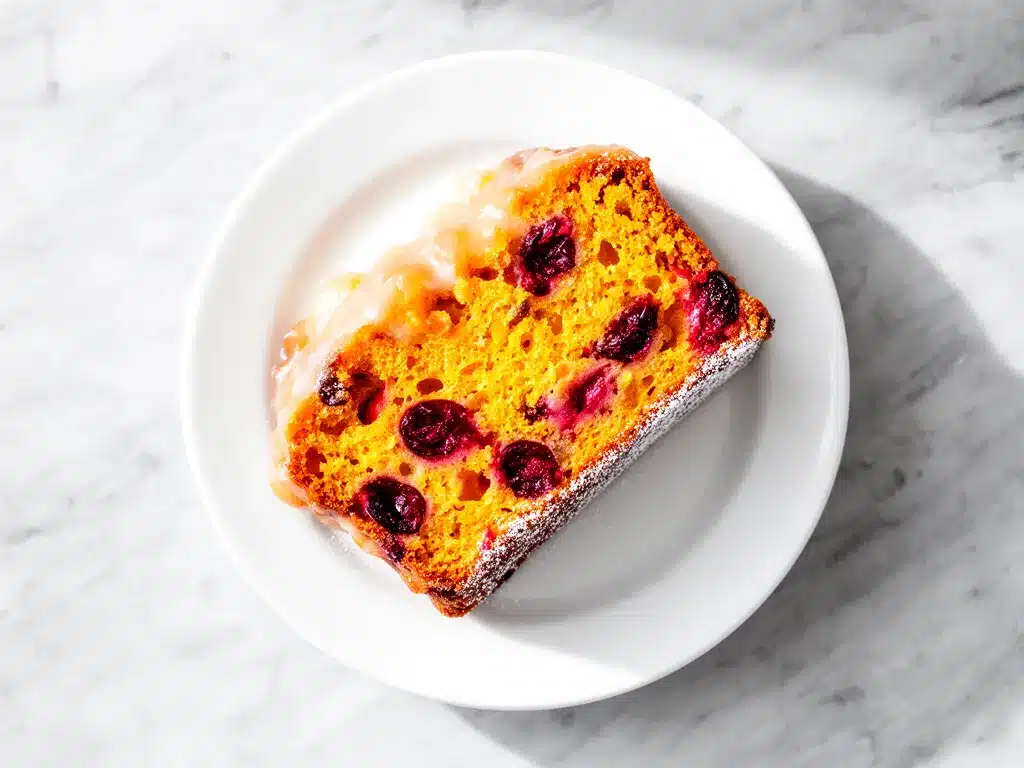
Dried cranberries (1 cup / 120g) — Look for the unsweetened kind if you can find them. They’re tart and chewy. If you only have sweetened ones, you might want to rinse them quickly under warm water to remove excess sugar, though I usually just use them straight from the bag.
Fresh orange zest (2 medium oranges) — This is non-negotiable. You need the bright, aromatic oils from the peel. Use a microplane or fine grater. Make sure the oranges are organic or washed thoroughly, as you’re eating the skin. The zest is where most of the orange flavor lives.
Orange juice (½ cup / 120ml) — Freshly squeezed is best. Bottled juice often has a cooked, metallic taste that doesn’t work well in baked goods. Squeeze two oranges for this.
Buttermilk (1 cup / 240ml) — This is the secret to the tender crumb. The acidity tenderizes the gluten. If you don’t have buttermilk, make a quick substitute: add 1 tablespoon of lemon juice or white vinegar to 1 cup of milk. Let it sit for 10 minutes until it curdles slightly.
For the Glaze
Confectioners’ sugar (1 ½ cups / 180g) — Sifted. Clumps in powdered sugar are the enemy of a smooth glaze. I always sift mine, even if I’m in a hurry.
Fresh orange juice (2-3 tablespoons) — Start with 2 tablespoons and add more as needed. You want a thick but pourable consistency.
Orange zest (1 teaspoon) — For garnish and extra flavor in the glaze.
Equipment Needed
You don’t need fancy equipment for this. Here’s what I actually use:
9×5-inch Loaf Pan — Standard size. Grease it well with butter or cooking spray. I also line the bottom with parchment paper for easy removal. This is a lifesaver when the cake tries to stick.
Large Mixing Bowl — Something wide enough to whisk comfortably. A 4-quart bowl works perfectly.
Whisk — Your best friend for this recipe. A balloon whisk is ideal for incorporating air into the butter and sugar.
Microplane or Fine Grater — For the orange zest. A regular box grater works, but a microplane gives you finer zest that distributes more evenly.
Cooling Rack — Essential for cooling the cake properly. Letting it sit in the hot pan will make the bottom soggy.
Small Saucepan or Bowl — For mixing the glaze. A small bowl is easier for whisking.
Pastry Brush (Optional) — I like to brush a little simple syrup on the warm cake before glazing to help it stick, but it’s not strictly necessary.
How to Make It: Step-by-Step
Alright, let’s make this! I’m walking you through exactly how I do it, including the little tricks I’ve picked up over the years.
Step 1: Prep Your Oven and Pan (5 minutes)
Preheat your oven to 350°F (175°C). Grease your 9×5-inch loaf pan with butter or non-stick spray. For extra insurance, line the bottom with a strip of parchment paper. This ensures the cake comes out cleanly, even if you’re a nervous baker like I was once upon a time.
Step 2: Mix Dry Ingredients (2 minutes)
In your large bowl, whisk together the flour, baking powder, baking soda, and salt. Make sure there are no lumps of baking powder. Set this aside. It’s easy to forget this step, but having your dry ingredients ready makes the whole process smoother.
Step 3: Cream Butter and Sugar (3-4 minutes)
In a separate large bowl (or the same one if you’re lazy, but separate is easier to manage), beat the softened butter and granulated sugar together until light and fluffy. This takes about 3-4 minutes with a hand mixer, or 5-6 minutes with a whisk. You want the mixture to look pale and airy. This step incorporates air, which helps the cake rise. Don’t rush this!
Step 4: Add Eggs and Vanilla (2 minutes)
Add the eggs one at a time, beating well after each addition. Scrape down the sides of the bowl with a spatula. Add the vanilla extract and mix until combined. The mixture might look slightly curdled at this point—that’s normal. Just keep going.
Step 5: Combine Wet and Dry (3 minutes)
Reduce the mixer speed to low (or switch to a whisk). Add the dry ingredients in three additions, alternating with the buttermilk and orange juice. Start and end with the dry ingredients. Mix until *just* combined. Do not overmix! Overmixing develops gluten, which makes the cake tough. It’s okay if there are a few small lumps of flour. The batter will be thick and sticky.
Step 6: Fold in Cranberries and Zest (2 minutes)
Using a spatula, gently fold in the dried cranberries and the orange zest. Be gentle here. You want to distribute them evenly without crushing the berries or deflating the batter. Look for a uniform distribution.
Step 7: Bake (50-60 minutes)
Pour the batter into the prepared loaf pan and smooth the top. Bake at 350°F (175°C) for 50-60 minutes. The cake is done when the top is golden brown, a toothpick inserted into the center comes out clean or with just a few moist crumbs (no wet batter), and the edges pull away slightly from the pan. If the top is browning too quickly, tent it loosely with aluminum foil for the last 15 minutes.
Step 8: Cool Completely (1 hour)
Let the cake cool in the pan for 10 minutes, then transfer it to a wire rack to cool completely. This is crucial. If you glaze a warm cake, the glaze will melt and slide right off. Patience pays off here.
Step 9: Make the Glaze (5 minutes)
While the cake cools, whisk together the confectioners’ sugar, orange juice, and orange zest in a small bowl. Start with 2 tablespoons of juice and add more drop by drop until you reach a thick but pourable consistency. It should drip slowly off the whisk.
Step 10: Glaze and Serve
Drizzle the glaze over the completely cooled cake. Use a spatula to help it spread into the corners. Let the glaze set for 15-20 minutes before slicing. This gives it that beautiful, shiny finish. Slice with a sharp knife for clean cuts.
Expert Tips & Tricks
Here’s everything I’ve learned from making this dozens of times. These tips will save you from my mistakes.
Don’t Overmix the Batter
This is the #1 mistake people make. Once you add the flour, mix until it’s just incorporated. A few lumps are fine. Overmixing leads to a dense, tough loaf instead of a tender, cakey one. I’ve ruined several loaves this way before learning my lesson.
Use Fresh Orange Zest
Bottled orange zest has no flavor. It’s basically dyed plastic. You need fresh zest for that bright, aromatic punch. If you’re buying non-organic oranges, scrub them thoroughly with a produce wash before zesting. The oils are in the peel, so freshness matters.
Room Temperature Ingredients
Make sure your butter and eggs are at room temperature. Cold ingredients don’t emulsify well, which can lead to a lumpy batter and uneven baking. If you forget, warm your eggs in a bowl of warm water for 5 minutes, and microwave your butter for 5-10 seconds (just enough to soften, not melt).
Check for Doneness Early
Ovens vary. Start checking your cake at 45 minutes. If the toothpick comes out clean, it’s done. If it has wet batter, give it 5 more minutes. Overbaking dries out the cake, and we want it moist.
Glaze Consistency
The glaze should be thick enough to coat the back of a spoon but thin enough to drizzle. If it’s too thick, add more orange juice, one teaspoon at a time. If it’s too thin, add more powdered sugar. You want it to set into a shiny crust, not soak in completely.
Variations & Substitutions
Once you’ve nailed the basic version, here’s how you can mix it up. I’ve tried all of these.
White Chocolate Cranberry
Add ½ cup of white chocolate chips along with the cranberries. The sweetness of the white chocolate balances the tart cranberries perfectly. It’s a crowd-pleaser, especially with kids.
Lemon Cranberry
Swap the orange zest and juice for lemon. Lemon and cranberry is a classic combination. The glaze becomes a bright lemon glaze. It’s lighter and more refreshing.
Maple Glaze
Replace the orange juice in the glaze with pure maple syrup. It adds a rich, autumnal flavor. This version is great for Thanksgiving or fall gatherings.
Gluten-Free
Use a 1-to-1 gluten-free flour blend. The texture might be slightly denser, but it still works. I’ve used Bob’s Red Mill and King Arthur brands, both of which work well. Add a teaspoon of xanthan gum if your blend doesn’t include it.
Dairy-Free
Use dairy-free butter (like Miyoko’s or Earth Balance) and oat milk or almond milk mixed with lemon juice for the buttermilk substitute. The glaze can be made with dairy-free powdered sugar (check the label, as some contain bone char) and maple syrup or agave.
Vegetarian
This recipe is naturally vegetarian. If you’re looking for other vegetarian dinner ideas, check out our creamy sun-dried tomato spinach skillet (minus the chicken) for a hearty meatless option.
Serving & Storage
How to Serve: I usually serve this cake plain, but it’s also delicious with a dollop of whipped cream or a scoop of vanilla ice cream. It pairs beautifully with black coffee, tea, or hot chocolate.
Side Dishes: This cake is a standalone treat, but if you’re serving it as part of a brunch spread, it goes well with make-ahead blueberry baked oatmeal cups or fresh fruit salad.
Storage: Store the cake in an airtight container at room temperature for up to 4 days. It stays moist and delicious. If your kitchen is very hot, store it in the fridge, but let it come to room temperature before serving for the best texture.
Freezing: This cake freezes beautifully. Wrap individual slices or the whole loaf tightly in plastic wrap, then in aluminum foil. It will keep for up to 3 months. Thaw at room temperature overnight before serving. The glaze might soften, but it’ll still taste great.
Reheating: You don’t need to reheat this cake, but if you want a warm slice, microwave it for 15-20 seconds. It’ll be soft and gooey.
Nutrition Information
I’m not a nutritionist, but here’s the breakdown if you’re tracking. This is a rich, sweet treat, so enjoy in moderation!
Per Serving (based on 10 slices):
- Calories: 320
- Protein: 4g
- Carbs: 52g
- Fiber: 1g
- Sugar: 32g
- Fat: 11g
- Saturated Fat: 7g
- Cholesterol: 45mg
- Sodium: 220mg
What’s Good: It’s a substantial treat that can be part of a balanced diet in small portions. The cranberries add some fiber and antioxidants.
What to Know: It’s high in sugar and saturated fat due to the butter and glaze. Use low-fat buttermilk or a lighter glaze if you’re watching calories.
My Take: Look, this is a holiday cake. It’s meant to be indulgent. I don’t stress about the calories when I’m sharing it with family. Just take a reasonable slice and enjoy the moment.
Final Thoughts
So that’s my Glazed Orange Cranberry Loaf Cake! I’ve probably talked your ear off at this point, but when you make a recipe this often, you have a lot to say about it. This loaf has saved my holiday mornings, impressed my in-laws, and become a staple in my baking rotation. It’s my answer to “what should I bring?” when I’m invited to a gathering, and it never fails to deliver.
Make it yours! Try different variations, adjust the sweetness, or add nuts if you like. The best recipes are the ones you adapt to your family’s tastes. If you make this, drop a comment and let me know what you think! I love hearing how recipes turn out in your kitchen. And if something doesn’t work, tell me that too—I’m here to help troubleshoot.
Happy baking! And I hope your kitchen smells half as good as mine does right now.
Frequently Asked Questions
Can I use fresh cranberries instead of dried?
You can, but you’ll need to adjust the recipe. Fresh cranberries are much more tart and contain more water. I recommend tossing them in a little flour before folding them in to prevent them from sinking. You might also need to add a tablespoon or two of extra sugar to balance the tartness. Dried cranberries are easier and more consistent, but fresh works if you’re okay with a tarter cake.
Why did my cake sink in the middle?
This usually happens if the oven temperature was too high, causing the cake to rise too quickly and then collapse. Or, it could be underbaked. Make sure your oven is calibrated correctly and that you’re testing for doneness with a toothpick. If the center is wet, it needs more time.
Can I make this ahead for a party?
Absolutely! This cake is even better the next day. Bake it 1-2 days ahead, let it cool completely, wrap it tightly, and store it at room temperature. Glaze it the morning of the party or the night before. It holds up very well.
Can I freeze the cake with the glaze on?
Yes, but the glaze might crack or become sticky when thawed. For best results, freeze the cake without the glaze. Thaw it completely, then glaze it fresh. This ensures a beautiful, shiny finish.
What if I don’t have buttermilk?
Make a quick substitute! Add 1 tablespoon of lemon juice or white vinegar to 1 cup of milk. Stir it up and let it sit for 10 minutes. It will curdle slightly and become buttermilk. This works perfectly in this recipe.
Can I add nuts to this cake?
Yes! Toasted pecans or walnuts pair beautifully with orange and cranberry. Add ½ cup of chopped nuts when you fold in the cranberries. It adds a nice crunch and richness.
How do I store leftovers?
Store in an airtight container at room temperature for up to 4 days. If your kitchen is very humid or hot, store it in the fridge. Let it come to room temperature before serving for the best texture.
Pin This Recipe!
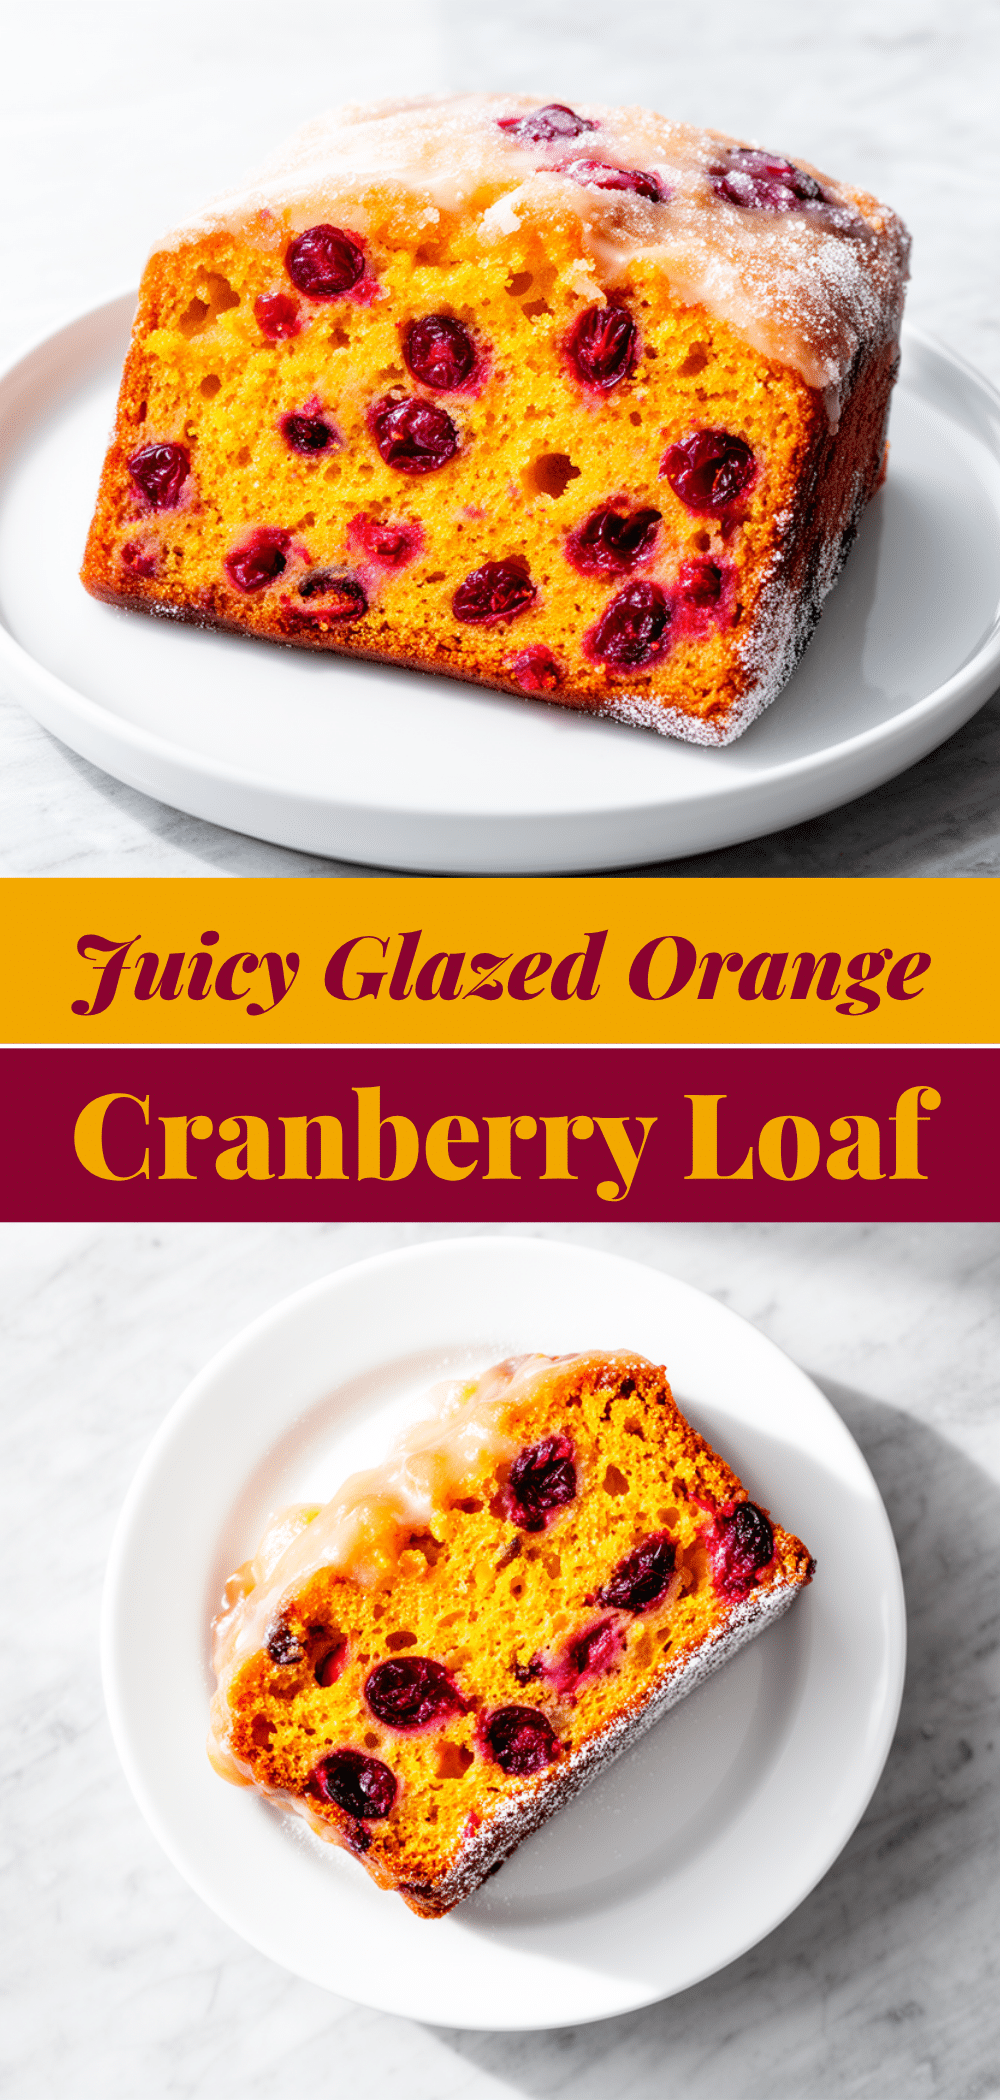
Glazed Orange Cranberry Loaf Cake
- Total Time: 1 hour 15 minutes
- Yield: 10 servings 1x
Description
A moist, one-bowl holiday loaf cake featuring tart dried cranberries and bright orange zest, finished with a glossy orange glaze. It is easy to make, travels well, and tastes even better the next day.
Ingredients
- 2 cups (250g) all-purpose flour
- 1 ½ teaspoons baking powder
- ½ teaspoon baking soda
- ½ teaspoon salt
- ½ cup (113g) unsalted butter, softened
- 1 cup (200g) granulated sugar
- 2 large eggs, room temperature
- 1 teaspoon vanilla extract
- 1 cup (120g) dried cranberries
- Zest of 2 medium oranges
- ½ cup (120ml) fresh orange juice
- 1 cup (240ml) buttermilk
- 1 ½ cups (180g) confectioners’ sugar, sifted
- 2–3 tablespoons fresh orange juice (for glaze)
- 1 teaspoon orange zest (for glaze)
Instructions
- Preheat oven to 350°F (175°C). Grease a 9×5-inch loaf pan and line the bottom with parchment paper.
- In a large bowl, whisk together the flour, baking powder, baking soda, and salt. Set aside.
- In a separate bowl, beat the softened butter and granulated sugar until light and fluffy (3-4 minutes with mixer or 5-6 minutes with whisk).
- Add eggs one at a time, beating well after each addition. Mix in vanilla extract.
- Reduce mixer speed to low. Add dry ingredients in three additions, alternating with buttermilk and orange juice. Start and end with dry ingredients. Mix until just combined.
- Gently fold in dried cranberries and orange zest.
- Pour batter into prepared pan and smooth top. Bake for 50-60 minutes until a toothpick inserted in the center comes out clean. Tent with foil if browning too quickly.
- Cool in pan for 10 minutes, then transfer to a wire rack to cool completely.
- While cake cools, whisk confectioners’ sugar, 2-3 tablespoons orange juice, and 1 teaspoon zest until smooth and pourable.
- Drizzle glaze over completely cooled cake. Let set for 15-20 minutes before slicing.
Notes
Ensure butter and eggs are at room temperature for best emulsification. Do not overmix the batter to avoid a tough texture. The cake stays fresh for up to 4 days at room temperature or can be frozen for up to 3 months. For a gluten-free version, use a 1-to-1 gluten-free flour blend.
- Prep Time: 15 minutes
- Cook Time: 50-60 minutes
- Category: Dessert
- Cuisine: American
Nutrition
- Serving Size: 1 slice
- Calories: 320
- Sugar: 32
- Sodium: 220
- Fat: 11
- Saturated Fat: 7
- Carbohydrates: 52
- Fiber: 1
- Protein: 4
Keywords: holiday baking, cranberry loaf, orange cake, quick bread, one-bowl recipe, Christmas brunch, gluten-free option


