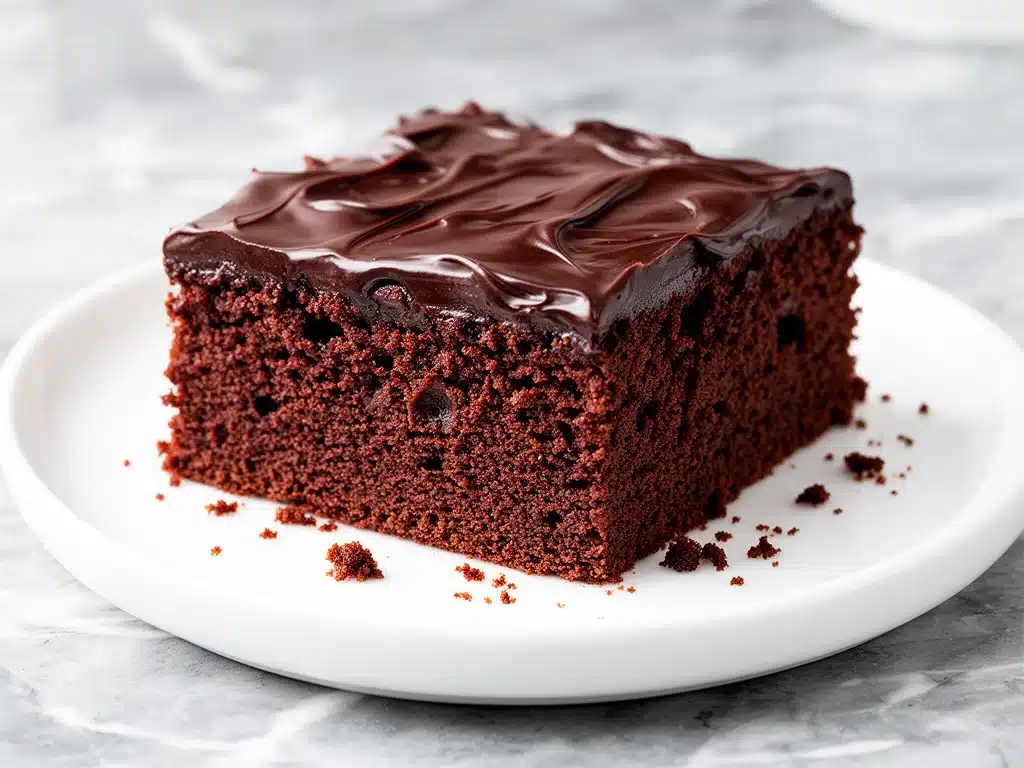
There is a specific kind of panic that sets in when you realize you forgot to bake a birthday cake until 48 hours before the party. I know this panic well. It’s the kind where you start browsing grocery store aisles in your mind, wondering if you can pull off something impressive with ingredients you already have. This is exactly how I stumbled onto my obsession with the moist chocolate buttermilk sheet cake with fudge icing.
It started five years ago. My niece’s birthday was coming up, and I had promised her the “best chocolate cake ever.” I was exhausted, my pantry was half-empty, and I was pretty sure I was going to fail. I grabbed a random recipe that called for buttermilk—a staple I usually keep in the fridge for pancakes but rarely for cakes. I mixed it up, poured it into a sheet pan because I didn’t feel like fighting with round layers, and slathered it with a warm, gooey fudge icing straight from the saucepan.
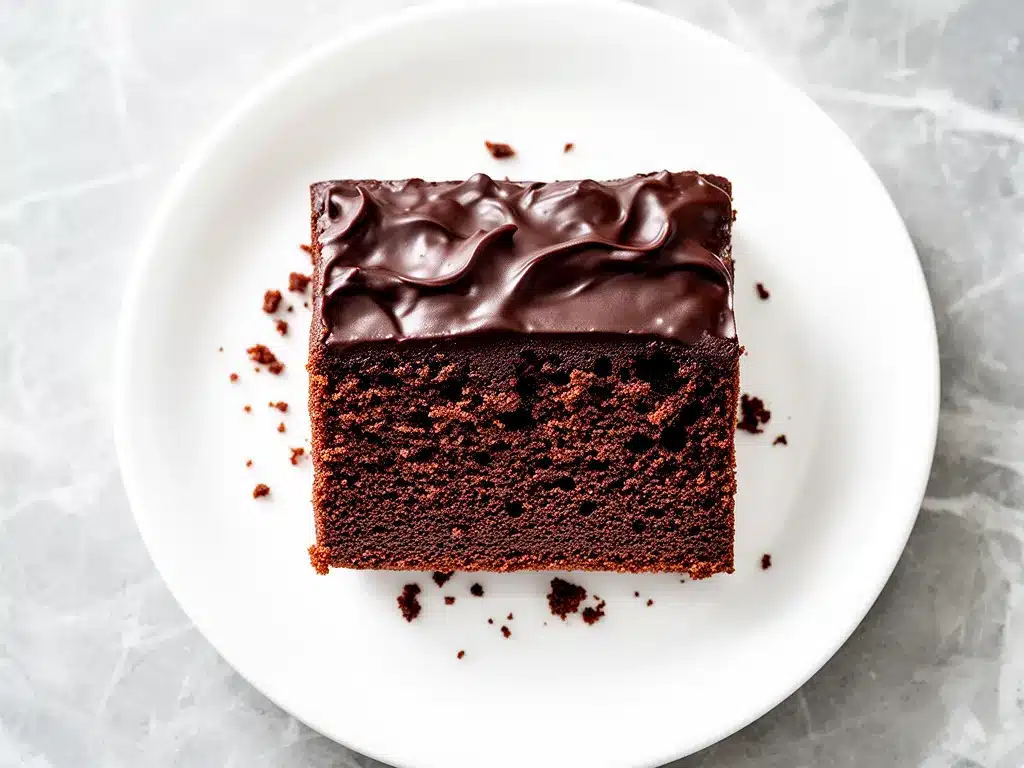
When that cake came out of the oven, the smell was intoxicating. But the real surprise? The texture. It was impossibly moist, tender, and rich without being heavy. The fudge icing soaked right into the warm cake, creating this incredible crust that cracked slightly when you cut it. My niece devoured three slices. My husband asked for the recipe. And honestly? I’ve made it for every birthday, potluck, and random Tuesday since.
This isn’t just a cake. It’s my secret weapon. It’s the moist chocolate buttermilk sheet cake with fudge icing that impresses every time, even when I’m running on three hours of sleep. It’s cheap, it’s easy, and it tastes like it came from a fancy bakery. If you’re tired of dry cakes and complicated frosting techniques, you need to try this one. It’s going to change your dessert game.
Why You’ll Love This Recipe
I’ve tested dozens of chocolate cake recipes over the years, and this moist chocolate buttermilk sheet cake with fudge icing stands out for reasons that go way beyond just “it tastes good.” Here’s why this has earned a permanent spot in my weekly rotation.
- It’s Actually Moist — I’m not talking about “slightly damp.” I mean juicy, tender, melt-in-your-mouth moist. The secret is the buttermilk. It reacts with the baking soda to create a tender crumb that stays soft for days. I’ve left slices out overnight, and they were still perfect the next day.
- One-Bowl Wonder — Seriously, one bowl. No fancy mixers, no creaming butter and sugar for twenty minutes. Just mix, pour, and bake. I make this while helping my kids with homework. It’s that simple.
- No-Bake Fudge Icing — Forget the hassle of making buttercream that separates or getting your icing perfectly smooth. This fudge icing is cooked on the stove, then poured warm over the cake. It sets into this incredible, crackly, fudgy shell that you can’t get with any other frosting. It’s pure magic.
- Budget-Friendly — This cake uses basic pantry staples. Flour, sugar, cocoa powder, eggs, oil, and buttermilk. You don’t need expensive chocolate chips or specialty ingredients. It feeds a crowd for under $10.
- Perfect for Any Occasion — Birthdays? Yes. Potlucks? Yes. Just because? Absolutely. It’s a sheet cake, so it’s easy to transport and serve. No fancy plating required. Just grab a spatula and dig in.
- Make-Ahead Friendly — This cake actually tastes better the next day. The flavors meld together, and the icing sets fully. I often make it the night before, which takes the stress out of hosting.
So basically, if you want a cake that looks impressive but is ridiculously easy to make, this is it. It’s reliable, delicious, and always a crowd-pleaser. I’ve served this to picky eaters, chocolate snobs, and kids who usually only like vanilla, and everyone asks for seconds.
Ingredients You’ll Need
Here’s the best part: you probably have most of these ingredients already. I’m particular about a few things here, and I’ll tell you exactly why they matter for this moist chocolate buttermilk sheet cake with fudge icing.
For the Cake
All-purpose flour (2 cups / 250g) — This is your base. Don’t use cake flour; you want structure. Spoon it into the measuring cup and level it off. Don’t scoop directly from the bag, or you’ll end up with too much flour and a dry cake.
Sugar (1 ½ cups / 300g) — Granulated white sugar. This keeps the crumb tender and moist. Brown sugar works too, but it makes the cake denser. I stick with white for that classic sheet cake texture.
Cocoa powder (¾ cup / 75g) — Use good quality unsweetened cocoa powder. I recommend Dutch-processed for a deeper, richer chocolate flavor. Natural cocoa works too, but the taste will be slightly brighter and less intense. This is where the chocolate flavor lives, so don’t skimp.
Baking soda (1 ½ teaspoons) — This is crucial. It reacts with the buttermilk to create lift and tenderness. Make sure it’s fresh; old baking soda won’t work properly.
Baking powder (1 teaspoon) — Adds a little extra lift to ensure the cake rises evenly in the sheet pan.
Salt (1 teaspoon) — Enhances the chocolate flavor. Don’t skip it. Chocolate tastes flat without salt.
Buttermilk (1 cup / 240ml) — This is the star ingredient. The acidity breaks down gluten for a tender crumb and adds a subtle tang that balances the sweetness. If you don’t have buttermilk, make your own: add 1 tablespoon of white vinegar or lemon juice to 1 cup of milk, let it sit for 5 minutes until it curdles. It works perfectly.
Vegetable oil (½ cup / 120ml) — Oil keeps the cake moist longer than butter does. Butter solidifies when cold, making the cake feel heavy. Oil stays liquid, keeping every bite soft. I use vegetable or canola oil. Olive oil is too strong for this flavor profile.
Eggs (2 large) — Room temperature eggs incorporate better into the batter. If you’re in a rush, just drop them in a bowl of warm water for 5 minutes.
Vanilla extract (2 teaspoons) — Pure vanilla, not imitation. It adds depth and rounds out the chocolate flavor.
Boiling water (1 cup / 240ml) — This is the secret weapon. Pouring boiling water into the batter “blooms” the cocoa powder, releasing its full flavor potential. The batter will look very thin and watery. Do not panic. This is normal. The water evaporates during baking, leaving behind intense chocolate flavor and moisture.
For the Fudge Icing
Butter (½ cup / 115g) — Unsalted butter. Give it a softening if you’re in a rush, but you’ll be melting it anyway, so it doesn’t matter much.
Cocoa powder (½ cup / 50g) — Again, good quality unsweetened cocoa. Dutch-processed is preferred for a smoother, darker icing.
Powdered sugar (3 cups / 360g) — Sifted if you can. It helps the icing stay smooth and prevents lumps.
Milk (3-4 tablespoons) — Whole milk is best for richness. Add it gradually to get the right consistency.
Vanilla extract (1 teaspoon) — For that classic fudge flavor.
Salt (¼ teaspoon) — Just a pinch to balance the sweetness.
Equipment Needed
You don’t need fancy equipment for this. Here’s what I actually use.
9×13-inch baking dish — A standard glass or metal baking dish works best. I prefer glass because it heats evenly and I can see the edges browning slightly. Metal conducts heat faster, so keep an eye on it. Dark pans might need a few minutes less baking time.
Large mixing bowl — Something big enough to hold all the dry ingredients and then the wet ingredients without spilling. I use a 5-quart bowl.
Whisk — A large whisk is essential for combining the dry ingredients and blending the batter smoothly. A spoon works in a pinch, but a whisk ensures no lumps of flour or cocoa.
Saucepan — For making the fudge icing. A medium-sized saucepan with a thick bottom prevents burning. I use a 2-quart saucepan.
Wooden spoon or silicone spatula — For stirring the icing and scraping the bowl. Silicone is great because it doesn’t scratch the saucepan.
Measuring cups and spoons — Standard stuff. Dollar store versions work fine, but make sure they’re accurate. I’ve had bad experiences with warped measuring cups.
Cooling rack — To let the cake cool slightly before icing. This is crucial for the fudge icing to set properly.
Optional but nice:
– Electric mixer — Not needed for this recipe, but if you prefer, you can use it to mix the batter. Just don’t overmix.
How to Make It: Step-by-Step
Alright, let’s make this! I’m walking you through exactly how I do it, including the little tricks I’ve picked up over the years.
Step 1: Prep Your Pan and Oven (5 minutes)
Preheat your oven to 350°F (175°C). Grease a 9×13-inch baking dish with butter or non-stick spray. I usually spray it and then dust it with a little cocoa powder to prevent sticking and keep the crust chocolatey. This step is quick but essential for easy removal later.
Step 2: Mix Dry Ingredients (2 minutes)
In your large mixing bowl, whisk together the flour, sugar, cocoa powder, baking soda, baking powder, and salt. Make sure there are no lumps. If your cocoa powder is clumpy, sift it with the flour. This ensures an even chocolate flavor throughout the cake.
Step 3: Add Wet Ingredients (2 minutes)
Add the buttermilk, oil, eggs, and vanilla extract to the dry ingredients. Beat on medium speed (or stir vigorously by hand) for about 2 minutes. The batter will be smooth and thick. Scrape down the sides of the bowl to ensure everything is incorporated.
Step 4: Add Boiling Water (1 minute)
Stir in the boiling water by hand. The batter will become very thin and watery. This is normal! Don’t add more flour. The water is there to bloom the cocoa and keep the cake moist. Pour it evenly into the prepared baking dish.
Step 5: Bake (30-35 minutes)
Place the pan in the preheated oven and bake for 30-35 minutes. The cake is done when a wooden toothpick inserted into the center comes out clean or with just a few moist crumbs. Do not overbake, or the cake will be dry. The edges should start to pull away slightly from the pan.
Step 6: Cool Slightly (10 minutes)
Remove the cake from the oven and let it cool in the pan for about 10 minutes. It needs to be warm, not hot, when you add the icing. If it’s too hot, the icing will melt completely. If it’s too cold, the icing won’t soak in properly.
Step 7: Make the Fudge Icing (10 minutes)
While the cake cools, make the icing. In a medium saucepan over medium heat, combine the butter, cocoa powder, and milk. Bring to a boil, stirring constantly. Once it boils, remove from heat and stir in the powdered sugar, vanilla, and salt. Mix until smooth and glossy. The icing will thicken slightly as it cools.
Step 8: Pour and Serve (5 minutes)
Pour the warm fudge icing over the slightly cooled cake. Use a spatula to spread it evenly to the edges. The icing will soak into the cake and set into a beautiful, crackly shell. Let the cake cool completely before slicing. This takes about 30 minutes, but patience pays off.
Expert Tips & Tricks
Here’s everything I’ve learned from making this dozens of times. These tips will save you from my mistakes.
Don’t Skip the Buttermilk
This is the key to the moist texture. The acidity tenderizes the gluten and adds flavor. If you use regular milk, the cake will be denser and less flavorful. Make your own buttermilk if you have to—it really works.
Boiling Water is Non-Negotiable
I know it looks weird, but the boiling water blooms the cocoa powder. This releases essential oils and intensifies the chocolate flavor. It also adds moisture that evaporates during baking, leaving the cake incredibly tender. Trust the process.
Test for Doneness Early
Ovens vary. Start checking your cake at 25 minutes. Overbaking is the #1 cause of dry cake. If the toothpick comes out clean, it’s done. If it has wet batter, give it 2-3 more minutes.
Ice It While Warm
The fudge icing needs the cake to be warm to soak in properly. If the cake cools completely, the icing will just sit on top and might slide off. Aim for that “warm to the touch” stage.
Let It Set
I know it’s tempting to cut into the cake as soon as the icing looks set. But let it cool completely. The icing needs time to firm up and create that crackly texture. Cutting too early will result in a messy slice.
Common Mistakes (and how to avoid them):
– Mistake: Icing is too thick — Fix: Add more milk, one tablespoon at a time, until it reaches a pourable consistency.
– Mistake: Icing is too thin — Fix: Let it cool a bit longer; it will thicken as it cools. Or add a little more powdered sugar.
– Mistake: Cake is dry — Fix: You likely overbaked it. Check it earlier next time. Also, ensure your buttermilk is fresh.
Variations & Substitutions
Once you’ve nailed the basic version, here’s how you can mix it up. I’ve tried all of these.
Red Velvet Twist
Add 1 tablespoon of red food coloring to the batter. It’s festive and looks stunning with the dark fudge icing. The taste is subtly tangy from the buttermilk.
Mocha Version
Add 1 tablespoon of instant espresso powder to the boiling water. It enhances the chocolate flavor without making it taste like coffee. Perfect for coffee lovers.
Gluten-Free
Use a 1:1 gluten-free flour blend. The texture might be slightly denser, but it still works well. Make sure your baking powder and soda are certified gluten-free.
Dairy-Free
Replace buttermilk with dairy-free milk plus vinegar. Use coconut oil or vegan butter instead of dairy butter. The icing will need dairy-free milk and butter. It’s not quite the same, but it’s still delicious.
Lighter Version
Reduce the sugar to 1 cup and use half-and-half instead of buttermilk. It’s less rich but still tasty. I make this when I’m trying to be “healthy,” but let’s be real—it’s still cake.
Extra Fudgy
Add 1 cup of semi-sweet chocolate chips to the batter before baking. It creates pockets of melted chocolate in every bite. My kids love this version.
Serving & Storage
How to Serve:
I usually serve this straight from the pan. It’s rustic and comforting. Cut into squares and serve with a dollop of whipped cream or a scoop of vanilla ice cream. The contrast of cold ice cream and warm cake is amazing.
Side Dishes:
– Fresh berries (strawberries, raspberries) to cut the richness
– Whipped cream
– Vanilla ice cream
– A simple green salad if you’re serving it after a heavy meal
Storage Instructions:
– Refrigerator: Store in an airtight container for up to 5 days. The cake stays moist for days, which is rare for chocolate cakes.
– Counter: Can be kept at room temperature for 2 days if covered tightly.
– Freezing: Yes, this freezes well! Wrap slices individually in plastic wrap and foil. Freeze for up to 3 months. Thaw in the fridge overnight. The texture remains moist.
Pro Tip:
If the icing gets hard in the fridge, let the slice sit at room temperature for 10 minutes before eating. It softens up nicely.
Nutrition Information
I’m not a nutritionist, but here’s the breakdown if you’re tracking. This is per serving (1 of 12 slices).
- Calories: 380
- Protein: 4g
- Carbs: 52g
- Fiber: 2g
- Sugar: 38g
- Fat: 16g
- Saturated Fat: 9g
- Cholesterol: 35mg
- Sodium: 280mg
Look, this is a rich, decadent chocolate cake. It’s not a diet food. But it’s made from scratch with real ingredients, and you control the sugar. When I want to make it lighter, I just take a smaller slice and pair it with fruit. But usually? I just enjoy it. It’s a treat.
Final Thoughts
So that’s my go-to moist chocolate buttermilk sheet cake with fudge icing! I’ve probably talked your ear off at this point, but when you make a recipe this often, you have a lot to say about it.
This cake has saved me more times than I can count. It’s my answer to “what’s for dessert” when I’m tired, don’t want to bake something complicated, and still want something that tastes incredible. My family is happy, my guests are impressed, and I’m happy because I’m not stressed about cooking.
Make it yours! Try different add-ins, swap in your favorite toppings, or just enjoy it as is. The best recipes are the ones you adapt to your family’s tastes. If you make this, drop a comment and let me know what you think! I love hearing how recipes turn out in your kitchen.
Happy baking! And I hope your kitchen smells half as good as mine does right now.
Frequently Asked Questions
Q: Can I use milk instead of buttermilk?
A: You can, but the texture won’t be as tender. If you must, make your own buttermilk by adding 1 tablespoon of vinegar or lemon juice to 1 cup of milk and letting it sit for 5 minutes. This creates the necessary acidity for the reaction with baking soda.
Q: Why did my cake turn out dense?
A: This usually happens if you overmix the batter after adding the flour, or if you used old baking soda. Also, make sure you’re measuring your flour correctly—scoop and level, don’t pack it down. Over-measuring flour is the most common mistake.
Q: Can I make this ahead for a party?
A: Absolutely! This cake actually tastes better the next day. Make it the night before, let it cool completely, and store it covered. The icing will set fully, and the flavors will meld. It’s perfect for meal prep.
Q: Why did my icing get hard?
A: If the icing gets too hard, it might have cooled too much before pouring. Make sure the cake is still warm when you add the icing. If the icing is too thick, add a splash of warm milk to loosen it up.
Q: Can I freeze this cake?
A: Yes! This cake freezes beautifully. Wrap slices tightly in plastic wrap and then foil. Freeze for up to 3 months. Thaw in the fridge overnight. The texture remains moist, which is rare for sheet cakes.
Q: Can I use dark cocoa powder?
A: Yes! Dark cocoa powder (Dutch-processed) gives a deeper, richer chocolate flavor. It works perfectly in this recipe. Just make sure it’s unsweetened.
Q: How do I store leftovers?
A: Store in an airtight container at room temperature for 2 days, or in the fridge for up to 5 days. The cake stays moist for days, which is one of its best features.
Pin This Recipe!
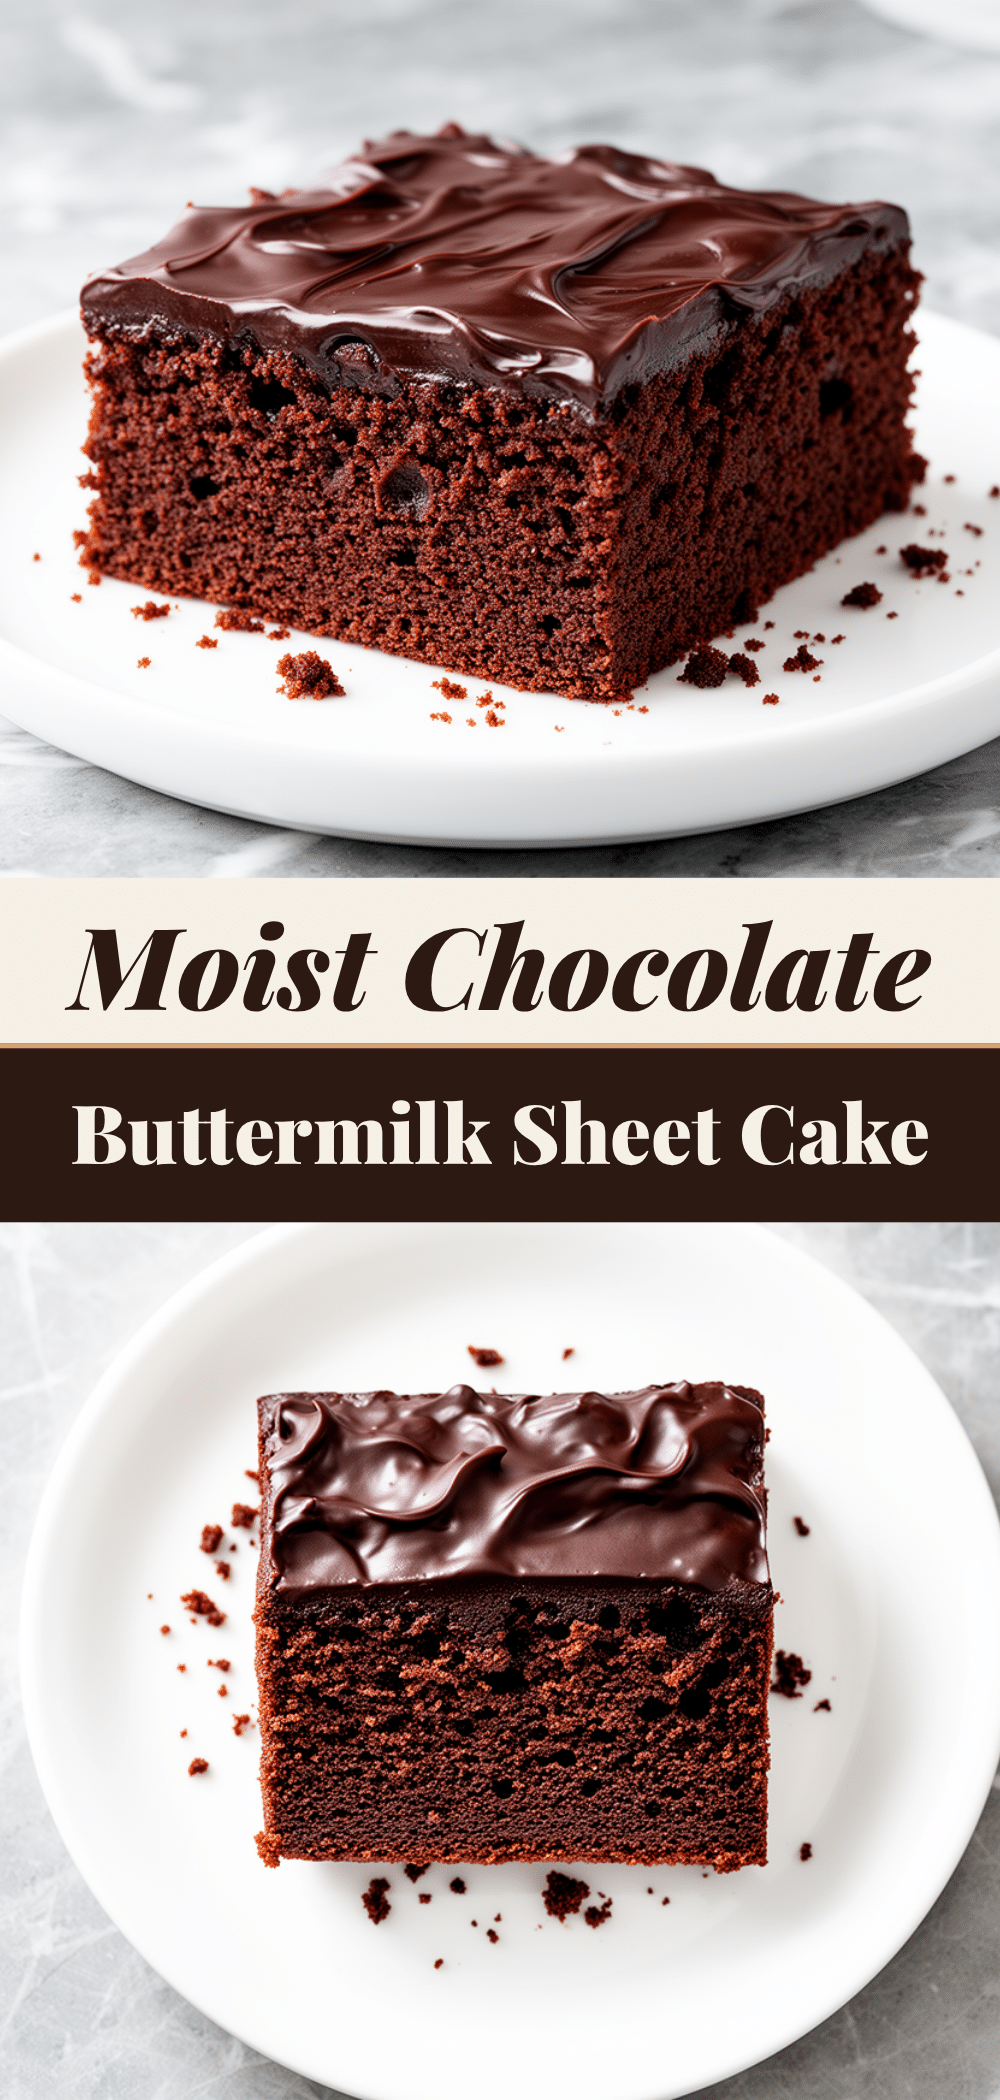
Moist Chocolate Buttermilk Sheet Cake with Fudge Icing
- Total Time: 45 minutes
- Yield: 12 servings 1x
Description
An easy, one-bowl chocolate sheet cake that is incredibly moist thanks to buttermilk and boiling water, topped with a rich, no-bake fudge icing that creates a crackly shell.
Ingredients
- 2 cups (250g) all-purpose flour
- 1 ½ cups (300g) granulated white sugar
- ¾ cup (75g) unsweetened cocoa powder (Dutch-processed preferred)
- 1 ½ teaspoons baking soda
- 1 teaspoon baking powder
- 1 teaspoon salt
- 1 cup (240ml) buttermilk
- ½ cup (120ml) vegetable oil
- 2 large eggs, room temperature
- 2 teaspoons vanilla extract
- 1 cup (240ml) boiling water
- ½ cup (115g) unsalted butter (for icing)
- ½ cup (50g) unsweetened cocoa powder (for icing)
- 3 cups (360g) powdered sugar, sifted (for icing)
- 3–4 tablespoons whole milk (for icing)
- 1 teaspoon vanilla extract (for icing)
- ¼ teaspoon salt (for icing)
Instructions
- Preheat oven to 350°F (175°C). Grease a 9×13-inch baking dish with butter or non-stick spray, optionally dusting with cocoa powder.
- In a large mixing bowl, whisk together the flour, sugar, cocoa powder, baking soda, baking powder, and salt until no lumps remain.
- Add the buttermilk, vegetable oil, eggs, and 2 teaspoons vanilla extract to the dry ingredients. Beat on medium speed or stir vigorously for about 2 minutes until smooth and thick.
- Stir in the boiling water by hand. The batter will become thin and watery; this is normal. Pour evenly into the prepared baking dish.
- Bake for 30-35 minutes, or until a wooden toothpick inserted into the center comes out clean or with moist crumbs. Do not overbake.
- Remove from oven and let cool in the pan for 10 minutes. The cake should be warm, not hot, when icing.
- While the cake cools, make the icing: In a medium saucepan over medium heat, combine butter, ½ cup cocoa powder, and milk. Bring to a boil, stirring constantly.
- Remove saucepan from heat. Stir in powdered sugar, 1 teaspoon vanilla extract, and ¼ teaspoon salt until smooth and glossy.
- Pour the warm fudge icing over the slightly cooled cake. Spread evenly to the edges.
- Let the cake cool completely (about 30 minutes) before slicing to allow the icing to set into a crackly shell.
Notes
The boiling water blooms the cocoa powder for intense flavor and moisture. The cake must be warm when the icing is poured to allow it to soak in and set properly. If you don’t have buttermilk, make a substitute by adding 1 tablespoon of vinegar or lemon juice to 1 cup of milk and letting it sit for 5 minutes.
- Prep Time: 15 minutes
- Cook Time: 30 minutes
- Category: Dessert
- Cuisine: American
Nutrition
- Serving Size: 1 slice (1 of 12 sli
- Calories: 380
- Sugar: 38
- Sodium: 280
- Fat: 16
- Saturated Fat: 9
- Carbohydrates: 52
- Fiber: 2
- Protein: 4
Keywords: chocolate cake, buttermilk cake, sheet cake, fudge icing, easy dessert, moist chocolate cake, birthday cake, one-bowl cake


