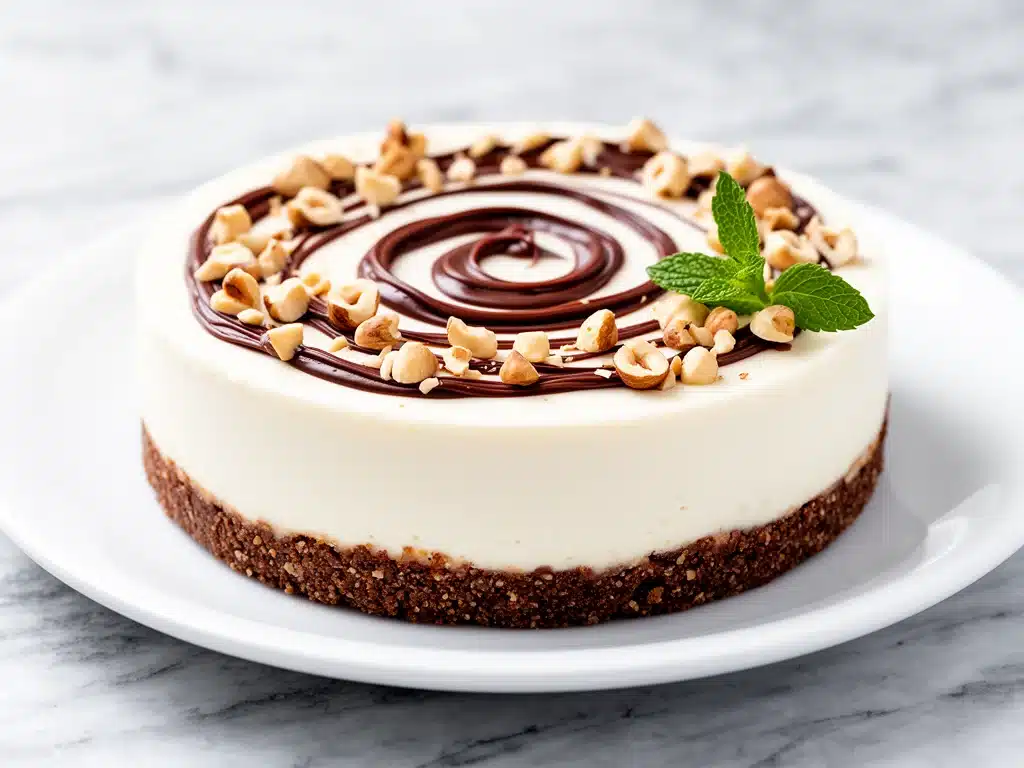
There is a specific kind of panic that sets in when you realize you have a dinner party in two days and zero dessert plan. It happened to me last Saturday. My friends were coming over—people who appreciate good food, not just “good enough” food—and I stared into my empty oven, then my pantry, and felt that familiar wave of culinary dread. I didn’t want to bake a cake. The kitchen was already hot, I didn’t want to stand over a mixer for an hour, and honestly? I just wanted chocolate and cream cheese.
That’s when I made the decision that changed my dessert game forever: I was going to make a no-bake cheesecake. But not just any no-bake cheesecake. I was going to make the No-Bake Nutella Cheesecake with Hazelnut Crust.
I’ll be honest with you. When I first tried this, I was skeptical. I’ve made my share of no-bake desserts over the years, and many of them feel like fancy ice cream with a cookie crust. They’re good, sure. But they lack that dense, rich, professional bakery quality. I wanted something that would hold its shape, taste indulgent without being cloying, and look stunning on a plate. I tested this recipe five times in one week. Five. I ate my weight in cream cheese and chocolate spread. But on the sixth try, I nailed it. The crust was crunchy and buttery. The filling was silky smooth. And the flavor? It tasted like a vacation.
This No-Bake Nutella Cheesecake is now my secret weapon. It’s the dessert I make when I want to impress without stressing. It’s the treat I keep in the fridge for Tuesday nights when I need a pick-me-up. And it’s the reason my friends now ask me, “Did you bake that?” every time they visit. The answer is always no. And that’s the beauty of it.
If you’re tired of complicated baking projects that leave your kitchen a mess, or if you’re like me and just want dessert without the oven heat, this is your new go-to. It’s rich, it’s creamy, and it’s ridiculously easy. Let me walk you through exactly how to make it, so you can stop worrying and start eating.
Why You’ll Love This No-Bake Nutella Cheesecake
There are a lot of cheesecake recipes out there. Some require a water bath. Some need you to worry about cracking. Some take days to set. This No-Bake Nutella Cheesecake with Hazelnut Crust? It’s different. Here’s why I keep coming back to it, and why I think you will too.
Zero Oven Required — Seriously. No preheating. No checking for doneness. No standing there watching it bubble. You mix, you press, you chill. That’s it. This makes it perfect for summer when you don’t want to turn on the oven, or for winter when you just want to stay inside. It’s also a lifesaver if your oven is acting up (we’ve all been there).
Restaurant-Quality Texture — I’ve tried no-bake recipes that are airy and light, and others that are dense and heavy. This one hits the sweet spot. It’s creamy and smooth, like a truffle, but it has enough structure to hold a perfect slice. The key? Using the right ratio of cream cheese to Nutella and letting it chill long enough. Don’t rush it.
The Hazelnut Crust is Non-Negotiable — Most no-bake cheesecakes use a plain graham cracker crust. Boring. This one uses crushed hazelnuts mixed with butter and sugar. It’s nutty, buttery, and adds a sophisticated crunch that contrasts beautifully with the soft filling. It elevates the whole dessert from “homemade treat” to “fancy dessert.”
Make-Ahead Friendly — This is the best part. You can make this cheesecake a day or two in advance. In fact, it tastes better the next day because the flavors have time to meld together. I often make it on Sunday for a Friday night dinner party. It sits in the fridge, looking pretty, waiting to be served. No last-minute stress.
Simple Ingredients — You probably have most of this already. Cream cheese, Nutella, heavy cream, hazelnuts, butter, sugar. That’s it. No weird stabilizers or hard-to-find ingredients. If you can make cinnamon sugar tortilla chips, you can make this crust. It’s that simple.
This recipe has saved me more times than I can count. It’s my answer to “what’s for dessert?” when I want something special but don’t have the energy to bake. It’s rich, it’s indulgent, and it’s completely worth the 15 minutes of prep time.
Ingredients You’ll Need
Here’s the thing about this No-Bake Nutella Cheesecake: the quality of your ingredients matters more than usual. Since there’s no baking to mask imperfections, you want good stuff. But don’t worry, it’s not expensive or hard to find.
For the Hazelnut Crust
Hazelnuts (1 ½ cups / 150g) — This is the star of the crust. You want raw, skin-on hazelnuts. Toasting them first brings out their flavor, but if you’re in a hurry, raw works too. I buy mine in bulk at the store—it’s cheaper than buying them pre-crushed. If you can’t find hazelnuts, pecans or walnuts work, but it won’t be the same.
Butter (3 tablespoons / 45g) — Unsalted butter is best so you can control the salt. Melted butter binds the nuts together. Don’t skip this, or your crust will crumble.
Sugar (2 tablespoons / 25g) — Just a touch to sweeten the crust. You don’t want it too sweet, as the filling is already rich. Granulated white sugar works best for texture. Brown sugar can make it too moist.
Salt (¼ teaspoon) — A pinch of salt cuts through the sweetness of the Nutella. Don’t skip it. It makes the chocolate flavor pop.
For the Nutella Cheesecake Filling
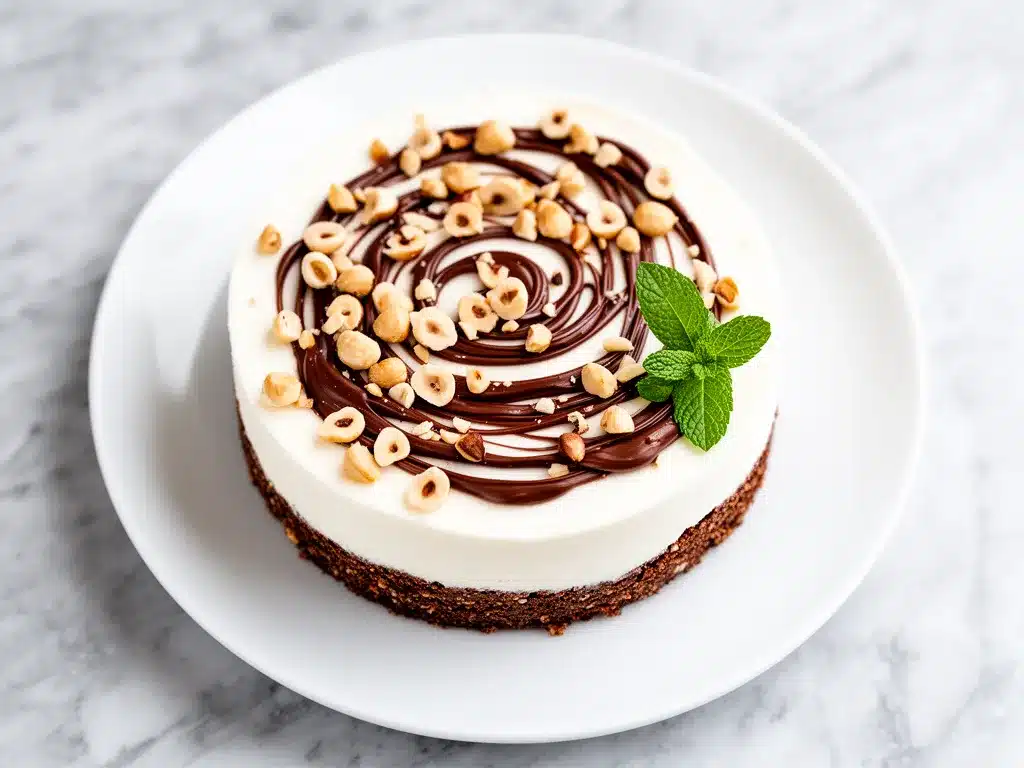
Cream Cheese (16 oz / 450g, full-fat) — This is the base. It must be full-fat. Light cream cheese won’t set properly and will be runny. Let it come to room temperature before you start. Cold cream cheese creates lumps that are impossible to beat out.
Nutella (1 cup / 270g) — Yes, the whole jar. Well, almost. Use your favorite hazelnut chocolate spread. If you have a local brand you love, use that. But Nutella is the classic for a reason. Make sure it’s at room temperature too. Cold Nutella clumps up.
Heavy Cream (1 ½ cups / 360ml) — Cold heavy cream is essential for whipping. This is what gives the cheesecake its light, airy texture. Don’t use half-and-half or milk. It won’t whip. Use a chilled bowl and chilled beaters for best results.
Vanilla Extract (1 teaspoon) — Pure vanilla extract, not imitation. It adds a subtle floral note that balances the chocolate. A little goes a long way.
Confectioners’ Sugar (½ cup / 60g) — This dissolves easily, which is important since we’re not baking. It sweetens the filling without adding graininess. Sift it if it’s lumpy.
Optional: Extra Hazelnuts (for garnish) — Toasted and chopped. They look beautiful on top and add a nice crunch.
Equipment Needed
You don’t need fancy gadgets for this. Here’s what I actually use in my kitchen.
9-Inch Springform Pan — This is non-negotiable for easy removal. If you don’t have one, you can use a 9-inch pie dish, but you’ll need to line it with parchment and lift the cheesecake out. I use a 9-inch springform because it’s standard for cheesecakes. Make sure the bottom fits snugly—loose bottoms leak.
Food Processor or Blender — For crushing the hazelnuts into a fine meal. A food processor works best because it gives you control. If you don’t have one, put the nuts in a zip-top bag and crush them with a rolling pin. It takes more effort, but it works.
Hand Mixer or Stand Mixer — You need to beat the cream cheese until it’s smooth. A hand mixer is fine, but a stand mixer is easier on your arms. I use a hand mixer because it’s easier to clean.
Large Mixing Bowls — You’ll need one for the cream cheese mixture and one for whipping the cream. Make sure they’re clean and dry.
Spatula — A silicone spatula is great for folding the whipped cream into the Nutella mixture. It’s gentle and gets every bit out of the bowl.
Measuring Cups and Spoons — Baking is science, even when it’s no-bake. Measure accurately. If you eyeball it, you might end up with a runny cheesecake.
Parchment Paper — Optional, but I like to line the bottom of the springform pan with parchment. It makes cleanup easier and ensures the crust doesn’t stick.
How to Make It: Step-by-Step
Alright, let’s make this! I’m walking you through exactly how I do it, including the little tricks I’ve picked up over my five failed attempts. This is easier than it looks, but there are a few key steps to get it right.
Step 1: Prep Your Pan and Hazelnuts (5 minutes)
First, get your springform pan ready. If you’re using parchment, line the bottom. I usually spray the sides with non-stick spray too, just to be safe. Then, toast your hazelnuts. Spread them on a baking sheet and bake at 350°F (175°C) for 8-10 minutes, until they’re fragrant and lightly browned. Let them cool completely. This step is crucial—warm nuts will melt the butter in the crust, making it greasy. While they cool, you can start prepping your cream cheese. Take it out of the fridge now so it has time to soften.
Step 2: Make the Hazelnut Crust (5 minutes)
Once the hazelnuts are cool, put them in your food processor. Pulse until they’re finely ground. You want a texture like coarse sand, not butter. Don’t over-process, or you’ll make hazelnut butter. Add the melted butter, sugar, and salt. Pulse again until the mixture looks like wet sand. It should hold together when you pinch it. Pour this into your prepared springform pan. Use the bottom of a measuring cup to press it down firmly and evenly. You want it flat and compact. Put the pan in the fridge while you make the filling. This helps the crust set.
Step 3: Beat the Cream Cheese (3 minutes)
In a large bowl, beat the softened cream cheese with the confectioners’ sugar and vanilla extract. Use medium-high speed. Beat for about 2-3 minutes until it’s completely smooth and creamy. Scrape down the sides of the bowl with your spatula. If you see lumps, keep beating. Lumps are the enemy of a smooth cheesecake. This step takes patience, but it’s worth it.
Step 4: Add the Nutella (2 minutes)
With the mixer on low, slowly add the Nutella. Once it’s all incorporated, turn the mixer up to medium and beat for another minute until the mixture is smooth and glossy. It should look like chocolate mousse. Taste it at this stage. If you want it sweeter, add a little more sugar. If you want more chocolate, add a spoonful of Nutella. This is your chance to customize.
Step 5: Whip the Cream (3 minutes)
In a separate cold bowl, whip the heavy cream. Start on low speed and gradually increase to high. Whip until you form stiff peaks. This means when you lift the beaters, the cream stands up straight. Don’t over-whip, or it’ll turn into butter. Keep an eye on it. It goes from soft peaks to stiff peaks quickly.
Step 6: Fold It Together (5 minutes)
This is the most important step. Take about one-third of the whipped cream and fold it into the Nutella mixture. This lightens the dense chocolate base. Then, gently fold in the rest of the cream. Use a spatula and cut down through the middle, scrape the bottom, and fold over the top. Do this gently. You don’t want to deflate the air you just whipped in. Fold until there are no more white streaks. The mixture should be uniform and airy.
Step 7: Fill and Chill (8 hours minimum)
Pour the filling into the crust. Smooth the top with your spatula. Tap the pan gently on the counter to release any air bubbles. Cover the pan with plastic wrap or foil. Put it in the fridge. Now, the wait. You need to chill it for at least 8 hours, but overnight is best. This is when the cheesecake sets and the flavors meld. If you’re impatient (like me), you can put it in the freezer for 1 hour to speed things up, but the fridge is better for texture.
Expert Tips & Tricks
Here’s everything I’ve learned from making this dozens of times. These tips will save you from my mistakes.
Room Temperature is Key — I can’t stress this enough. Your cream cheese and Nutella must be at room temperature. If they’re cold, you’ll get lumps. If you forget, cut the cream cheese into cubes and microwave it in 10-second bursts until it’s soft. Don’t melt it!
Don’t Skip the Toasting — Toasting the hazelnuts brings out their nutty flavor. Raw nuts taste flat. It adds 10 minutes of prep, but it makes a huge difference in taste.
Chill Your Bowl — For whipping the cream, put your mixing bowl in the freezer for 15 minutes before you start. Cold bowls help the cream whip faster and hold its shape better.
Fold, Don’t Stir — When combining the cream and Nutella, use a folding motion. Stirring vigorously will deflate the cream, and your cheesecake will be dense and heavy. Be gentle.
Unmolding Like a Pro — To remove the cheesecake from the springform pan, run a hot knife around the edge. Dip the knife in hot water, wipe it dry, and run it around the inside. Do this a few times. Then, unlatch the springform. If it’s still sticking, put it in the freezer for 10 minutes—the cold helps it release.
Common Mistakes (and how to avoid them)
- Mistake: Runny Cheesecake — Fix: You didn’t chill it long enough, or you over-whipped the cream and it deflated. Chill for at least 8 hours.
- Mistake: Lumpy Filling — Fix: Your cream cheese wasn’t soft enough. Beat it longer, or use a hand mixer to smooth it out.
- Mistake: Crust Crumbles — Fix: You didn’t press it down firmly enough. Press it hard, and add a bit more butter if it’s too dry.
Variations & Substitutions
Once you’ve nailed the basic version, here’s how you can mix it up. I’ve tried all of these, and they’re all delicious.
Strawberry Nutella Cheesecake — Add a layer of sliced strawberries between the crust and the filling. Or, blend 1 cup of strawberries into the Nutella mixture for a fruity twist. This is my favorite for spring.
Double Chocolate — Add 2 tablespoons of cocoa powder to the Nutella mixture. It makes it even more chocolatey. Perfect for chocolate lovers.
Gluten-Free — Use gluten-free hazelnuts and make sure your Nutella is certified gluten-free (most brands are, but check the label). The rest of the ingredients are naturally gluten-free.
Dairy-Free — Use vegan cream cheese and vegan Nutella (or a homemade hazelnut chocolate spread). Use coconut cream instead of heavy cream. It won’t be as light, but it’s still delicious.
Low-Sugar — Use a sugar-free Nutella alternative and substitute the confectioners’ sugar with erythritol. It’s a bit sweeter, so adjust to taste.
Different Nuts — If you can’t find hazelnuts, use almonds, pecans, or walnuts. Almond crust is nice and mild. Pecan crust is sweeter. Try what you like!
Serving & Storage
How to Serve: I usually serve this straight from the fridge. It’s best cold. Slice it with a hot knife for clean cuts. Dip the knife in hot water, wipe it dry, and cut. Wipe between cuts for perfect slices. Garnish with whipped cream, extra hazelnuts, or a drizzle of Nutella. It looks fancy, I promise.
Side Dishes: This cheesecake is rich, so it doesn’t need much. A simple green salad balances it well. Or, serve it with fresh berries. I also like it with a cup of black coffee or tea. It’s a perfect afternoon treat.
Storage: Store the cheesecake in the springform pan, covered with plastic wrap, in the fridge for up to 5 days. It actually tastes better on day 2 and 3 as the flavors meld. Do not freeze it whole—the texture of the cream cheese changes when frozen and thawed. You can freeze slices for up to 1 month, but thaw them in the fridge overnight.
Pro Tip: If you’re making this for a party, make it the day before. It saves you stress, and it tastes better. Plus, you get to eat the scraps while you’re prepping.
Nutrition Information
I’m not a nutritionist, but here’s the breakdown if you’re tracking. Keep in mind, this is a rich dessert, so a little goes a long way.
Per Serving (based on 12 slices):
- Calories: 380
- Protein: 6g
- Carbs: 32g
- Fiber: 2g
- Sugar: 28g
- Fat: 26g
- Saturated Fat: 14g
- Cholesterol: 65mg
- Sodium: 180mg
What’s Good: It’s gluten-free (if you use GF nuts), and it has some protein from the cheese. Hazelnuts add healthy fats and fiber.
What to Know: It’s high in sugar and fat, as expected for a cheesecake. Enjoy it as a treat, not a daily snack. If you’re watching sugar, try the low-sugar version I mentioned earlier.
Final Thoughts
So that’s my No-Bake Nutella Cheesecake with Hazelnut Crust! I’ve probably talked your ear off at this point, but when you make a recipe this often, you have a lot to say about it.
This has saved me more times than I can count. It’s my answer to “what’s for dessert?” when I want something special but don’t have the energy to bake. My friends are always impressed, and I’m always happy because I’m not stressed about cooking. It’s rich, it’s indulgent, and it’s completely worth the 15 minutes of prep time.
Make it yours! Try different toppings, swap in your favorite nuts, or add a layer of fruit. The best recipes are the ones you adapt to your tastes. If you make this, drop a comment and let me know what you think! I love hearing how recipes turn out in your kitchen. And if something doesn’t work, tell me that too—I’m here to help troubleshoot.
Happy cooking! And I hope your kitchen smells half as good as mine does right now.
Frequently Asked Questions
Can I use a different nut for the crust?
Yes! Almonds, pecans, and walnuts all work well. Almonds give a milder flavor, while pecans add sweetness. Just toast them first for the best flavor. Hazelnuts are traditional, but don’t let them stop you from using what you have.
Why did my cheesecake turn out runny?
This usually happens for two reasons: you didn’t chill it long enough, or you over-whipped the cream. If you whip the cream too much, it starts to separate and won’t hold air. Chill for at least 8 hours, and whip the cream just until stiff peaks form.
Can I make this ahead for a party?
Absolutely. This is best made a day in advance. The flavors meld together, and it sets better. You can make it up to 2 days ahead. Just keep it covered in the fridge.
Do I need a springform pan?
It’s highly recommended. It makes removing the cheesecake easy. If you don’t have one, you can use a 9-inch pie dish lined with parchment paper, but you’ll need to lift the cheesecake out to slice it. It’s more work, but it works.
Can I freeze this cheesecake?
It’s not recommended to freeze the whole cheesecake. The texture of the cream cheese can change, becoming grainy. However, you can freeze individual slices for up to 1 month. Thaw them in the fridge overnight before serving.
Is Nutella gluten-free?
Most Nutella is naturally gluten-free, but always check the label. Some brands may have cross-contamination warnings. If you’re strictly gluten-free, look for a certified gluten-free hazelnut spread.
Can I use whipped cream cheese instead of block cream cheese?
No. Whipped cream cheese has air and stabilizers in it, which will make your cheesecake too light and it won’t set properly. Always use block cream cheese, softened to room temperature.
Pin This Recipe!
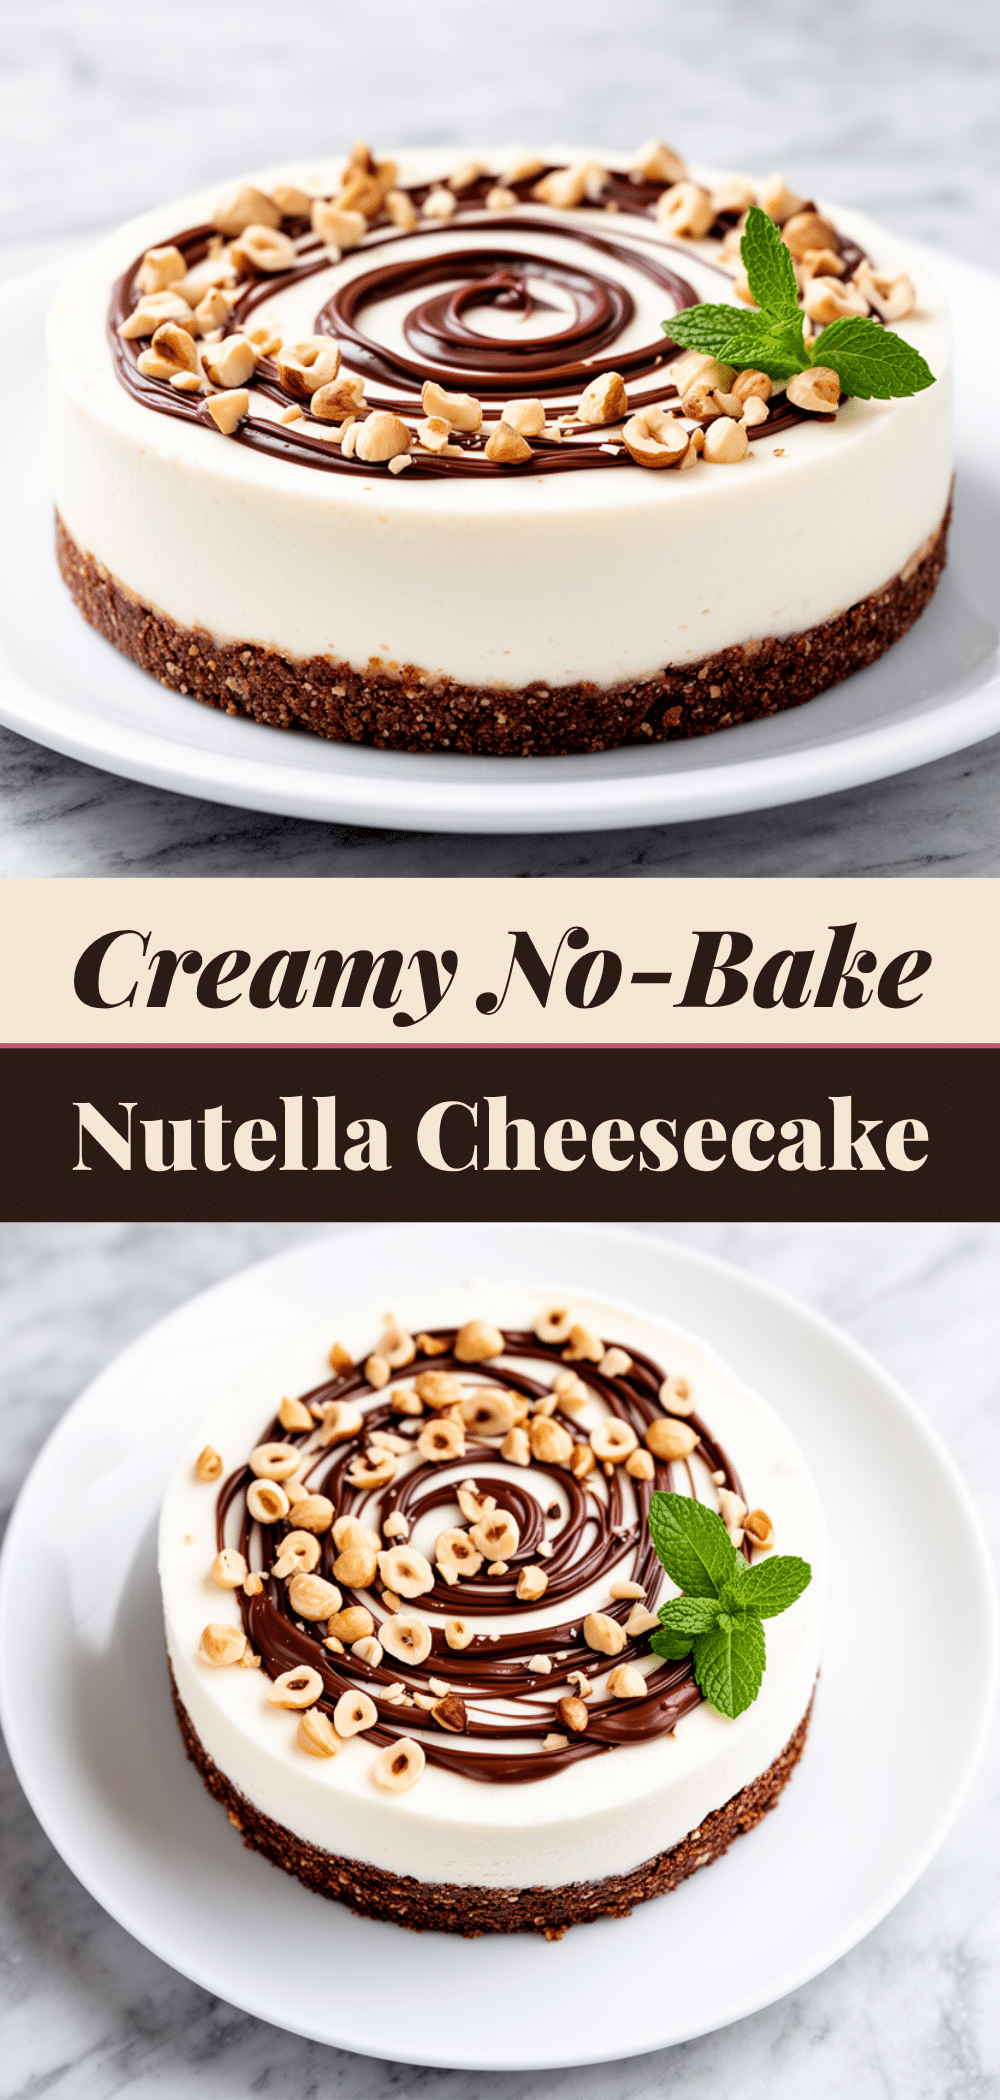
No-Bake Nutella Cheesecake with Hazelnut Crust
- Total Time: 8 hours 25 minutes
- Yield: 12 servings 1x
Description
A rich, creamy, and indulgent no-bake cheesecake featuring a crunchy hazelnut crust and a silky Nutella filling. This dessert requires no oven, making it perfect for any season, and can be made ahead for stress-free entertaining.
Ingredients
- 1 ½ cups (150g) raw hazelnuts
- 3 tablespoons (45g) unsalted butter, melted
- 2 tablespoons (25g) granulated white sugar
- ¼ teaspoon salt
- 16 oz (450g) full-fat cream cheese, softened to room temperature
- 1 cup (270g) Nutella, softened to room temperature
- 1 ½ cups (360ml) heavy cream, cold
- 1 teaspoon pure vanilla extract
- ½ cup (60g) confectioners’ sugar, sifted
- Optional: Extra toasted and chopped hazelnuts for garnish
Instructions
- Preheat oven to 350°F (175°C). Spread hazelnuts on a baking sheet and toast for 8-10 minutes until fragrant. Let cool completely.
- Line the bottom of a 9-inch springform pan with parchment paper and spray sides with non-stick spray.
- Process cooled hazelnuts in a food processor until finely ground (like coarse sand). Add melted butter, sugar, and salt; pulse until mixture resembles wet sand and holds together when pinched.
- Press crust mixture firmly and evenly into the bottom of the prepared pan. Refrigerate while making filling.
- In a large bowl, beat softened cream cheese, confectioners’ sugar, and vanilla extract on medium-high speed for 2-3 minutes until completely smooth. Scrape down sides.
- With mixer on low, slowly add Nutella. Increase speed to medium and beat for 1 minute until smooth and glossy.
- In a separate chilled bowl, whip heavy cream on high speed until stiff peaks form.
- Fold one-third of the whipped cream into the Nutella mixture to lighten it. Gently fold in the remaining cream until no white streaks remain.
- Pour filling into the crust and smooth the top. Tap pan gently to release air bubbles.
- Cover with plastic wrap or foil and refrigerate for at least 8 hours or overnight until set.
- To serve, run a hot knife around the edge to release from the pan. Slice with a hot knife and garnish with extra hazelnuts if desired.
Notes
Ensure cream cheese and Nutella are at room temperature to avoid lumps. Toasting hazelnuts enhances flavor significantly. Chill the mixing bowl for whipping cream for better results. Do not freeze the whole cheesecake as texture may change; freeze individual slices only if necessary.
- Prep Time: 15 minutes
- Cook Time: 10 minutes
- Category: Dessert
- Cuisine: American
Nutrition
- Serving Size: 1 slice
- Calories: 380
- Sugar: 28
- Sodium: 180
- Fat: 26
- Saturated Fat: 14
- Carbohydrates: 32
- Fiber: 2
- Protein: 6
Keywords: no-bake cheesecake, Nutella dessert, hazelnut crust, easy dessert, make-ahead dessert, chocolate cheesecake, summer dessert


