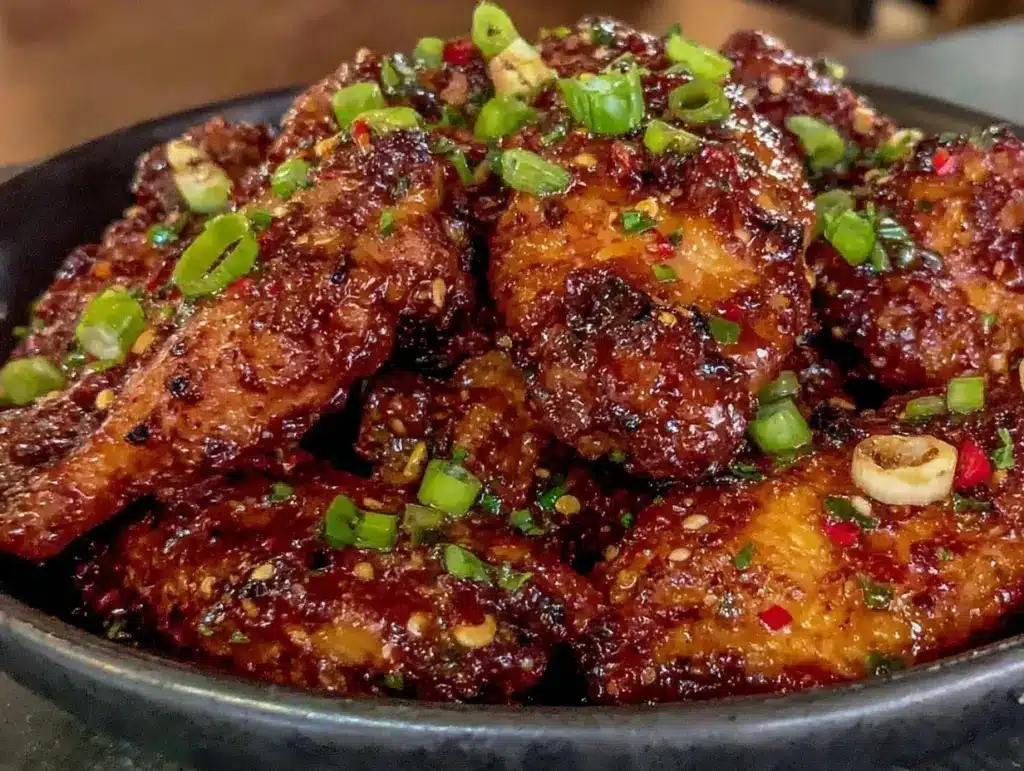
Last Sunday, my living room looked like a tornado had hit a fast-food restaurant. There were napkins everywhere, empty soda cups, and my husband was sitting on the floor because the couch was completely taken over by our kids and their friends. But the real story wasn’t the chaos—it was the bowl of wings in the center of the coffee table. It was empty before the first quarter even ended.
I’ve made these Game Day Spicy Honey Garlic Wings about a dozen times since then, usually on a Tuesday night when I just need to feed four hungry people without spending a fortune or spending hours in the kitchen. And honestly? They’re just as good on a random Tuesday as they are during the big game.
Here’s the thing about wings: they’re one of those foods that feel like a treat, but they’re actually super budget-friendly if you know how to shop. I used to buy those pre-made frozen wings that cost $8 for a bag of six pieces. Don’t do that. Buy a whole pack of chicken wings from the store, separate them yourself, and you’ll save half the price. Plus, making the sauce from scratch is incredibly easy. It’s just honey, garlic, soy sauce, and a little kick of heat. That’s it.
My family is obsessed with this specific balance—sweet, savory, and spicy. The kids love dipping them in ranch, my husband likes them straight off the bone, and I’m all about that sticky, garlicky glaze. If you’re looking for a crowd-pleaser that doesn’t require a degree in cooking or a second mortgage, this is it. It’s sticky, it’s messy, and it’s absolutely delicious. Let’s get into how to make a big batch that won’t break the bank.
Why You’ll Love This Recipe
I keep coming back to these wings for a few reasons, mostly because they solve the “what’s for snack/dinner” problem in the most delicious way possible. Here’s why this batch has earned a permanent spot in my weekly rotation:
- Stupid Simple Sauce — Seriously, if you can measure honey and mince garlic, you can make this sauce. I’ve made it while watching TV, while helping with homework, and while arguing with my toddler about putting on shoes. It just works.
- Lightning Fast Cleanup — You’re baking the wings, not deep-frying them. That means one baking sheet and a bowl for the sauce. No messy oil splatters, no grease traps. I wipe the counter and I’m done.
- Pantry-Friendly — You probably have 90% of these ingredients already. Honey? Check. Garlic? Check. Soy sauce? Check. Hot sauce? Maybe. If you don’t have it, any spicy sauce you have on hand will do. This is a “use what you’ve got” recipe.
- Budget-Smart — Chicken wings are one of the cheapest cuts of chicken per pound. A 3-pound pack usually runs $8-$10 at my store. That feeds a family of four with plenty of leftovers. It’s cheaper than ordering takeout and tastes way better.
- Kid-Approved (Mostly) — My 7-year-old says they’re “fire wings” because of the heat, but he eats three every game day. If you have little ones sensitive to spice, just set aside a few wings before adding the hot sauce, or reduce the amount by half.
This is my go-to when I need dinner to just work. No complicated techniques, no weird ingredients, just reliable, delicious food that makes everyone happy. And yes, you can double the batch easily. I usually make two pans because my husband eats like a growing teenager.
Ingredients You’ll Need
Here’s the best part: this sauce looks like a long list, but most of it is pantry basics. I’m particular about a few things here, mostly because they make a huge difference in flavor and texture.
For the Wings
Chicken wings (3 pounds / 1.36kg) — Buy the whole pack. You’ll need to separate the drumettes from the flats. Don’t buy pre-cut wings if you can avoid it—they’re more expensive. Look for the “party cut” or “whole wing” packs. Pat them very dry with paper towels. This is the secret to crispy skin. Wet wings steam; dry wings crisp.
Baking powder (1 tablespoon / 15g) — Not baking soda! Plain baking powder helps draw out moisture and crisps up the skin. It’s a game-changer. You don’t need much, and it’s a staple I always keep.
Salt (1 teaspoon / 6g) — Just kosher salt or table salt. Season the wings well before baking.
Vegetable oil or cornstarch (1 tablespoon / 15ml or 2 tablespoons / 15g) — I usually just use a light spray of oil, but a little cornstarch helps too. Either works.
For the Spicy Honey Garlic Sauce
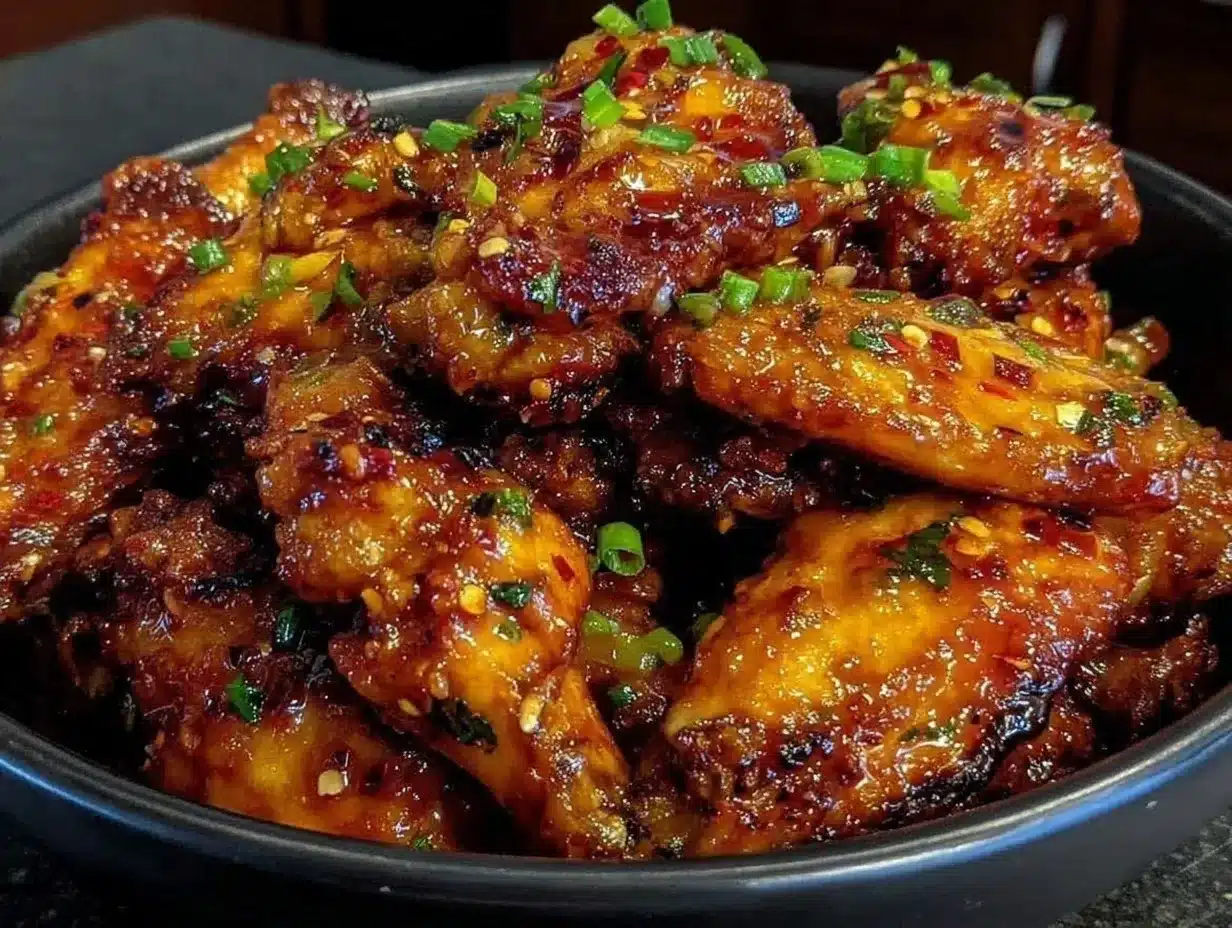
Honey (½ cup / 170g) — Use real honey, not the sugary corn syrup kind. It makes a difference in the flavor depth. If you’re out, maple syrup works in a pinch, but honey is best.
Soy sauce (¼ cup / 60ml) — I use low-sodium so I can control the saltiness. Regular soy sauce is fine if you reduce the salt elsewhere. It gives that savory umami base.
Garlic (6 cloves, minced / about 2 tablespoons) — Yes, six cloves. Don’t skimp. Fresh only—no jarred garlic in this recipe. The flavor is too sharp and metallic otherwise. Mince it fine so it sticks to the wings.
Hot sauce (2-3 tablespoons / 30-45ml) — Frank’s RedHot is classic, but I like using a mix of Frank’s and a ghost pepper sauce for a deeper heat. Adjust to your spice tolerance. If you want it mild, start with 1 tablespoon.
Rice vinegar (1 tablespoon / 15ml) — This cuts the sweetness and adds a nice tang. If you don’t have rice vinegar, white wine vinegar or apple cider vinegar works.
Butter (2 tablespoons / 30g) — Optional, but it adds a rich, glossy finish to the sauce. I add it at the end to emulsify everything.
Sesame seeds (1 tablespoon / 5g) — For garnish. Toasted sesame seeds are nicer, but regular works too. Adds a nice crunch and visual appeal.
Green onions (2 stalks, sliced) — For garnish. Adds a fresh, oniony bite that balances the sticky sweetness.
Equipment Needed
You don’t need fancy equipment for this. Here’s what I actually use:
Large baking sheets — I use two half-sheet pans. You need space between the wings so they crisp up. Crowding them makes them soggy. If you only have one pan, do it in two batches.
Wire rack — Optional but recommended. Placing the wings on a wire rack over the baking sheet allows air to circulate underneath. This makes them crispier on all sides. If you don’t have one, just line the pan with parchment paper and flip halfway.
Small saucepan — For melting the sauce together. A small skillet works too.
Large mixing bowl — For tossing the wings in the sauce. A bowl big enough to hold all the wings is key.
Paper towels — For drying the wings. Do not skip this step!
Tongs — For handling the hot wings. Fingers get messy fast.
How to Make It: Step-by-Step
Alright, let’s make this! I’m walking you through exactly how I do it, including the little tricks I’ve picked up over the years.
Step 1: Prep the Wings (10 minutes)
Take your chicken wings out of the package. Separate them at the joints: the flat middle part and the drumette (the little leg part). Discard the tips or save them for stock later. Lay them on paper towels and pat them dry. Really dry. I mean, squeeze them a little. You want that skin to be as dry as possible.
Place the dried wings in a large bowl. Sprinkle with baking powder and salt. Toss until every wing is lightly coated. The baking powder is the secret to that crispy, fried-like texture without actually frying them.
Step 2: Bake the Wings (45-50 minutes)
Preheat your oven to 400°F (200°C). Line your baking sheets with parchment paper or foil for easy cleanup. Place the wire racks on top if you’re using them.
Arrange the wings in a single layer on the racks. Make sure they aren’t touching. If they’re touching, they’ll steam instead of crisp. Bake for 20 minutes. Then, flip the wings carefully with tongs. Bake for another 20-25 minutes until they’re golden brown and crispy. If you want them extra crispy, turn the broiler on for the last 2 minutes, but watch them like a hawk—they burn fast.
Step 3: Make the Sauce (5 minutes)
While the wings bake, make the sauce. In a small saucepan over medium heat, combine the honey, soy sauce, minced garlic, hot sauce, and rice vinegar. Stir well.
Bring it to a gentle simmer. Let it bubble for about 3-4 minutes until it thickens slightly. It should coat the back of a spoon. Remove from heat and stir in the butter until melted. Taste it. Want more heat? Add more hot sauce. Want more sweet? Add a splash more honey. This is your chance to customize.
Step 4: Toss and Serve (5 minutes)
Once the wings are done, transfer them immediately to your large mixing bowl. Pour the warm sauce over the hot wings. Toss gently but thoroughly. You want every wing coated in that sticky glaze.
Transfer to a serving platter. Sprinkle with sesame seeds and sliced green onions. Serve immediately while hot and crispy.
Total Time: About 1 hour (10 minutes prep, 50 minutes cook, 10 minutes sauce/toss)
Built-in Troubleshooting:
- Wings aren’t crispy? They were probably too crowded on the pan, or you didn’t pat them dry enough. Next time, use two pans or do a second batch.
- Sauce is too thin? Simmer it longer. It needs to reduce slightly to cling to the wings.
- Sauce is too thick? Add a teaspoon of water or more vinegar to thin it out.
Expert Tips & Tricks
Here’s everything I’ve learned from making this dozens of times. These tips will save you from my mistakes.
The Drying Secret
I cannot stress this enough: dry wings = crispy wings. If your wings are wet, they’ll steam in the oven. Pat them dry, then let them sit uncovered in the fridge for an hour before baking if you have time. This air-dries the skin even more. I usually do this when I’m meal-prepping for the week.
The Baking Powder Trick
Make sure it’s baking powder, not baking soda. Baking soda can leave a metallic taste. Baking powder raises the pH of the skin, helping it brown and crisp up beautifully. It’s a small ingredient that makes a huge difference.
Sauce Timing
Don’t make the sauce too early and let it sit. The garlic can get overpowering if it sits too long. Make the sauce right before you toss the wings. Also, toss the wings while they’re still hot from the oven. The heat helps the sauce adhere better.
Storage & Reheating
If you have leftovers (unlikely, but possible), store them in an airtight container in the fridge for up to 3 days. To reheat, put them on a baking sheet in a 400°F oven for 10 minutes. This restores the crispiness. Microwaving makes them soggy, so avoid it if you can.
Variations & Substitutions
Once you’ve nailed the basic version, here’s how you can mix it up. I’ve tried all of these.
Less Spicy Version
Reduce the hot sauce to 1 tablespoon and add a bit more honey. This is great for kids or anyone who doesn’t like heat. The garlic and honey flavors still shine.
Teriyaki Style
Swap the hot sauce for mirin or a little more soy sauce. Add a teaspoon of grated ginger to the sauce. It’s a sweeter, more Asian-inspired profile.
Crispy Air Fryer Version
You can absolutely make these in an air fryer! Cook at 380°F for 20-25 minutes, shaking the basket halfway through. It takes less time and uses less energy. Toss in sauce immediately after.
Extra Crunchy Coating
After tossing in sauce, you can sprinkle a little extra cornstarch or crushed potato chips on top for extra crunch. Sounds weird, but it works.
Dietary Modifications
- Gluten-Free: Use tamari instead of soy sauce. Everything else is naturally gluten-free.
- Dairy-Free: Skip the butter in the sauce. Use olive oil or coconut oil instead. The sauce will be slightly less glossy but still delicious.
- Keto/Low-Carb: Swap honey for sugar-free maple syrup or a keto-friendly sweetener like monk fruit. Reduce the amount slightly as some sweeteners are sweeter than honey.
Serving & Storage
How to Serve:
I usually serve these straight from the platter at the dinner table—it looks rustic and stays warm. But here are other ways I’ve enjoyed them:
- Sides: These go great with grilled bacon-wrapped corn or a simple garden green bean almondine. If you want something heartier, serve with cheesy chicken broccoli rice casserole to balance the meal.
- Dips: Ranch, blue cheese, or even just ketchup. My kids prefer ranch, and I prefer them plain.
- Drinks: These spicy wings pair well with a cold beer, but for the family, I serve fresh blackberry basil sparkling lemonade or frozen blueberry lemonade slush to cool down the heat.
Storage Instructions:
Refrigerator: Store in an airtight container for up to 3 days. The sauce will soak into the skin, making them less crispy. Reheat in the oven to restore texture.
Freezing: You can freeze the cooked wings without sauce for up to 2 months. Thaw and reheat in the oven, then toss in fresh sauce. Freezing wings with sauce already on them doesn’t work well—the texture gets weird.
Meal Prep: Bake the wings ahead of time. Store them plain in the fridge. When ready to serve, reheat and toss in warm sauce. This is perfect for game day prep—you can have everything ready before the game starts.
Nutrition Information
I’m not a nutritionist, but here’s the breakdown if you’re tracking. Please note that this is an estimate and varies based on wing size and sauce usage.
Per Serving (based on 6 servings, approx. 8-10 wings per person):
- Calories: 450
- Protein: 28g
- Carbs: 22g
- Fiber: 0g
- Sugar: 18g
- Fat: 28g
- Sodium: 650mg
What’s Good:
High in protein from the chicken. The sauce has some sweetness, but it’s balanced by the savory soy and garlic.
What to Know:
Higher in sodium due to soy sauce. If you’re watching salt, use low-sodium soy sauce and reduce added salt. The sugar comes from the honey, so keep that in mind if you’re watching sugar intake.
Final Thoughts
So that’s my go-to Game Day Spicy Honey Garlic Wings! I’ve probably talked your ear off at this point, but when you make a recipe this often, you have a lot to say about it.
This has saved weeknight dinners more times than I can count. It’s my answer to “what’s for dinner” when I’m tired, don’t want takeout, and still want something that tastes really good. My kids are happy, my husband’s happy, and I’m happy because I’m not stressed about cooking.
Make it yours! Try different add-ins, swap in your favorite vegetables, adjust the garlic (though more is always better in my opinion). The best recipes are the ones you adapt to your family’s tastes.
If you make this, drop a comment and let me know what you think! I love hearing how recipes turn out in your kitchen. And if something doesn’t work, tell me that too—I’m here to help troubleshoot.
Happy cooking! And I hope your kitchen smells half as good as mine does right now.
Frequently Asked Questions
Can I use chicken thighs instead of wings?
You can, but the cooking time and texture will be different. Thighs are meatier and juicier, but they won’t have that crispy skin effect in the same way. If you use thighs, bake at 400°F for 35-40 minutes, flipping halfway. The sauce will still work great, but it’s a different eating experience. Wings are best for that finger-licking, sticky vibe.
My sauce came out watery—what happened?
Usually means you didn’t let it simmer long enough to thicken. The honey and soy sauce need time to reduce. Let the sauce bubble gently for 5-7 minutes until it coats the spoon. If it’s already watery, turn up the heat and let it reduce for another few minutes. The sauce should be syrupy, not runny.
Can I make this ahead for a dinner party?
Sort of. Bake the wings up to 2 days ahead and store them plain in the fridge. Reheat them in the oven before serving. Make the sauce fresh right before you toss. This saves you stress during the party. I do this all the time for game days.
Why did my wings get soggy?
Three reasons: 1) They weren’t dry enough before baking. 2) They were crowded on the pan. 3) You tossed them in sauce too early and let them sit. Always toss them in sauce right before serving, and make sure they have space in the oven to crisp up.
Can I use jarred garlic?
You can, but fresh tastes so much better in this recipe. Jarred garlic has a weird metallic taste that really shows up in sweet sauces. If you must use it, use half the amount because it’s stronger. But honestly, mincing 6 cloves takes like 2 minutes. Buy pre-peeled garlic cloves if you want to save time.
How do I reheat leftovers without it getting dry?
Add a splash of water or vinegar to a skillet, add your leftover wings, and heat gently over low heat, stirring frequently. Or, reheat in the oven at 350°F for 10 minutes. The oven is better for restoring crispiness. If you do microwave, definitely add a splash of liquid first and heat in short bursts.
Can I double this recipe?
Absolutely! Double everything and use two baking sheets. The cooking times stay the same. I do this when I’m meal-prepping or feeding a crowd. Just make sure your saucepan is big enough for the sauce—you might need to make it in two batches if it’s too thin.
Pin This Recipe!
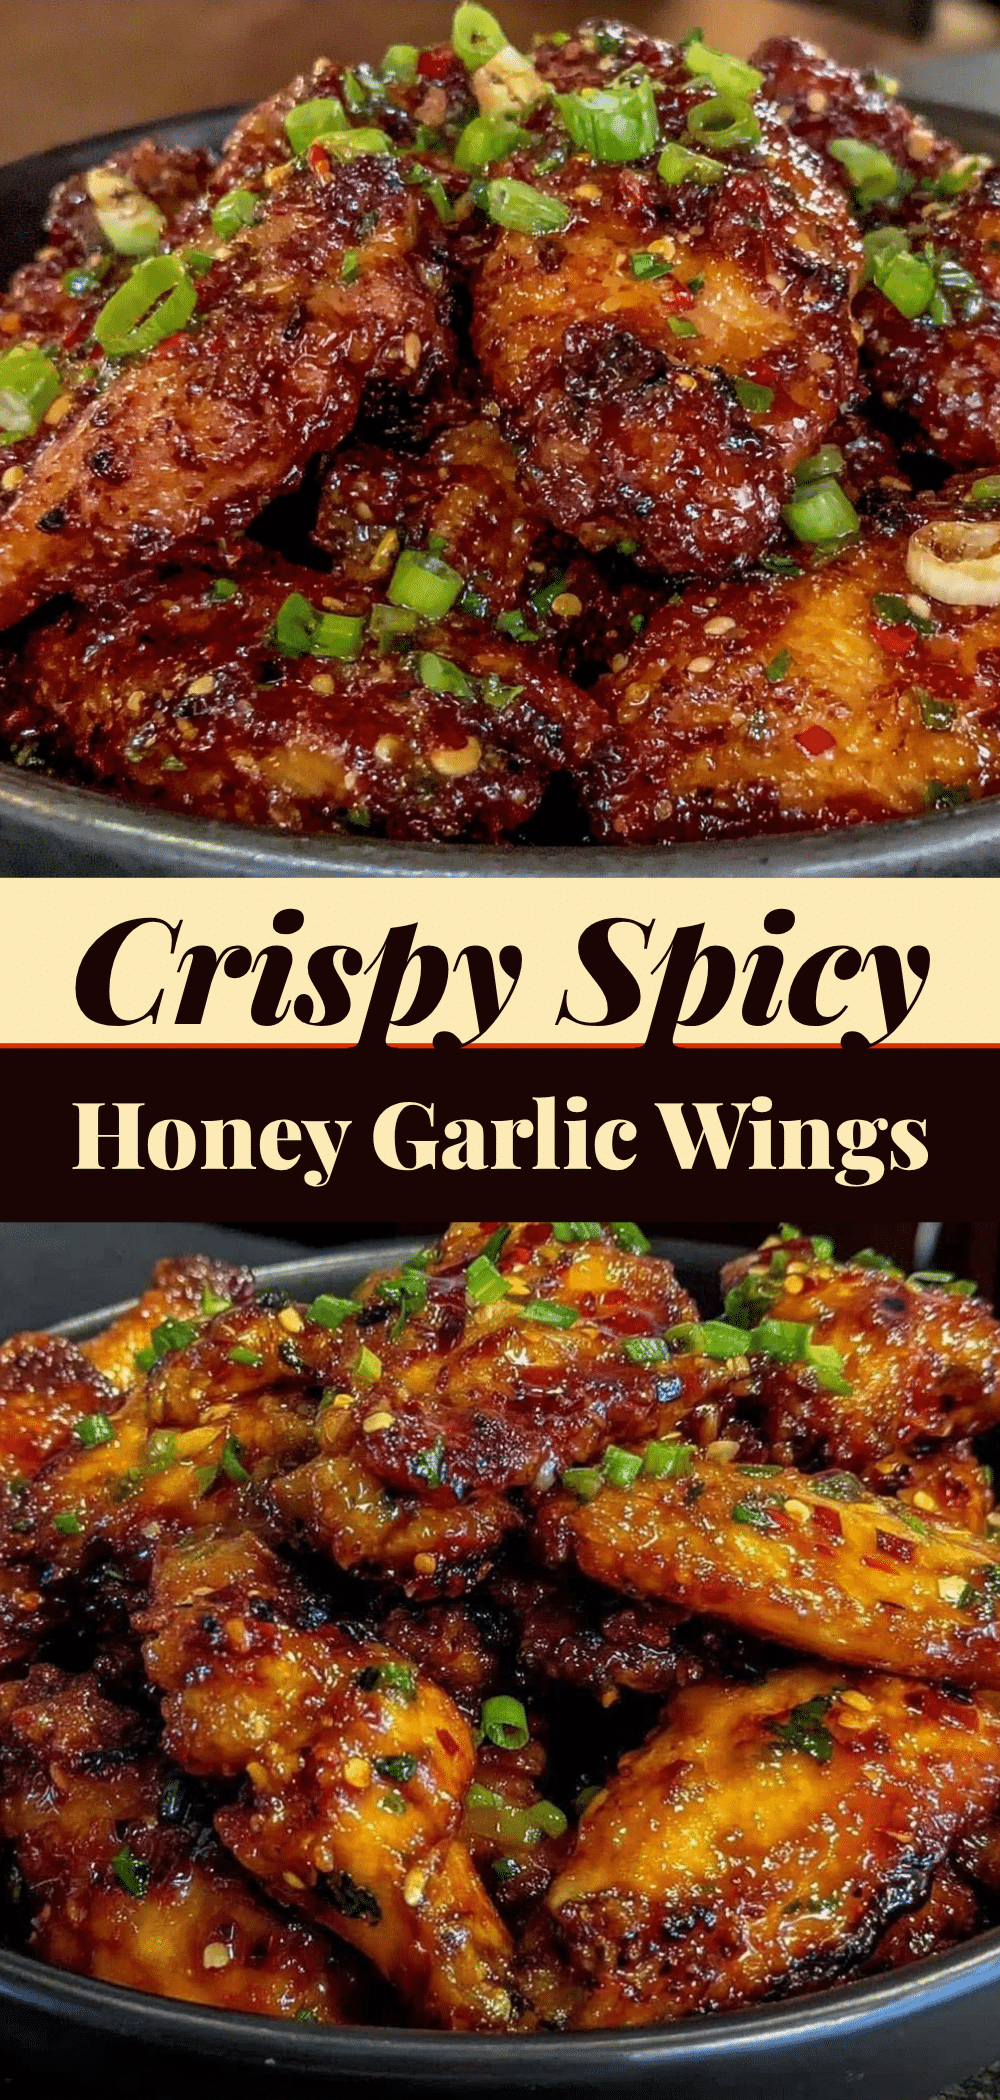

Game Day Spicy Honey Garlic Wings: Easy Budget-Friendly Batch
- Total Time: 1 hour
- Yield: 6 servings 1x
Description
These Game Day Spicy Honey Garlic Wings are a sticky, savory, and spicy crowd-pleaser that is budget-friendly and easy to make. Baked to crispy perfection and tossed in a homemade sauce, they are perfect for feeding a family or a crowd without spending hours in the kitchen.
Ingredients
- 3 pounds chicken wings (whole pack, separated into flats and drumettes)
- 1 tablespoon baking powder
- 1 teaspoon salt
- 1 tablespoon vegetable oil or cornstarch
- ½ cup honey
- ¼ cup soy sauce
- 6 cloves garlic, minced
- 2–3 tablespoons hot sauce
- 1 tablespoon rice vinegar
- 2 tablespoons butter (optional)
- 1 tablespoon sesame seeds
- 2 stalks green onions, sliced
Instructions
- Preheat oven to 400°F (200°C). Line baking sheets with parchment paper or foil.
- Pat chicken wings very dry with paper towels to ensure crispiness.
- Place dried wings in a large bowl and sprinkle with baking powder and salt. Toss until lightly coated.
- Arrange wings in a single layer on wire racks or baking sheets, ensuring they are not touching.
- Bake for 20 minutes, then flip wings and bake for another 20-25 minutes until golden brown and crispy.
- While wings bake, combine honey, soy sauce, minced garlic, hot sauce, and rice vinegar in a small saucepan over medium heat.
- Simmer sauce for 3-4 minutes until it thickens slightly, then remove from heat and stir in butter until melted.
- Transfer hot wings to a large mixing bowl and pour warm sauce over them. Toss gently to coat evenly.
- Serve immediately, garnished with sesame seeds and sliced green onions.
Notes
For extra crispy wings, pat them dry thoroughly and let them sit uncovered in the fridge for an hour before baking. Ensure wings are not crowded on the pan to allow air circulation. If the sauce is too thin, simmer longer; if too thick, add a teaspoon of water or vinegar. Reheat leftovers in the oven at 400°F for 10 minutes to restore crispiness.
- Prep Time: 10 minutes
- Cook Time: 50 minutes
- Category: Main Course
- Cuisine: American
Nutrition
- Serving Size: Approximately 8-10 w
- Calories: 450
- Sugar: 18
- Sodium: 650
- Fat: 28
- Saturated Fat: 7
- Carbohydrates: 22
- Protein: 28
Keywords: chicken wings, spicy honey garlic wings, game day food, budget friendly dinner, easy wings recipe, baked wings, crowd pleaser, family dinner


