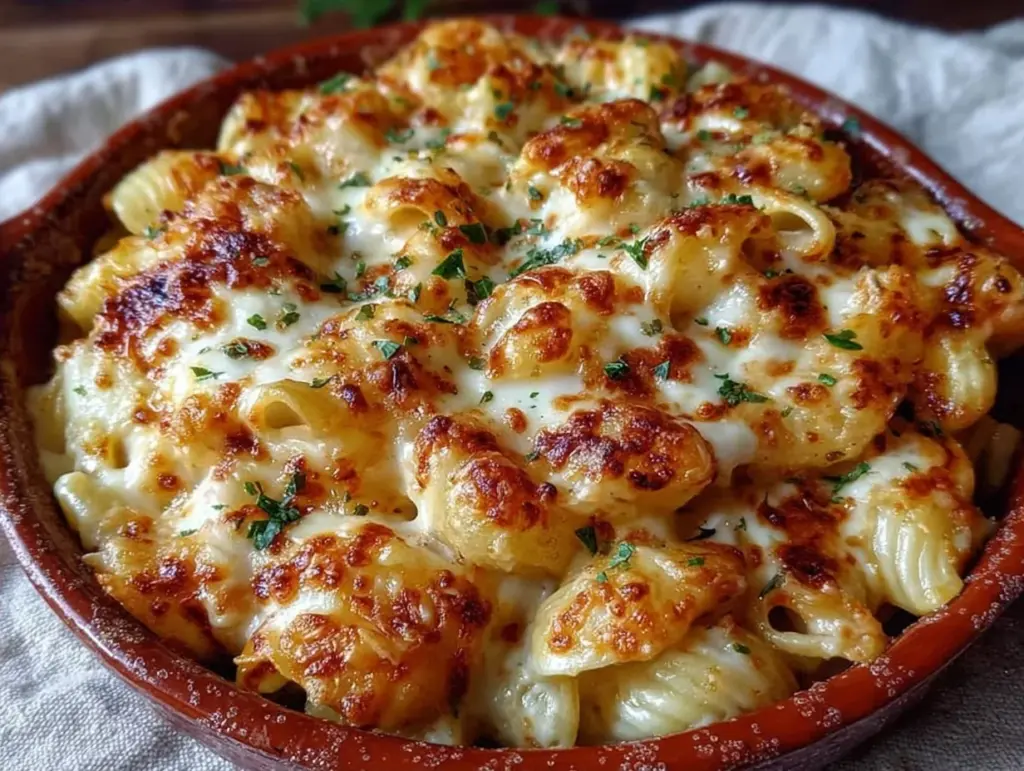
There’s a specific kind of magic that happens when the oven timer dings and the smell of browned cheese and toasted breadcrumbs hits the hallway. It’s not just dinner; it’s a hug on a plate. I learned this lesson the hard way years ago, when I tried to make mac and cheese using only cheddar from a bag. It was grainy, greasy, and frankly, a bit depressing. My kids looked at it like I’d served them cardboard. That night, I scraped it into the trash and ordered pizza, but the guilt stuck with me all weekend.
I was determined to fix it. I wanted something that had that deep, rich flavor of a restaurant dish but with the protein and fiber of a real meal. I spent months testing cheese blends, noodle shapes, and milk-to-butter ratios. I burned the bottom of the pot twice. I overcooked the pasta until it was mush. But eventually, I cracked the code. This extra-creamy three cheese baked mac and cheese is the result of all those failures. It’s velvety, it’s golden, and it actually has some nutritional backbone thanks to the protein in the cheeses and the fiber in the whole-grain pasta option.
It’s the kind of dish that fuels your day without feeling like diet food. Sure, it’s rich. But it’s also satisfying in a way that leaves you full and happy, not heavy and sluggish. I’ve made this for family gatherings, potlucks, and rainy Tuesday nights when we just need something good. And every single time, the bowl gets licked clean. If you’re looking for the best comfort food recipe to bring your family together, this is it.
Why You’ll Love This Recipe
I’ve made this baked mac and cheese at least a dozen times since perfecting it, and I’m not planning to stop anytime soon. It’s become the backbone of our dinner rotation. Here’s why this version is different from the box stuff or even other homemade recipes:
- Actually Creamy, Not Greasy — Most baked macs end up with a layer of oil on top. This one stays emulsified and smooth. The secret? A proper roux and adding the cheese off the heat. It’s silky every time.
- Three Cheeses, Maximum Flavor — I use a blend of sharp cheddar for tang, Gruyère for nuttiness, and Parmesan for that savory umami kick. It’s not just “cheesy”; it’s complex.
- Protein-Packed — This isn’t just empty carbs. Between the cheeses and the pasta, you’re getting a solid protein hit. It keeps you full longer than a plain pasta dish. Think of it like the cheesy sausage and egg breakfast casserole but for dinner—comforting but substantial.
- Customizable Texture — I love the crispy breadcrumb topping, but you can skip it if you prefer soft. Or add some loaded chili cheese nachos-style jalapeños on top for a spicy kick.
- Freezes Well (Sort Of) — While best fresh, the leftovers freeze surprisingly well if you wrap them tight. It’s perfect for meal prep days when you need a hearty lunch.
This recipe is my go-to when I need dinner to just work. It’s reliable, delicious, and makes everyone at the table happy. No complicated techniques, just solid cooking.
Ingredients You’ll Need
Here’s the best part: you probably have most of this already. I’m particular about three ingredients here, and I’ll tell you exactly why. This isn’t just a shopping list; it’s a guide to building the best sauce possible.
For the Pasta Base
Elbow macaroni or cavatappi (1 pound / 450g) — I prefer cavatappi (corkscrew pasta) because the curves hold more sauce. But traditional elbows work too. For a fiber boost, I often swap half the white pasta for whole-wheat or chickpea pasta. It holds up well in the oven and adds a nice nutty flavor.
Butter (4 tablespoons / 57g) — Unsalted butter is best so you can control the salt. I use European-style butter when I have it because it has a higher fat content, which makes the roux richer.
All-purpose flour (¼ cup / 30g) — This is the thickener. Don’t skip it. It combines with the butter to create a roux, which is the foundation of the creamy sauce.
For the Cheese Sauce
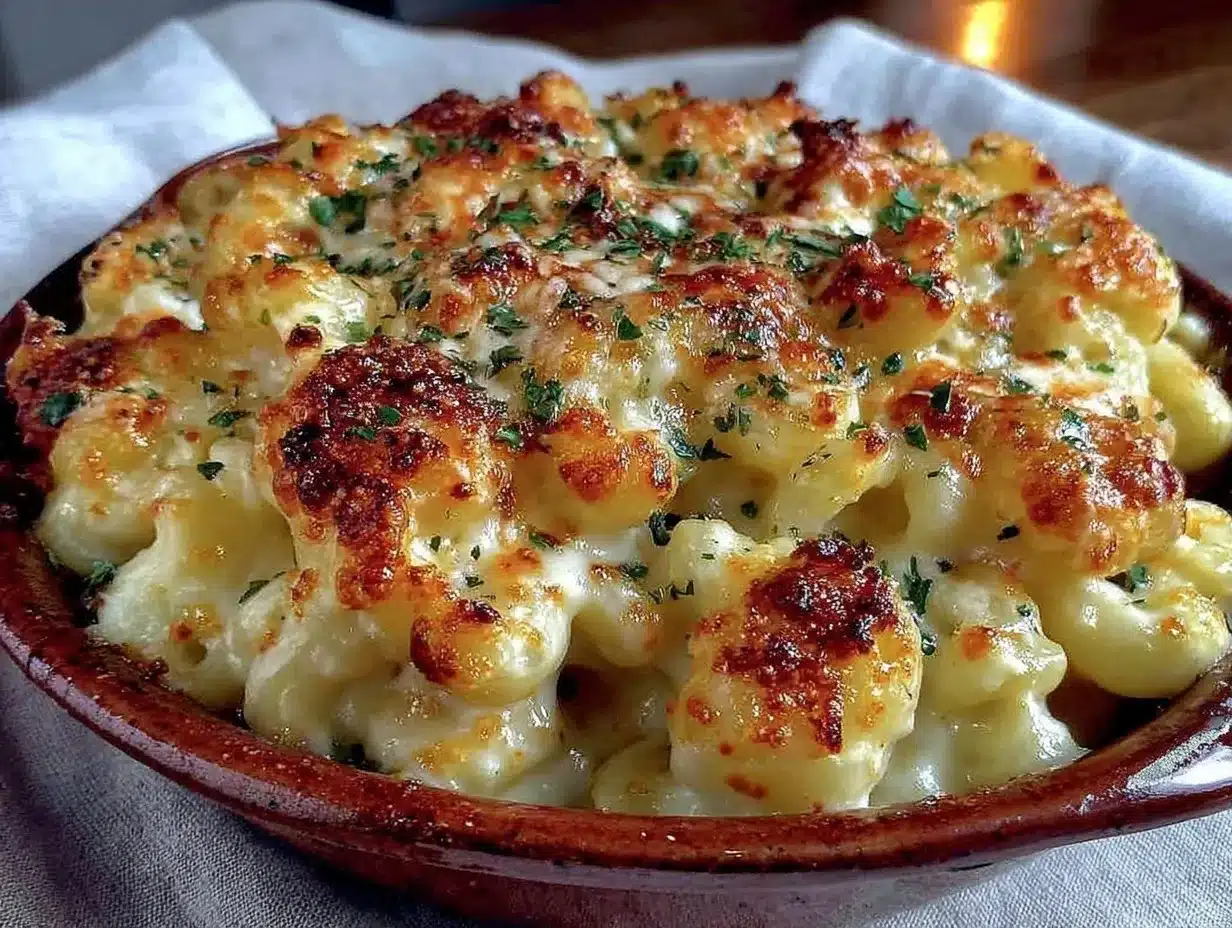
Whole milk (3 cups / 720ml) — Full-fat milk is crucial here. Low-fat milk can make the sauce watery and separate. I don’t skimp on the fat; it carries the flavor.
Sharp Cheddar Cheese (2 cups / 200g, freshly grated) — Use a block and grate it yourself. Pre-shredded cheese has anti-caking agents (like cellulose) that prevent it from melting smoothly. Your sauce will be gritty if you use the bag stuff. Sharp cheddar gives that classic punch.
Gruyère Cheese (1 cup / 100g, freshly grated) — This is the fancy cheese that makes the difference. It’s nutty, salty, and melts beautifully. If you can’t find Gruyère, Comté or Fontina are good substitutes. It adds depth that cheddar alone can’t provide.
Parmesan Cheese (½ cup / 50g, freshly grated) — This adds saltiness and umami. It’s the secret weapon for making the cheese flavor pop. Again, grate it fresh.
For the Topping
Panko breadcrumbs (½ cup / 40g) — These give a lighter, crispier crunch than regular breadcrumbs. I toast them in a little melted butter for extra flavor.
Dried thyme (1 teaspoon) — A little herb goes a long way. It cuts through the richness of the cheese.
Garlic powder (½ teaspoon) — Not fresh garlic here, which can burn. Garlic powder adds a subtle savory note without changing the texture.
Salt and black pepper — To taste. Remember, your cheeses are already salty, so start light.
Pro Tips for Ingredients
- Grate Your Own Cheese: I know it takes 5 extra minutes, but it’s worth it. The difference in melt quality is night and day.
- Save Pasta Water: Before you drain the pasta, scoop out a cup of the starchy water. If your sauce looks too thick after baking, you can stir in a splash to loosen it up.
- Room Temperature Milk: If you can, let your milk sit out for 15 minutes before cooking. Cold milk added to hot roux can sometimes cause lumps.
Equipment Needed
You don’t need fancy equipment for this. Here’s what I actually use.
Large pot — I use a 6-quart pot for boiling the pasta. It needs to fit a pound of macaroni comfortably so it doesn’t stick.
Large skillet or Dutch oven — A 10-12 inch skillet is perfect for making the roux and sauce. I prefer stainless steel or cast iron because they heat evenly. But a heavy-bottomed non-stick works too.
8×8 or 9×9 inch baking dish — This is the standard size for mac and cheese. If you want a deeper, crispier top, use an 8×8. For a wider, thinner bake, use 9×9.
Box grater — For grating the cheese blocks. A microplane works for the Parmesan if you want it super fine.
Wooden spoon — For stirring the roux and sauce. Silicone works too, but wood feels nicer.
Colander — For draining the pasta.
Measuring cups and spoons — Standard stuff. Dollar store versions work fine.
How to Make It: Step-by-Step
Alright, let’s make this! I’m walking you through exactly how I do it, including the little tricks I’ve picked up.
Step 1: Prep Your Ingredients (5-8 minutes)
Before you start cooking, grate all your cheeses. Measure out your breadcrumbs and mix them with the thyme and garlic powder. Set aside. Grating cheese while the water boils is a good way to pass the time, but having it ready before you start the roux prevents panic.
Step 2: Cook the Pasta (8-10 minutes)
Bring a large pot of salted water to a boil—it should taste like the ocean. Add pasta and cook according to package directions until al dente (usually 8-10 minutes). IMPORTANT: Before draining, scoop out 1 cup of pasta water and set it aside. Drain the pasta and rinse briefly with cool water to stop the cooking. Toss with a tiny bit of oil to prevent sticking.
Step 3: Make the Roux (3-4 minutes)
While the pasta cooks, melt the butter in your large skillet over medium heat. Once foaming, whisk in the flour. Cook this mixture, stirring constantly, for about 2 minutes. It should turn a light golden color and smell nutty. This cooks out the raw flour taste. Don’t rush this step; if the flour isn’t cooked, your sauce will taste doughy.
Step 4: Build the Sauce (5-6 minutes)
Slowly pour in the milk, whisking constantly to prevent lumps. Keep whisking until the mixture thickens and comes to a gentle simmer. This usually takes 3-4 minutes. The sauce should coat the back of a spoon. If it’s too thick, add a splash of the reserved pasta water.
Step 5: Add the Cheese (2 minutes)
Remove the skillet from heat. This is crucial. Add the grated cheddar, Gruyère, and Parmesan gradually, stirring constantly. The residual heat will melt the cheese. If it’s not melting, put it back on very low heat for 30 seconds. Do not boil the cheese sauce, or it will break and become grainy. Stir until smooth and glossy.
Step 6: Combine and Bake (25-30 minutes)
Preheat your oven to 375°F (190°C). Add the cooked pasta to the cheese sauce and stir until every noodle is coated. Pour the mixture into your greased baking dish. Sprinkle the breadcrumb mixture evenly over the top. Bake for 25-30 minutes, until the top is golden brown and the sauce is bubbling around the edges.
Step 7: Rest and Serve
Let the mac and cheese rest for 5-10 minutes after taking it out of the oven. This allows the sauce to set slightly, making it easier to scoop. Serve warm.
Expert Tips & Tricks
Here’s everything I’ve learned from making this dozens of times. These tips will save you from my mistakes.
Don’t Overcook the Pasta
Pasta continues to cook in the oven. If you boil it until it’s perfectly soft, it will be mushy after baking. Aim for “al dente” or even slightly undercooked. It should have a bit of a bite.
Off-Heat Cheese Melting
I can’t stress this enough: remove the pan from the heat before adding cheese. High heat causes the proteins in cheese to tighten and squeeze out fat, resulting in a greasy, grainy sauce. Low, gentle heat keeps it smooth.
Toast Your Breadcrumbs
For extra flavor, I often toast the Panko breadcrumbs in a pan with a little butter before sprinkling them on top. It adds a deeper, nuttier crunch that contrasts nicely with the soft pasta.
Use a Blend of Cheeses
Using only one cheese limits the flavor. Cheddar gives tang, Gruyère gives nuttiness, and Parmesan gives saltiness. Together, they create a complex flavor profile that’s much more interesting than just “cheesy.”
Let It Rest
I know it’s tempting to dig in immediately, but letting it rest for 5-10 minutes helps the sauce thicken up. It makes serving cleaner and the texture better.
Variations & Substitutions
Once you’ve nailed the basic version, here’s how you can mix it up. I’ve tried all of these.
Add Some Greens
Toss in 2 cups of fresh spinach or steamed broccoli florets before baking. It adds color, nutrients, and a nice texture contrast. This is how I get my kids to eat vegetables without complaining.
Spicy Kick
Add 1 teaspoon of cayenne pepper or a diced jalapeño to the sauce. Or top with crispy jalapeño popper wontons crumbled on top for a fun twist.
Bacon Lover’s
Stir in 1 cup of cooked, crumbled bacon. The smokiness pairs perfectly with the cheese. This is a great way to add more protein and flavor.
Gluten-Free
Use gluten-free pasta. Everything else is naturally gluten-free. I’ve used Barilla gluten-free and it works great, though it can be a bit more delicate, so handle with care.
Dairy-Free
Replace butter with vegan butter, milk with unsweetened almond or oat milk, and use dairy-free cheese shreds. Note: dairy-free cheese doesn’t melt the same way, so the texture will be different. It’s still tasty, but not identical.
Lighter Version
Use half-and-half instead of whole milk, and reduce the cheese by 25%. Add more vegetables to bulk it up. It’s thinner but still good. I make this when I’m trying to be “healthy.”
Serving & Storage
I usually serve this straight from the baking dish at the dinner table—it looks rustic and stays warm. But here are other ways I’ve enjoyed it:
Side Dishes
- A simple green salad with balsamic vinaigrette cuts the richness.
- Roasted broccoli or green beans with lemon zest.
- Soft cheddar garlic biscuits for extra carb comfort (I know, double cheese, but it’s worth it).
- Honey roasted garlic butter carrots and parsnips for a sweet contrast.
Storage Instructions
Refrigerator: Store leftovers in an airtight container for up to 4 days. The sauce will thicken in the fridge—totally normal.
Reheating: Best method: Add to a skillet with a splash of milk or cream over low heat. Stir until heated through and creamy again. Microwave method: Heat in 30-second intervals, stirring between. Add a splash of milk if it’s too thick.
Freezing: Honestly, this doesn’t freeze well because of the dairy. The sauce separates when thawed. Make it fresh or store in the fridge for up to 4 days.
Nutrition Information
I’m not a nutritionist, but here’s the breakdown if you’re tracking. This is comfort food, so it’s richer than a salad, but the protein from the cheese and fiber from the pasta (if you use whole grain) make it satisfying fuel.
Per Serving (based on 8 servings):
| Nutrient | Amount |
|---|---|
| Calories | 450 |
| Protein | 22g |
| Carbs | 48g |
| Fiber | 3g |
| Sugar | 6g |
| Fat | 18g |
| Saturated Fat | 11g |
| Cholesterol | 55mg |
| Sodium | 650mg |
What’s Good: Decent protein from pasta and cheese. Calcium from the cheese. Can add vegetables to boost nutrition.
What to Know: Higher in calories from cream and cheese. Contains dairy and gluten. Moderate sodium (use low-sodium broth if adding other ingredients).
My Take: Look, this is comfort food with cream and cheese. It’s not a diet recipe. But it’s way better than takeout, costs less, and I know exactly what’s in it. When I want to make it lighter, I use the half-and-half version and load up on vegetables. But usually? I just eat a reasonable portion and enjoy it.
Final Thoughts
So that’s my go-to extra-creamy three cheese baked mac and cheese! I’ve probably talked your ear off at this point, but when you make a recipe this often, you have a lot to say about it.
This has saved weeknight dinners more times than I can count. It’s my answer to “what’s for dinner” when I’m tired, don’t want takeout, and still want something that tastes really good. My kids are happy, my husband’s happy, and I’m happy because I’m not stressed about cooking.
Make it yours! Try different add-ins, swap in your favorite vegetables, adjust the garlic (though more is always better in my opinion). The best recipes are the ones you adapt to your family’s tastes.
If you make this, drop a comment and let me know what you think! I love hearing how recipes turn out in your kitchen. And if something doesn’t work, tell me that too—I’m here to help troubleshoot.
Happy cooking! And I hope your kitchen smells half as good as mine does right now.
Frequently Asked Questions
Can I use milk instead of heavy cream?
You can, but the sauce will be much thinner and less rich. If you want to try it, use whole milk (not skim) and add 2 tablespoons of flour to thicken it. Whisk the flour into the milk before adding to the pan. I’ve done this when I ran out of cream—it works okay, just not as good as the real thing. Half-and-half is a better middle ground.
My sauce came out watery—what happened?
Usually means you didn’t let it simmer long enough to thicken, or you added too much pasta water at the end. Let the cream mixture simmer for a full 3-4 minutes before adding cheese. If it’s already watery, turn up the heat and let it reduce for another few minutes. The cheese will also thicken it up.
Can I make this ahead for a dinner party?
Sort of. Make the sauce up to 2 days ahead and store in the fridge. Cook the pasta fresh right before serving (takes 10 minutes). Reheat the sauce gently and toss with hot pasta. It won’t be quite as good as fresh, but it’s close and saves you stress during the party. I do this all the time.
Why did my sauce get grainy/lumpy?
The heat was too high when you added the cheese, which made it seize up. Parmesan needs gentle heat. Always remove the pan from the burner before adding cheese, then stir it in off heat. If it’s already grainy, try whisking in a splash of warm cream—sometimes you can save it.
Can I use jarred garlic?
You can, but fresh tastes so much better in this recipe. Jarred garlic has a weird metallic taste that really shows up in cream sauces. If you must use it, use half the amount because it’s stronger. But honestly, mincing 6 cloves takes like 2 minutes. Buy pre-peeled garlic cloves if you want to save time.
How do I reheat leftovers without it getting dry?
Add a splash of milk or cream to a skillet, add your leftover pasta, and heat gently over low heat, stirring frequently. The extra liquid brings back the creamy texture. Microwave sort of works but tends to dry it out. If you do microwave, definitely add a splash of milk first and heat in short bursts, stirring between.
Can I double this recipe?
Absolutely! Double everything and use your biggest pot. The cooking times stay the same. I do this when I’m meal-prepping or feeding a crowd. Just make sure your baking dish is big enough for the sauce—you might need to use two pans or a very large 9×13 dish.
Pin This Recipe!
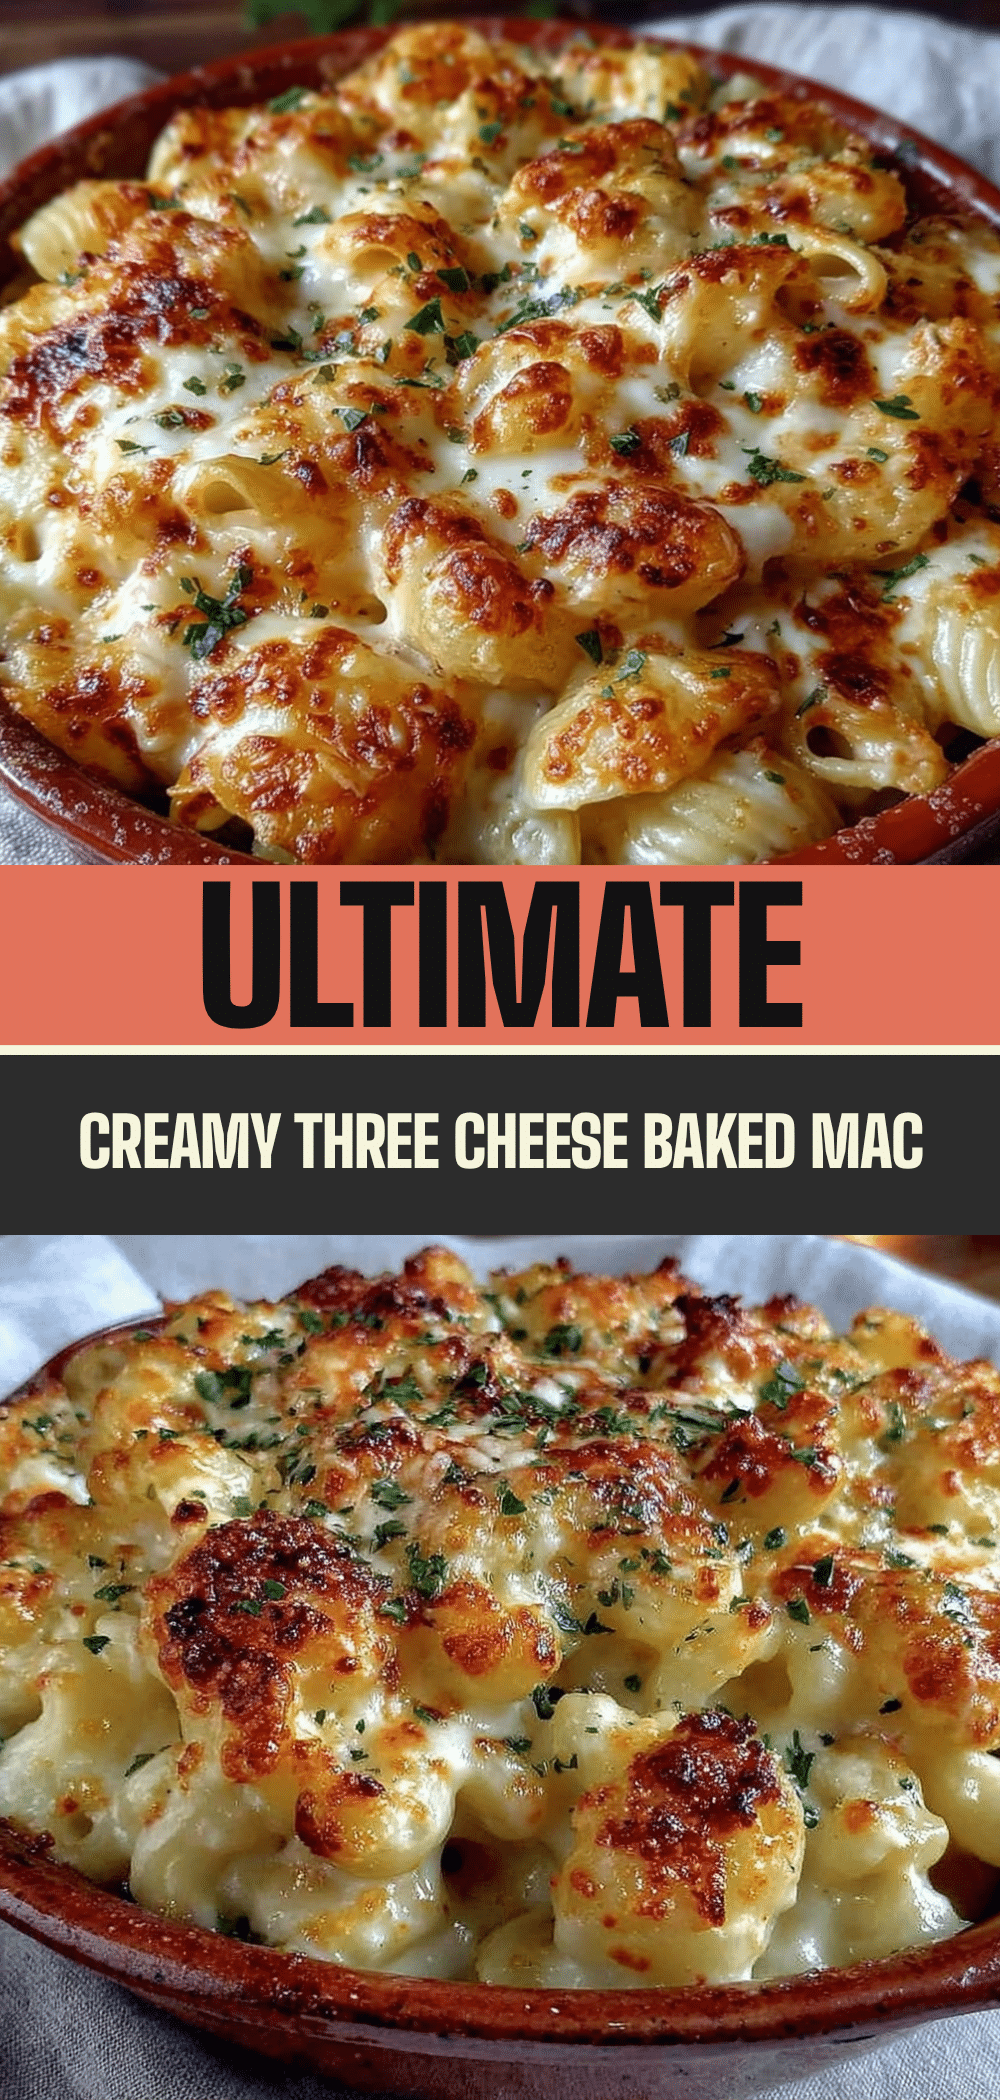
Extra-Creamy Three Cheese Baked Mac and Cheese
- Total Time: 45 minutes
- Yield: 8 servings 1x
Description
A velvety, golden baked mac and cheese featuring a rich three-cheese sauce made with sharp cheddar, Gruyère, and Parmesan. This comfort food classic uses a proper roux for a smooth texture and is topped with crispy toasted breadcrumbs.
Ingredients
- 1 pound elbow macaroni or cavatappi
- 4 tablespoons unsalted butter
- ¼ cup all-purpose flour
- 3 cups whole milk
- 2 cups sharp cheddar cheese, freshly grated
- 1 cup Gruyère cheese, freshly grated
- ½ cup Parmesan cheese, freshly grated
- ½ cup Panko breadcrumbs
- 1 teaspoon dried thyme
- ½ teaspoon garlic powder
- Salt and black pepper to taste
- 1 cup reserved pasta water
Instructions
- Preheat oven to 375°F (190°C).
- Grate all cheeses and mix breadcrumbs with thyme and garlic powder; set aside.
- Bring a large pot of salted water to a boil. Cook pasta until al dente (8-10 minutes).
- Before draining, reserve 1 cup of pasta water. Drain pasta and rinse briefly with cool water.
- In a large skillet over medium heat, melt butter. Whisk in flour and cook for 2 minutes until light golden.
- Slowly pour in milk, whisking constantly, until the mixture thickens and simmers (3-4 minutes).
- Remove skillet from heat. Gradually add grated cheeses, stirring until smooth and glossy. Do not boil.
- Combine cooked pasta with the cheese sauce, ensuring all noodles are coated.
- Pour mixture into a greased 8×8 or 9×9 inch baking dish.
- Sprinkle breadcrumb mixture evenly over the top.
- Bake for 25-30 minutes until top is golden brown and sauce is bubbling.
- Let rest for 5-10 minutes before serving.
Notes
Grate your own cheese to ensure smooth melting. Remove the pan from heat before adding cheese to prevent a grainy sauce. Pasta continues to cook in the oven, so cook it al dente. Leftovers can be stored in the refrigerator for up to 4 days. This recipe does not freeze well due to the dairy sauce separating upon thawing.
- Prep Time: 15 minutes
- Cook Time: 30 minutes
- Category: Main Course
- Cuisine: American
Nutrition
- Serving Size: 1 serving
- Calories: 450
- Sugar: 6
- Sodium: 650
- Fat: 18
- Saturated Fat: 11
- Carbohydrates: 48
- Fiber: 3
- Protein: 22
Keywords: mac and cheese, baked mac and cheese, three cheese mac, comfort food, creamy mac and cheese, dinner recipe, family dinner


