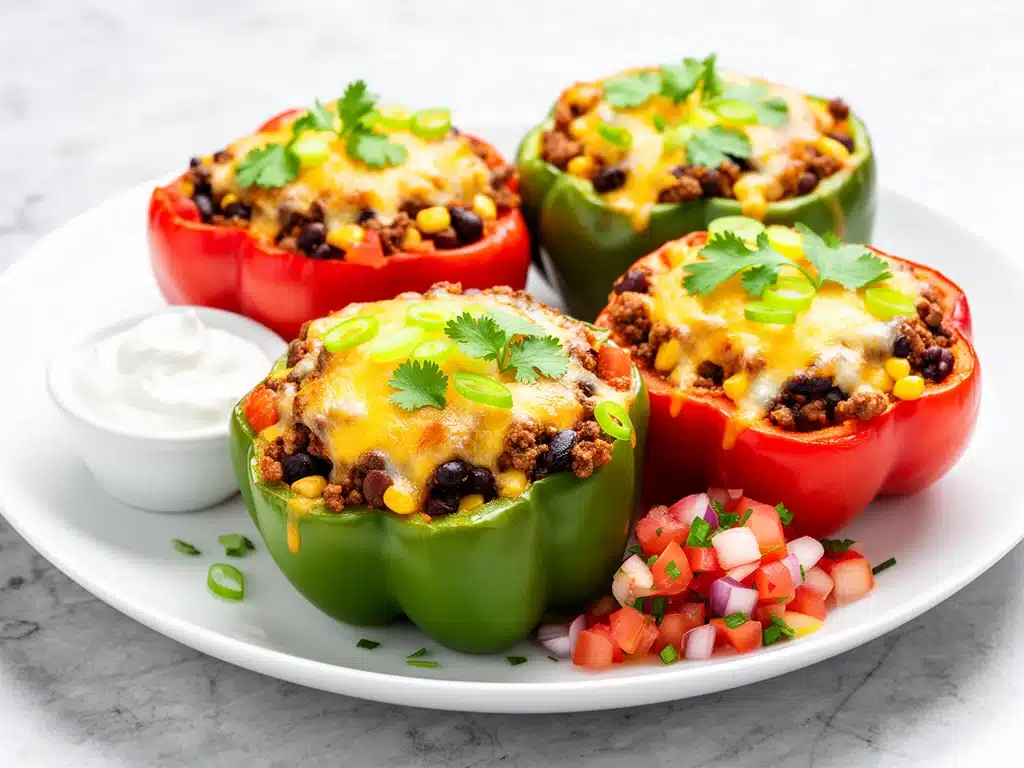
Last Tuesday, I was staring at the clock. It was 5:45 PM. I had a toddler who needed a snack, a dog that was currently judging me from the kitchen floor, and a husband who would be home in forty-five minutes starving. The usual options—frozen pizza, scrambled eggs, or that sad bag of salad leaves I forgot to buy—weren’t cutting it. I wanted something warm, something with flavor, something that felt like a “real dinner” but didn’t involve me standing over the stove for two hours.
That’s when I looked at the bell peppers on my counter. They were bright red, crisp, and totally underutilized. I remembered a recipe I’d seen years ago: cheesy enchilada stuffed bell peppers. It sounded promising. It promised the bold, spicy, cheesy comfort of enchiladas without the rolling, without the mess, and without the thirty-minute prep time that usually accompanies it.
So, I improvised. I threw together a filling with ground beef, black beans, corn, and a handful of spices I already had. I stuffed the peppers, covered them with cheese, and popped them in the oven. When the timer went off, the smell was incredible—smoky, savory, and unmistakably Mexican. My toddler actually ate the peppers. The husband came home, took one bite, and asked, “Did you order takeout?”
I hadn’t. I had just made cheesy enchilada stuffed bell peppers in about 30 minutes from start to finish. It’s become my secret weapon for busy weeknights ever since. If you’re tired of the same old taco Tuesday routine, this dish is the game-changer you didn’t know you needed.
Why You’ll Love This Recipe
There are about ten reasons I keep making this, but here are the big ones that keep it in my regular rotation:
- Zero Rolling Required — Seriously, if you can chop an onion, you can make this. I’ve walked my teenage son through it over FaceTime while he was at college. No tortillas to tear, no filling to spill.
- Lightning Fast — 30 minutes from start to finish, and only 10 of those are active cooking. I make this on weeknights when I get home at 7pm and need dinner on the table by 8pm.
- Pantry-Friendly — You probably have 80% of these ingredients already. I keep canned black beans, corn, and taco seasoning stocked just so I can make this on a whim.
- Crowd-Pleaser — I’ve served this to my vegetarian sister (by swapping beef for extra beans), my gluten-free neighbor, and my I-only-eat-chicken dad (with shredded chicken instead). Everyone loved it.
- Makes Amazing Leftovers — Actually tastes better the next day. The peppers soften and absorb the flavors. I deliberately make extra for lunch throughout the week.
- Budget-Smart — Feeds 4-6 people for under $15. That’s less than one meal at a fast-food place, and way healthier.
This is my go-to when I need dinner to just work. No complicated techniques, no weird ingredients, just reliable, delicious food that makes everyone happy.
Ingredients You’ll Need
Here’s the best part: you probably have most of this already. I’m particular about three ingredients here, and I’ll tell you exactly why.
For the Filling
Ground beef (1 pound / 450g) — I use 80/20 lean for flavor. Turkey works too, but it’s drier. If you want a lighter version, swap for ground chicken or extra beans.
Yellow onion (1 medium, diced / about 200g) — Sweet onions work too, but yellow gives better depth. White onions are too sharp for this. Dice it small so it cooks evenly.
Garlic (4 cloves, minced / about 2 tablespoons) — Yes, four cloves. Don’t skimp. Fresh only—no jarred garlic in this recipe. It tastes metallic in the sauce.
Taco seasoning (2 tablespoons) — I make my own (cumin, chili powder, paprika, salt, pepper), but store-bought works fine. Look for one without too much sugar. Crockpot cheesy taco pasta uses a similar flavor profile, so if you like that, you’ll love this.
Black beans (1 can, 15oz / 425g, drained and rinsed) — Adds texture and makes the dish more filling. Rinse them well to remove that canned taste.
Corn (1 cup / 150g, frozen or canned) — Frozen is better because it’s sweeter. Canned works but can be watery. Drain it thoroughly if you use canned.
Tomatoes (1 can, 14.5oz / 411g, diced, with juice) — I use fire-roasted for extra smoky flavor. If you can’t find it, regular diced tomatoes work fine.
For the Stuffing
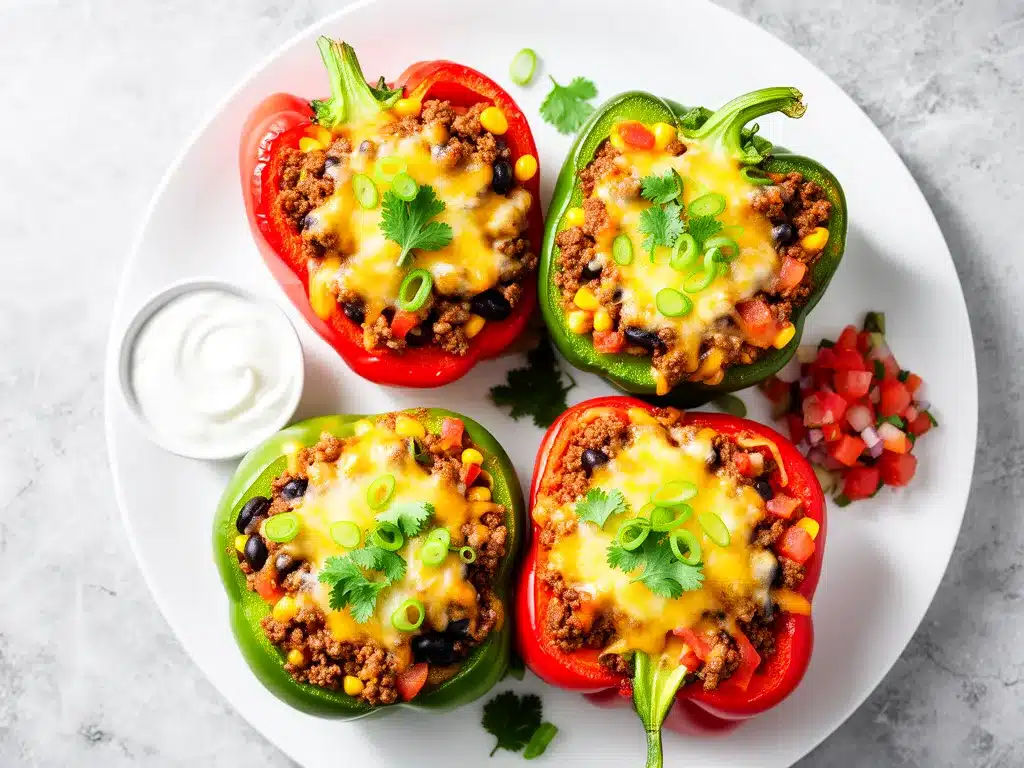
Bell peppers (4 large, any color) — I love red for sweetness, green for bitterness. Mix and match for a colorful dish. Make sure they’re sturdy enough to stand upright.
Shredded Mexican blend cheese (2 cups / 200g) — Or mix cheddar and Monterey Jack. Avoid pre-shredded if you can—it has anti-caking agents that prevent melting. Grate your own for the best gooeyness.
Fresh cilantro (¼ cup, chopped) — Optional but recommended. It cuts through the richness of the cheese. If your kids hate it, skip it or hide it in the filling.
Optional Add-ins:
- Jalapeños (1, minced) — For heat. Remove seeds for less spice.
- Salsa (½ cup) — Stir into the filling for extra moisture.
- Sour cream — For topping after baking.
Equipment Needed
You don’t need fancy equipment for this. Here’s what I actually use.
Large skillet — 12-inch works best for browning the meat and cooking the filling. I prefer stainless steel or cast iron, but non-stick works too.
Baking dish — 9×13 inch casserole dish. I use glass so I can see the cheese bubbling. Ceramic works well too.
Sharp knife — For chopping onions, garlic, and peppers. Dull knives make you cry more—learned this the hard way.
Peeler or small spoon — To core the peppers. I use a paring knife to cut around the stem, then scoop out the seeds.
Measuring cups and spoons — Pretty standard stuff. Dollar store versions work fine.
Aluminum foil — To cover the dish while baking. Keeps the peppers from drying out.
Optional but nice:
- Garlic press — Saves time but not necessary. Mincing works fine.
- Colander — For draining beans and corn.
How to Make It: Step-by-Step
Alright, let’s make this! I’m walking you through exactly how I do it, including the little tricks I’ve picked up.
Step 1: Prep the Peppers (5 minutes)
Preheat your oven to 375°F (190°C). Wash your bell peppers and pat them dry. Cut off the tops (about ½ inch from the stem) and use a knife or spoon to remove the seeds and white membranes. You want a clean cavity. If the peppers are wobbly, slice a tiny bit off the bottom so they stand flat. Don’t worry if they’re not perfect—they’re rustic.
Step 2: Brown the Meat (5 minutes)
Heat your large skillet over medium-high heat. Add the ground beef and cook, breaking it up with a spoon, until browned. Drain any excess grease if there’s too much. This shouldn’t take more than 5 minutes. If you’re using turkey, cook until no longer pink.
Step 3: Build the Filling (5 minutes)
Add the diced onion to the skillet with the beef. Cook for 2 minutes until soft. Add the minced garlic and taco seasoning. Stir constantly for 30 seconds until fragrant. Add the black beans, corn, and diced tomatoes (with juice). Stir well. Let it simmer for 2 minutes so the flavors meld. Taste and add salt if needed. This is your enchilada filling.
Step 4: Stuff the Peppers (5 minutes)
Place the peppers in your baking dish. Spoon the filling into each pepper, packing it in gently but firmly. Don’t overstuff them—they’ll shrink a bit as they cook. Leave a little room at the top for the cheese.
Step 5: Bake (15-20 minutes)
Cover the baking dish with foil. Bake for 15 minutes. This steams the peppers, making them tender. Remove the foil, sprinkle the shredded cheese over the tops, and bake for another 5-10 minutes until the cheese is melted and bubbly and the peppers are tender-crisp (poke with a fork to check).
Step 6: Serve
Let them cool for 5 minutes before serving. The filling will be hot. Garnish with fresh cilantro, a dollop of sour cream, and sliced jalapeños if you like. Serve with cinnamon sugar tortilla chips on the side for dipping, or just eat them straight from the dish.
Expert Tips & Tricks
Here’s everything I’ve learned from making this dozens of times. These tips will save you from my mistakes.
Don’t Skip the Simmer
Letting the filling simmer for 2 minutes before stuffing is crucial. It cooks the raw onion flavor out of the garlic and melds the spices. If you skip this, your filling will taste disjointed.
Parboil for Softer Peppers
If you like your peppers very soft, microwave them for 2 minutes before stuffing. This speeds up the baking time and ensures they’re tender. I do this when I’m making it for my picky eater.
Use Fire-Roasted Tomatoes
They add a smoky depth that regular tomatoes lack. It’s a small ingredient but makes a big difference in flavor.
Cheese Choice Matters
Mexican blend cheese melts better than cheddar alone. If you use cheddar, mix in some Monterey Jack or mozzarella for stretchiness. Pre-shredded cheese won’t melt as smoothly.
Don’t Overstuff
If you pack the peppers too tight, they might split open in the oven. Leave a little room at the top.
Variations & Substitutions
Once you’ve nailed the basic version, here’s how you can mix it up. I’ve tried all of these.
Chicken Version
Swap ground beef for shredded cooked chicken. Use rotisserie chicken for speed. It’s lighter and still delicious.
Veggie-Loaded
Add 1 cup of diced zucchini or mushrooms to the filling. Sauté them with the onions. This is how I get my kids to eat vegetables.
Bean-Only (Vegan)
Skip the meat entirely. Use 2 cans of black beans and 1 cup of corn. Add extra spices and a splash of lime juice. Use vegan cheese on top.
Spicy Kick
Add 1 diced jalapeño to the filling and use pepper jack cheese. Top with hot sauce.
Gluten-Free
This recipe is naturally gluten-free as long as your taco seasoning is certified GF. Check labels, as some brands add wheat.
Serving & Storage
How to Serve:
I usually serve this straight from the baking dish at the dinner table—it looks rustic and stays warm. But here are other ways I’ve enjoyed it:
- With a side of blistered shishito peppers for extra crunch.
- Over a bed of cilantro lime rice.
- With a simple green salad and sparkling watermelon cucumber agua fresca for a refreshing drink.
Toppings Bar:
When I have guests, I put out: extra cheese, sour cream, salsa, cilantro, jalapeños, and lime wedges. Everyone customizes their bowl.
Storage Instructions:
Refrigerator: Store in an airtight container for up to 4 days. The peppers will soften further. Reheat in the microwave or oven.
Freezing: These don’t freeze well after baking because the peppers get mushy. You can freeze the filling separately, then bake fresh peppers later.
Nutrition Information
I’m not a nutritionist, but here’s the breakdown if you’re tracking.
Per Serving (based on 4 servings):
- Calories: 380
- Protein: 25g
- Carbs: 22g
- Fiber: 6g
- Sugar: 8g
- Fat: 22g
- Saturated Fat: 10g
- Cholesterol: 70mg
- Sodium: 600mg
What’s Good: High in protein and fiber. Packed with vegetables.
What to Know: Higher in sodium due to taco seasoning. Use low-sodium broth and beans to reduce.
Final Thoughts
So that’s my go-to cheesy enchilada stuffed bell peppers! I’ve probably talked your ear off at this point, but when you make a recipe this often, you have a lot to say about it.
This has saved weeknight dinners more times than I can count. It’s my answer to “what’s for dinner” when I’m tired, don’t want takeout, and still want something that tastes really good. My kids are happy, my husband’s happy, and I’m happy because I’m not stressed about cooking.
Make it yours! Try different peppers, swap in your favorite veggies, adjust the spice. The best recipes are the ones you adapt to your family’s tastes.
If you make this, drop a comment and let me know what you think! I love hearing how recipes turn out in your kitchen. And if something doesn’t work, tell me that too—I’m here to help troubleshoot.
Happy cooking! And I hope your kitchen smells half as good as mine does right now.
Frequently Asked Questions
Can I use green peppers instead of red?
Yes! Green peppers are less sweet and more bitter, which adds a nice contrast to the cheesy filling. I like to mix colors for visual appeal. All bell peppers work the same way.
Why did my peppers leak filling?
Probably overstuffing. Don’t pack the filling too tight. Also, if the peppers were wobbly, they might have tipped. Slice a tiny bit off the bottom to create a flat base.
Can I make this ahead?
You can prep the filling and stuff the peppers up to 24 hours ahead. Store in the fridge, covered. Bake when ready to eat. Just add a few minutes to the baking time if they’re cold from the fridge.
Why did my peppers stay crunchy?
They might need more time. If they’re still hard after 20 minutes, cover with foil and bake for another 10 minutes. Thicker-walled peppers take longer to soften.
Can I use ground turkey?
Absolutely. Turkey is leaner, so add a tablespoon of oil to the pan to prevent sticking. It’s a great lighter option.
How do I reheat leftovers?
Microwave for 1-2 minutes, or bake at 350°F for 10 minutes. If they look dry, add a splash of water or broth before reheating.
Can I freeze the filling?
Yes! The filling freezes well for up to 3 months. Thaw in the fridge and use later. This is great for meal prep.
Pin This Recipe!
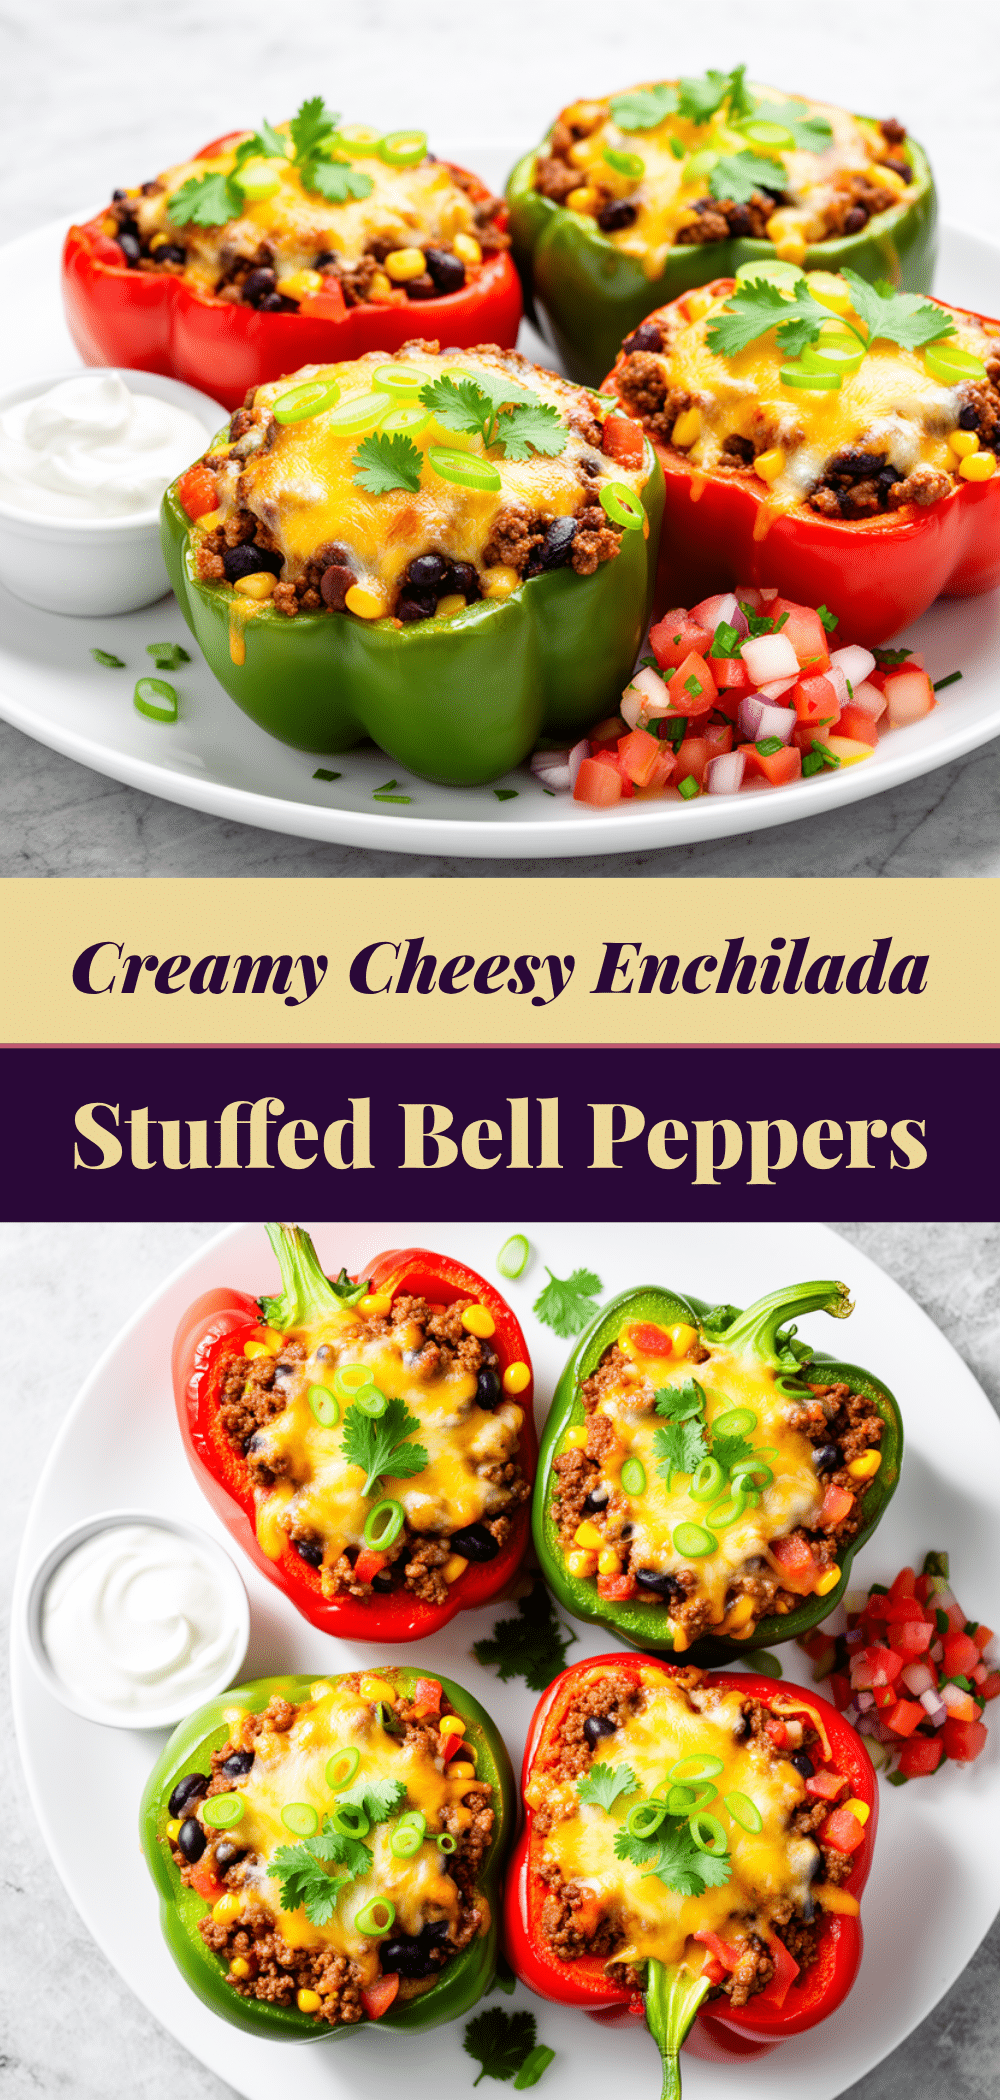
Cheesy Enchilada Stuffed Bell Peppers
- Total Time: 30 minutes
- Yield: 4 servings 1x
Description
A quick and easy 30-minute weeknight dinner featuring bell peppers stuffed with a savory mixture of ground beef, black beans, corn, and cheese. This dish offers the bold flavors of enchiladas without the rolling or mess.
Ingredients
- 1 pound ground beef (80/20 lean)
- 1 medium yellow onion, diced
- 4 cloves garlic, minced
- 2 tablespoons taco seasoning
- 1 can (15oz) black beans, drained and rinsed
- 1 cup corn (frozen or canned, drained)
- 1 can (14.5oz) diced tomatoes, with juice
- 4 large bell peppers, tops cut off and seeds removed
- 2 cups shredded Mexican blend cheese
- 1/4 cup fresh cilantro, chopped (optional)
- 1 jalapeño, minced (optional)
- 1/2 cup salsa (optional)
Instructions
- Preheat oven to 375°F (190°C).
- Wash bell peppers, cut off the tops, and remove seeds and white membranes. Slice a tiny bit off the bottom if needed so they stand flat.
- Heat a large skillet over medium-high heat. Add ground beef and cook until browned, breaking it up with a spoon. Drain excess grease if necessary.
- Add diced onion to the skillet and cook for 2 minutes until soft. Add minced garlic and taco seasoning, stirring for 30 seconds until fragrant.
- Add black beans, corn, and diced tomatoes (with juice) to the skillet. Stir well and simmer for 2 minutes to meld flavors.
- Place the prepared peppers in a 9×13 inch baking dish.
- Spoon the filling into each pepper, packing gently but firmly. Leave room at the top for cheese.
- Cover the baking dish with aluminum foil and bake for 15 minutes.
- Remove foil, sprinkle shredded cheese over the tops, and bake for another 5-10 minutes until cheese is melted and peppers are tender-crisp.
- Let cool for 5 minutes before serving. Garnish with cilantro, sour cream, or jalapeños if desired.
Notes
For softer peppers, microwave them for 2 minutes before stuffing. Use fire-roasted tomatoes for extra smoky flavor. Avoid pre-shredded cheese as it contains anti-caking agents that prevent smooth melting. This recipe is naturally gluten-free if using certified GF taco seasoning.
- Prep Time: 10 minutes
- Cook Time: 20 minutes
- Category: Main Course
- Cuisine: Mexican
Nutrition
- Serving Size: 1 stuffed pepper
- Calories: 380
- Sugar: 8
- Sodium: 600
- Fat: 22
- Saturated Fat: 10
- Carbohydrates: 22
- Fiber: 6
- Protein: 25
Keywords: stuffed peppers, enchilada recipe, easy dinner, 30 minute meals, ground beef recipes, weeknight dinner, gluten-free dinner


