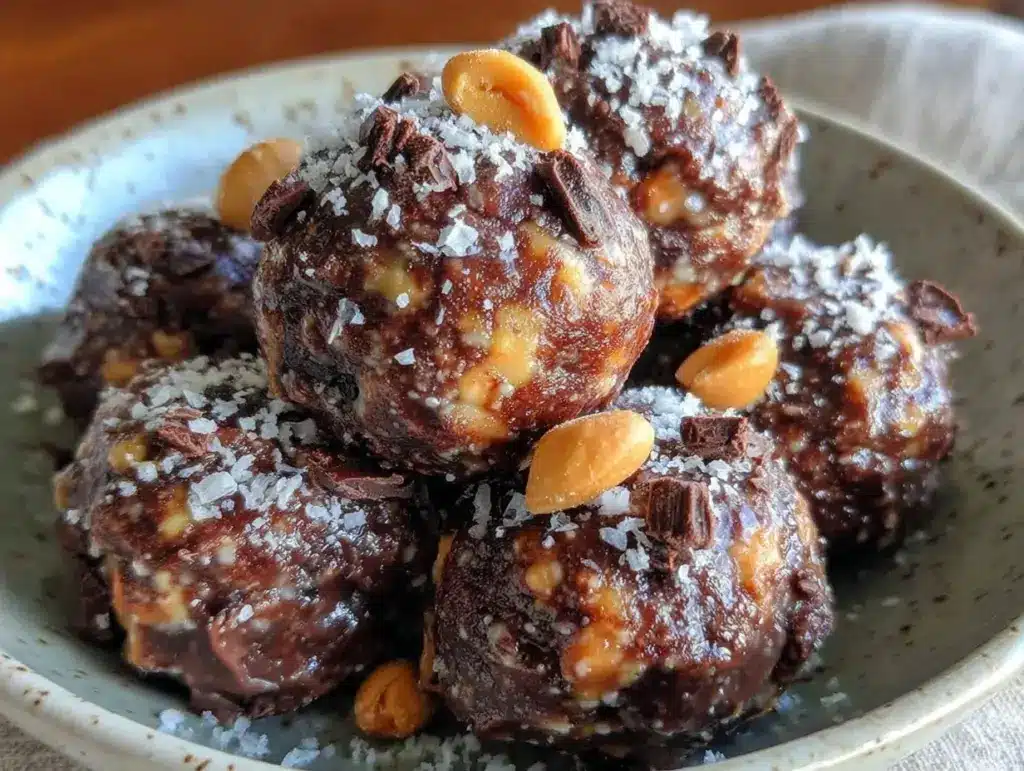
It’s 7:30 PM on a Tuesday. I’m standing in my kitchen, staring into the fridge like it holds the secrets to the universe. My kids have been asking for “just one snack” since 4:00, and my own energy levels are hovering somewhere between “tired” and “complete meltdown.” I don’t want to bake. I definitely don’t want to cook dinner yet. I just want something sweet, something that tastes like a treat, but something that won’t make me feel guilty about eating three of them in one sitting.
Usually, this is where I’d reach for the store-bought granola bar that’s mostly sugar and questionable ingredients. But lately, I’ve been trying to cut back on dairy and refined sugars, and let’s just say my palate has been picky about the alternatives. Store-bought “healthy” snacks often taste like cardboard dipped in artificial flavoring. It’s frustrating.
Then I stumbled on this combination: creamy peanut butter, rich chocolate, and a binder that actually makes sense. I threw them together in about ten minutes—no oven, no mess, no drama. I rolled them into little balls, stuck them in the freezer for twenty minutes, and took a bite. It tasted like a peanut butter cup. Actual peanut butter cup. Not the dry, chalky version you get at the gas station. It was creamy, chocolatey, and satisfied that specific craving for something rich and sweet.
That was three weeks ago. I’ve made these dairy-free no-bake chocolate peanut butter protein balls at least six times since then. My kids love them. My husband loves them (he thinks they’re normal cookies, which is a win in my book). I’ve packed them in lunches, grabbed one for an afternoon slump, and even served them to friends who didn’t know they were dairy-free until I told them. And the best part? You really can’t mess this up. If you can mix ingredients in a bowl, you can make these.
Why You’ll Love This Recipe
There are a hundred snack recipes out there, but this dairy-free no-bake chocolate peanut butter protein balls recipe has earned a permanent spot in my rotation. Here’s why it’s different from the rest.
- Five Ingredients, Max — Seriously. I’m not exaggerating. You don’t need a pantry full of obscure superfoods. Just peanut butter, oats, chocolate chips, a sweetener, and a liquid binder. That’s it. If you have these on hand, you’re done.
- Zero Baking Required — No preheating the oven. No waiting for cookies to cool. No cleaning baking sheets. You mix, you roll, you chill. It’s the ultimate low-effort, high-reward snack.
- Actually Tastes Good — Many dairy-free or “healthy” snacks taste like they’re trying too hard. These taste like dessert. The chocolate and peanut butter combo is classic for a reason, and using good quality ingredients makes a huge difference.
- Beginner-Proof — I’ve walked my teenage daughter through making these over the phone while she was at a friend’s house. She didn’t even need to measure precisely. She just mixed until it held together. If you can follow a texture cue, you can make this.
- Meal Prep Friendly — I make a big batch on Sunday and keep them in the fridge or freezer. They last for weeks. It’s like having homemade candy bars ready to go whenever hunger strikes.
This is my go-to when I need a snack that feels indulgent but is actually decent for me. It’s forgiving, it’s fast, and it just works.
Ingredients You’ll Need
Here’s the good news: you probably have most of this already. This dairy-free no-bake chocolate peanut butter protein balls recipe relies on simple, whole-food ingredients. I’m particular about a few things, though, so pay attention to the details.
For the Base
Smooth Peanut Butter (1 cup / 250g) — Use natural, unsweetened peanut butter. I prefer the kind where the oil separates because it tastes cleaner, but you’ll need to stir it well before measuring. Pro tip: If your peanut butter is super stiff, microwave it for 15 seconds to make it easier to mix. Avoid the ones with added sugar or hydrogenated oils—keep it simple.
Old-Fashioned Rolled Oats (1 ½ cups / 120g) — These give the balls structure and that nice chewy texture. You can use quick oats, but the texture will be softer and more paste-like. I like the heartiness of rolled oats. If you need gluten-free, just make sure your oats are certified gluten-free.
Maple Syrup (¼ cup / 60ml) — This is my sweetener of choice. It adds a nice depth of flavor that honey sometimes lacks. It’s also fully dairy-free and vegan. You can use agave or honey if you prefer, but maple syrup blends best with the chocolate.
Vanilla Extract (1 teaspoon) — Don’t skip this. It rounds out the flavors and makes it taste more like a bakery treat. Use real vanilla, not the imitation stuff.
For the Chocolate Factor
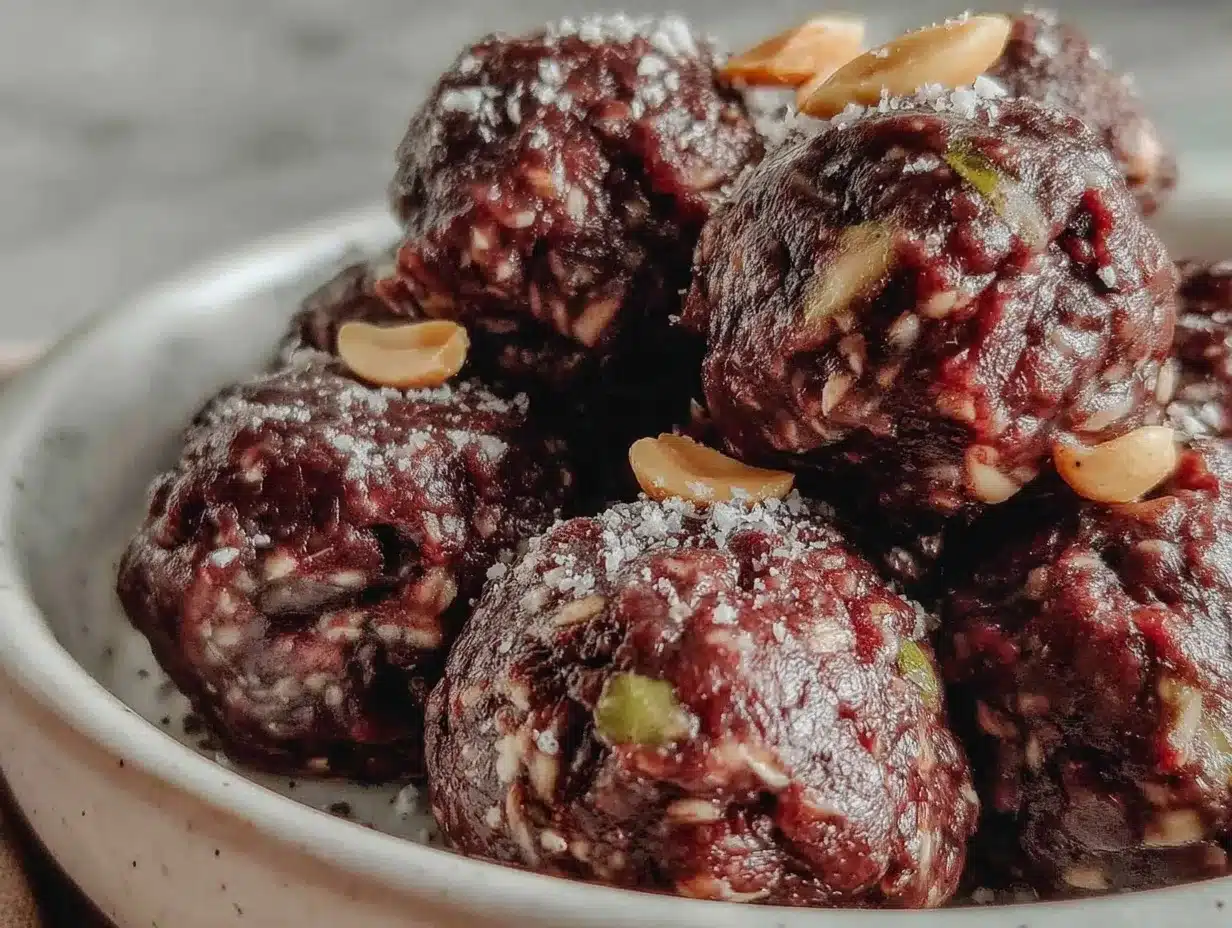
Dairy-Free Chocolate Chips (½ cup / 85g) — This is where you need to check labels. Many standard chocolate chips contain milk fat. Look for brands like Enjoy Life, Ghirardelli (they have a dairy-free line), or Guittard. I love the semi-sweet chips because they aren’t too sweet, which balances the peanut butter.
Pinch of Salt — A tiny pinch enhances the chocolate and peanut butter flavors. It’s non-negotiable.
Optional Add-Ins
Chia Seeds or Flax Seeds (1 tablespoon) — I add these for a little extra omega-3s and fiber. They don’t change the taste, just the nutrition profile.
Dark Chocolate Drizzle — Melt a little extra dairy-free chocolate and drizzle it over the finished balls. Makes them look fancy and taste even better.
Equipment Needed
You don’t need fancy gadgets for this. Here’s what I actually use.
- Large Mixing Bowl — Any size works, as long as it’s big enough to mix everything comfortably. I use a ceramic bowl because it’s sturdy.
- Spatula — A silicone spatula is best for scraping the sides and mixing thoroughly.
- Baking Sheet — Line it with parchment paper. This prevents sticking and makes cleanup a breeze. I always have parchment paper on hand.
- Measuring Cups and Spoons — Standard stuff. Dollar store versions work fine.
- Refrigerator or Freezer — You need a place to chill the balls so they firm up. Freezer is faster (20 mins), fridge is slower (1 hour).
Optional but nice: A small cookie scoop. It helps you make uniform balls, but I usually just eyeball it. It’s snacks, not a wedding cake.
How to Make It: Step-by-Step
Alright, let’s make these dairy-free no-bake chocolate peanut butter protein balls! I’m walking you through exactly how I do it. It’s super simple, but there are a few tricks to get the texture right.
Step 1: Mix the Wet Ingredients (2 minutes)
In your large bowl, combine the peanut butter and maple syrup. If your peanut butter is stiff, stir it vigorously until it’s smooth and creamy. The mixture should look glossy and homogeneous. If it’s too thick to stir, add a teaspoon of water or extra maple syrup. You want it pourable enough to mix easily.
Step 2: Add the Dry Ingredients (2 minutes)
Add the rolled oats and the pinch of salt to the bowl. Stir with your spatula until the oats are fully coated. The mixture should start to look like a thick, sticky dough. If it looks too dry and crumbly, add another tablespoon of maple syrup. If it’s too wet and sticky, add a little more oats. You’re looking for a texture like Play-Doh.
Step 3: Fold in the Chocolate (1 minute)
Gently fold in the dairy-free chocolate chips. Be careful not to crush them too much—you want distinct pockets of chocolate in every bite. If you’re adding chia seeds or flax, add them now.
Step 4: Chill the Mixture (Optional but Recommended)
Place the bowl in the refrigerator for 15-20 minutes. This firms up the peanut butter and makes the mixture much easier to roll. If you’re in a huge rush, you can skip this, but the balls will be stickier to handle. Trust me on this step. It saves frustration.
Step 5: Roll Into Balls (5 minutes)
Take a spoonful of the mixture (about 1 tablespoon) and roll it between your palms to form a ball. If the mixture sticks to your hands, wet them slightly with water or coat them with a tiny bit of oil. Roll until smooth. Place on the parchment-lined baking sheet. Repeat until all the mixture is used. You should get about 12-15 balls.
Step 6: Set and Serve
Place the baking sheet in the freezer for 20 minutes or the fridge for 1 hour. Once firm, they’re ready to eat! Store them in an airtight container in the fridge or freezer.
Total Time: About 15 minutes active, plus chilling time.
Expert Tips & Tricks
Here’s everything I’ve learned from making these dozens of times. These tips will save you from my mistakes.
The Peanut Butter Matters
Use natural peanut butter, but make sure it’s well-stirred. If the oil has separated and you don’t mix it in, your balls might be crumbly. I always microwave it for 10-15 seconds to make it easier to blend with the syrup.
Don’t Skip the Chill
I know you want to eat them now. But warm peanut butter balls are messy. Chilling them sets the fats and gives you that nice, firm bite. It’s worth the wait.
Texture Tweaks
For a crunchier ball, use crunchy peanut butter instead of smooth. For a softer, chewier ball, use quick oats instead of rolled oats. I usually stick to smooth peanut butter and rolled oats for the perfect balance.
Storage is Key
These keep well in the fridge for up to 2 weeks. In the freezer, they last for 3 months. I usually keep a batch in the freezer so I can grab them straight out for a cold, fudgy treat.
Variations & Substitutions
Once you’ve nailed the basic version, here’s how you can mix it up. I’ve tried all of these.
Almond Butter Version
Swap peanut butter for almond butter. It’s a bit more expensive but tastes amazing. Great for nut-free schools if you use sunflower seed butter instead.
Coconut Lover’s
Add ½ cup of unsweetened shredded coconut to the mixture. Roll the finished balls in extra coconut for a tropical twist.
Banana Bread Style
Add 1 ripe mashed banana and a teaspoon of cinnamon. These will be softer and need to be stored in the fridge. They taste like banana bread bites.
Protein Boost
Add 1 scoop of your favorite protein powder. Note: This will absorb moisture, so you may need to add an extra tablespoon of maple syrup or water to get the right consistency.
Gluten-Free
Just ensure your oats are certified gluten-free. Everything else is naturally gluten-free.
Serving & Storage
How do you enjoy these? I usually keep them in a small container in the fridge. Grab two or three as a mid-afternoon snack. They pair well with a glass of cold milk (dairy or plant-based).
Storage: Keep in an airtight container in the fridge for up to 2 weeks. In the freezer for up to 3 months. If freezing, store in a single layer on a baking sheet first, then transfer to a freezer bag once solid to prevent sticking.
Reheating: Not necessary, but if you want them soft, let them sit at room temperature for 10 minutes. They’re best eaten cold or at room temperature.
Nutrition Information
I’m not a nutritionist, but here’s the breakdown if you’re tracking. These are roughly 100-120 calories per ball, depending on size.
- Calories: ~110
- Protein: 4g
- Carbs: 12g
- Fat: 6g
- Fiber: 2g
- Sugar: 6g (natural from maple syrup and peanut butter)
They’re a decent balance of carbs, fat, and protein for a snack. Not a meal replacement, but a great way to curb cravings without the sugar crash.
Final Thoughts
So that’s my go-to dairy-free no-bake chocolate peanut butter protein balls recipe! I’ve probably talked your ear off at this point, but when you make a recipe this often, you have a lot to say about it.
This has saved my snack game more times than I can count. It’s my answer to “what’s for a snack?” when I’m tired, don’t want to bake, and still want something sweet. My kids are happy, my husband’s happy, and I’m happy because I’m not stressed about making something complicated.
Make it yours! Try different nuts, different chocolates, or add seeds. The best recipes are the ones you adapt to your family’s tastes. If you make these, drop a comment and let me know what you think! I love hearing how recipes turn out in your kitchen.
Happy snacking! And I hope your kitchen smells half as good as mine does right now.
Frequently Asked Questions
Can I use crunchy peanut butter?
Yes! I actually love crunchy peanut butter for the extra texture. Just make sure it’s well-mixed before measuring. The chunks will stay in the balls and give you little bites of crunch.
Why are my balls too crumbly?
This usually means the mixture is too dry. Add more maple syrup or peanut butter, one teaspoon at a time, until it sticks together when you press it. Also, make sure your oats aren’t too old or dry.
Why are my balls too sticky?
Too much liquid. Add more oats, one tablespoon at a time. Or, chill the mixture in the fridge for 15 minutes to firm it up before rolling.
Can I freeze them?
Absolutely! They freeze beautifully. Store them in a freezer-safe bag or container. They’ll last for up to 3 months. No need to thaw; just eat them frozen like a little ice cream bite.
Can I use honey instead of maple syrup?
Yes, honey works great. It’s sweeter than maple syrup, so you might need slightly less. The flavor will be different, but still delicious.
Are these kid-friendly?
Yes! Kids usually love them because they taste like candy. I’ve found that even picky eaters will eat these. Just make sure they’re chilled so they’re not too messy to handle.
Can I make these nut-free?
Yes! Use sunflower seed butter or soy nut butter instead of peanut butter. The texture and taste will be slightly different, but still tasty. Just check that your chocolate chips are also nut-free.
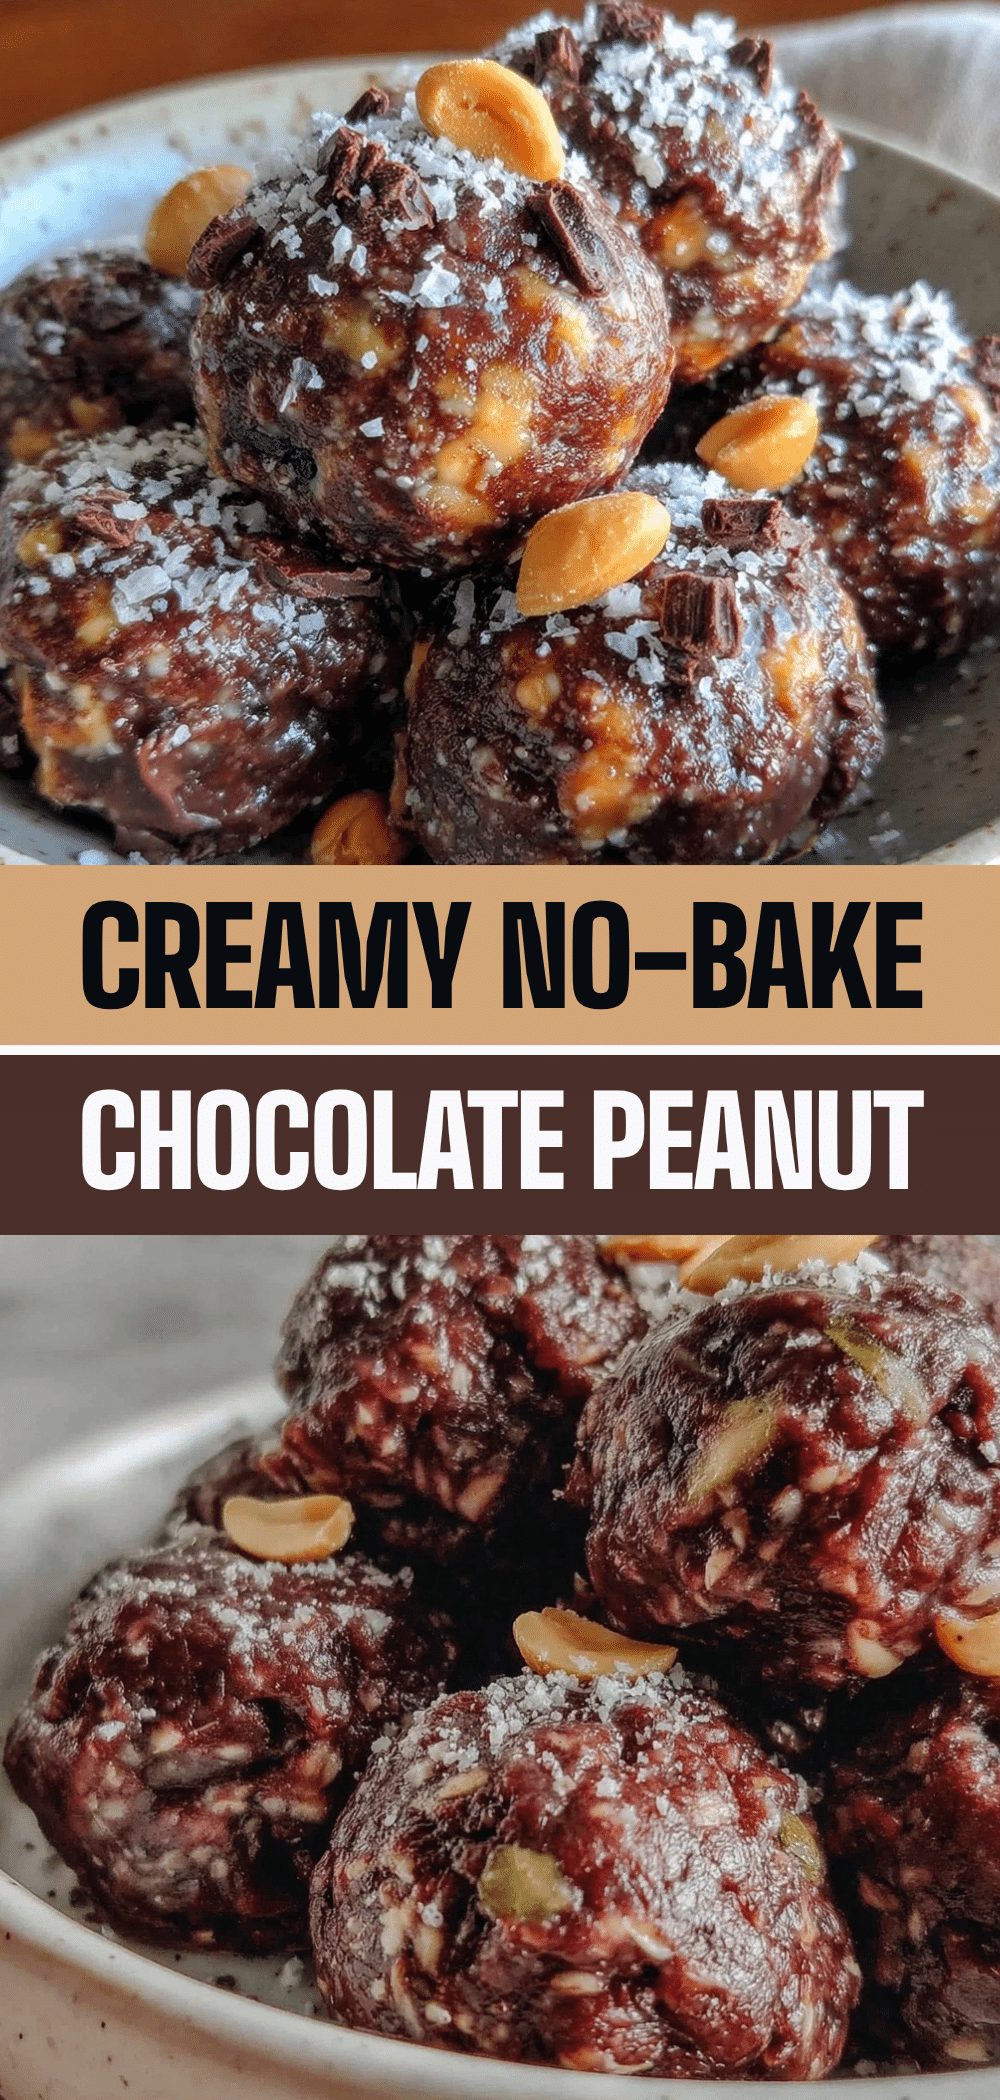
Pin This Recipe!
Dairy-Free No-Bake Chocolate Peanut Butter Protein Balls
- Total Time: 35 minutes
- Yield: 12-15 servings 1x
Description
A simple, five-ingredient, no-bake snack that tastes like a peanut butter cup. These dairy-free protein balls are easy to make, meal-prep friendly, and satisfy sweet cravings without refined sugars.
Ingredients
- 1 cup (250g) smooth natural peanut butter
- 1 ½ cups (120g) old-fashioned rolled oats
- ¼ cup (60ml) maple syrup
- 1 teaspoon vanilla extract
- ½ cup (85g) dairy-free chocolate chips
- Pinch of salt
- 1 tablespoon chia seeds or flax seeds (optional)
Instructions
- In a large mixing bowl, combine the peanut butter and maple syrup. Stir vigorously until smooth and glossy. If the peanut butter is stiff, microwave for 15 seconds to soften.
- Add the rolled oats and a pinch of salt to the bowl. Stir with a spatula until the oats are fully coated and the mixture resembles a thick, sticky dough.
- Gently fold in the dairy-free chocolate chips (and chia/flax seeds if using). Be careful not to crush the chips.
- Place the bowl in the refrigerator for 15-20 minutes to firm up the mixture, making it easier to handle.
- Take about 1 tablespoon of the mixture and roll it between your palms to form a ball. If the mixture sticks, wet your hands slightly with water.
- Place the rolled balls on a baking sheet lined with parchment paper.
- Freeze the balls for 20 minutes or refrigerate for 1 hour until firm.
- Store in an airtight container in the fridge for up to 2 weeks or in the freezer for up to 3 months.
Notes
Use natural peanut butter and stir well before measuring. If the mixture is too dry, add more maple syrup; if too sticky, add more oats. For a crunchier texture, use crunchy peanut butter. For a softer texture, use quick oats.
- Prep Time: 15 minutes
- Cook Time: 0 minutes
- Category: Snack
- Cuisine: American
Nutrition
- Serving Size: 1 ball
- Calories: 110
- Sugar: 6
- Sodium: 50
- Fat: 6
- Saturated Fat: 2
- Carbohydrates: 12
- Fiber: 2
- Protein: 4
Keywords: dairy-free, no-bake, protein balls, peanut butter, chocolate, healthy snack, gluten-free option, meal prep, vegan


