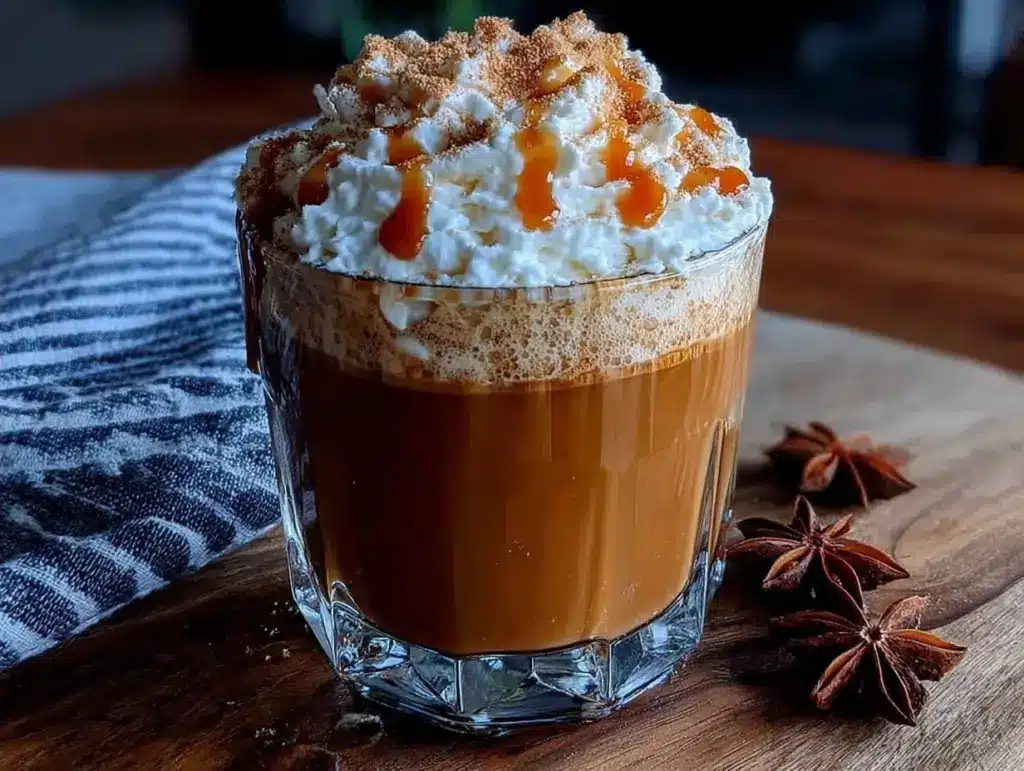
There is a specific kind of panic that hits me every October. It’s not the weather changing. It’s not the daylight savings time. It’s the realization that I am going to spend $180 next month on pumpkin spice lattes if I don’t take control of my morning routine. And by “I,” I mean “we,” because my husband’s autumn morale is directly tied to how many PSLs he gets before November.
Last year, I tried the standard approach. Make one latte in the morning, buy one in the afternoon. By Wednesday, I was broke, jittery, and drinking coffee that tasted like cardboard and regret. That was the breaking point. I realized that making individual lattes for five days straight was a recipe for disaster. Who has time to froth milk and boil syrup every single morning before their brain turns on?
So, I invented the batch-brew method. It’s not complicated. It’s not magic. It’s just smart meal prep for your caffeine fix. I make a big batch of pumpkin spice syrup and a concentrated coffee base on Sunday. By Tuesday morning, I’m pulling a mug from the fridge, heating it up, and stirring in fresh milk in under two minutes. It tastes exactly like the $8 version from the big coffee chain, but it’s cheaper, healthier, and I know exactly what’s in it.
This isn’t about spontaneity. It’s about efficiency. It’s about making Fall Pumpkin Spice Latte for Weekly Batch Brewing once, so you can enjoy it effortlessly all week long. If you’re tired of the morning rush and tired of the coffee shop receipts, this is your solution. I’ve tested this method for three autumns now, and it’s the only reason my mornings are actually calm.
Why You’ll Love This Batch Brewing Method
Look, I get it. Making a syrup sounds like work. But hear me out. The traditional way of making a PSL involves boiling pumpkin puree with spices, straining it, cooling it, and then making the coffee separately. It’s a lot of dishes. It’s a lot of time. And it’s a lot of stress when you’re trying to get out the door.
Batch brewing changes the game entirely. Here’s why this method has completely taken over my week:
Two Hours of Work for Five Days of Convenience — Seriously. I spend about 45 minutes on Sunday making the syrup and the coffee concentrate. The rest is just assembly. In the morning, it’s literally: heat milk, pour coffee, stir syrup, done. It’s faster than boiling water for tea.
Consistent Flavor Every Time — When you make individual syrups, you never know if you got the spice ratio right. With batch brewing, you perfect the ratio once. Then you have it locked in for the week. No more “is this too spicy?” or “is this too sweet?” questions.
It Freezes Like a Dream — This is the biggest secret. The coffee concentrate freezes perfectly. If I have extra syrup, I freeze it in ice cube trays. It thaws in seconds. This means I can make a double batch and have enough for two weeks. It’s the ultimate meal-prep win.
Customizable Sweetness — Store-bought syrups are often clogged with high-fructose corn syrup. With this method, I use pure maple syrup or honey. I control the sugar. If I want it sweeter, I add more. If I’m being “healthy,” I use less. It’s all up to me.
Cost Effective — Making this at home costs about $0.50 per latte. Buying it costs $6.50. Do the math over a month. That’s over $100 saved. I put that money toward a new soft cinnamon sugar breakfast pull-apart bread for the weekend, which pairs perfectly with these lattes.
This method isn’t just about saving money. It’s about taking back control of your morning. It’s about having a warm, comforting ritual that doesn’t require you to leave your house or stand in line.
Ingredients You’ll Need for the Batch
Here’s the best part: you probably have most of this already. The ingredients are simple, whole-food based, and pantry-friendly. I’m particular about three things here: the pumpkin, the spices, and the milk. But don’t worry, I’ll tell you exactly why.
For the Pumpkin Spice Syrup
Pumpkin Puree (1 can / 15oz) — Make sure it’s 100% pure pumpkin, not pumpkin pie filling. Pie filling has sugar and spices already, which will throw off your balance. I use Libby’s because it’s consistent. If you have a blender, you can steam fresh pumpkin and blend it, but the can is easier for batch prep.
Water (1 cup / 240ml) — Just regular tap water. No fancy mineral water needed here.
Maple Syrup (½ cup / 120ml) — I use Grade B maple syrup for a deeper, richer flavor. Grade A is too light. If you prefer honey, you can use that, but the flavor profile changes slightly. Agave works too if you’re avoiding sugar, but it’s thinner.
Vanilla Extract (1 teaspoon) — Use real vanilla, not imitation. It makes a huge difference in the depth of flavor. I keep a bottle of Nielsen-Massey on hand.
Pumpkin Pie Spice (2 tablespoons) — This is the magic powder. If you don’t have it, you can mix 1 tsp cinnamon, ½ tsp ginger, ¼ tsp nutmeg, ¼ tsp cloves, and ¼ tsp allspice. But honestly, buying the blend saves time. I buy it in bulk to save money.
Salt (½ teaspoon) — Yes, salt. It balances the sweetness and enhances the spice. Don’t skip it. It’s not optional.
For the Coffee Concentrate
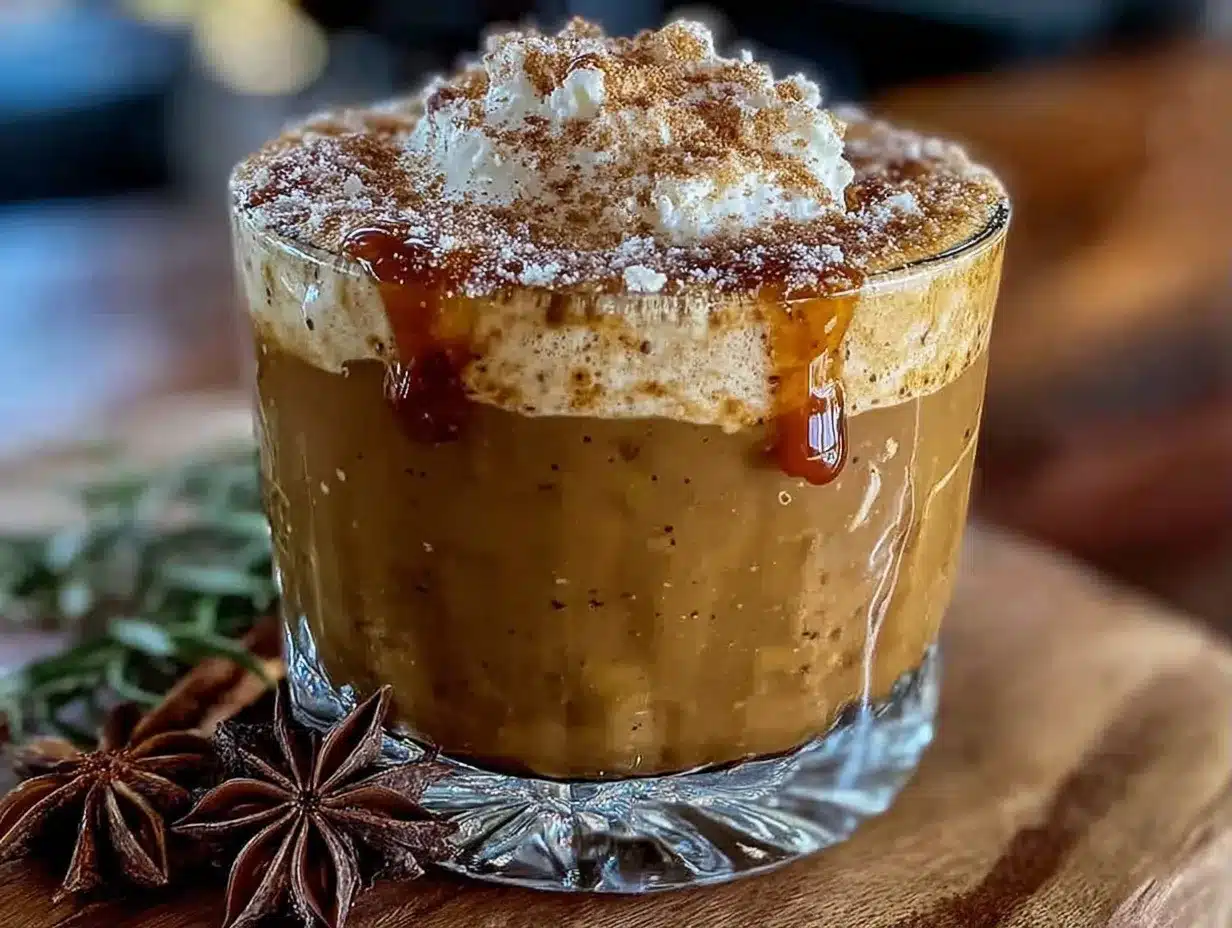
Strong Coffee (4 cups / 1 liter) — I use a dark roast, like a French Roast or a Colombian Supremo. It needs to stand up to the milk and syrup. Medium roast gets lost. I brew this in my big 12-cup drip coffee maker. It’s the most efficient way to get a large volume.
Heavy Cream (optional, for storage) — If you plan to freeze the coffee, add a splash of cream. It prevents the coffee from tasting “stale” after freezing. I usually skip this for the syrup, but I add it to the coffee base.
For Assembly (Per Serving)
Milk (1 cup / 240ml) — I use whole milk for the best texture, but oat milk is amazing too. It froths well and has a natural sweetness. Almond milk works, but it’s thinner. Coconut milk makes it taste like a dessert. Choose your fighter.
Whipped Cream (optional) — If you’re feeling fancy. I make my own whipped cream, but store-bought is fine for lazy days.
Cinnamon Stick (1) — For garnish. It looks pretty and smells good. I usually just sprinkle a little cinnamon on top instead.
Equipment Needed
You don’t need fancy equipment for this. Here’s what I actually use. It’s basic kitchen stuff.
Medium Saucepan — I use a 3-quart saucepan. It needs to be big enough to hold the pumpkin, water, and syrup without bubbling over. Stainless steel is best because it heats evenly.
Whisk — For mixing the pumpkin and spices. A silicone whisk works, but a metal whisk is sturdier. I use it to break up any lumps in the pumpkin.
Measuring Cups and Spoons — Standard stuff. Dollar store versions work fine. Accuracy matters here because you’re making a batch.
Large Glass Jars — I use mason jars for storage. They’re easy to clean, don’t stain, and you can see how much is left. 16-ounce jars are perfect for the syrup.
Coffee Maker — Any drip coffee maker works. I don’t use a French press because it’s harder to measure large volumes. Drip is faster and easier for batch brewing.
Milk Frother — Optional, but I love it. A handheld battery-operated frother makes the milk feel like a coffee shop drink. It’s cheap and easy to use.
Ice Cube Trays — For freezing syrup portions. Silicone trays are better because they’re flexible. I freeze the syrup in 2-tablespoon portions for single servings.
Freezer-Safe Containers — For the coffee concentrate. I use plastic containers with tight lids. Glass works too, but leave room for expansion.
How to Make It: Step-by-Step
Alright, let’s make this! I’m walking you through exactly how I do it. It’s methodical, but it’s fast. I do this on Sunday morning while I’m planning my week.
Step 1: Make the Pumpkin Spice Syrup (20 minutes)
In your medium saucepan, combine the pumpkin puree, water, maple syrup, vanilla extract, pumpkin pie spice, and salt. Whisk it all together until it’s smooth. There should be no lumps of pumpkin left. If you see lumps, keep whisking.
Place the saucepan over medium heat. Stir constantly. This is important because pumpkin burns easily. If you don’t stir, you’ll get a crust on the bottom that tastes bitter. Once it starts to bubble gently, reduce the heat to low. Let it simmer for 10 minutes, stirring every 2 minutes. The syrup will thicken slightly. It should coat the back of a spoon. If it’s too thin, simmer longer. If it’s too thick, add a splash of water.
Remove from heat. Let it cool completely. This is crucial. If you put hot syrup in the fridge, it will condense and get watery. I usually let it sit on the counter for an hour, then put it in the fridge.
Transfer to a glass jar. Seal tightly. It will keep in the fridge for up to 2 weeks. I usually make enough for two weeks, but if I’m feeling ambitious, I freeze half of it.
Step 2: Brew the Coffee Concentrate (15 minutes)
Brew 4 cups of strong coffee using your drip coffee maker. I use twice the amount of grounds I normally would. This creates a concentrate that won’t get watery when you mix it with milk. If you use regular strength coffee, the latte will taste like milk with a hint of coffee. We want bold flavor.
Let the coffee cool to room temperature. Do not put hot coffee in the freezer. It will crack the container and affect the flavor. I pour it into my freezer-safe containers while it’s still warm, but not hot. Let it sit for 30 minutes, then freeze.
Label the containers with the date. This is key for meal prep. You want to use the oldest coffee first. I usually make 5 servings, so I have one container for each day of the week.
Step 3: Portion and Store
Once the syrup and coffee are cooled, it’s time to organize. I put the syrup in the fridge. I put the coffee in the freezer. This is the “make it once, eat it four times this week” strategy in action.
If you’re not freezing the coffee, store it in the fridge. It will last for 5 days. After that, it starts to lose its fresh taste. Freezing extends the life significantly.
I also portion out the syrup. I put 2 tablespoons into small containers or freeze them in ice cube trays. This way, in the morning, I don’t have to measure. I just grab a cube or a small container.
Expert Tips & Tricks
Here’s everything I’ve learned from making this dozens of times. These tips will save you from my mistakes.
Don’t Skip the Salt — I know, it’s sweet. But salt balances the sugar and makes the pumpkin flavor pop. It’s not there to make it salty. It’s there to make it taste like pumpkin.
Use Real Vanilla — I’ve tried imitation vanilla before. It tastes chemical. Real vanilla adds a floral note that complements the spice. It’s worth the extra dollar.
Freeze in Portions — Don’t freeze the whole batch of syrup. Freeze it in 2-tablespoon portions. This way, you can thaw just what you need. It saves time and reduces waste.
Stir Well Before Using — Pumpkin settles at the bottom of the jar. Always stir the syrup before you pour it. If you don’t, you’ll get a mouthful of pure spice or pure pumpkin.
Thaw Slowly — If you freeze the coffee, thaw it in the fridge overnight. Don’t microwave it from frozen. It heats unevenly. Thawing in the fridge keeps the flavor consistent.
Customize the Spice — If you like more ginger, add more ginger. If you like more cinnamon, add more cinnamon. This is your batch. Make it how you like it. I usually add a pinch of cardamom for a unique twist.
Variations & Substitutions
Once you’ve nailed the basic version, here’s how you can mix it up. I’ve tried all of these.
Latte Version — Instead of just coffee and milk, froth the milk. Use a handheld frother to make it foamy. Pour the coffee and syrup into the mug, then top with the frothed milk. It’s fancy and feels special.
Iced Version — Skip the heating. Pour the cold coffee concentrate over ice. Add cold milk and syrup. Stir well. It’s refreshing and perfect for early autumn when it’s still warm out.
Hot Chocolate Version — Swap the coffee for hot cocoa mix. Add the pumpkin syrup to the hot milk. Top with whipped cream. It’s like a pumpkin spice hot chocolate. My kids love this version.
Decaf Version — Use decaf coffee. Same method, same flavor, no jitters. I drink this in the evenings when I want the taste without the caffeine.
Dairy-Free Version — Use oat milk or coconut milk. The syrup is already dairy-free, so just swap the milk. Oat milk froths the best for lattes.
Low-Sugar Version — Use stevia or monk fruit sweetener instead of maple syrup. It’s less sweet, but still flavorful. I use this when I’m watching my sugar intake.
Serving & Storage
How to Serve — I usually heat the milk in the microwave for 1-2 minutes. Pour the coffee concentrate and syrup into a mug. Stir well. Top with whipped cream and a sprinkle of cinnamon. It’s simple and effective.
Side Dishes — I pair this with fluffy banana nut baked oatmeal squares for a complete breakfast. The oats soak up the coffee flavor and make a great contrast.
Storage Instructions — The syrup keeps in the fridge for 2 weeks. The coffee keeps in the freezer for 1 month. If you keep it in the fridge, use within 5 days.
Reheating — If you frozen the coffee, thaw it in the fridge. Heat the milk separately. Combine and enjoy. Do not reheat the syrup in the microwave for too long. It can separate. Just stir it into the hot milk.
Freezing — You can freeze the syrup, but it may separate slightly. Whisk it well after thawing. The coffee freezes better than the syrup. I recommend freezing the coffee and keeping the syrup in the fridge.
Nutrition Information
I’m not a nutritionist, but here’s the breakdown if you’re tracking. This is per serving (1 latte).
– Calories: 150
– Protein: 4g
– Carbs: 22g
– Fiber: 1g
– Sugar: 18g
– Fat: 6g
– Saturated Fat: 3g
– Cholesterol: 15mg
– Sodium: 100mg
What’s Good: — It’s lower in sugar than store-bought syrups. You control the sweetness. It has some fiber from the pumpkin.
What to Know: — It still has sugar from the maple syrup. If you’re watching sugar, use less syrup or a sugar substitute. It contains dairy if you use milk. It’s not vegan unless you use plant milk.
My Take: — Look, this is a treat. It’s not a health food. But it’s better than the coffee shop version. When I want to make it lighter, I use almond milk and less syrup. But usually? I just enjoy it as a cozy fall ritual.
Final Thoughts
So that’s my go-to Fall Pumpkin Spice Latte for Weekly Batch Brewing! I’ve probably talked your ear off at this point, but when you make a recipe this often, you have a lot to say about it.
This has saved my mornings more times than I can count. It’s my answer to “what’s for breakfast?” when I’m tired, don’t want to cook, and still want something that tastes really good. My husband’s happy, my kids are happy, and I’m happy because I’m not stressed about making coffee every single day.
Make it yours! Try different spices, swap in your favorite milk, adjust the sweetness. The best recipes are the ones you adapt to your family’s tastes. If you make this, drop a comment and let me know what you think! I love hearing how recipes turn out in your kitchen. And if something doesn’t work, tell me that too—I’m here to help troubleshoot.
Happy cooking! And I hope your kitchen smells half as good as mine does right now.
Frequently Asked Questions
Q: Can I make this without pumpkin puree?
A: You can, but it won’t taste like pumpkin. You can use pumpkin pie spice and a little bit of butterscotch flavoring, but it won’t be the same. I recommend using pure pumpkin puree for the authentic flavor. If you’re out of pumpkin, you can use sweet potato puree, but the flavor is different.
Q: How long does the syrup last?
A: In the fridge, it lasts up to 2 weeks. In the freezer, it lasts up to 3 months. If it starts to smell off or change color, throw it out. Always trust your nose.
Q: Can I use instant coffee?
A: You can, but it won’t taste as good. Instant coffee can be bitter. If you must use it, dissolve 4 tablespoons of instant coffee in 1 cup of hot water. Then cool it and freeze. It’s a shortcut, but the flavor isn’t as rich.
Q: Why is my syrup too thick?
A: It probably simmered too long. Pumpkin thickens as it cools. If it’s too thick to pour, add a splash of water or maple syrup. It’s still usable, just harder to measure.
Q: Can I make this with fresh pumpkin?
A: Yes! Steam a cup of cubed pumpkin until soft, then blend it into a puree. It takes more time, but the flavor is fresher. I usually stick with canned for convenience, but fresh is great if you have time.
Q: How do I reheat the frozen coffee?
A: Thaw it in the fridge overnight. Then heat it in the microwave or on the stove. Do not microwave it from frozen. It will heat unevenly. Thawing first ensures consistent flavor.
Q: Can I double this recipe?
A: Absolutely! Double everything and use your biggest saucepan. The cooking times stay the same. I do this when I want to have enough for two weeks. Just make sure your jars are big enough for the syrup.
Pin This Recipe!
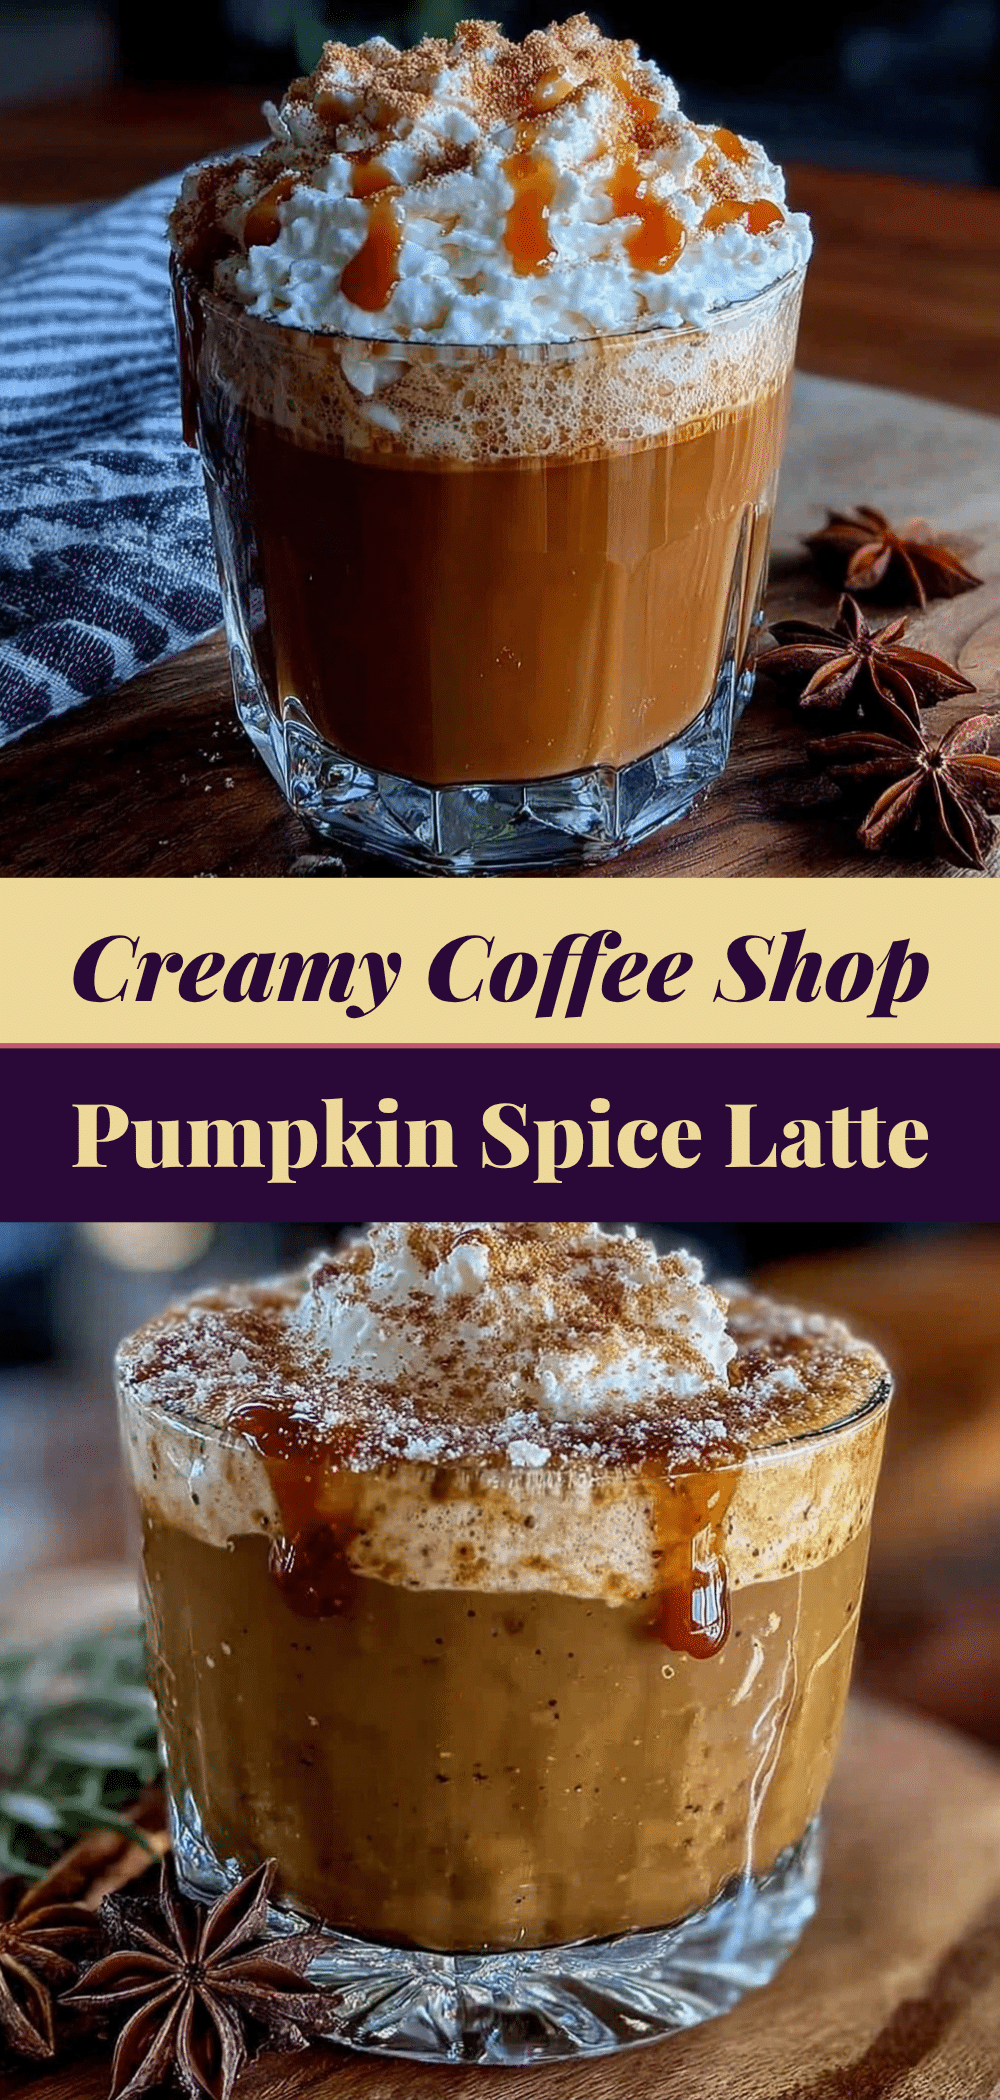

Fall Pumpkin Spice Latte for Weekly Batch Brewing
- Total Time: 65 minutes
- Yield: 5 servings 1x
Description
Save time and money by making a batch of pumpkin spice syrup and coffee concentrate on Sunday to enjoy homemade lattes all week long. This method offers consistent flavor, customizable sweetness, and significant cost savings compared to coffee shop versions.
Ingredients
- 1 can (15oz) 100% pure pumpkin puree
- 1 cup (240ml) water
- ½ cup (120ml) Grade B maple syrup
- 1 teaspoon real vanilla extract
- 2 tablespoons pumpkin pie spice
- ½ teaspoon salt
- 4 cups (1 liter) strong dark roast coffee concentrate
- 1 cup (240ml) milk (whole, oat, or almond)
- Whipped cream (optional, for garnish)
- Cinnamon stick or ground cinnamon (optional, for garnish)
Instructions
- In a medium saucepan, combine pumpkin puree, water, maple syrup, vanilla extract, pumpkin pie spice, and salt. Whisk until smooth.
- Place the saucepan over medium heat and stir constantly to prevent burning.
- Once the mixture begins to bubble gently, reduce heat to low and simmer for 10 minutes, stirring every 2 minutes, until the syrup thickens slightly and coats the back of a spoon.
- Remove from heat and let the syrup cool completely to room temperature.
- Transfer the cooled syrup to a glass jar, seal tightly, and refrigerate (or freeze in portions).
- Brew 4 cups of strong coffee using a drip coffee maker, using twice the normal amount of grounds to create a concentrate.
- Let the coffee cool to room temperature, then pour into freezer-safe containers and freeze (or refrigerate for up to 5 days).
- To serve, heat 1 cup of milk in the microwave or on the stove.
- Pour the coffee concentrate and 2 tablespoons of pumpkin spice syrup into a mug.
- Stir well, top with frothed milk, whipped cream, and a sprinkle of cinnamon if desired.
Notes
Ensure you use 100% pure pumpkin puree, not pumpkin pie filling. Real vanilla extract is recommended for better flavor. Salt is crucial to balance the sweetness and enhance the pumpkin flavor. The coffee concentrate freezes well, but the syrup may separate slightly upon thawing; whisk well before using. For a dairy-free version, use oat or coconut milk.
- Prep Time: 45 minutes
- Cook Time: 20 minutes
- Category: Beverage
- Cuisine: American
Nutrition
- Serving Size: 1 latte (1 cup milk,
- Calories: 150
- Sugar: 18
- Sodium: 100
- Fat: 6
- Saturated Fat: 3
- Carbohydrates: 22
- Fiber: 1
- Protein: 4
Keywords: pumpkin spice latte, batch brewing, coffee concentrate, homemade syrup, fall recipes, meal prep coffee, pumpkin spice syrup, caffeine fix


