Last Tuesday, I was staring at the clock, sweating bullets. My husband had just left for a late meeting, my teenager was due home from soccer in exactly twelve minutes, and the grocery store was twenty minutes away. I had zero dinner plans, zero snacks, and a very real panic attack brewing in my chest.
Then I remembered the bananas. They were the sad, brown, “please eat me before they go in the compost” kind. And I had a half-empty bag of semi-sweet chocolate chips and a tub of peanut butter in the pantry. I didn’t have time to bake. I didn’t have time to shop. I just had five minutes and a freezer.
So I did what any desperate parent does: I sliced the bananas, dunked them in chocolate, froze them for an hour, and hoped for the best. When my son walked in, hungry and grumpy, I handed him one. He took one bite, his shoulders dropped three inches, and he asked for three more. That’s when I knew I had struck gold.
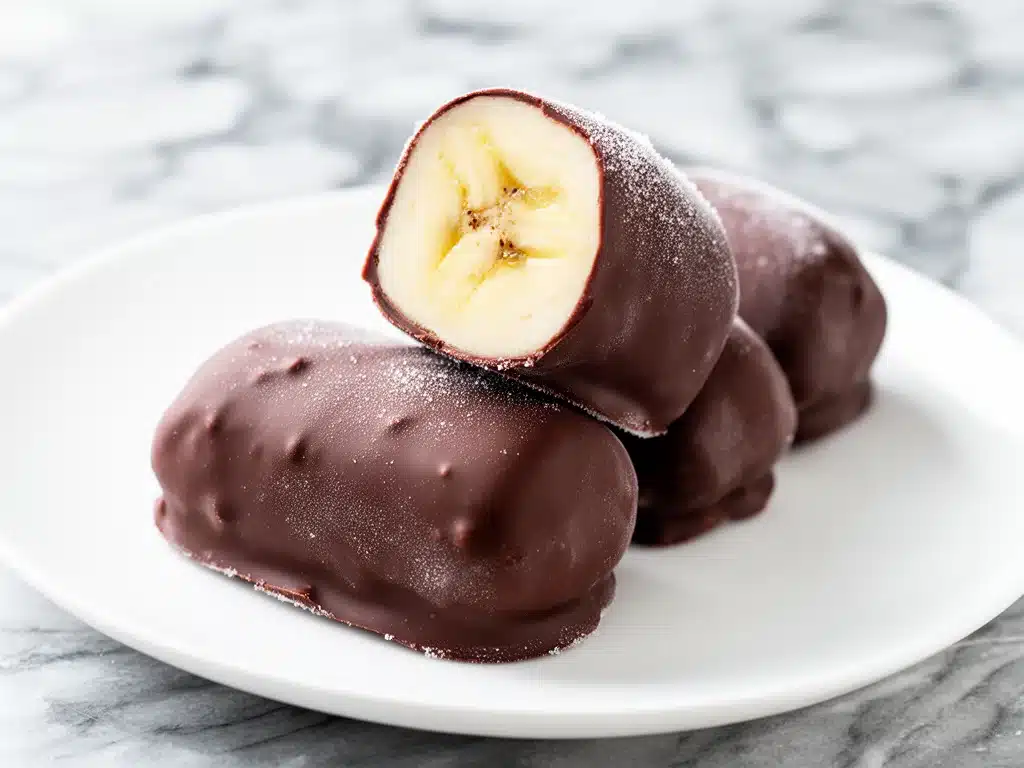
This is the story behind my frozen chocolate banana bites. They aren’t just a snack; they’re a lifesaver. They’re the bridge between “I’m starving” and “dinner is ready.” And the best part? They take five minutes of active prep time. Seriously. If you can peel a banana and dip it in a bowl, you can make these.
I’ve made these hundreds of times since that chaotic Tuesday. I’ve tweaked the coatings, tried different nuts, and even experimented with white chocolate (which is delicious but messy). But the core recipe remains the same: simple, healthy-ish, sweet enough to satisfy a sugar craving but packed with enough potassium to actually help you function. If you’re looking for a quick after-school snack that doesn’t involve opening a box of processed cookies, you need to try this.
Why You’ll Love This Recipe
There are about a dozen reasons I keep making these frozen chocolate banana bites, but let’s be real—you don’t need another complicated recipe. You need something that works. Here’s why this has earned a permanent spot in my freezer and my weekly routine.
Stupid Simple — I’m not exaggerating. You need three ingredients and two bowls. No baking, no stove, no complicated techniques. I’ve taught my eight-year-old to make these solo. He’s the only one in the house who can successfully dip without making a mess (spoiler: he can’t, but he tries).
Lightning Fast Prep — The actual hands-on time is five minutes. The rest is just waiting in the freezer. I make a batch on Sunday evening while watching TV, and they’re ready by Wednesday. It’s the ultimate set-it-and-forget-it snack.
Health Halo (Mostly) — Look, they’re chocolate covered bananas. They’re not a salad. But compared to store-bought granola bars or fruit snacks loaded with corn syrup, these are miles ahead. You get natural sugars from the fruit, healthy fats from the chocolate or nut butter, and fiber from the banana. It’s a snack that actually fuels you.
Texture Heaven — This is the secret weapon. The first bite is that crisp, cold snap of the chocolate shell. Then, you hit the soft, creamy, slightly warm banana inside. It’s like a natural popsicle meets a truffle. My kids describe it as “eating ice cream that’s good for you.” I don’t correct them.
Customizable — Hate nuts? Skip them. Love peanut butter? Drizzle it on top. Want to go fancy? Add sprinkles. These bites adapt to whatever mood you or your kids are in. I’ve made them for birthday parties, for lunchboxes, and just for Tuesday night cravings.
This is my go-to when I need to grab kids off the couch and feed them something that tastes like a treat but doesn’t make me feel guilty. No fancy equipment, no weird ingredients, just reliable, delicious food that makes everyone happy.
Ingredients You’ll Need
Here’s the best part: you probably have most of this already. I’m not asking you to hunt down exotic superfoods. This is pantry-friendly, freezer-friendly, and kid-approved.
For the Base:
Ripe Bananas (4 large, peeled and sliced) — This is crucial. You want bananas that are spotted brown. They’re sweeter and creamier. Green bananas will taste starchy and bland. I usually keep a bunch in the fridge once they’re ripe; the peel turns black, but the fruit inside is perfect for this.
Semi-Sweet Chocolate Chips (1.5 cups / 250g) — I use high-quality semi-sweet chips because they melt smoothly and aren’t too sweet. Dark chocolate chips work too if you want less sugar. Avoid baking bars unless you’re experienced with tempering; chips have stabilizers that make them easier to work with for beginners.
Cocoa Powder (1 tablespoon) — This is my secret trick. Adding a tablespoon of unsweetened cocoa powder to the melted chocolate makes the flavor deeper and richer. It tastes like a premium truffle, not just melted candy. Trust me on this.
Coconut Oil (1 tablespoon) — This helps thin the chocolate so it coats evenly and gives that satisfying snap when it freezes. Without it, the chocolate can be thick and gloopy. Use refined coconut oil if you don’t want a coconut taste.
For the Coatings (Optional but Recommended):
Crushed Nuts (½ cup) — Peanuts, almonds, or pistachios. Peanuts are classic and cheap. Almonds add a nice crunch. I crush them in a ziplock bag with a rolling pin—it’s therapeutic.
Sea Salt Flakes — A tiny pinch on top of each bite while the chocolate is wet. It enhances the chocolate flavor and balances the sweetness. This is the “fancy” touch that makes people think you went to culinary school.
Mini Chocolate Chips (½ cup) — For rolling the bites after dipping. They stick to the outside and add extra texture. I like to use mini chips because they’re easier to coat than large chips.
Peanut Butter or Almond Butter (2 tablespoons, melted) — For drizzling. If you’re nut-free, you can use sunflower seed butter or just skip this. The drizzle adds a nice visual appeal and a burst of flavor.
Personal Tips:
– Banana Selection: I buy bananas when they’re yellow with just a few brown spots. I peel them immediately, slice them, and freeze them on a baking sheet before the chocolate step. This prevents them from getting mushy.
– Chocolate Choice: I always keep Ghirardelli or Lindt chips on hand. They melt evenly. Cheap chocolate chips often have wax that doesn’t coat well.
– Nut Allergies: If you’re making these for school, skip the nuts entirely. The mini chocolate chips and sea salt are safe and still delicious.
Equipment Needed
You don’t need fancy equipment for this. Here’s what I actually use in my chaotic kitchen.
Baking Sheets — I use two standard sheet pans. You need space between the banana slices so they don’t stick together while freezing. I line them with parchment paper for easy cleanup. Silicone mats work too, but parchment is cheaper and easier to discard.
Microwave-Safe Bowl — A large glass bowl works best. I use a 2-cup measuring cup bowl because it’s deep enough to dip the bananas without splashing. If you don’t have a microwave-safe bowl, you can use a heatproof glass bowl over a pot of simmering water (double boiler method), but the microwave is faster.
Fork or Dipping Tool — I use a fork to dip the bananas. It’s the most accessible tool. You can also use chopsticks or tongs if you’re worried about getting chocolate on your fingers. Just make sure the tool is dry; water and chocolate don’t mix.
Ziplock Bags — For crushing nuts. I put the nuts in a bag and hit them with a rolling pin. It’s loud, but effective. If you have a food processor, pulse them until coarse. Don’t turn them into powder; you want crunch.
Piping Bag or Ziplock Bag (for Drizzle) — If you want to drizzle nut butter, put it in a ziplock bag and snip a tiny corner. It’s like a makeshift piping bag. No fancy tools needed.
Freezer — Obviously. Make sure you have space. These take up about two sheet pans worth of room. If your freezer is packed, you might need to freeze them in batches.
How to Make It: Step-by-Step
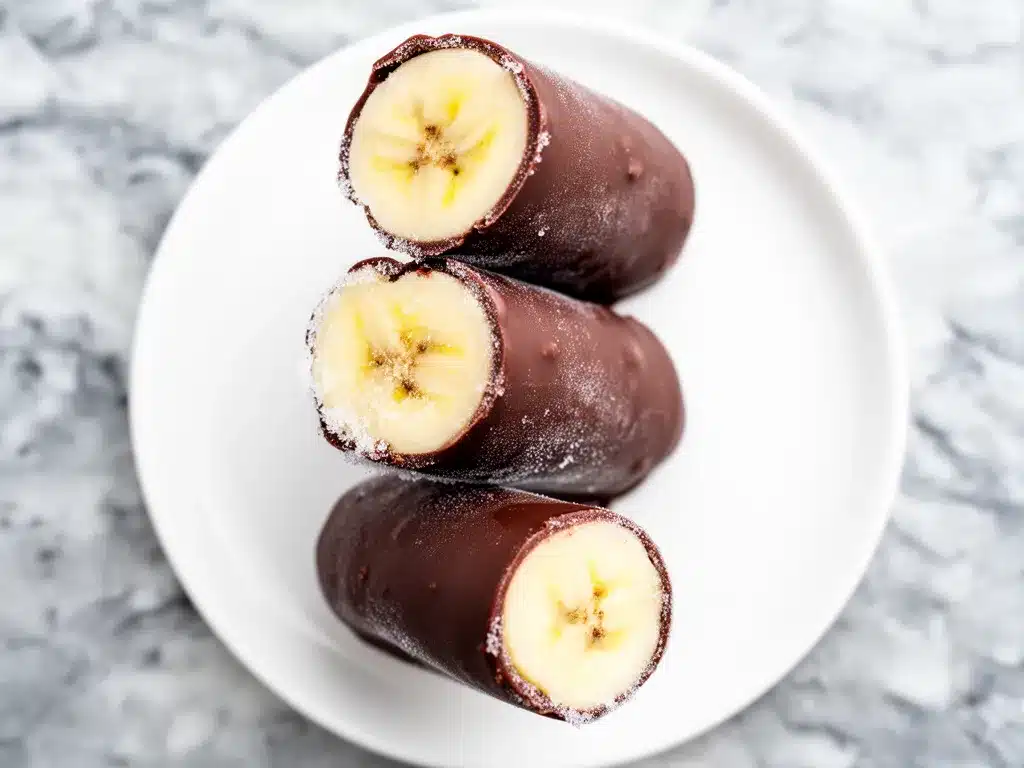
Alright, let’s make these frozen chocolate banana bites! I’m walking you through exactly how I do it, including the little tricks I’ve picked up to avoid the common pitfalls (like chocolate seizing or bananas turning to mush).
Step 1: Prep the Bananas (5 minutes)
Peel your bananas and slice them into ½-inch thick rounds. You want them uniform so they freeze evenly. Lay them out on a parchment-lined baking sheet. Make sure they aren’t touching each other. This is important—if they touch, they’ll freeze into a giant clump, and you’ll have to thaw them to separate them, which ruins the texture.
Place the sheet in the freezer for 30 minutes. This step is non-negotiable. You need the bananas to be rock hard before you dip them. If they’re soft, the chocolate will slide off, and you’ll end up with a chocolate-covered banana mush mess. I know it’s tempting to skip this, but don’t.
Step 2: Melt the Chocolate (2 minutes)
While the bananas are freezing, melt your chocolate chips. I use the microwave. Put the chips in your microwave-safe bowl with the coconut oil and cocoa powder. Microwave on high for 30 seconds. Stir. Microwave for another 15 seconds. Stir again. Repeat until smooth. Do not overheat! Chocolate burns easily. If it looks lumpy, keep stirring; the residual heat will melt it. The mixture should be thin and glossy, like honey.
Step 3: Dip the Bananas (5 minutes)
Take the frozen banana slices out of the freezer. They should be hard as rocks. Working quickly (because they start to thaw immediately), dip each slice into the chocolate using a fork. Lift it out, let the excess chocolate drip off for a second, and then place it back on the parchment-lined sheet.
If you’re adding crushed nuts or mini chocolate chips, roll the dipped banana in the topping immediately. The chocolate is still wet, so it will stick. If you’re adding sea salt, sprinkle it on now.
Work in batches. Don’t dip all the bananas at once, or the first ones will thaw before you’re done. Do about 10 at a time.
Step 4: Freeze Again (2 hours)
Once all the bananas are dipped and topped, put the sheet back in the freezer. Let them freeze for at least 2 hours, or until they are completely solid. This second freeze sets the chocolate shell and makes the bites firm enough to handle without breaking.
Step 5: Store and Serve
Transfer the frozen bites to an airtight container or a large ziplock bag. They can stay in the freezer for up to 3 months. When you’re ready to eat, take them out and let them sit for 2-3 minutes. This softens the chocolate just enough to get that perfect snap without being too hard to bite.
Drizzle with melted nut butter if you want. Enjoy immediately. They melt fast, so eat them on a plate, not in your hand (unless you like chocolate fingers).
Expert Tips & Tricks
Here’s everything I’ve learned from making these dozens of times. These tips will save you from my mistakes.
Keep Them Frozen — The biggest mistake people make is letting the bananas thaw before dipping. If you’re dipping and your bananas are sweating, put them back in the freezer for 10 minutes. Cold bananas = clean coating.
Thin the Chocolate — If your chocolate feels too thick, add another half-teaspoon of coconut oil. You want it to flow off the fork smoothly. Thick chocolate creates a heavy shell that can crack when you bite into it.
Work in Batches — Don’t try to dip the whole batch at once. Do 10-15 at a time. The chocolate sets quickly, and you want to get the toppings on while it’s wet.
Use Ripe Bananas — I can’t stress this enough. Sweet, brown-spotted bananas make the best flavor. Green bananas taste bland and don’t pair well with chocolate.
Storage is Key — Store them in a single layer in an airtight container. If you stack them, they’ll stick together. Put a piece of parchment paper between layers if you must stack them.
Pro Trick: The Drizzle — Melt nut butter with a teaspoon of coconut oil to make it drizzle-able. Put it in a ziplock bag and snip the corner. It’s like a professional bakery touch.
Variations & Substitutions
Once you’ve nailed the basic version, here’s how you can mix it up. I’ve tried all of these.
Peanut Butter Cup Style — Drizzle melted peanut butter over the top after dipping. Sprinkle with a little sea salt. This is the closest thing to a Reese’s Cup you’ll ever make at home.
Cookie Dough Bites — Roll the dipped bananas in crushed chocolate chip cookie dough pieces or edible cookie dough crumbs. Sounds weird, tastes amazing.
Coconut Lover’s — Roll the dipped bananas in shredded coconut. Drizzle with white chocolate. Very tropical and very pretty.
White Chocolate — Substitute semi-sweet chocolate with white chocolate. It’s sweeter and milder. Great for kids who don’t like dark chocolate.
Gluten-Free — This recipe is naturally gluten-free. Just make sure your chocolate chips and toppings are certified gluten-free (some chips are processed in facilities with wheat).
Nut-Free — Skip the nuts and crushed toppings. Use mini chocolate chips or sprinkles instead. Perfect for school lunches.
Serving & Storage
How to Serve: I usually serve these straight from the freezer. They’re best eaten like ice cream—slowly, savoring the texture change. I put them on a small plate so they don’t melt onto the table.
Side Dishes: These are a standalone snack. No sides needed. But if you’re having a movie night, pair them with popcorn or fruit slices.
Storage Instructions:
Refrigerator: Don’t store them in the fridge. They’ll get sticky and the chocolate will sweat. Freezer only.
Freezer: Store in an airtight container for up to 3 months. They don’t freeze well for longer than that because the bananas can develop freezer burn.
Reheating: Don’t reheat! Let them sit out for 2-3 minutes to soften slightly. Eating them straight from the freezer is too hard on your teeth.
Nutrition Information
I’m not a nutritionist, but here’s the breakdown if you’re tracking. Keep in mind that nutrition varies based on the brand of chocolate and size of bananas.
Per Serving (based on 10 bites):
- Calories: 150
- Protein: 2g
- Carbs: 22g
- Fiber: 3g
- Sugar: 16g
- Fat: 8g
- Saturated Fat: 5g
- Cholesterol: 0mg
- Sodium: 15mg
What’s Good: – Natural sugars from fruit
– Fiber from bananas
– Healthy fats from chocolate/coconut oil
– No refined flour or preservatives
What to Know: – Higher in sugar than a plain banana
– Contains dairy (if using milk chocolate)
– Nut-free versions are possible
My Take: Look, these are a treat. They’re not a vegetable. But they’re a far better option than candy bars or cookies. I limit them to 2-3 bites per person as a snack. They satisfy the sweet tooth without ruining dinner appetite.
Final Thoughts
So that’s my go-to frozen chocolate banana bites! I’ve probably talked your ear off at this point, but when you make a recipe this often, you have a lot to say about it.
This has saved after-school hours more times than I can count. It’s my answer to “I’m hungry” when I’m tired, don’t want to cook, and still want something that tastes good. My kids are happy, my husband is happy, and I’m happy because I’m not stressed about finding a snack.
Make it yours! Try different coatings, swap in your favorite nut butter, adjust the sweetness. The best recipes are the ones you adapt to your family’s tastes.
If you make this, drop a comment and let me know what you think! I love hearing how recipes turn out in your kitchen. And if something doesn’t work, tell me that too—I’m here to help troubleshoot.
Happy snacking! And I hope your freezer smells half as good as mine does right now.
Frequently Asked Questions
Can I use frozen bananas that are already frozen?
Yes! In fact, that’s what you’re doing in Step 1. If you have pre-sliced frozen bananas, just skip the first freeze step and go straight to dipping. Just make sure they’re solid. If they’re soft, freeze them first.
Why did my chocolate seize up?
Water is the enemy of chocolate. If even a drop of water got into your melting chocolate, it will seize and become grainy. Make sure your bowl and fork are completely dry. Also, don’t overheat it in the microwave. Low and slow wins.
Can I make these nut-free for school?
Absolutely. Skip the crushed nuts and peanut butter drizzle. Use mini chocolate chips or sprinkles for topping. Just check your chocolate chip packaging to ensure it’s made in a nut-free facility if your school has strict policies.
How long do these last in the freezer?
They last up to 3 months in an airtight container. After that, the bananas might develop freezer burn or the chocolate might absorb other freezer smells. I usually eat them within a month.
Can I use dark chocolate instead of semi-sweet?
Yes! Dark chocolate is less sweet and has a richer flavor. It’s great if you want to reduce the sugar content. Just make sure it’s a good quality chocolate that melts well.
Why do my bites crack when I bite them?
This happens if the chocolate shell is too thick or if the bananas aren’t frozen hard enough before dipping. Make sure the bananas are rock hard, and thin the chocolate with a bit more coconut oil so it coats thinly and evenly.
Pin This Recipe!
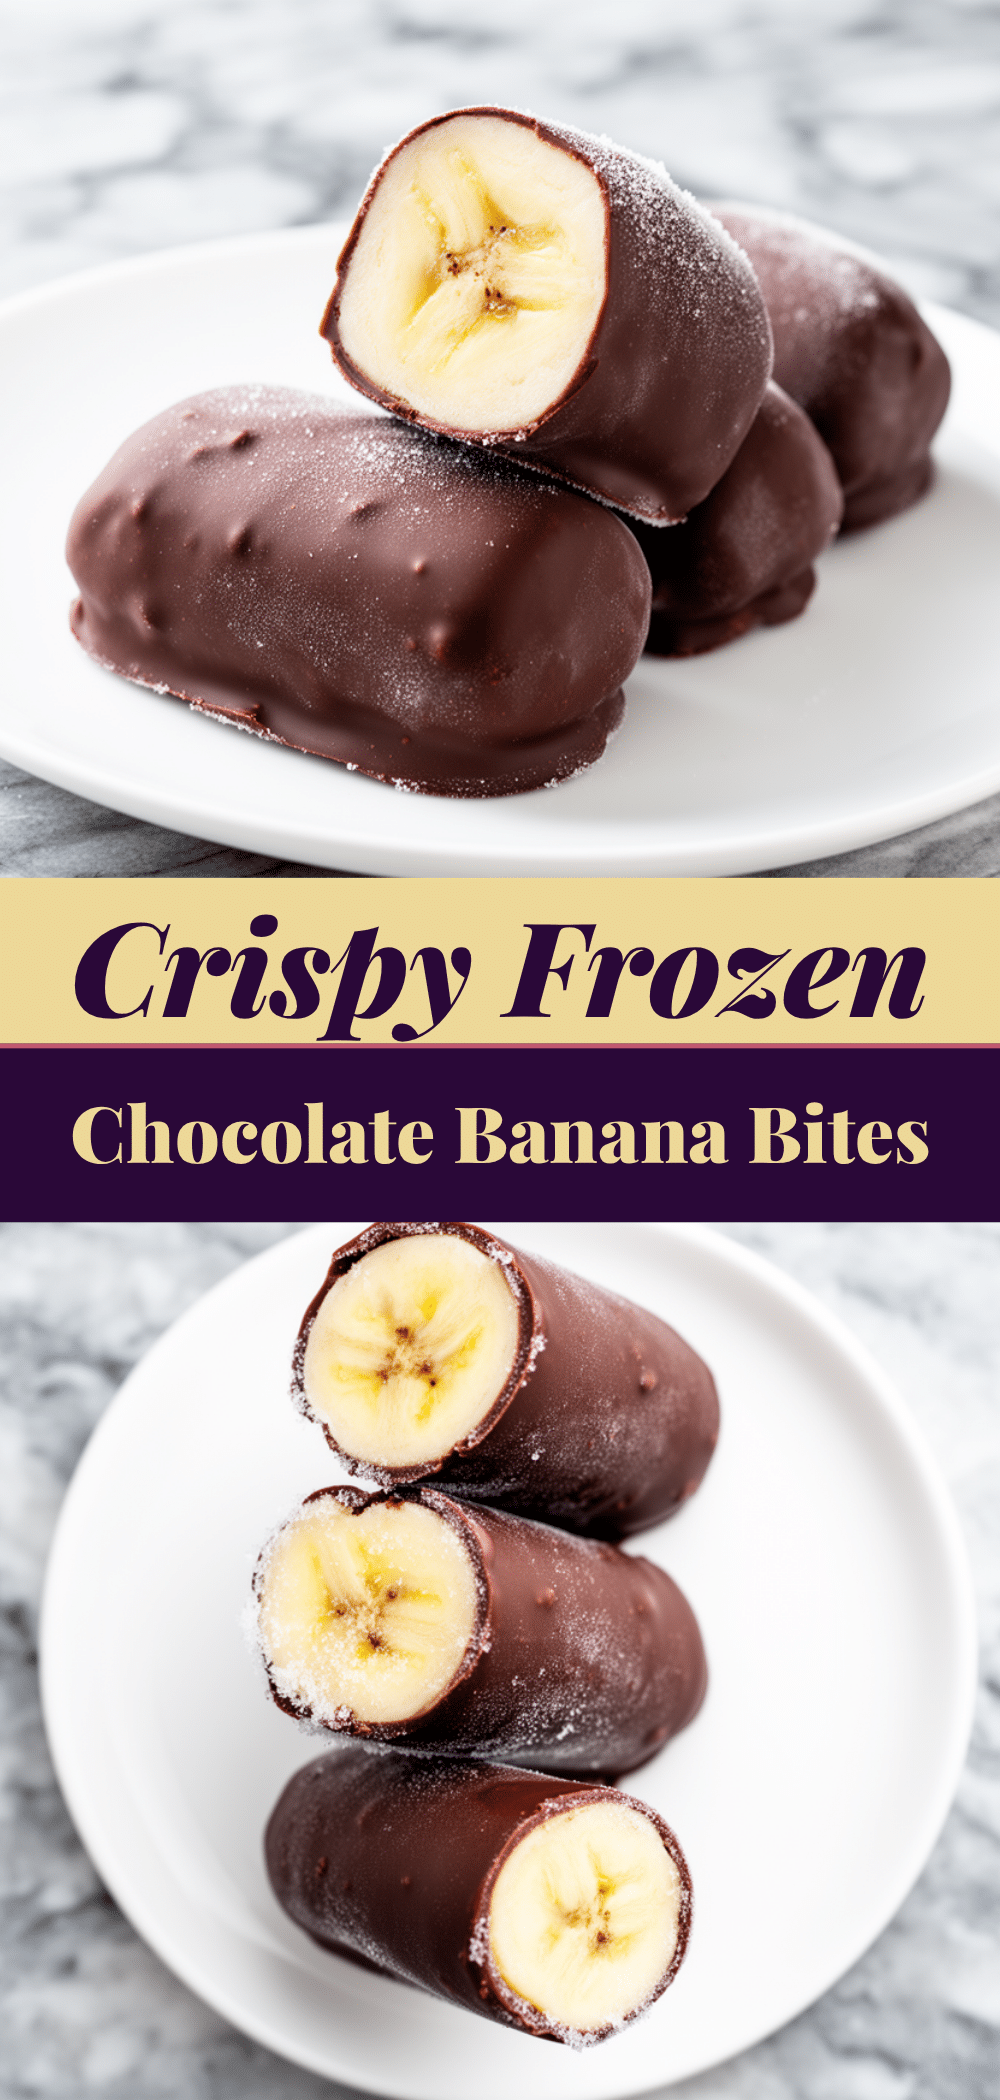
Frozen Chocolate Banana Bites
- Total Time: 2 hours 5 minutes
- Yield: 10 servings 1x
Description
A quick, 5-minute prep after-school snack made by dipping frozen banana slices in chocolate and freezing them again. These bites offer a crisp chocolate shell with a creamy banana center, customizable with nuts, sea salt, or nut butter drizzles.
Ingredients
- 4 large ripe bananas, peeled and sliced into ½-inch rounds
- 1.5 cups (250g) semi-sweet chocolate chips
- 1 tablespoon unsweetened cocoa powder
- 1 tablespoon coconut oil
- ½ cup crushed nuts (peanuts, almonds, or pistachios) – optional
- Sea salt flakes – optional
- ½ cup mini chocolate chips – optional
- 2 tablespoons peanut butter or almond butter, melted – optional
Instructions
- Peel bananas and slice into ½-inch thick rounds. Arrange them in a single layer on a parchment-lined baking sheet, ensuring slices do not touch.
- Place the baking sheet in the freezer for 30 minutes until the bananas are rock hard.
- While bananas freeze, melt chocolate chips, cocoa powder, and coconut oil in a microwave-safe bowl. Microwave on high for 30 seconds, stir, then microwave in 15-second intervals, stirring until smooth and glossy.
- Remove bananas from the freezer. Working quickly in batches of 10, dip each slice into the melted chocolate using a fork.
- Lift the dipped banana, let excess chocolate drip off, and place back on the parchment-lined sheet.
- Immediately roll the wet chocolate-coated banana in crushed nuts, mini chocolate chips, or sprinkle with sea salt if desired.
- Return the sheet to the freezer for at least 2 hours until completely solid.
- Transfer frozen bites to an airtight container or ziplock bag for storage.
- To serve, let bites sit at room temperature for 2-3 minutes to soften slightly, then drizzle with melted nut butter if desired.
Notes
Use ripe, spotted bananas for the best sweetness and texture. Ensure bananas are completely frozen before dipping to prevent the chocolate from sliding off. Do not store in the refrigerator as the chocolate will sweat and become sticky. These can be stored in the freezer for up to 3 months.
- Prep Time: 5 minutes
- Cook Time: 0 minutes
- Category: Snack
- Cuisine: American
Nutrition
- Serving Size: 1 bite
- Calories: 150
- Sugar: 16
- Sodium: 15
- Fat: 8
- Saturated Fat: 5
- Carbohydrates: 22
- Fiber: 3
- Protein: 2
Keywords: frozen chocolate banana bites, after school snack, healthy snacks, kid friendly snacks, no bake dessert, chocolate covered bananas, quick snacks


