It was 3:15 PM on a Tuesday, and I was standing in the school pickup line, watching my son’s energy levels plummet in real-time. You know the look. The “hangry” eyes, the slumping shoulders, the sudden declaration that he is “starving to death” because he hasn’t eaten since his pre-k snack at 10:00 AM. I reached into my bag for the usual go-to: a crinkly bag of processed fruit snacks and a granola bar that was 80% sugar and 20% mystery ingredients. He took one bite, grimaced, and pushed it back into the bag.
I felt like a failure. I was trying to feed him something “healthy,” but it wasn’t filling, it wasn’t tasty enough to override his exhaustion, and it definitely wasn’t going to last until dinner. That night, I stared at my pantry, surrounded by bags of nuts, seeds, dried fruit, and chocolate chips that I’d bought for “someday” baking projects that never happened. I realized I had all the building blocks for the perfect snack, but I was too tired to bake cookies or energy balls that required an oven.
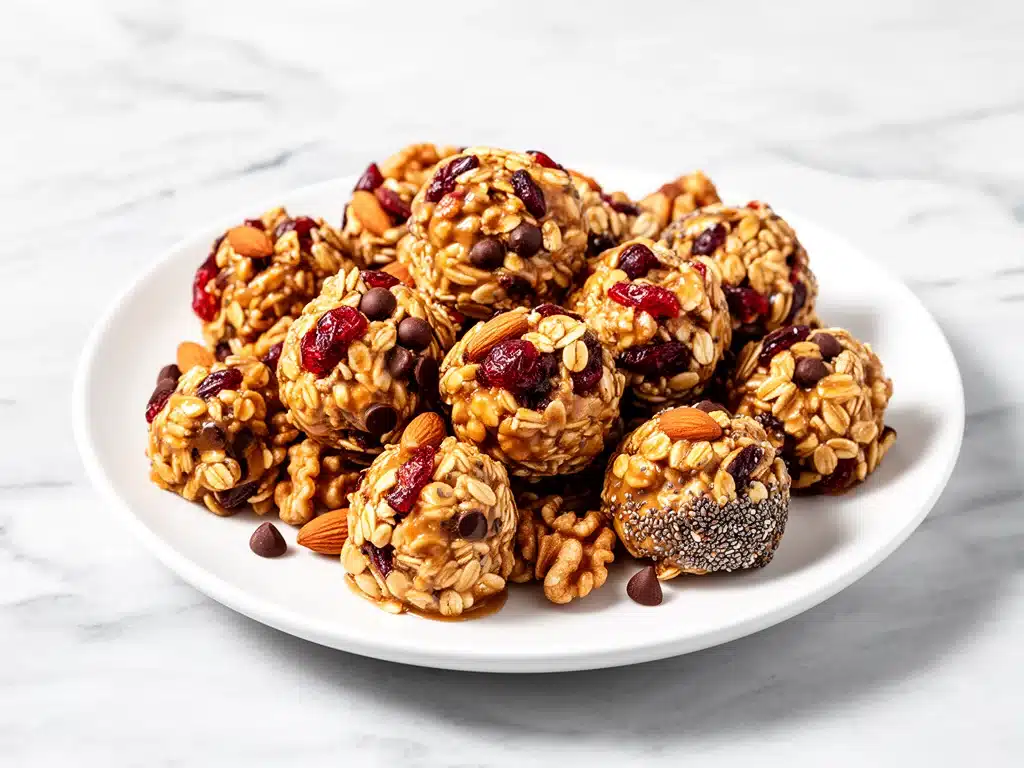
So, I threw everything into a bowl. No baking. No cooking. Just mixing, chilling, and shaping. I made a batch of what I now call Healthy After-School Trail Mix Energy Clusters for Busy Days. The next afternoon, I handed him one. He ate it in two bites and asked for another. That was six months ago. Now, these clusters are the first thing I pack in his lunchbox and the first thing I grab when the 3:00 PM panic sets in.
Here’s the thing about these clusters: they’re not just a snack. They’re a lifesaver for busy parents who want to avoid the processed snack aisle but don’t have hours to spend in the kitchen. They’re sticky, sweet, salty, crunchy, and packed with enough protein and healthy fats to keep a growing kid (and a tired adult) going for hours. I’ve tested this recipe dozens of times, tweaking the ratios until I got that perfect balance of chewy and crunchy. It’s simple, it’s nutritious, and it’s incredibly easy to make. Let’s get into why you need this in your rotation.
Why You’ll Love This Recipe
I know what you’re thinking. “Another no-bake energy ball recipe? Really?” But hear me out. These clusters are different because they tackle the three biggest problems with after-school snacks: the sugar crash, the mess, and the prep time. I’ve made these for soccer practice, for long car rides, and for those days when I just want to sit down and not think about food for an hour. Here’s why they’ve earned a permanent spot in my kitchen.
- Zero Baking Required — Seriously, if you can stir, you can make this. No oven, no cooling racks, no waiting for dough to chill for hours (though chilling helps, it’s not mandatory). I make these while dinner is simmering on the stove. It’s the ultimate multitask.
- Sticky & Satisfying — Most energy balls fall apart or taste dry. These clusters are held together by natural binders like honey and nut butter, giving them a chewy, almost bar-like texture that feels substantial. They’re dense enough to be a mini-meal but light enough to be a snack.
- Customizable for Picky Eaters — My daughter hates raisins but loves dried cranberries. My son is allergic to peanuts, so we use sunflower butter. This recipe is a canvas. You can swap nuts, seeds, and dried fruits based on what you have and what your family actually likes. It’s a great way to use up that half-empty bag of almonds you’ve been ignoring.
- No Sugar Crash — Because we’re using nuts, seeds, and oats, there’s a good amount of protein and fiber in every cluster. This means the energy release is steady, not a spike-and-crash like you get with candy or cookies. I’ve noticed my kids play better longer when they have these instead of juice boxes.
- Budget-Friendly — Buying pre-made trail mix or energy bars is expensive. Making these at home costs pennies per cluster, especially if you buy nuts and seeds in bulk. I usually make a big batch and keep them in the freezer, so I’m never caught without a healthy option.
This is my go-to when I need dinner to just work. No complicated techniques, no weird ingredients, just reliable, delicious food that makes everyone happy. And honestly, the smell of warm honey and toasted oats while you’re mixing them? It just feels like home.
Ingredients You’ll Need
Here’s the best part: you probably have most of this already. This isn’t a recipe that requires a trip to three different specialty stores. It’s pantry-friendly, wholesome, and simple. I’m particular about three ingredients here, and I’ll tell you exactly why they matter for texture and flavor.
For the Base:
Rolled Oats (2 cups / 180g) — Use old-fashioned rolled oats, not quick oats. Quick oats turn into mush. Rolled oats give you that chewy, hearty texture. If you need gluten-free, make sure you buy certified gluten-free oats. I love the brand Bob’s Red Mill because they’re consistently good.
Nut Butter (½ cup / 120g) — This is the glue. I usually use creamy peanut butter for the classic flavor, but almond butter or sunflower seed butter (for nut-free schools) works perfectly. The key is to use a natural, runny nut butter. If yours is stiff, microwave it for 15 seconds so it mixes easily. Avoid “processed” nut butters with added hydrogenated oils—they don’t bind as well.
Honey (⅓ cup / 100ml) — Honey adds sweetness and stickiness. Maple syrup works too, but the clusters will be slightly softer and chewier. If you’re using maple syrup, you might need a touch more oats. I prefer honey for that classic trail mix flavor.
Coconut Oil (2 tablespoons / 30ml) — This helps bind everything and adds a subtle richness. Use refined coconut oil if you don’t want a coconut taste, or unrefined if you’re okay with a hint of coconut flavor. Melt it before adding—it makes mixing so much easier.
For the Crunch & Flavor:
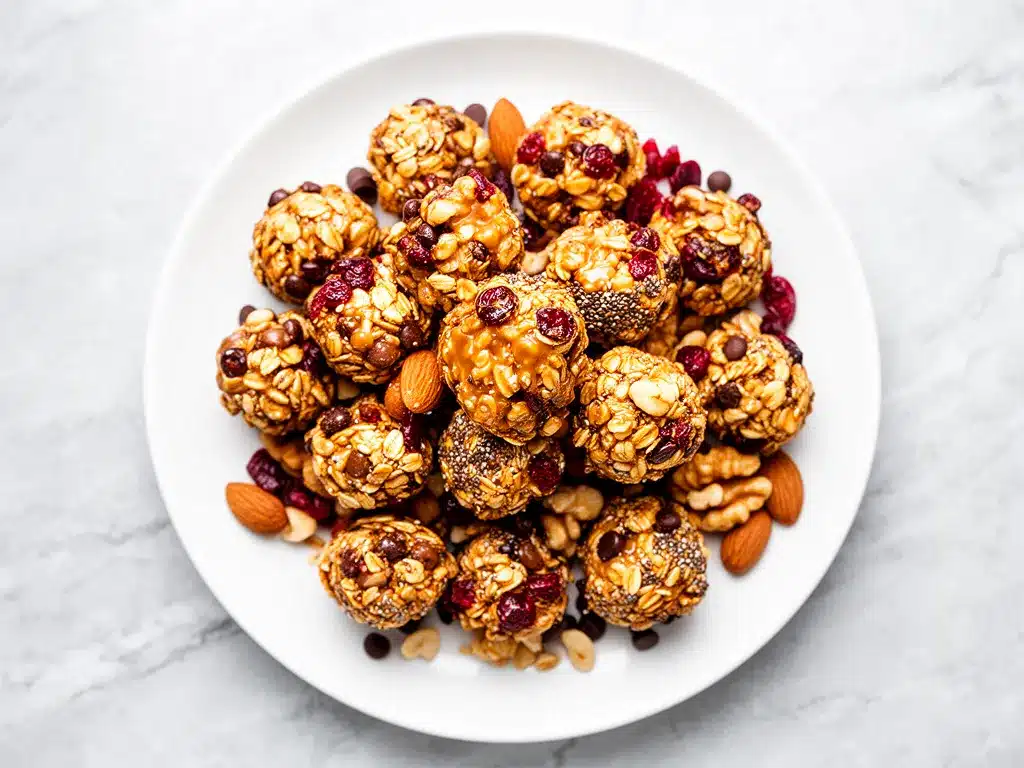
Chopped Nuts (1 cup / 100g) — I use a mix of almonds, cashews, and peanuts. Chop them roughly. You want chunks, not dust. This provides the crunch and healthy fats. If your kids are young, chop them finer to avoid choking hazards.
Seeds (¼ cup / 30g) — Pumpkin seeds (pepitas) and sunflower seeds add a nice texture and extra minerals. I love adding a tablespoon of chia seeds or flaxseeds for an omega-3 boost, but it’s optional.
Dried Fruit (1 cup / 100g) — This is where you get the sweetness. I use a mix of dried cranberries, chopped apricots, and raisins. Chop larger fruits like apricots into small pieces so they distribute evenly. Avoid fruit leather or sticky dried mango unless you want a very sweet, chewy cluster.
For the Finish:
Dark Chocolate Chips (½ cup / 85g) — A little chocolate goes a long way. I use semi-sweet mini chips because they melt slightly when you mix and add little bursts of flavor. You can swap this for white chocolate chips or cacao nibs if you want less sugar.
Vanilla Extract (1 teaspoon) — Just a splash to round out the flavors. It makes the honey taste more complex.
Salt (½ teaspoon) — Don’t skip this! Salt enhances the sweetness and balances the nuttiness. It’s the secret ingredient that makes it taste like a treat, not a health food.
Equipment Needed
You don’t need fancy equipment for this. Here’s what I actually use in my kitchen.
Large Mixing Bowl — I use a 4-quart stainless steel bowl. It needs to be big enough to hold all the ingredients without spilling when you’re folding them in. A glass bowl works too, but I like the feel of metal.
Wooden Spoon or Spatula — For mixing. A sturdy wooden spoon is great for incorporating the nut butter and honey. A silicone spatula helps you scrape the sides so nothing gets left behind.
Small Saucepan — Optional, but helpful. If your nut butter and coconut oil are solid, gently warming them in a small saucepan over low heat makes mixing much easier. I do this when it’s cold outside.
Measuring Cups and Spoons — Standard stuff. Dollar store versions work fine. Just be accurate with the oats and nut butter ratio.
Baking Sheet — Line it with parchment paper or a silicone mat. This is where you’ll chill the clusters. Parchment paper is easier for cleanup, but a silicone mat is reusable and saves waste.
Cookie Scoop — Highly recommended. A small ice cream scoop or cookie scoop ensures all your clusters are the same size. It also saves time and keeps your hands cleaner. I use a #40 scoop for these.
Knife and Cutting Board — For chopping nuts and dried fruit. A sharp knife makes chopping easier and safer.
How to Make It: Step-by-Step
Alright, let’s make this! I’m walking you through exactly how I do it, including the little tricks I’ve picked up over time. It’s simple, but there are a few details that make a big difference.
Step 1: Prep Your Dry Ingredients (5 minutes)
Before you start mixing, get your nuts and dried fruit prepped. If your nuts are whole, chop them into rough pieces. If your dried fruit is large (like apricots or dates), chop them into small bits. This ensures every cluster has a bit of everything. Measure out your oats, seeds, and chopped mix-ins into a large bowl.
Step 2: Warm the Wet Ingredients (2 minutes)
In a small saucepan (or a microwave-safe bowl), combine the nut butter, honey, and melted coconut oil. Warm it gently over low heat on the stove, stirring constantly, until it’s smooth and runny. This takes about 2 minutes. If using a microwave, heat in 15-second intervals, stirring between each. The goal is a liquid consistency, not a hot soup. Let it cool for a minute.
Step 3: Combine Wet and Dry (3 minutes)
Pour the warm nut butter mixture over the dry ingredients. Add the vanilla extract and salt. Stir vigorously with a wooden spoon or spatula. At first, it will look dry and crumbly. Keep stirring! The mixture will start to come together into a sticky, cohesive mass. If it’s too dry and won’t hold together, add another tablespoon of honey or nut butter. If it’s too wet, add a few more oats.
Step 4: Add the Mix-Ins (2 minutes)
Once the base is mixed, fold in the chocolate chips (if using). Be gentle here so you don’t crush the oats. The mixture should look like a thick, chunky cookie dough.
Step 5: Shape the Clusters (10 minutes)
Line a baking sheet with parchment paper. Use a cookie scoop or your hands to form the mixture into balls or clusters. I prefer clusters—just grab a handful and roll it loosely between your palms. Don’t pack it too tightly; you want them to be airy and chewy, not dense bricks. Place them on the baking sheet, leaving a little space between each.
Step 6: Chill (30 minutes)
Place the baking sheet in the refrigerator for at least 30 minutes. This sets the coconut oil and nut butter, making the clusters firm enough to handle. You can skip this if you’re in a huge rush, but they’ll be softer and stickier to eat. For best texture, chill for at least an hour.
Total Time: About 20 minutes active, plus 30 minutes chilling.
Expert Tips & Tricks
Here’s everything I’ve learned from making this dozens of times. These tips will save you from my mistakes.
Use Natural Nut Butter
This is the #1 tip. Natural nut butter (just nuts and salt) has separated oil, which makes it runnier and easier to mix. Processed nut butter with stabilizers is thicker and harder to incorporate. If you only have processed nut butter, warm it more thoroughly to loosen it up.
Don’t Overmix
Once you add the oats and mix-ins, mix just until combined. Overmixing can crush the oats and make the clusters dense. You want a chunky, rustic texture.
Chill Thoroughly
I know it’s tempting to eat them right away, but chilling is crucial. The coconut oil needs to solidify. If you don’t chill them, they’ll fall apart in your hands. I usually make them in the morning and eat them after school.
Freeze for Longer Storage
These freeze beautifully. After chilling, transfer them to an airtight container or freezer bag. They’ll last up to 3 months. Thaw them at room temperature for 10 minutes before eating. They’re almost like frozen treats!
Common Mistakes (and how to avoid them):
Mistake: Clusters are too dry.
Fix: Add more honey or nut butter, one teaspoon at a time. Don’t add water—it won’t help.
Mistake: Clusters are too wet.
Fix: Add more oats, one tablespoon at a time. You can also chill them longer.
Mistake: Nuts are too big.
Fix: Chop them finer. Big chunks can be hard to chew and make the clusters uneven.
Variations & Substitutions
Once you’ve nailed the basic version, here’s how you can mix it up. I’ve tried all of these, and they’re all delicious.
Chocolate Peanut Butter
Add 2 tablespoons of cocoa powder to the wet mixture. Use peanut butter and chocolate chips. It’s like a Reese’s cup in cluster form. My kids go crazy for this one.
Tropical Trail Mix
Use macadamia nuts, dried pineapple, and dried mango. Swap chocolate chips for white chocolate chips. It’s sweet, tangy, and tropical.
Pumpkin Spice
Add 1 teaspoon of pumpkin pie spice and ½ cup of pumpkin seeds. Use almond butter and dried cranberries. Great for fall!
Nut-Free
Use sunflower seed butter or soy nut butter. Skip tree nuts and use sunflower seeds and pumpkin seeds. Perfect for school-friendly snacks.
Low-Sugar
Skip the chocolate chips and reduce the honey to ¼ cup. Use unsweetened dried fruit like dried cherries or apricots. Add a tablespoon of maple syrup if needed.
Dietary Modifications:
Vegan: Use maple syrup instead of honey. Ensure your chocolate chips are vegan.
Gluten-Free: Use certified gluten-free oats. All other ingredients are naturally gluten-free.
Serving & Storage
These clusters are perfect for packing in lunchboxes, throwing in gym bags, or grabbing as a mid-afternoon snack. I usually keep them in a container on the counter for quick access, but I also freeze extras.
Storage Instructions:
Refrigerator: Store in an airtight container for up to 2 weeks. They’ll stay fresh and chewy.
Freezer: Store in a freezer-safe bag or container for up to 3 months. Thaw at room temperature for 10 minutes before eating.
Pro Tip: If they start to stick together in the container, separate them with parchment paper squares.
Nutrition Information
I’m not a nutritionist, but here’s the breakdown if you’re tracking. Each cluster (makes about 15 clusters) has roughly:
- Calories: 120
- Protein: 4g
- Carbs: 12g
- Fiber: 2g
- Sugar: 7g (natural sugars from honey and fruit)
- Fat: 7g
Look, this is a snack with honey and chocolate chips. It’s not a diet food. But it’s way better than processed bars, costs less, and I know exactly what’s in it. When I want to make it lighter, I reduce the honey and add more oats. But usually? I just eat a reasonable portion and enjoy it.
Final Thoughts
So that’s my go-to Healthy After-School Trail Mix Energy Clusters for Busy Days! I’ve probably talked your ear off at this point, but when you make a recipe this often, you have a lot to say about it.
This has saved weeknight dinners more times than I can count. It’s my answer to “what’s for snack” when I’m tired, don’t want processed junk, and still want something that tastes really good. My kids are happy, my husband’s happy, and I’m happy because I’m not stressed about cooking.
Make it yours! Try different add-ins, swap in your favorite fruits, adjust the sweetness to your taste. The best recipes are the ones you adapt to your family’s tastes. If you make this, drop a comment and let me know what you think! I love hearing how recipes turn out in your kitchen. And if something doesn’t work, tell me that too—I’m here to help troubleshoot.
Happy cooking! And I hope your kitchen smells half as good as mine does right now.
Frequently Asked Questions
Can I use quick oats instead of rolled oats?
You can, but the texture will be different. Quick oats are thinner and will make the clusters softer and less chewy. I recommend sticking with rolled oats for that hearty, substantial bite. If you must use quick oats, add a tablespoon less honey, as they absorb more moisture.
Why did my clusters fall apart?
Usually, this means the binding agents (nut butter and honey) weren’t warm enough or there wasn’t enough of them. Make sure to warm the nut butter and honey until they’re liquid and sticky. Also, don’t skip the chilling step—the coconut oil needs to harden to hold everything together.
Can I make these nut-free?
Absolutely! Use sunflower seed butter or soy nut butter instead of peanut or almond butter. Use sunflower seeds and pumpkin seeds instead of nuts. Just make sure your school allows sunflower seeds, as some have policies against them due to allergy concerns.
How long do these last?
They last up to 2 weeks in the fridge or 3 months in the freezer. I usually make a big batch on Sunday and keep them in the freezer, pulling out a few for the week. They stay fresh and tasty the whole time.
Can I add protein powder?
Yes! Add 1-2 scoops of your favorite protein powder (vanilla or chocolate works best) to the dry ingredients. You may need to add a little more honey or nut butter, as protein powder can absorb moisture. Start with 1 scoop and adjust as needed.
Can I use maple syrup instead of honey?
Yes, but the clusters will be softer and chewier. Honey is stickier and helps bind them better. If you use maple syrup, chill them for at least 2 hours to ensure they firm up properly.
Can I double this recipe?
Definitely! Double all ingredients and use a larger mixing bowl. The process is the same. I often double this recipe to have enough for the whole week. Just make sure you have enough space on your baking sheet to chill them all.
Pin This Recipe!
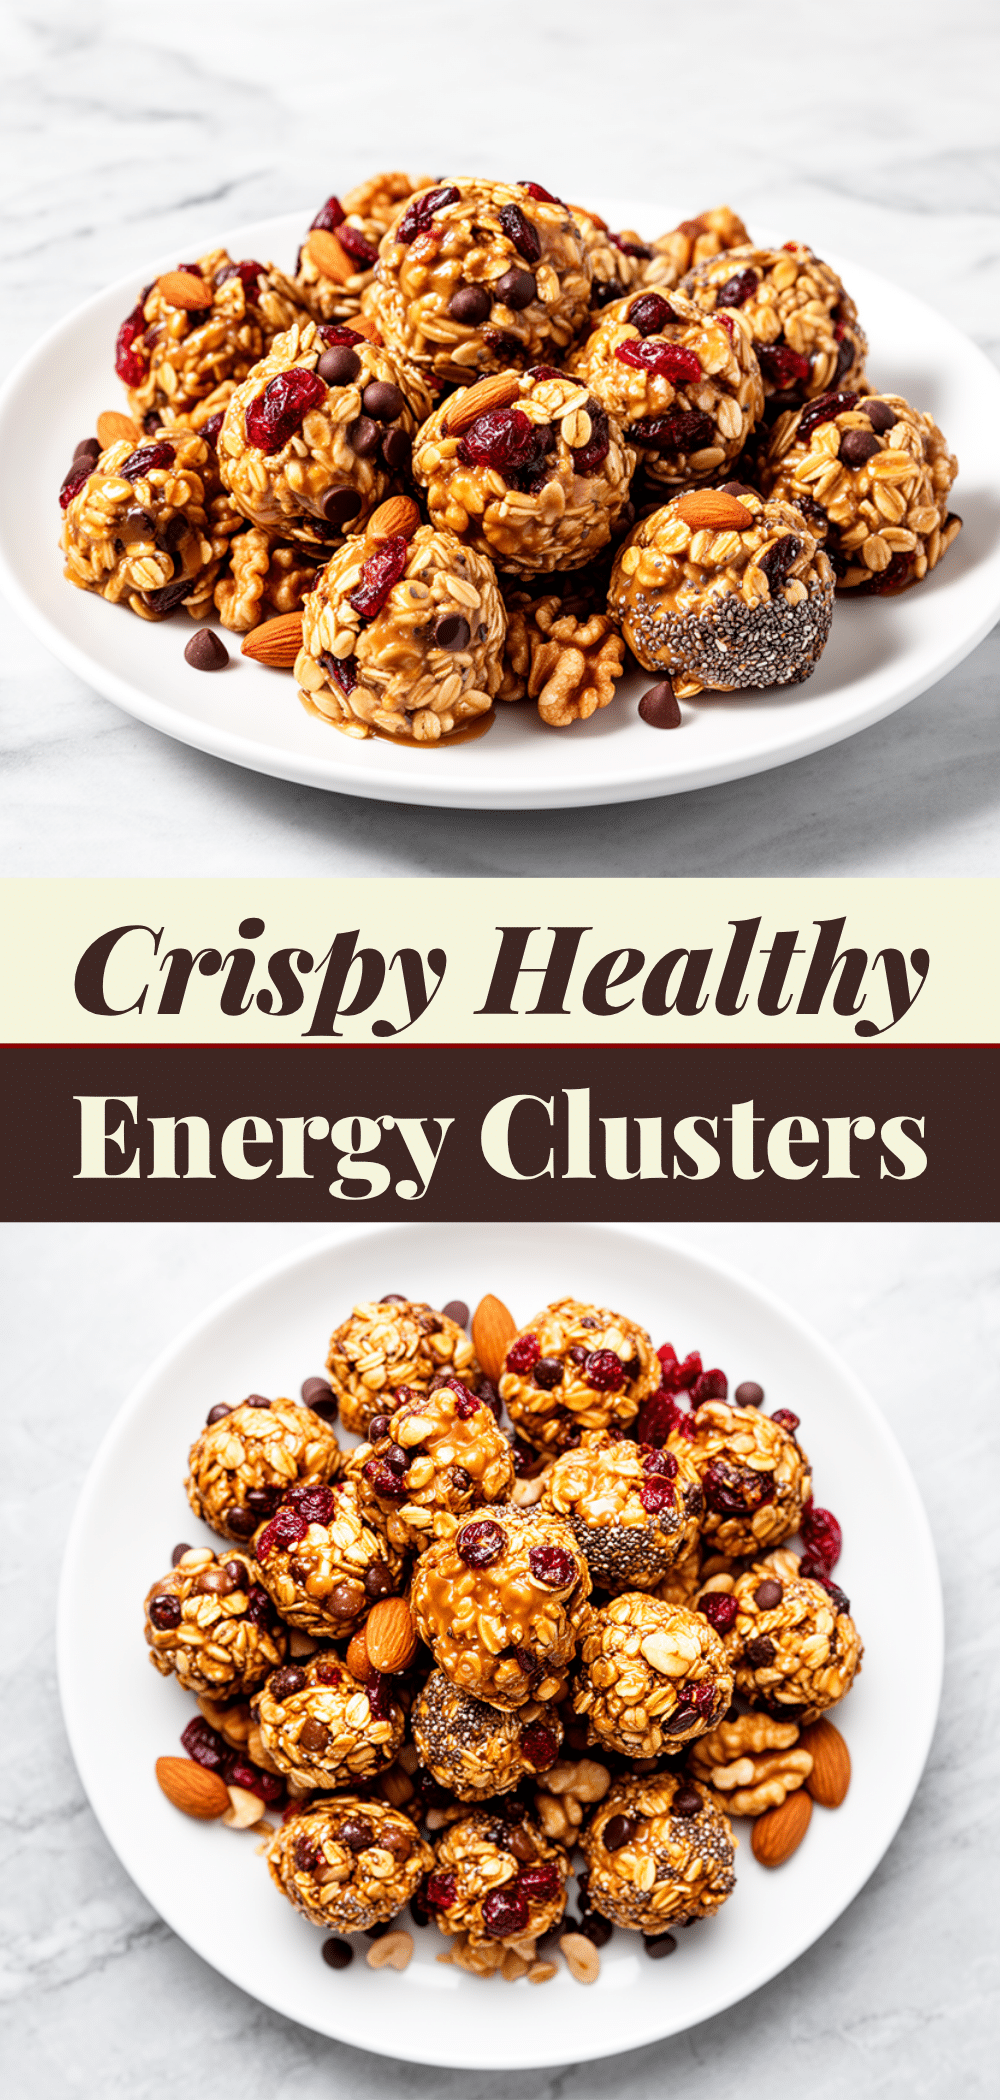
Healthy After-School Trail Mix Energy Clusters for Busy Days
- Total Time: 50 minutes
- Yield: 15 servings 1x
Description
No-bake, sticky, and satisfying energy clusters made with rolled oats, nut butter, and honey. Perfect for busy parents needing a quick, nutritious after-school snack that avoids sugar crashes.
Ingredients
- 2 cups (180g) old-fashioned rolled oats
- ½ cup (120g) natural nut butter (peanut, almond, or sunflower)
- ⅓ cup (100ml) honey
- 2 tablespoons (30ml) coconut oil, melted
- 1 cup (100g) chopped nuts (almonds, cashews, peanuts)
- ¼ cup (30g) seeds (pumpkin, sunflower, chia, or flax)
- 1 cup (100g) dried fruit (cranberries, apricots, raisins)
- ½ cup (85g) dark chocolate chips
- 1 teaspoon vanilla extract
- ½ teaspoon salt
Instructions
- Prep dry ingredients: Chop nuts and dried fruit into small pieces. Measure oats, seeds, and mix-ins into a large mixing bowl.
- Warm wet ingredients: In a small saucepan or microwave-safe bowl, combine nut butter, honey, and melted coconut oil. Warm gently until smooth and runny (about 2 minutes). Let cool slightly.
- Combine wet and dry: Pour the warm nut butter mixture over the dry ingredients. Add vanilla extract and salt. Stir vigorously until a sticky, cohesive mass forms. Adjust consistency with more honey/nut butter if too dry, or more oats if too wet.
- Add mix-ins: Fold in chocolate chips gently to avoid crushing the oats.
- Shape clusters: Line a baking sheet with parchment paper. Scoop or hand-roll the mixture into balls or clusters. Place on the sheet with space between them.
- Chill: Refrigerate for at least 30 minutes (or up to 1 hour) to set the coconut oil and nut butter before serving.
Notes
Use natural, runny nut butter for best binding. If using processed nut butter, warm it thoroughly. Quick oats can be used but will result in a softer texture. Clusters can be frozen for up to 3 months. If clusters are too dry, add more honey; if too wet, add more oats.
- Prep Time: 20 minutes
- Cook Time: 0 minutes
- Category: Snack
- Cuisine: American
Nutrition
- Serving Size: 1 cluster
- Calories: 120
- Sugar: 7
- Sodium: 50
- Fat: 7
- Saturated Fat: 2
- Carbohydrates: 12
- Fiber: 2
- Protein: 4
Keywords: energy clusters, no-bake snacks, after school snack, healthy trail mix, nut butter balls, gluten-free snack, vegan snack option


