It was 7:15 AM on a Tuesday, and the house was already in chaos. My son, Leo, was hunting for his left shoe. My daughter, Mia, was refusing to wear a jacket despite the 60-degree weather. And I? I was staring into the abyss of the refrigerator, realizing that the “healthy lunch” I’d planned last night had been eaten by the dog. Panic set in. The standard bento box routine—sliced cheese, crackers, an apple—wasn’t cutting it anymore. Leo was getting bored. He wanted flavor. He wanted excitement. He wanted something that didn’t look like it came out of a plastic tub.
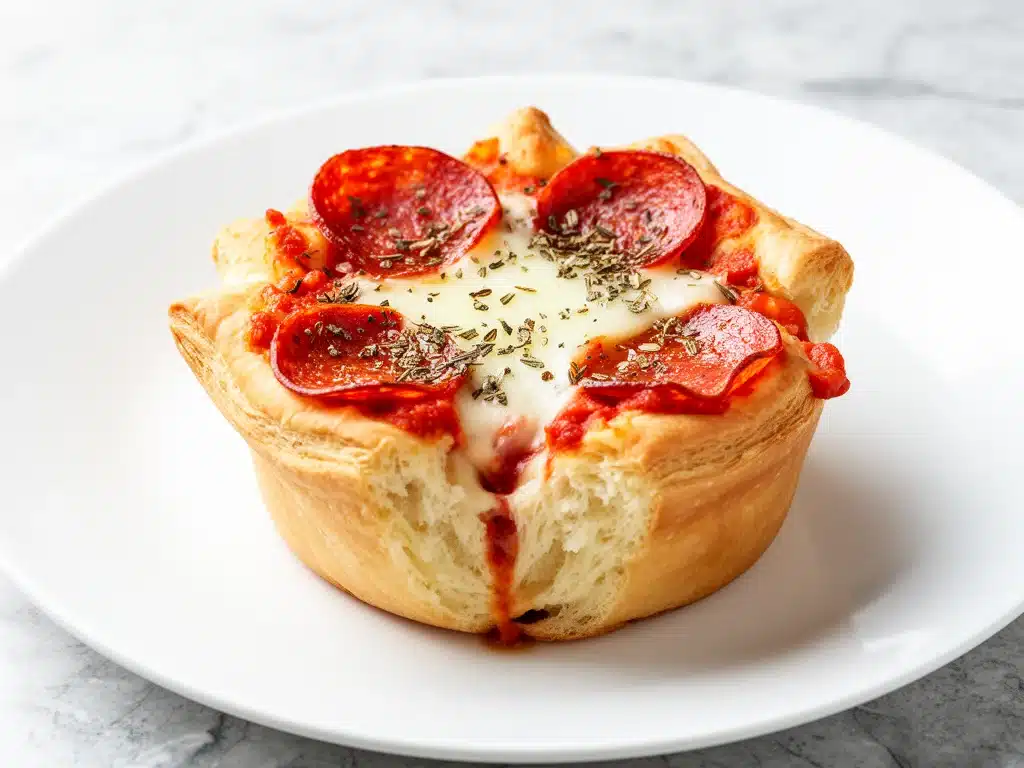
That morning, I had one slice of leftover pepperoni pizza left in the fridge. It was cold, slightly congealed, and honestly, kind of sad. But it sparked an idea. What if I could turn that sad slice into something portable? Something that wouldn’t leak in a lunchbox? Something my kids would actually fight over? That’s when I decided to make Back-to-School Pepperoni Pizza Lunchbox Muffins. I whipped up a batch of pizza dough in the food processor, tossed in some diced pepperoni and mozzarella, and pressed it into a greased muffin tin. Thirty minutes later, I had six mini pizzas that were crispy on the outside, gooey on the inside, and completely leak-proof.
Leo took one bite in the car and said, “Mom, this is better than the actual pizza.” That was the day my life changed. Or at least, my morning routine did.
These muffins have been a lifesaver during the school year. They’re not just a snack; they’re a meal in hand. They’re perfect for batch cooking because you can make a dozen on Sunday, freeze half, and have hot lunches ready to go for the entire week. No more scrambling at 6:30 PM. No more sad sandwiches. Just pure, cheesy, pepperoni happiness that fits neatly in a lunchbox. If you’re looking for a way to simplify your back-to-school routine without sacrificing flavor, you need to try these. They’re easy, they’re fun, and they’re about to become the star of your kid’s lunchbox.
Why You’ll Love This Recipe
I’ve made hundreds of lunchbox recipes over the years, from sushi rolls to quinoa salads. But nothing beats the joy of seeing my kids’ eyes light up when they pull a warm, mini pizza out of their lunchbox. Here’s why these Back-to-School Pepperoni Pizza Lunchbox Muffins are worth the oven time:
- Zero Mess, Zero Stress — The muffin tin format means no sliding cheese or soggy crusts. These hold their shape perfectly, even after being tossed around in a backpack all day. I’ve had them survive a 30-minute car ride in the summer heat, and they didn’t budge.
- Batch Cooking Friendly — You can make a double batch in under an hour. I freeze half immediately, and they reheat beautifully in a toaster oven or microwave. This is my secret weapon for busy mornings when I don’t have time to cook.
- Kid-Approved Flavor — Let’s be real: kids are picky. But they love pizza. And they love the idea of “muffins.” It’s a win-win. They think they’re getting a treat, but they’re actually getting a balanced meal with protein and carbs.
- Customizable for Picky Eaters — Not a fan of pepperoni? No problem. Use diced ham, sliced olives, or just extra cheese. I’ve made veggie versions with spinach and mushrooms, and even my most skeptical eater tried them.
- Ready in 30 Minutes — From mixing to baking, it takes less than half an hour. That’s faster than ordering takeout, and it’s way healthier. I make these on Sundays while listening to podcasts, and by the time I’m done, I have lunch for the week.
These muffins have saved me so many times. I remember one morning when I was running late for a work meeting, and I just grabbed two muffins from the freezer, microwaved them for 30 seconds, and handed them to the kids. They were happy. I was calm. It was a win.
Ingredients You’ll Need
The beauty of this recipe is how simple the ingredients are. You probably have most of this already in your pantry. Here’s what you need to make these Back-to-School Pepperoni Pizza Lunchbox Muffins:
For the Dough
- All-purpose flour (2 cups / 250g) — I use King Arthur flour because it has just the right amount of protein for a chewy crust. Bread flour works too if you want it chewier.
- Warm water (¾ cup / 180ml) — Not hot! Just warm to the touch. If it’s too hot, it’ll kill the yeast. If it’s too cold, the yeast won’t activate. Aim for 105°F.
- Active dry yeast (1 packet / 2 ¼ tsp) — Standard packet size. I keep mine in the fridge to keep it fresh longer.
- Sugar (1 tablespoon / 15g) — Helps feed the yeast and adds a tiny bit of sweetness to the crust. Honey works too.
- Olive oil (2 tablespoons / 30ml) — Adds flavor and helps keep the crust tender. Canola oil works in a pinch.
- Salt (1 teaspoon / 5g) — Essential for flavor. Don’t skip it.
For the Filling
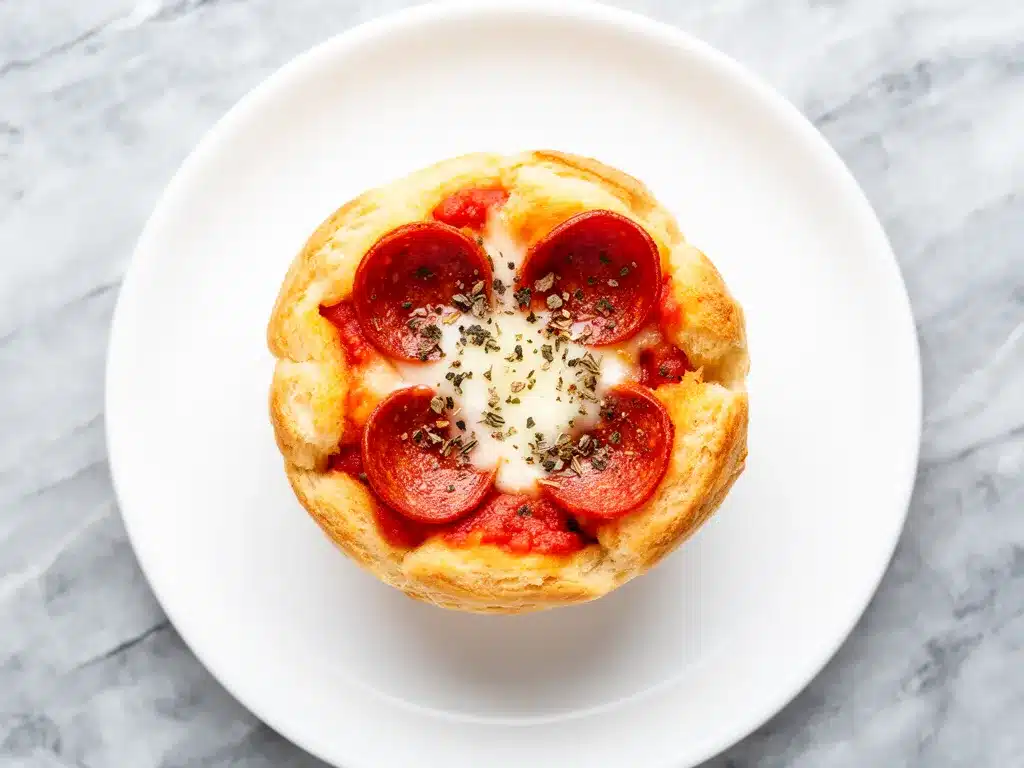
- Marinara sauce (½ cup / 120g) — I use a simple spaghetti sauce like Ragu or Prego. No need for fancy pizza sauce here. Just keep it thick so the muffins don’t get soggy.
- Shredded mozzarella (1 ½ cups / 150g) — Block cheese, shredded yourself. Pre-shredded has anti-caking agents that make it melt poorly. I use a box grater for this.
- Pepperoni slices (1 package / 12-16 slices) — Cut into quarters or eighths. I like the spicy pepperoni for a little kick, but mild works too.
- Dried oregano (1 teaspoon / 1g) — Adds that classic pizza flavor. Fresh basil is good too, but dried holds up better in the oven.
For the Topping
- Extra mozzarella (½ cup / 50g) — For that gooey top layer.
- Pepperoni pieces (8-12 slices) — For the top. I like to fold them slightly so they look pretty.
Pro Tip: If you’re using frozen pepperoni, make sure to thaw it first. Wet pepperoni will make the dough soggy. Pat it dry with a paper towel if needed.
Equipment Needed
You don’t need any fancy gadgets for this. Here’s what I use:
- 12-Cup Muffin Tin — Standard size. I use a dark metal tin because it browns the crust better. Light-colored tins might need an extra 2-3 minutes in the oven.
- Food Processor — Makes mixing the dough super fast. But you can also do it by hand or with a stand mixer. Just mix until the dough comes together.
- Pastry Brush — For greasing the muffin tin. I use olive oil. Non-stick spray works too, but I find it can make the crust tough.
- Measuring Cups and Spoons — Standard stuff. I use the dry measuring cups for flour and the liquid ones for water.
- Box Grater — For shredding the cheese. It takes 2 minutes and makes a huge difference in melt quality.
- Sharp Knife — For cutting the pepperoni. I use a small paring knife for precision.
Alternative: If you don’t have a food processor, mix the dough in a large bowl with a wooden spoon. It’ll take a few more minutes of kneading, but it works just fine.
How to Make It: Step-by-Step
Alright, let’s make these Back-to-School Pepperoni Pizza Lunchbox Muffins! I’m walking you through exactly how I do it, including the little tricks I’ve picked up over the last year.
Step 1: Activate the Yeast (5 minutes)
In a small bowl, combine the warm water and sugar. Sprinkle the yeast on top and stir gently. Let it sit for 5-10 minutes until it becomes foamy. If it doesn’t foam, your yeast is dead, and you need to start over. I’ve made this mistake once, and it was a disaster. Don’t be like me.
Step 2: Make the Dough (10 minutes)
In a food processor, combine the flour and salt. Pulse to mix. With the motor running, slowly pour in the yeast mixture and olive oil. Pulse until the dough comes together in a ball. It should be slightly sticky but not wet. If it’s too dry, add a teaspoon of water. If it’s too wet, add a tablespoon of flour. Knead it on a floured surface for 2-3 minutes until smooth. Place it in a greased bowl, cover with a damp towel, and let it rise in a warm place for 30-45 minutes. It should double in size.
Step 3: Prep the Filling (5 minutes)
While the dough rises, cut the pepperoni into small pieces. I like quarters, but eighths work too. Grate the mozzarella cheese. Measure out the marinara sauce. I like to keep it thick, so if your sauce is runny, simmer it in a pan for a few minutes to reduce it.
Step 4: Assemble the Muffins (10 minutes)
Preheat your oven to 375°F (190°C). Grease a 12-cup muffin tin with olive oil. Take the risen dough and divide it into 12 equal pieces. Roll each piece into a ball, then flatten it into a small circle about 3 inches wide. Press each circle into a muffin cup, making sure to cover the bottom and go slightly up the sides. This creates the “muffin” shape.
Step 5: Add the Toppings (5 minutes)
Spoon about 1 tablespoon of marinara sauce into each muffin cup. Sprinkle with a tablespoon of shredded mozzarella. Add a few pieces of pepperoni. Fold the edges of the dough slightly over the filling to seal it in. This prevents leakage. Top with a little more cheese and a piece of pepperoni for decoration.
Step 6: Bake (15-18 minutes)
Bake in the preheated oven for 15-18 minutes, or until the crust is golden brown and the cheese is bubbly. I check them at 15 minutes. If the tops aren’t brown enough, broil for 1-2 minutes, but watch them closely! You don’t want to burn the cheese.
Step 7: Cool and Store
Let the muffins cool in the pan for 5 minutes, then transfer them to a wire rack to cool completely. This is crucial. If you pack them while they’re hot, they’ll get soggy. Once cool, you can pack them for lunch or freeze them for later.
Expert Tips & Tricks
Here’s everything I’ve learned from making these dozens of times. These tips will save you from my mistakes.
Don’t Skip the Rising Time
I know it’s tempting to skip this and rush the process, but rising is what gives the dough its texture. If you skip it, the crust will be dense and tough. I’ve tried it, and it’s not worth it. Let it rise for at least 30 minutes.
Use Block Cheese
Pre-shredded cheese has cornstarch in it to prevent clumping. This means it doesn’t melt as smoothly. I always buy a block of mozzarella and grate it myself. It takes 2 minutes and makes a huge difference.
Control the Sauce
Too much sauce makes the muffins soggy. I use a heaping tablespoon per muffin, not more. If your sauce is thin, simmer it first to reduce it. Thick sauce = happy muffins.
Freezing Tips
Once the muffins are completely cool, wrap them individually in plastic wrap, then place them in a freezer bag. They’ll last for up to 3 months. To reheat, just microwave for 30-60 seconds or toaster oven for 5 minutes. They taste almost as good as fresh.
Dough Storage
If you don’t want to make the dough from scratch, you can use store-bought pizza dough. I use Trader Joe’s or Boboli. Just roll it out and press it into the muffin cups. It saves time and still tastes great.
Variations & Substitutions
Once you’ve nailed the basic version, here’s how you can mix it up. I’ve tried all of these.
Meat Lovers
Add diced ham, cooked bacon bits, or sliced sausage. I like to mix pepperoni and sausage for a hearty version. Just make sure the meat is cooked before adding it.
Veggie Version
Skip the pepperoni and add diced bell peppers, sliced mushrooms, and chopped spinach. I sauté the veggies first to remove excess moisture. This version is lighter but still delicious.
White Pizza
Skip the marinara sauce and use a garlic cream sauce instead. Top with ricotta, mozzarella, and spinach. It’s rich and creamy, and my daughter loves it.
BBQ Chicken
Use BBQ sauce instead of marinara. Add shredded cooked chicken and red onion. Top with mozzarella. It’s a sweet and savory combo that’s a hit with older kids.
Gluten-Free
Use a gluten-free pizza dough mix. I’ve used Bob’s Red Mill, and it works well. Just follow the package instructions for rising and baking.
Serving & Storage
How to Serve
I usually serve these straight out of the lunchbox. They’re great warm or at room temperature. I pair them with a side of fruit or veggies for a complete meal. They’re also perfect for parties or potlucks.
Refrigerator
Store in an airtight container for up to 4 days. They’ll stay fresh and tasty. I usually keep them in the fridge for quick lunches.
Freezing
As mentioned earlier, freeze them individually in plastic wrap, then in a freezer bag. They last for 3 months. Reheat in the microwave or toaster oven.
Reheating
Microwave for 30-60 seconds. Or toaster oven for 5 minutes at 350°F. Avoid the oven, as it can dry them out. They’re best when reheated gently.
Nutrition Information
I’m not a nutritionist, but here’s the breakdown if you’re tracking. Per muffin (based on 12 servings):
- Calories: 180
- Protein: 8g
- Carbs: 22g
- Fiber: 1g
- Sugar: 2g
- Fat: 7g
- Saturated Fat: 3g
- Cholesterol: 15mg
- Sodium: 350mg
Look, this is comfort food. It’s not a diet recipe. But it’s better than fast food, and it’s a fun way to get kids to eat a meal they actually like. When I want to make it lighter, I use whole wheat flour and less cheese. But usually? I just enjoy it and move on.
Final Thoughts
So that’s my go-to Back-to-School Pepperoni Pizza Lunchbox Muffins! I’ve probably talked your ear off at this point, but when you make a recipe this often, you have a lot to say about it. These muffins have saved me so many times. They’re my answer to “what’s for lunch?” when I’m tired, don’t want to cook, and still want something that tastes really good. My kids are happy, I’m happy, and we’re all happy because dinner is less stressful.
Make it yours! Try different add-ins, swap in your favorite vegetables, adjust the spice level. The best recipes are the ones you adapt to your family’s tastes. If you make this, drop a comment and let me know what you think! I love hearing how recipes turn out in your kitchen. And if something doesn’t work, tell me that too—I’m here to help troubleshoot.
Happy cooking! And I hope your lunchboxes smell half as good as my kitchen does right now.
Frequently Asked Questions
Can I make these ahead of time?
Yes! You can make the dough ahead and refrigerate it for up to 24 hours. Or you can bake the muffins and freeze them. I usually bake them on Sunday and freeze half for the week. It saves so much time in the morning.
Why did my muffins turn out soggy?
This usually happens if there’s too much sauce or if the muffins are packed while still warm. Make sure to use a thick sauce and let the muffins cool completely before packing or storing. Also, make sure your dough is pressed up the sides of the muffin tin to create a barrier.
Can I use store-bought dough?
Absolutely. I use store-bought dough sometimes when I’m in a rush. Just roll it out and press it into the muffin cups. It works just as well, though homemade has a slightly better texture.
How do I reheat frozen muffins?
Thaw them in the fridge overnight, then microwave for 30-60 seconds. Or reheat from frozen in a toaster oven at 350°F for 10-12 minutes. Avoid the microwave if you want a crispy crust, as it can make them chewy.
Can I freeze the dough?
Yes, you can freeze the dough after it has risen. Wrap it tightly in plastic wrap and freeze for up to 3 months. Thaw in the fridge overnight before using. Just make sure to let it come to room temperature before shaping.
Are these kid-friendly?
They’re a hit with kids! The mini size is perfect for little hands, and the pizza flavor is always a winner. I’ve even gotten my picky eater to eat veggies by hiding them in the filling. Just make sure to chop them small.
Can I make these in a mini muffin tin?
Yes, but you’ll need to adjust the baking time. Mini muffins will bake faster, so check them at 10-12 minutes. They’ll be more bite-sized, which is great for snacks.
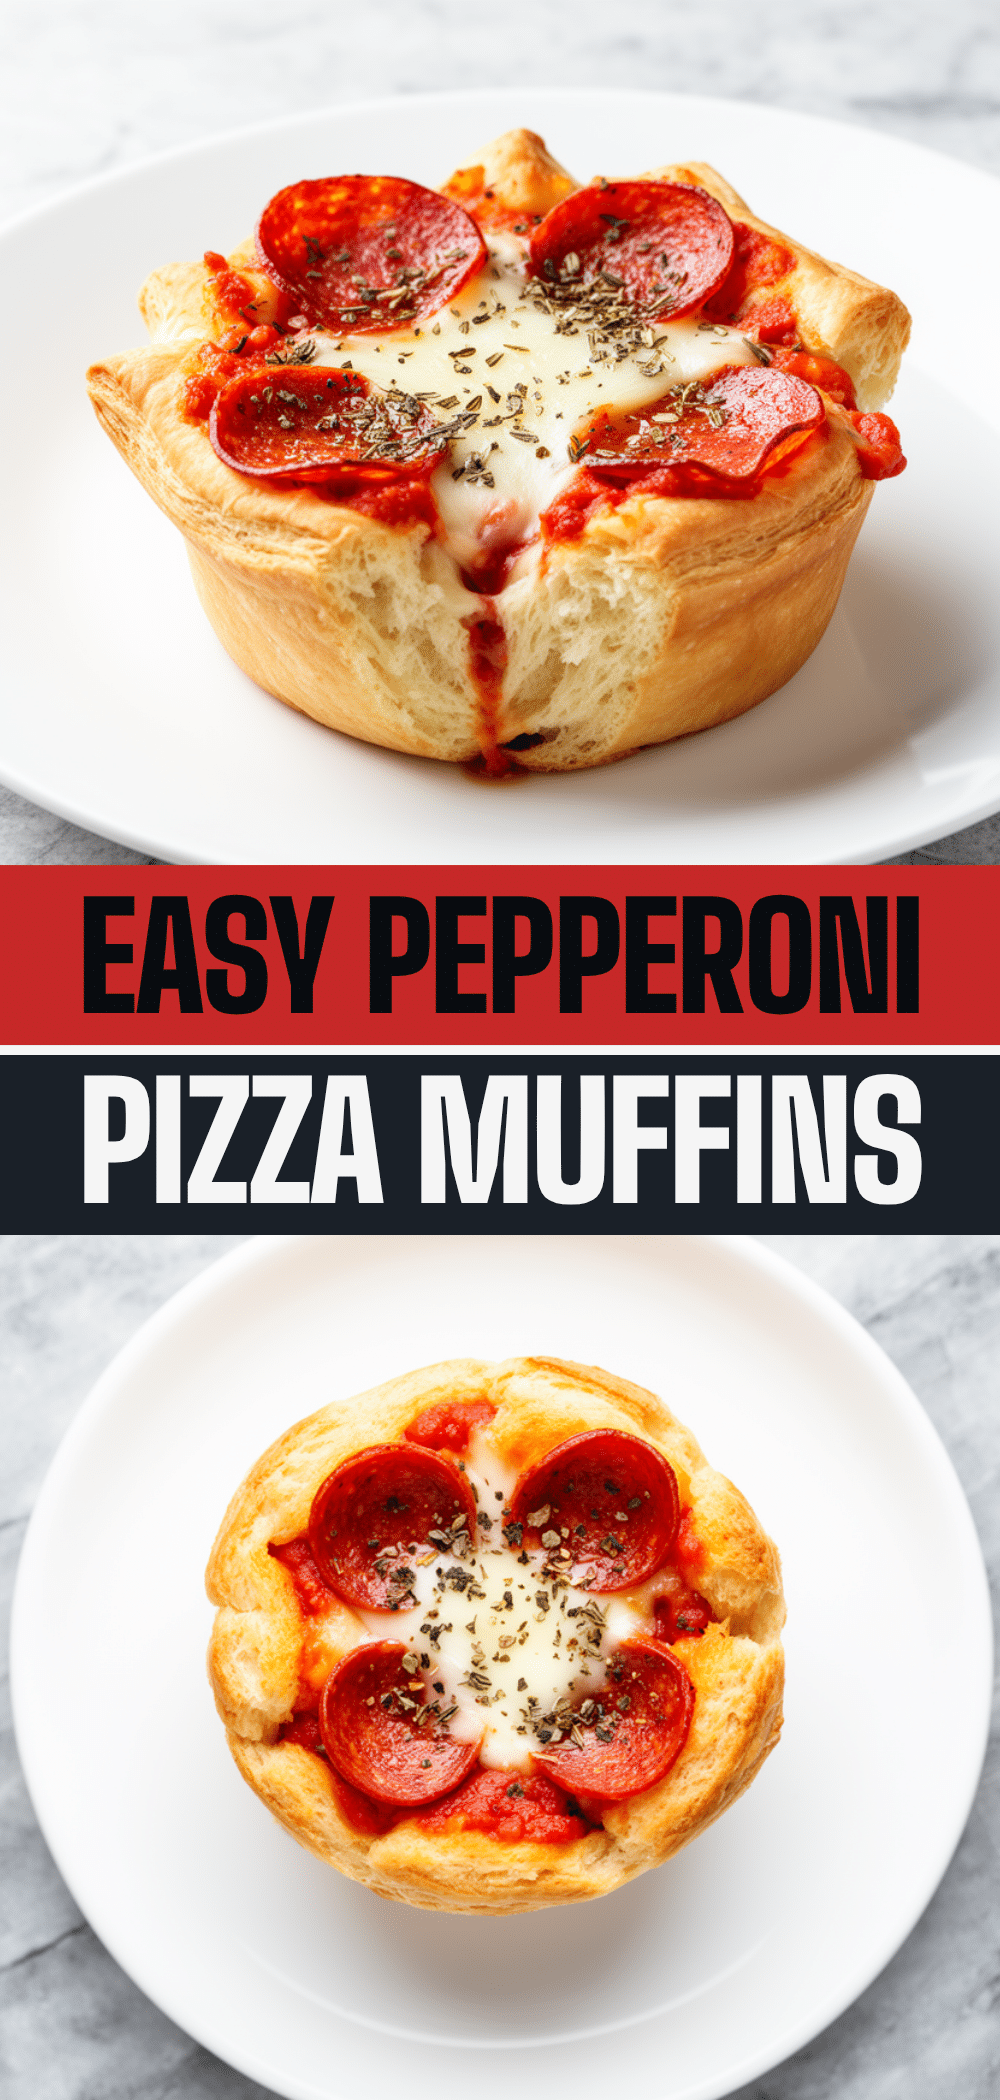
Pin This Recipe!
Back-to-School Pepperoni Pizza Lunchbox Muffins
- Total Time: 38 minutes
- Yield: 12 servings 1x
Description
Portable, leak-proof mini pizzas baked in a muffin tin. Perfect for batch cooking and freezing, these kid-approved muffins offer a fun, customizable lunchbox solution that is ready in under 30 minutes.
Ingredients
- 2 cups (250g) all-purpose flour
- 3/4 cup (180ml) warm water (105°F)
- 1 packet (2 ¼ tsp) active dry yeast
- 1 tablespoon (15g) sugar
- 2 tablespoons (30ml) olive oil
- 1 teaspoon (5g) salt
- 1/2 cup (120g) marinara sauce
- 1 ½ cups (150g) shredded mozzarella cheese
- 1 package (12-16 slices) pepperoni, cut into quarters or eighths
- 1 teaspoon (1g) dried oregano
- 1/2 cup (50g) extra mozzarella for topping
- 8–12 pepperoni slices for topping
Instructions
- Activate the yeast: In a small bowl, combine warm water and sugar. Sprinkle yeast on top and let sit for 5-10 minutes until foamy.
- Make the dough: In a food processor, pulse flour and salt. With motor running, slowly add yeast mixture and olive oil. Pulse until dough forms a ball. Knead on a floured surface for 2-3 minutes until smooth.
- Rise the dough: Place dough in a greased bowl, cover with a damp towel, and let rise in a warm place for 30-45 minutes until doubled in size.
- Prep filling: While dough rises, cut pepperoni and grate mozzarella. If marinara is runny, simmer to reduce.
- Preheat oven to 375°F (190°C) and grease a 12-cup muffin tin with olive oil.
- Assemble: Divide dough into 12 equal pieces. Roll into balls, flatten into 3-inch circles, and press into muffin cups, covering the bottom and going up the sides.
- Add toppings: Spoon 1 tablespoon marinara into each cup. Sprinkle with 1 tablespoon shredded mozzarella and pepperoni pieces. Fold dough edges over filling to seal. Top with extra cheese and pepperoni.
- Bake for 15-18 minutes until crust is golden brown and cheese is bubbly. Broil for 1-2 minutes if needed for browning.
- Cool in pan for 5 minutes, then transfer to a wire rack to cool completely before packing or storing.
Notes
Ensure yeast is warm but not hot to avoid killing it. Use block cheese and grate it yourself for better melting. Let muffins cool completely before packing to prevent sogginess. Can be frozen for up to 3 months and reheated in microwave or toaster oven.
- Prep Time: 20 minutes
- Cook Time: 18 minutes
- Category: Main Course
- Cuisine: American
Nutrition
- Serving Size: 1 muffin
- Calories: 180
- Sugar: 2
- Sodium: 350
- Fat: 7
- Saturated Fat: 3
- Carbohydrates: 22
- Fiber: 1
- Protein: 8
Keywords: pizza muffins, lunchbox ideas, back to school, batch cooking, kid friendly meals, pepperoni pizza, portable lunch, freezer meals


