
It’s 7:15 PM on a Tuesday. The house is quiet in that specific, eerie way it gets after the kids have finally settled down for homework or early bedtimes. I’m standing in front of the fridge, staring at the same half-empty container of deli turkey and a block of cheddar that’s been sitting there for three days. I don’t have energy to cook. I don’t have energy to order takeout. And honestly? I’m pretty sure we’re all too tired for a “real” dinner.
This is exactly where I discovered the Back-to-School Turkey Ranch Cheddar Roll-Up Sticks. I wasn’t trying to reinvent the wheel. I was just trying to get protein into my kids without making a scene. I grabbed a tortilla, some turkey, some cheese, and a dollop of ranch. I rolled it up. I sliced it. I handed it to my son, who looked at me like I’d just handed him a gold bar.
That was three months ago. Now, these roll-up sticks are on a weekly rotation. They’re perfect for busy weeknights when dinner needs to happen fast, but you still want something that feels homemade and nutritious. They’re also the hero of lunchboxes, after-school snacks, and late-night cravings when the rest of the house is asleep. I’ve made these for carpool lines, for quick lunches, and for when I just need five minutes of peace. They work. Every single time.
If you’re drowning in the back-to-school chaos—bus schedules, sports practices, homework packs—I get it. You need recipes that are forgiving, fast, and kid-approved. This recipe is none of those things complicated. It’s simple, satisfying, and requires zero cooking skills. Just assembly. And honestly? That’s all we have time for right now.
Why You’ll Love These Roll-Up Sticks
There are about ten reasons I keep making these, but here are the big ones that actually matter to your sanity.
Zero Cooking Required — Seriously. If you can roll a tortilla, you can make this. No stove, no oven, no mess. I’ve made these while helping my daughter with her math homework. It’s that simple.
Lightning Fast — From fridge to plate in under 10 minutes. I’m talking actual active time. I make these on weeknights when I get home at 6:30 PM and realize I forgot to defrost chicken. This is my emergency dinner plan.
Pantry-Friendly — You probably have all of this already. Tortillas, deli meat, cheese, ranch. I keep the key items stocked just so I can make these on a whim. No special trips to the store.
Kid-Approved (and Adult-Approved) — My picky eater, who refuses to eat anything green or brown, loves these. The ranch flavor masks the turkey, and the cheese makes it feel like a treat. But they’re high in protein and low in sugar, so I don’t feel guilty.
Perfect for Meal Prep — I make a big batch on Sunday, slice them up, and store them in containers. They last all week. I deliberately make extra for lunch throughout the week because they’re so reliable.
Budget-Smart — Feeds 4-6 people for under $10. That’s less than one meal at a fast-food place. And it’s way healthier.
This is my go-to when I need dinner to just work. No complicated techniques, no weird ingredients, just reliable, delicious food that makes everyone happy. It’s the kind of recipe that takes the stress out of “what’s for dinner?”
Ingredients You’ll Need
Here’s the best part: you probably have most of this already. I’m particular about three ingredients here, and I’ll tell you exactly why.
Large Flour Tortillas (8-inch / 20cm) — I use large flour tortillas because they’re flexible and easy to roll. Corn tortillas crack too easily. I like the soft texture of flour. Brands like Mission or La Tortilla Factory work well. Look for ones that are still pliable, not dried out.
Deli Turkey Breast (8 ounces / 225g) — Use low-sodium turkey breast if you can find it. It’s healthier and tastes cleaner. I prefer the thick-sliced deli turkey over the pre-packaged slices because it’s easier to layer. If you’re using pre-packaged, use two slices per roll-up.
Sharp Cheddar Cheese (1 cup / 100g, shredded) — Sharp cheddar has more flavor than mild. I grate my own from a block because it melts better and tastes fresher. Pre-shredded cheese has anti-caking agents that make it grainy. Trust me on this.
Ranch Dressing (½ cup / 120ml) — I use a creamy ranch dressing, not a vinaigrette. The creaminess binds everything together. I like Hidden Valley or a store-brand creamy ranch. If you want to avoid additives, make your own ranch with buttermilk, dried herbs, and mayo.
Green Onions (2 stalks, sliced) — Optional but adds a nice crunch and fresh flavor. I always add them because it makes the roll-ups feel fancier. If you’re picky eaters, you can skip them, but I recommend trying it.
Cream Cheese (2 ounces / 55g, softened) — This is the secret ingredient. It helps the roll-ups hold together and adds extra creaminess. I use softened cream cheese so it spreads easily. If you’re dairy-free, you can skip this or use a dairy-free alternative.
Black Pepper (to taste) — A little crack of black pepper adds depth. I always add a pinch.
Optional Add-ins:
- Cucumber slices — Adds crunch and freshness. I love this in the summer.
- Avocado — Sliced avocado adds healthy fats and creaminess. Just be careful not to make it too slippery.
- Bacon bits — For extra savory flavor. I use real bacon bits, not the powdered stuff.
Equipment Needed
You don’t need fancy equipment for this. Here’s what I actually use.
Large Cutting Board — I use a plastic cutting board because it’s easy to clean. Any size works, but a large one gives you more room to work.
Sharp Knife — For slicing the roll-ups. A serrated knife works well for tortillas, but a regular chef’s knife is fine. Sharp knives are safer, honestly. I learned this the hard way.
Measuring Cups and Spoons — Pretty standard stuff. Dollar store versions work fine. You don’t need to be exact, but having some measure helps.
Airtight Container — For storing leftovers. I use glass containers because they don’t stain and they’re easy to see into. Plastic works too, but glass is nicer.
Small Bowl — For mixing the ranch and cream cheese. Any small bowl works.
Optional but nice:
- Pastry Brush — For spreading the ranch evenly. A spoon works too.
- Rolling Pin — Not needed, but I’ve used one to flatten the tortilla slightly for easier rolling.
How to Make It: Step-by-Step
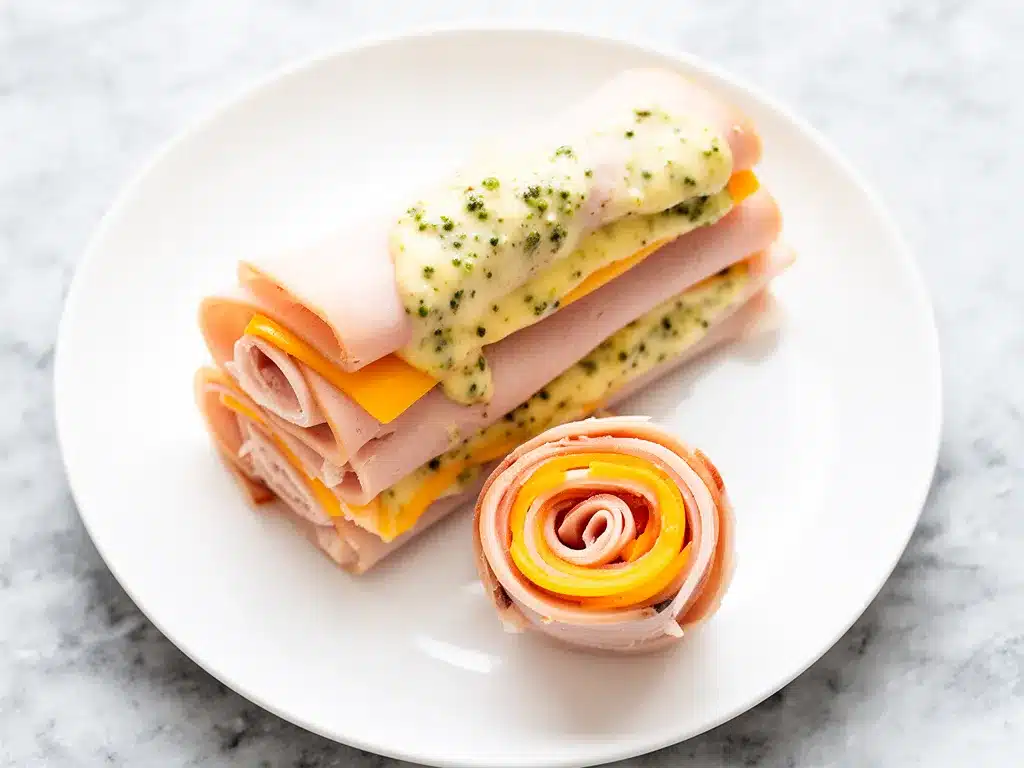
Alright, let’s make this! I’m walking you through exactly how I do it, including the little tricks I’ve picked up.
Step 1: Prep Your Ingredients (5 minutes)
Before you start assembling, lay out all your ingredients. Slice the green onions, shred the cheese, and soften the cream cheese. I know it seems fussy, but it makes the actual assembly way less stressful. Once you start rolling, things move fast.
Step 2: Lay Out the Tortilla (1 minute)
Take one large flour tortilla and lay it flat on your cutting board. If it’s stiff, microwave it for 10 seconds to soften it. This makes it easier to roll without cracking. I’ve cracked tortillas before, and it’s annoying. Don’t be me.
Step 3: Spread the Cream Cheese (1 minute)
Spread the softened cream cheese evenly over the tortilla, leaving a 1-inch border around the edges. This helps seal the roll-up. Use the back of a spoon to spread it thin. You don’t need a lot.
Step 4: Add the Turkey (1 minute)
Layer the deli turkey breast over the cream cheese. I like to fold the slices slightly so they don’t slide out. Use about 2-3 slices per tortilla. Don’t overload it, or it’ll be hard to roll.
Step 5: Add the Cheese and Ranch (1 minute)
Sprinkle the shredded cheddar cheese over the turkey. Then, dollop the ranch dressing over the cheese. I like to drizzle it in a zigzag pattern. The ranch adds flavor and moisture.
Step 6: Roll It Up (2 minutes)
Starting from one short end, tightly roll the tortilla up. Use your fingers to tuck in the sides as you roll. This keeps everything inside. Once rolled, press the seam gently to seal it. If it’s sticking, add a tiny bit more cream cheese.
Step 7: Slice and Serve (2 minutes)
Using a sharp knife, slice the roll-up into 1-inch thick sticks. You’ll get about 6-8 sticks per tortilla. Arrange them on a plate, seam-side down so they don’t unravel. Serve immediately, or store in the fridge.
Total Time: About 10 minutes (5 minutes active, 5 minutes prep)
Expert Tips & Tricks
Here’s everything I’ve learned from making these dozens of times. These tips will save you from my mistakes.
Keep It Tight
The key to a good roll-up is a tight roll. If it’s loose, everything falls out. I roll it tightly from the start, tucking in the sides as I go. It takes practice, but you’ll get it.
Don’t Skimp on the Cream Cheese
The cream cheese acts as glue. Without it, the roll-up might unravel. I use enough to cover the tortilla evenly. It also adds creaminess, which makes it taste better.
Chill Before Slicing
For cleaner slices, chill the roll-ups in the fridge for 10-15 minutes before slicing. This firms up the cream cheese and cheese, making them easier to cut. I do this when I’m making them ahead for lunchboxes.
Use a Serrated Knife
A sharp serrated knife cuts through the tortilla cleanly without squishing it. A dull knife will tear the tortilla. I learned this the hard way with a dull paring knife. Buy a good knife.
Customize the Ranch
If you want to control the sodium, mix your own ranch. Combine ½ cup mayo, ¼ cup buttermilk, 1 teaspoon dried dill, 1 teaspoon dried parsley, ½ teaspoon garlic powder, and ½ teaspoon onion powder. It’s healthier and tastes just as good.
Variations & Substitutions
Once you’ve nailed the basic version, here’s how you can mix it up. I’ve tried all of these.
Spicy Version
Add sliced jalapeños or a dash of hot sauce to the ranch. This is great for adults who like a kick. My husband loves this version.
Veggie-Loaded
Add sliced cucumbers, bell peppers, or spinach. This adds crunch and nutrients. I do this when I want to sneak more vegetables into my kids’ diet.
Low-Carb Version
Use low-carb tortillas or lettuce wraps instead. It’s lighter and fits into a keto diet. I use butter lettuce leaves for a gluten-free option.
Dairy-Free Version
Use dairy-free cream cheese and cheese. There are good vegan alternatives now. I’ve used Kite Hill cream cheese, and it works well.
Protein Boost
Add grilled chicken, turkey bacon, or hummus. This makes it more filling. I add hummus when I want a Mediterranean twist.
Serving & Storage
How to Serve
I usually serve these straight from the plate at the dinner table. They look rustic and stay fresh. But here are other ways I’ve enjoyed them:
- With a Side Salad — A simple green salad with vinaigrette pairs well.
- With Fruit — Apple slices or berries add a sweet touch.
- With Soup — Tomato soup is a classic pairing.
Storage Instructions
Refrigerator: Store in an airtight container for up to 3 days. They’ll stay fresh and tasty.
Freezing: These don’t freeze well because the tortilla can get soggy. It’s better to make them fresh.
Meal Prep: Make them on Sunday and store in containers. They’re perfect for lunches throughout the week.
Pro Tip
If they’re drying out, wrap them in a damp paper towel before microwaving for 10 seconds. This brings back the moisture.
Nutrition Information
I’m not a nutritionist, but here’s the breakdown if you’re tracking.
Per Serving (based on 1 roll-up stick):
- Calories: 120
- Protein: 8g
- Carbs: 10g
- Fiber: 1g
- Sugar: 1g
- Fat: 6g
- Saturated Fat: 3g
- Cholesterol: 20mg
- Sodium: 250mg
What’s Good: High in protein, low in sugar, and contains calcium from the cheese.
What to Know: Higher in sodium due to deli meat and ranch. Use low-sodium options to reduce.
Final Thoughts
So that’s my Back-to-School Turkey Ranch Cheddar Roll-Up Sticks! I’ve probably talked your ear off at this point, but when you make a recipe this often, you have a lot to say about it.
This has saved weeknight dinners more times than I can count. It’s my answer to “what’s for dinner?” when I’m tired, don’t want takeout, and still want something that tastes really good. My kids are happy, my husband’s happy, and I’m happy because I’m not stressed about cooking.
Make it yours! Try different add-ins, swap in your favorite vegetables, adjust the ranch. The best recipes are the ones you adapt to your family’s tastes.
If you make this, drop a comment and let me know what you think! I love hearing how recipes turn out in your kitchen. And if something doesn’t work, tell me that too—I’m here to help troubleshoot.
Happy cooking! And I hope your kitchen smells half as good as mine does right now.
Frequently Asked Questions
Can I use whole wheat tortillas?
Yes, you can! Whole wheat tortillas are healthier and have more fiber. They’re a bit sturdier, so they hold up well to rolling. I use them when I want to add more nutrients to my kids’ meals.
Why did my roll-up unravel?
Usually, this means it wasn’t rolled tightly enough. Make sure to tuck in the sides as you roll and press the seam gently. Also, chilling the roll-up before slicing helps it hold its shape.
Can I make these ahead of time?
Absolutely! I make them on Sunday and store them in the fridge for up to 3 days. They’re perfect for lunchboxes or quick snacks. Just make sure to store them in an airtight container to keep them fresh.
Can I use cream cheese spread instead of block cream cheese?
Yes, you can use cream cheese spread. It’s softer and easier to spread. Just make sure it’s softened so it spreads evenly. I use it when I’m in a hurry.
How do I keep the tortilla from drying out?
Store them in an airtight container with a damp paper towel. This adds moisture and keeps the tortilla soft. I do this when I’m making them ahead for the week.
Can I freeze these?
I don’t recommend freezing them because the tortilla can get soggy when thawed. It’s better to make them fresh or store them in the fridge for up to 3 days.
Can I use other types of cheese?
Yes! You can use mozzarella, provolone, or pepper jack. Mozzarella is milder, while pepper jack adds spice. I’ve used all of them, and they all work well.
Pin This Recipe!
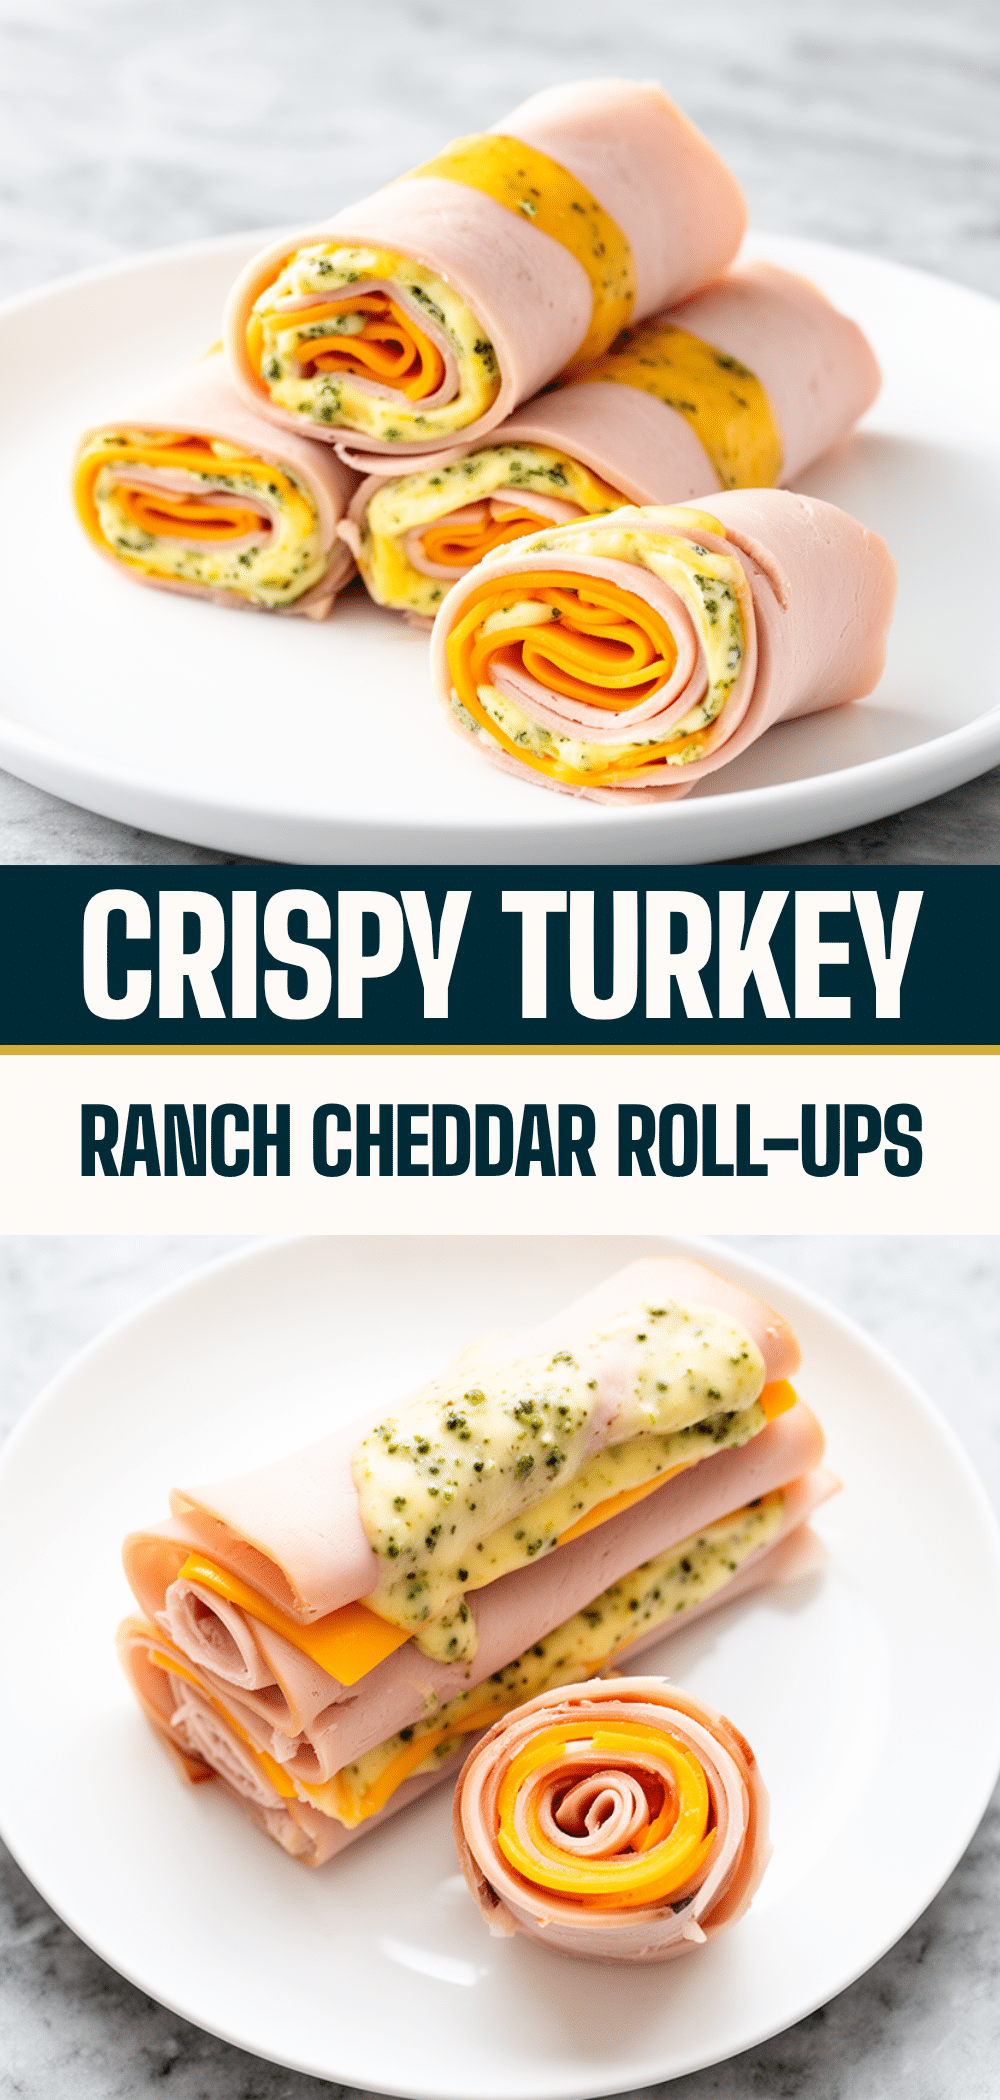

Back-to-School Turkey Ranch Cheddar Roll-Up Sticks
- Total Time: 10 minutes
- Yield: 4 servings (approx. 6-8 sticks per tortilla) 1x
Description
A quick, no-cook dinner or snack made by rolling deli turkey, cheddar cheese, and ranch dressing into tortillas with cream cheese. Perfect for busy weeknights and kid-approved.
Ingredients
- 4 large flour tortillas (8-inch / 20cm)
- 8 ounces (225g) deli turkey breast
- 1 cup (100g) sharp cheddar cheese, shredded
- ½ cup (120ml) creamy ranch dressing
- 2 ounces (55g) cream cheese, softened
- 2 stalks green onions, sliced
- Black pepper to taste
Instructions
- Prep ingredients: Slice green onions, shred cheese, and soften cream cheese.
- Lay one tortilla flat on a cutting board. If stiff, microwave for 10 seconds to soften.
- Spread softened cream cheese evenly over the tortilla, leaving a 1-inch border around the edges.
- Layer deli turkey breast over the cream cheese, folding slices slightly to prevent sliding.
- Sprinkle shredded cheddar cheese over the turkey, then dollop ranch dressing in a zigzag pattern.
- Starting from one short end, tightly roll the tortilla up, tucking in the sides as you go. Press the seam to seal.
- Using a sharp knife, slice the roll-up into 1-inch thick sticks.
- Arrange sticks seam-side down on a plate and serve immediately, or chill before slicing for cleaner cuts.
Notes
For cleaner slices, chill the roll-ups in the fridge for 10-15 minutes before slicing. If using pre-packaged turkey slices, use two slices per roll-up. To control sodium, make your own ranch dressing with mayo, buttermilk, and dried herbs. These do not freeze well as the tortilla can become soggy; store in the refrigerator for up to 3 days.
- Prep Time: 5 minutes
- Cook Time: 0 minutes
- Category: Main Course
- Cuisine: American
Nutrition
- Serving Size: 1 roll-up stick
- Calories: 120
- Sugar: 1
- Sodium: 250
- Fat: 6
- Saturated Fat: 3
- Carbohydrates: 10
- Fiber: 1
- Protein: 8
Keywords: turkey roll-ups, ranch chicken, quick dinner, kid-friendly meals, no-cook recipes, lunchbox ideas, back-to-school meals, healthy snacks


