There is a specific kind of magic that happens when butter turns golden brown. It’s not just cooking; it’s alchemy. The milky solids separate, the water evaporates, and suddenly your kitchen smells like it’s filled with nutty, toffee-like whispers. It’s the scent of patience. It’s the scent of a Saturday morning spent doing nothing but stirring and waiting.
I learned to love brown butter cookies from my Aunt Clara. She didn’t bake for Instagram. She didn’t have a fancy kitchen with marble countertops or a stand mixer that hummed like a jet engine. She had a cast-iron skillet, a wooden spoon that had seen three generations of baking, and a belief that good things simply cannot be rushed. In her house, baking wasn’t a task to be completed; it was a ritual to be savored. And her brown butter chocolate chip cookies were the crown jewel of that ritual.
For years, I tried to shortcut the process. I’d melt the butter, skip the browning, and mix it all up in ten minutes. The cookies were fine. They were sweet and chewy. But they were missing that deep, complex nuttiness that makes you close your eyes and take a slower bite. It wasn’t until I finally stopped trying to be efficient and started listening to Aunt Clara’s advice—”let it get that little brown speck, honey, that’s where the flavor lives”—that everything changed.
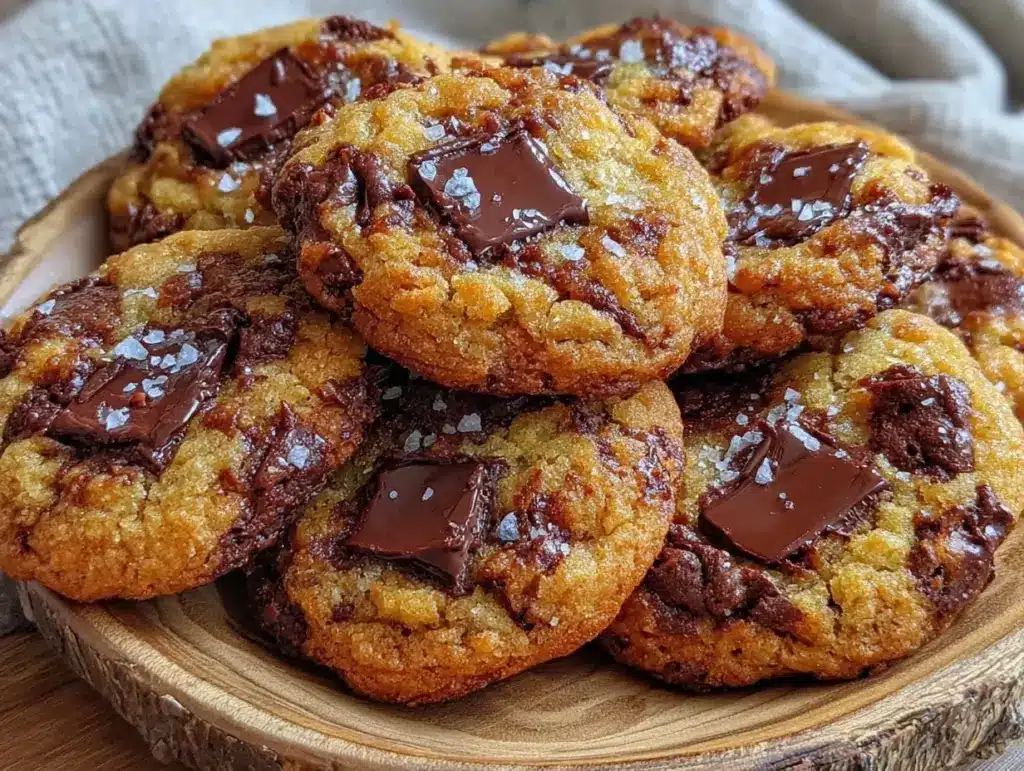
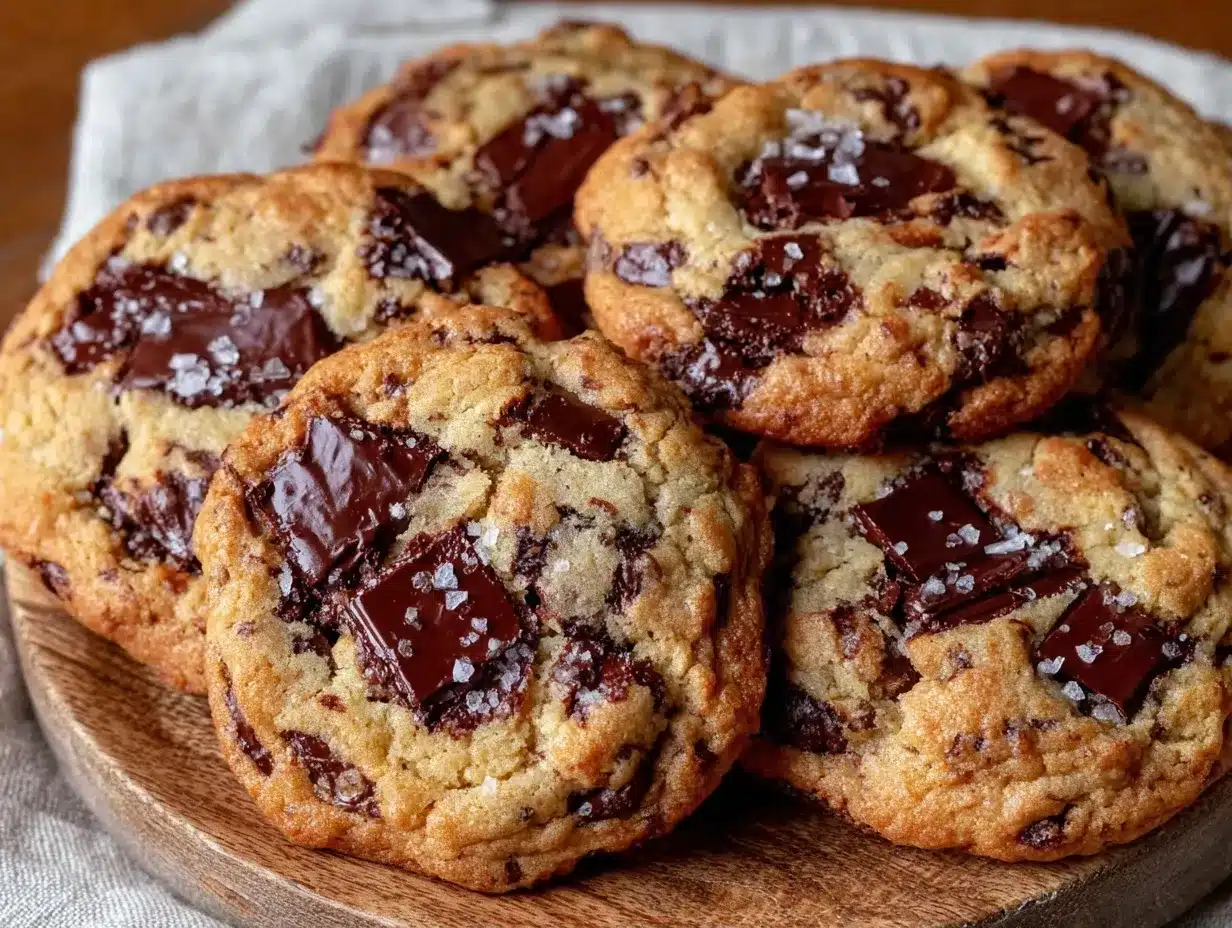
These brown butter chocolate chip cookies for weekend baking are my tribute to that slow, deliberate way of life. They are crisp at the edges, chewy in the center, and loaded with chunks of semi-sweet chocolate that melt into pockets of goodness. They require a little more time than your average drop cookie, but I promise you, the reward is worth every minute. This is the kind of cookie you bake on a rainy Saturday while listening to jazz, or on a sunny morning with a cup of coffee in hand. It’s not about feeding the crowd quickly; it’s about making something that tastes like home.
If you’re looking for something quicker, I’ve got a recipe for soft cinnamon sugar breakfast pull-apart bread that’s great for lazy mornings, but for pure, unadulterated comfort? You need these cookies.
Why You’ll Love This Recipe
There are a thousand chocolate chip cookie recipes out there. So why this one? Why the extra step of browning the butter? Because once you taste the difference, you’ll never go back. Here’s what makes these cookies special:
- Deep, Nutty Flavor — Browning the butter transforms it from a simple fat into a flavor powerhouse. It adds notes of hazelnut and toffee that plain melted butter just can’t match. It’s subtle, but it’s there in every bite.
- Perfect Texture — These cookies hit that sweet spot between crisp and chewy. The edges get beautifully golden and lace-like, while the centers stay soft and fudgy. It’s the texture I’ve been chasing for twenty years.
- Weekend Vibe — This isn’t a 15-minute recipe. It’s a 45-minute active process (plus chilling time). But that’s the point. It’s a slow bake. It’s a treat for the baker as much as the eater. You get to smell the butter toasting, you get to watch the dough chill, and you get to wait for the oven timer.
- Classic Comfort — There’s nothing trendy here. No matcha, no red velvet, no weird add-ins. Just butter, sugar, flour, eggs, and chocolate. It’s the cookie your grandmother would have made if she had a modern oven.
I’ve made these for family gatherings, office potlucks, and quiet nights in. They always disappear first. People ask for the recipe, but I think they’re really asking for the feeling of sitting around a kitchen table, sharing a warm cookie and good conversation.
Ingredients You’ll Need
Before we start, let’s talk about what goes into these cookies. I’m particular about a few things here. This isn’t just a list of groceries; it’s a guide to getting that specific Aunt Clara flavor right.
For the Brown Butter Base
Unsalted butter (1 cup / 226g) — This is the star of the show. Use high-quality butter. If you can find local, grass-fed butter, do it. The flavor difference is noticeable. You need the full cup; don’t try to reduce it.
All-purpose flour (2 ¼ cups / 280g) — I use King Arthur Brand because it has a bit more protein, which helps with structure. But any good all-purpose flour will work. Spoon it into the cup and level it off—don’t scoop and pack, or your cookies will be dry.
Baking soda (1 teaspoon) — This helps the cookies spread and brown. Make sure it’s fresh. If your baking soda is old, it won’t do its job, and your cookies will be dense.
Salt (1 teaspoon) — Since we’re using unsalted butter, we need to add salt for flavor. Kosher salt is best because it’s easy to measure.
For the Sweetness
Granulated sugar (¾ cup / 150g) — This helps create those crisp edges. It caramelizes in the oven.
Brown sugar (1 cup / 220g, packed) — This is what makes the centers chewy. Dark brown sugar has more molasses, which adds a deeper flavor. I prefer dark brown for this recipe, but light works too.
For the Binding and Flavor
Eggs (2 large, room temperature) — Cold eggs can shock the butter and make the dough greasy. Take them out of the fridge an hour before you start.
Vanilla extract (2 teaspoons) — Use real vanilla, not imitation. The flavor of vanilla is huge in these cookies because there aren’t many other strong flavors competing with it.
For the Good Stuff
Semi-sweet chocolate chunks (2 cups / 340g) — I buy a bar of good chocolate and chop it myself. Chocolate chips are convenient, but they’re designed to hold their shape. Chunks melt into pockets of goo. If you want a mix, use half chunks and half chips.
Flaky sea salt (optional but recommended) — A sprinkle on top right after baking elevates the whole thing. It contrasts with the sweetness and adds a nice crunch.
I also keep a jar of maple pecan baked french toast sticks in my mind as a companion for these cookies, but honestly, they’re great on their own. No sides needed.
Equipment Needed
You don’t need a lot of fancy gear for this. Here’s what I actually use:
Heavy-bottomed saucepan — This is crucial for browning the butter. A thin pan will burn the butter before you can stir it evenly. Stainless steel or aluminum works best. Avoid non-stick if you can help it; you want to see the color change clearly.
Whisk — For aerating the butter and mixing the dry ingredients. A balloon whisk is nice because it gets into the corners of the bowl.
Standing mixer or hand mixer — I used to mix by hand, but with this much dough, a mixer saves your arms. A wooden spoon works, but it’s a workout.
Rimmed baking sheets — Light-colored sheets are better because they don’t conduct heat as aggressively as dark sheets, which can cause the bottoms to burn.
Parchment paper — Line your sheets. It makes cleanup a breeze and ensures even baking. I never bake directly on the metal.
Cooling rack — Let the cookies cool here so they don’t get soggy from steam.
How to Make It: Step-by-Step
Alright, let’s get into the kitchen. This process is straightforward, but it requires attention. Here’s exactly how I do it.
Step 1: Brown the Butter (10 minutes)
Melt the butter in your heavy-bottomed saucepan over medium heat. Stir it constantly with a wooden spoon or whisk. It will foam up and bubble. Keep watching. The foam will start to subside, and you’ll see little brown specks forming at the bottom. The smell will change from milky to nutty. As soon as it smells like toasted hazelnuts and looks like amber liquid with brown specks, remove it from the heat immediately. Pour it into a heatproof bowl to stop the cooking. Let it cool for about 15 minutes. It should be warm, not hot.
Step 2: Mix the Dough (5 minutes)
In a large bowl, whisk together the flour, baking soda, and salt. Set aside. In a separate large bowl, combine the cooled brown butter, granulated sugar, and brown sugar. Whisk vigorously for about two minutes. You want to incorporate air and make the mixture look glossy. Add the eggs one at a time, whisking well after each. Stir in the vanilla.
Gradually add the dry ingredients to the wet ingredients. Mix until just combined. Do not overmix. It’s okay if there are a few streaks of flour left.
Step 3: Fold in the Chocolate (2 minutes)
Add the chocolate chunks. Use a spatula to fold them in until they’re evenly distributed. You’ll see pockets of chocolate peeking through the dough.
Step 4: Chill the Dough (30 minutes to 2 hours)
This step is non-negotiable. If you skip the chill, your cookies will spread too thin and be greasy. Cover the bowl with plastic wrap and refrigerate for at least 30 minutes. If you can plan ahead, 2 hours is ideal. The cold dough holds its shape better and develops more flavor.
Step 5: Scoop and Bake (15 minutes)
Preheat your oven to 350°F (175°C). Line two baking sheets with parchment paper. Scoop the dough into balls, about 2 tablespoons each. Place them on the sheets, spacing them at least 2 inches apart. They will spread.
Bake for 10-12 minutes. The edges should be golden brown, and the centers should still look slightly soft and puffy. They will firm up as they cool. Do not overbake. If they look done in the oven, they will be overdone on the counter.
Step 6: Cool and Serve
Let the cookies cool on the baking sheet for 5 minutes. Then transfer them to a wire rack to cool completely. Sprinkle with flaky sea salt if using. Eat warm, or store in an airtight container.
Expert Tips & Tricks
Here’s everything I’ve learned from making these dozens of times. These tips will save you from my mistakes.
- Watch the Butter Like a Hawk — Browning butter can go from perfect to burnt in seconds. If it smells like burning, you’ve gone too far. It’s better to under-brown than over-brown.
- Don’t Skip the Chill — I know it’s tempting to bake them right away. But chilled dough yields thicker, chewier cookies. Unchilled dough yields flat, crisp discs. Your choice.
- Use a Cookie Scoop — It ensures uniform size, which means even baking. No more burnt edges on some and raw centers on others.
- Rotate the Pan — Ovens have hot spots. Rotate your baking sheet halfway through baking for even color.
- Let Them Rest — The last 5 minutes on the pan are crucial. They finish cooking from residual heat. If you move them too soon, they might break.
For a different kind of sweet treat, these cookies pair beautifully with a cold glass of milk, but if you’re in the mood for something fruity, check out my blueberry crumb bars for a seasonal twist.
Variations & Substitutions
Once you’ve nailed the basic version, here’s how you can mix it up. I’ve tried all of these.
- White Chocolate Macadamia — Swap the semi-sweet chocolate for white chocolate chunks and add 1 cup of toasted macadamia nuts. It’s rich and tropical.
- Peanut Butter Swirl — Add 2 tablespoons of peanut butter to the dough. It adds a salty, nutty depth that complements the brown butter.
- Gluten-Free — Use a 1:1 gluten-free flour blend. The texture will be slightly more tender, but it still works well.
- Dairy-Free — Use a high-quality vegan butter stick. The browning process works the same way. Use dairy-free chocolate chunks.
- Spiced — Add 1 teaspoon of cinnamon and ½ teaspoon of nutmeg to the dry ingredients for a cozy, autumnal flavor.
Serving & Storage
How to Serve: These cookies are best enjoyed warm, fresh from the oven. But they’re also delicious at room temperature. I like to serve them on a simple ceramic plate with a fork, maybe with a cup of tea or coffee.
Storage: Store in an airtight container at room temperature for up to 5 days. If your kitchen is humid, add a piece of bread to the container to keep them soft. The bread absorbs the moisture, keeping the cookies chewy.
Freezing: You can freeze the dough balls on a baking sheet, then transfer them to a freezer bag. Bake from frozen, adding 1-2 minutes to the baking time. You can also freeze baked cookies for up to 3 months. Thaw at room temperature.
For a heartier breakfast option that uses similar comfort flavors, try these soft cheddar garlic biscuits on a weekend morning.
Nutrition Information
I’m not a nutritionist, but here’s the breakdown if you’re tracking. These are rich cookies, so moderation is key.
Per Cookie (makes about 24 cookies):
- Calories: 180
- Fat: 9g
- Carbs: 24g
- Sugar: 15g
- Protein: 2g
Look, these are brown butter cookies. They’re meant to be indulgent. But they’re made with real ingredients, so they’re better than anything from a box. Enjoy them as a special treat.
Final Thoughts
So that’s my brown butter chocolate chip cookie recipe. It’s not the fastest recipe in the world, but it’s the best one I know. It teaches you to slow down, to pay attention, and to appreciate the small changes in smell and color that signal perfection.
I hope you make these on a weekend when you have time to breathe. I hope your kitchen fills with that nutty, toffee scent. I hope you share them with someone you love. And I hope they remind you, even for a moment, of a simpler time.
If you make this, drop a comment and let me know what you think! I love hearing how recipes turn out in your kitchen. And if something doesn’t work, tell me that too—I’m here to help troubleshoot.
Frequently Asked Questions
Can I use salted butter?
You can, but reduce the added salt in the recipe to ½ teaspoon. Browning salted butter can sometimes make the salt taste more pronounced, so unsalted gives you better control.
Why did my cookies spread too much?
Most likely, the butter wasn’t cooled enough before mixing, or the dough wasn’t chilled. Make sure the brown butter is warm, not hot, when you add the sugar. And don’t skip the chilling step.
Can I freeze the browned butter?
Yes! Let it cool completely, then freeze it in an ice cube tray or a small container. Thaw it in the fridge before using. The flavor might change slightly, but it’s still good.
What kind of chocolate is best?
I recommend chopping your own bar of semi-sweet chocolate. It creates irregular chunks that melt into gooey pockets. If you use chips, they hold their shape too well and don’t provide that same texture.
Can I make these cookies ahead for a party?
Absolutely. Make the dough, chill it, and freeze the scoops. Bake them fresh when your guests arrive. They’ll be warm and perfect, and no one will know you didn’t make them that morning.
Why do I need to whisk the sugar and butter so long?
Whisking incorporates air and helps the sugar dissolve slightly into the butter. This creates a smoother, more uniform cookie with a better texture. It’s a small step that makes a big difference.
Can I add nuts?
Yes! Toasted walnuts or pecans are a classic addition. Add 1 cup of chopped nuts when you fold in the chocolate. It adds crunch and flavor.
Pin This Recipe!
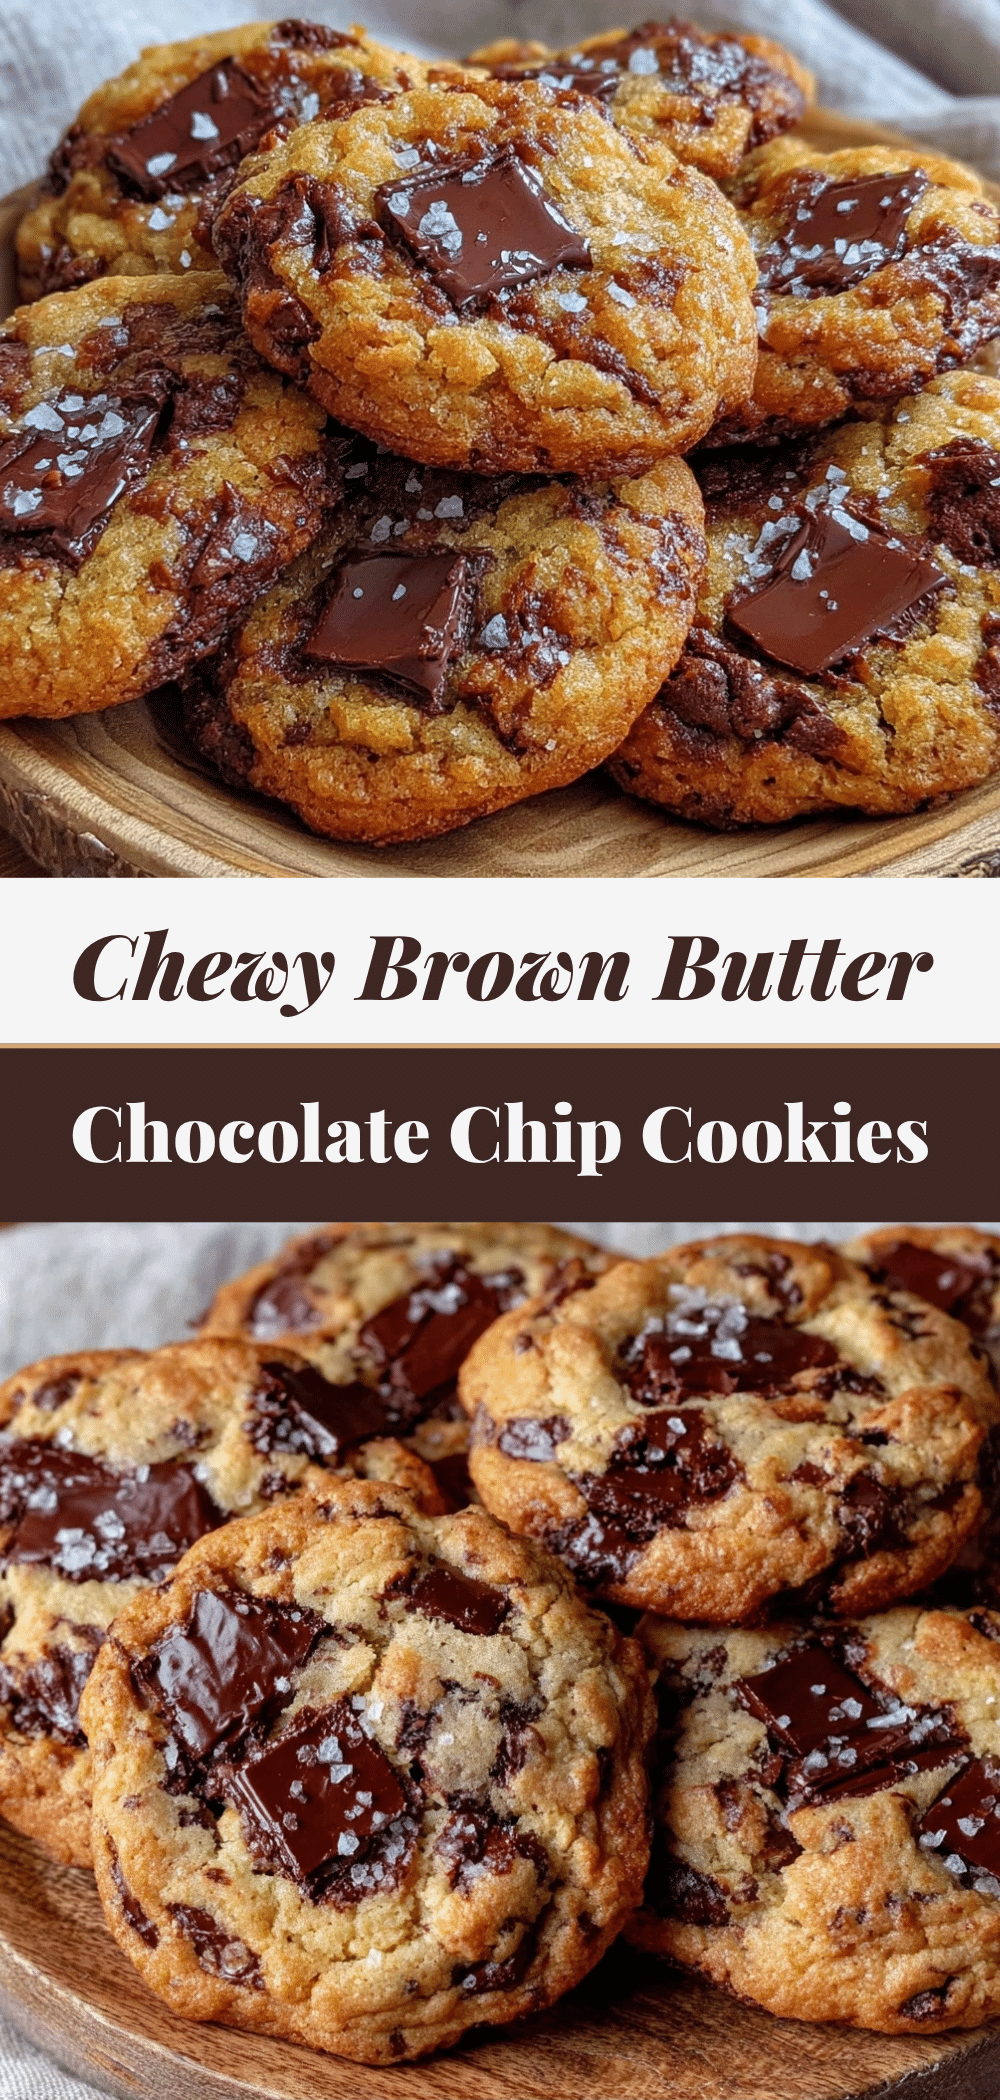

Brown Butter Chocolate Chip Cookies: Perfect Weekend Bake
- Total Time: 45 minutes
- Yield: 24 cookies 1x
Description
These brown butter chocolate chip cookies offer a deep, nutty flavor and perfect texture with crisp edges and chewy centers. A slow, deliberate weekend bake that transforms simple ingredients into a comforting treat.
Ingredients
- 1 cup (226g) unsalted butter
- 2 ¼ cups (280g) all-purpose flour
- 1 teaspoon baking soda
- 1 teaspoon salt
- ¾ cup (150g) granulated sugar
- 1 cup (220g) packed brown sugar
- 2 large eggs, room temperature
- 2 teaspoons vanilla extract
- 2 cups (340g) semi-sweet chocolate chunks
- Flaky sea salt (optional, for topping)
Instructions
- Melt the butter in a heavy-bottomed saucepan over medium heat. Stir constantly until it foams, subsides, and develops brown specks with a nutty aroma. Remove from heat and pour into a heatproof bowl to cool for 15 minutes.
- In a large bowl, whisk together the flour, baking soda, and salt. Set aside.
- In a separate large bowl, combine the cooled brown butter, granulated sugar, and brown sugar. Whisk vigorously for two minutes until glossy. Add eggs one at a time, whisking well after each, then stir in vanilla.
- Gradually add the dry ingredients to the wet ingredients and mix until just combined.
- Fold in the chocolate chunks until evenly distributed.
- Cover the dough and refrigerate for at least 30 minutes (up to 2 hours).
- Preheat oven to 350°F (175°C). Line baking sheets with parchment paper.
- Scoop dough into 2-tablespoon balls, spacing them 2 inches apart on the sheets.
- Bake for 10-12 minutes until edges are golden brown but centers look slightly soft.
- Let cookies cool on the baking sheet for 5 minutes, then transfer to a wire rack to cool completely. Sprinkle with flaky sea salt if desired.
Notes
Do not skip the chilling step as it prevents spreading and ensures chewiness. Watch the butter closely while browning to avoid burning. Use a cookie scoop for uniform size. Rotate pans halfway through baking for even color. Cookies continue to cook on the hot pan after removal from the oven.
- Prep Time: 30 minutes
- Cook Time: 12 minutes
- Category: Dessert
- Cuisine: American
Nutrition
- Serving Size: 1 cookie
- Calories: 180
- Sugar: 15
- Sodium: 150
- Fat: 9
- Saturated Fat: 5
- Carbohydrates: 24
- Fiber: 1
- Protein: 2
Keywords: brown butter, chocolate chip cookies, weekend baking, nutty cookies, chewy cookies, homemade cookies, dessert recipe


